
In modern mechanical transmission systems, worm gears are widely adopted for their compact structure, large reduction ratio, and smooth meshing characteristics. Among various types, the Archimedes cylindrical worm gears (also known as ZA-type) are the most common due to their simple manufacturing process and favorable performance. This paper presents a comprehensive approach to the parametric three-dimensional modeling and virtual assembly of Archimedes worm gears using Solidworks 2010. The modeling process is grounded in the mathematical representation of the tooth profiles and helices of both the worm and the worm wheel. By establishing precise equations and leveraging the parametric capabilities of Solidworks, we achieve accurate geometric models that can be directly used for finite element analysis, kinematic simulation, and subsequent CNC machining. The entire workflow, from derivation of fundamental curves to final assembly and interference checking, is elaborated step by step. Tables summarizing key parameters and formulas are provided to facilitate reproducibility.
The core contribution of this work lies in the systematic integration of analytical geometry with modern CAD tools, enabling designers to rapidly generate reliable digital prototypes of worm gears. The methodology not only shortens the product development cycle but also ensures high geometric fidelity, which is critical for the performance evaluation of worm gears.
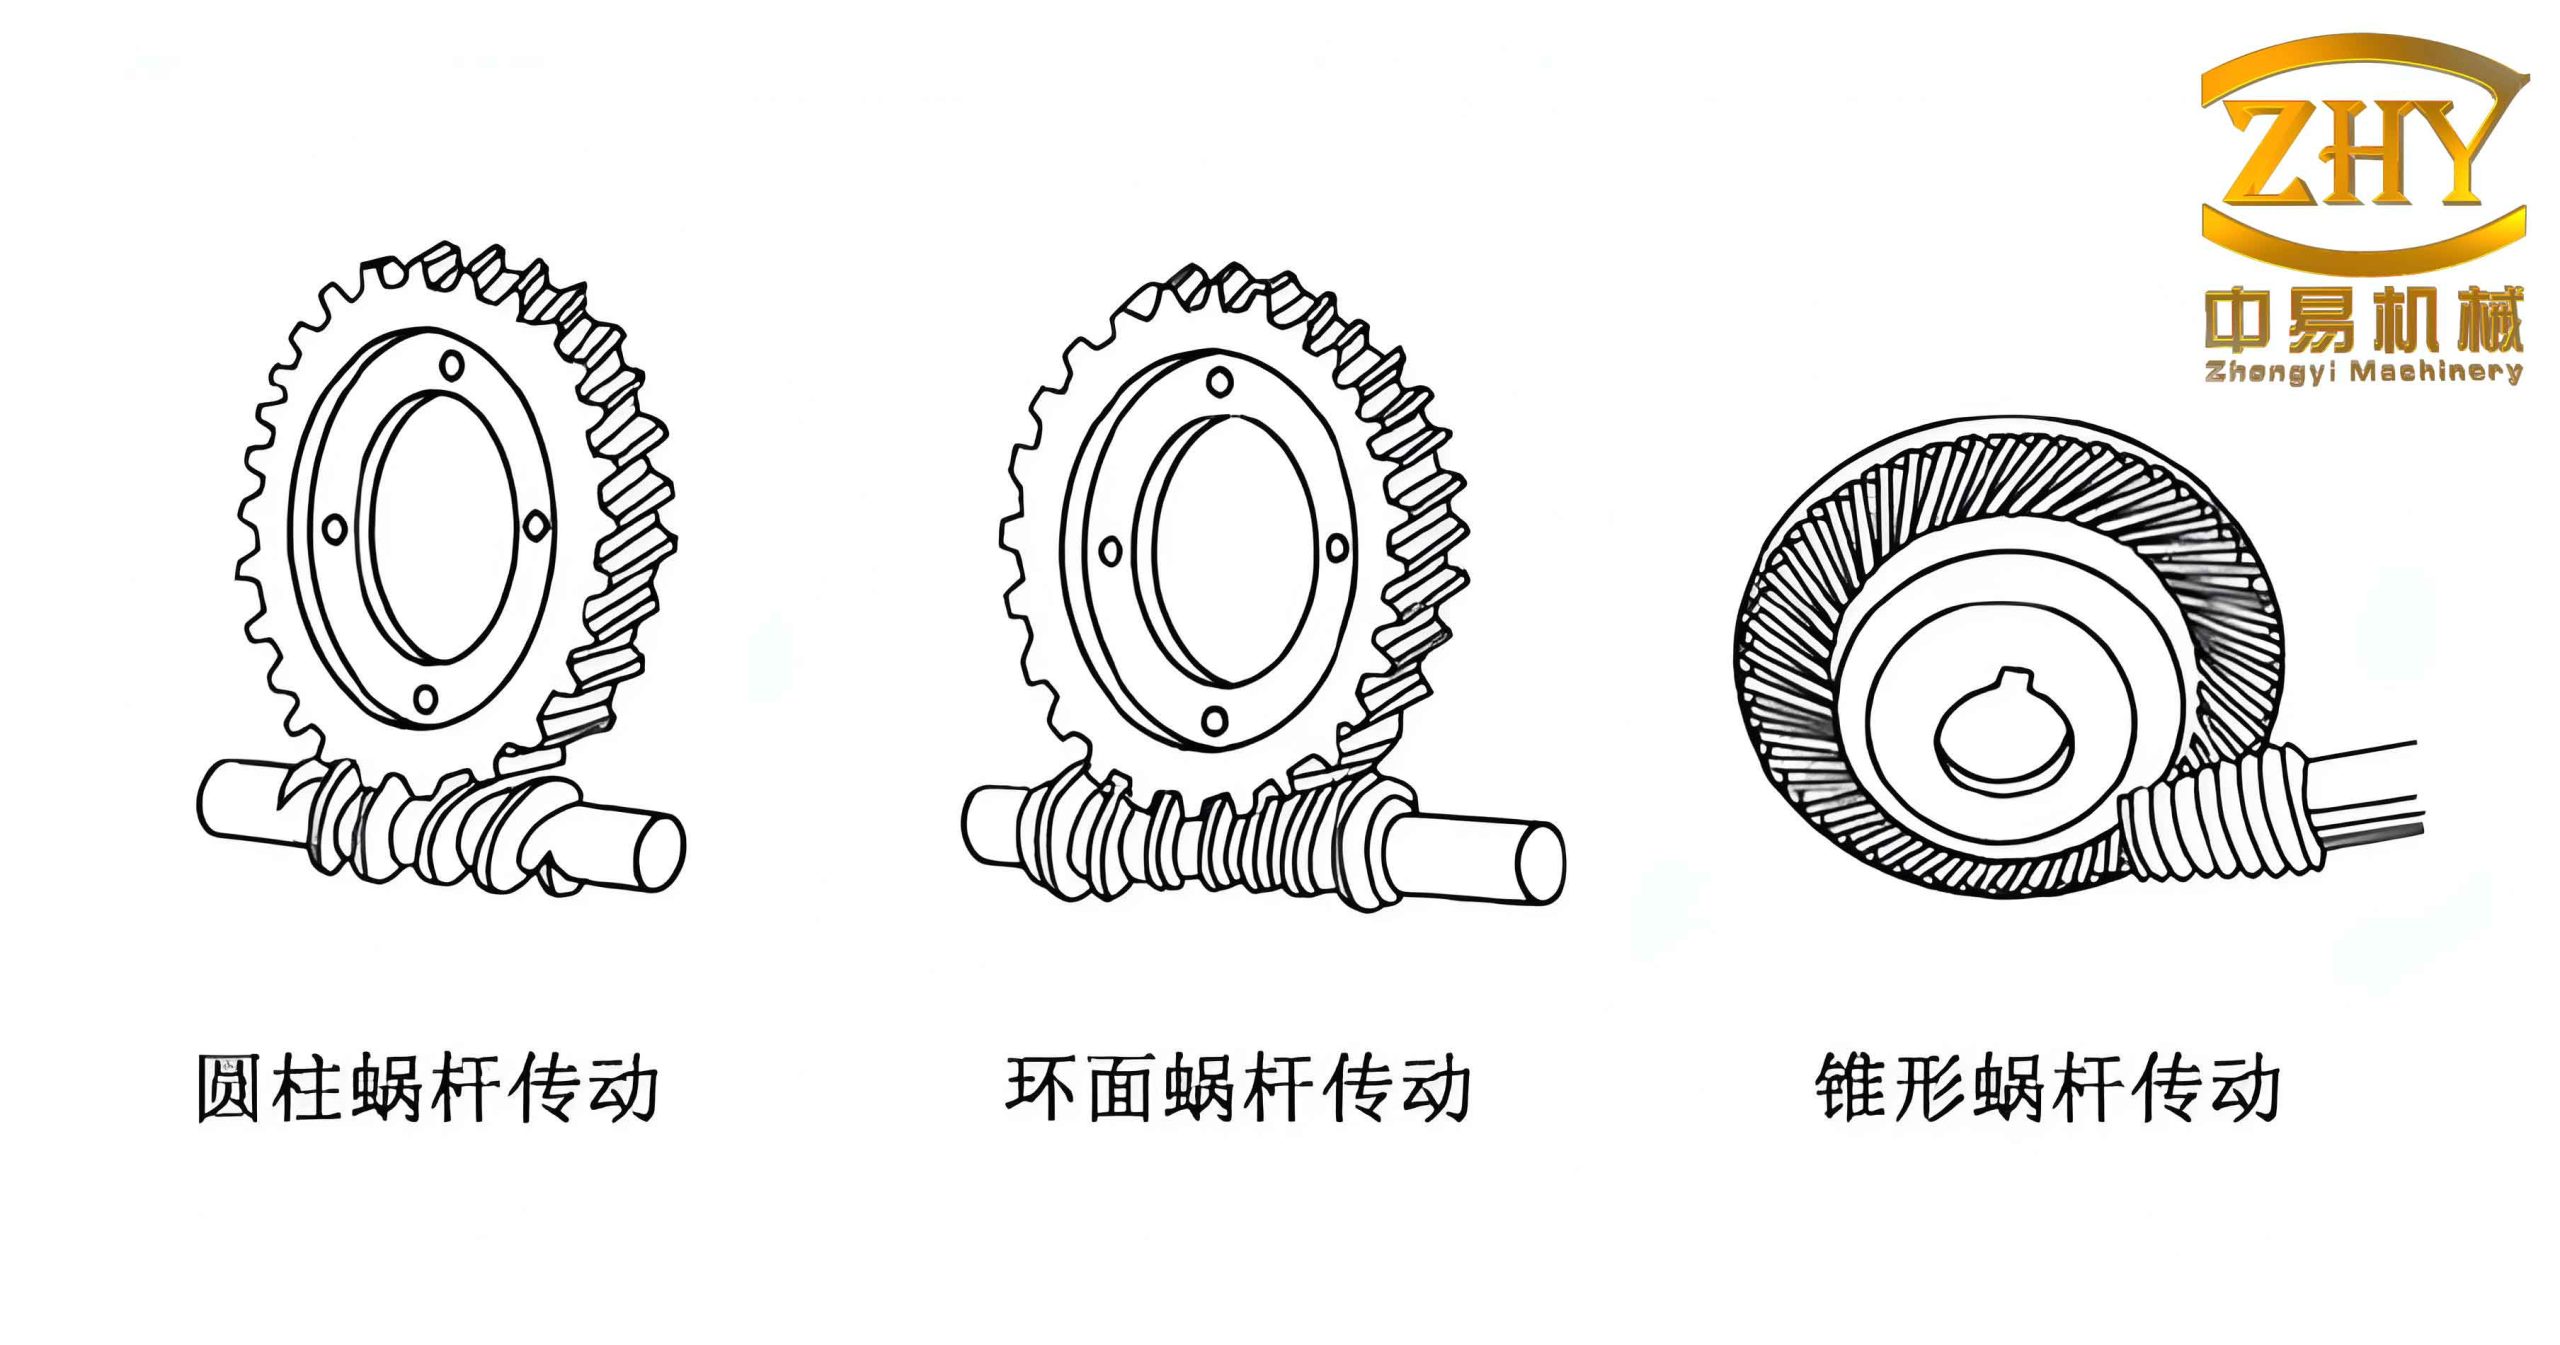
1. Mathematical Foundation of Archimedes Worm Gears
Before constructing the 3D models, it is essential to understand the geometric definitions of the Archimedes worm gears. In the axial plane (i.e., the middle plane that contains the axis of the worm), the tooth profile of the worm is a straight-sided trapezoid, which is the defining feature of the Archimedes type. For the worm wheel, the tooth profile in the same axial plane is an involute curve, because the meshing of the worm and worm wheel in that plane resembles the engagement of a rack and a spur gear. This fundamental relationship governs the entire modeling strategy.
1.1 Worm Tooth Profile in the Axial Plane
Let the axial section of the worm be considered. The tooth space is bounded by two straight lines inclined at the pressure angle α (typically 20°). Figure 1 (not shown) illustrates the trapezoidal shape with vertices 1, 2, 3, and 4. The coordinates of points 1 and 3 (defining the root and tip of one side) are given by:
$$x_1 = \frac{p_a}{4} – h_f \tan\alpha, \quad y_1 = r_{f1} = r_1 – h_f$$
$$x_3 = \frac{p_a}{4} + h_a \tan\alpha, \quad y_3 = r_{a1} = r_1 + h_a$$
where:
- p_a = πm is the axial pitch, with m being the module,
- α = 20° is the pressure angle,
- h_f = (h*a + c*)m is the dedendum,
- h_a = h*a m is the addendum,
- r_1 = mq / 2 is the pitch circle radius of the worm, with q the diameter coefficient,
- h*a = 1, c* = 0.2.
Points 2 and 4 are symmetric with respect to the y-axis, so their coordinates are omitted for brevity. These four points define the axial tooth space profile that will be swept along the helix to form the worm thread.
1.2 Worm Wheel Tooth Profile – Involute Curve
In the middle plane, the worm wheel tooth profile is an involute. The parametric equations of the involute are derived from the standard involute geometry:
$$x = r_b \sin u – r_b u \cos u$$
$$y = r_b \cos u + r_b u \sin u$$
where:
- r_b = r2 cos α is the base circle radius,
- r2 = m z2 is the pitch circle radius of the worm wheel,
- z2 is the number of teeth on the worm wheel,
- u is the roll angle in radians.
The variable u ranges from 0 to the angle corresponding to the tip circle. This involute curve represents the flank of a single tooth space in the axial section of the worm wheel.
1.3 Helix Guiding Curve for the Worm Wheel
The tooth of the worm wheel is not straight; it follows a helical path that is a portion of the worm helix. In the coordinate system where the worm axis is the z-axis and the worm wheel axis is offset by the center distance a, the parametric equation of the helix on the pitch cylinder of the worm wheel is:
$$x = a – r_1 \cos\theta$$
$$y = r_1 \sin\theta$$
$$z = r_1 \theta \tan\gamma$$
where:
- a = r1 + r2 is the center distance,
- γ = β2 is the helix angle (equal to the lead angle of the worm),
- θ varies in the range [−π/2, π/2] (radians) to cover the worm wheel tooth width.
These equations provide the spatial guide curve that controls the sweep of the involute profile during the generation of the worm wheel tooth slot.
2. Design Parameters and Modeling in Solidworks
The modeling process is demonstrated using a specific pair of worm gears with dimensions listed in Table 1. All parameters are consistent with standard AGMA or ISO recommendations.
| Parameter | Symbol | Value | Unit |
|---|---|---|---|
| Module | m | 4 | mm |
| Worm pitch circle diameter | d1 | 40 | mm |
| Worm diameter coefficient | q | 10 | — |
| Worm lead angle | γ | 21°48′05″ | degrees |
| Number of worm threads (starts) | z1 | 1 | — |
| Number of worm wheel teeth | z2 | 40 | — |
| Worm wheel pitch circle diameter | d2 | 160 | mm |
| Center distance | a | 100 | mm |
| Face width of worm wheel | B | 30 | mm |
2.1 Worm Modeling Steps
The worm geometry is relatively straightforward. The process is outlined as follows:
- Create cylindrical blank: Revolve a rectangle having the major diameter (root diameter + 2× addendum) to form the worm body. Add any necessary shaft details (keyways, chamfers) as per design requirements.
- Define helix: Insert a helix curve with diameter equal to the pitch cylinder diameter (d1 = 40 mm). The pitch of the helix equals the axial pitch pa = πm = 12.566 mm. For a single-start worm, the lead equals the pitch.
- Create tooth space profile: On a plane perpendicular to the helix at its start point (or on an axial plane), sketch the trapezoidal tooth space using the coordinates derived in Section 1.1. The profile is centered on the worm axis.
- Sweep cut: Use the “Swept Cut” feature with the profile as the section and the helix as the path. This generates one complete thread turn. For multiple starts, apply a circular pattern of z1 instances.
- Finalize: Add thread end treatments (runout, chamfers) to simulate realistic geometry.
Table 2 summarizes the critical formulas used in the worm model.
| Parameter | Formula | Computed Value |
|---|---|---|
| Axial pitch pa | πm | 12.566 mm |
| Addendum ha | m | 4 mm |
| Dedendum hf | 1.2m | 4.8 mm |
| Pitch radius r1 | mq/2 | 20 mm |
| Tip radius ra1 | r1 + ha | 24 mm |
| Root radius rf1 | r1 − hf | 15.2 mm |
2.2 Worm Wheel Modeling Steps
The worm wheel is considerably more complex because of the involute tooth profile and the helical guidance. The flow chart in the original paper (not reproduced here) provides a clear sequence:
- Create wheel blank: Revolve a cylinder with outer diameter equal to the worm wheel tip diameter (da2 = d2 + 2ha = 160 + 8 = 168 mm) and width equal to the face width B = 30 mm. The central hub and spokes can be added later.
- Generate helix guide curves: Using Equation (3), create two 3D curves: one for the left side and one for the right side of the tooth slot. In Solidworks, this can be done via the “Curve Through XYZ Points” or the “Equation Driven Curve” feature. The parameter θ varies from −π/2 to π/2. The two curves are mirror images about the middle plane of the worm wheel. They represent the path along which the involute profile will be swept in opposite directions to form the tooth space.
- Create involute tooth space profile: On the middle plane of the wheel (the axial plane of the worm), construct the involute profile using the equation-driven curve tool. For the right flank, input:
$$x(t)= r_b (\sin t – t \cos t)$$
$$y(t)= r_b (\cos t + t \sin t)$$
with parameter t (roll angle u) from 0 to tmax, where tmax corresponds to the tip circle pressure angle. Then rotate this curve by an angle θ0 to position it correctly relative to the tooth space center. The rotation angle θ0 is computed as:
$$\theta_0 = \phi – \tan 20^\circ – \frac{\pi \cdot 20}{180}, \quad \phi = \frac{\pi}{2 z_2}$$
Mirror this curve about the vertical axis to obtain the left flank. Add the tip circle arc (radius ra2) and the root circle arc (radius rf2) to close the profile. To simulate realistic tool tip fillets, apply a fillet of radius 2 mm at the root (as used in the example). The resulting closed contour is the tooth space cross-section in the middle plane.
- Sweep cut: Perform a “Swept Cut” using the tooth space profile as the section, and the two helix guide curves (one for each side) as the path. It is often necessary to use separate sweep cuts for the two sides to avoid self-intersection. The result is a single tooth slot.
- Circular pattern: Apply a circular pattern with z2 = 40 instances around the wheel axis to generate all teeth.
- Add details: Bore holes, keyways, mounting flanges, and other features are added in the final stage.
Table 3 lists the computed dimensions for the worm wheel used in the example.
| Parameter | Formula | Computed Value |
|---|---|---|
| Pitch radius r2 | m z2 / 2 | 80 mm |
| Base radius rb | r2 cos 20° | 75.175 mm |
| Tip radius ra2 | r2 + m | 84 mm |
| Root radius rf2 | r2 − 1.2m | 75.2 mm |
| Rotation angle θ0 | π/(2z2) − tan 20° + 20π/180 | 0.00889 rad (approx. 0.509°) |
| Face width B | given | 30 mm |
3. Assembly of Worm Gears in Solidworks
Proper assembly is crucial for ensuring correct meshing. The following procedure yields a validated assembly of the worm gears:
- Insert the worm wheel first as the base component. In the wheel part, create a reference axis representing the worm axis. This can be done by adding a 3D sketch line or a reference axis offset from the wheel center by the center distance a = 100 mm along the x-direction (assuming the wheel axis is the z-axis).
- Insert the worm and define a mating relationship: the worm’s axis of rotation is coincident with the reference line created in the wheel. This ensures the correct center distance and perpendicular orientation.
- Add a concentric mate between the worm shaft and the wheel hub if desired, but in practice only the axis alignment is critical.
- Apply a tangent or gear mate to establish the correct angular relationship. The simplest method is to manually rotate one component until the teeth mesh visually, then use the “Angle” mate with a locked orientation. For a more sophisticated approach, one can create a motion study with a gear relation (ratio z2/z1 = 40).
- Run interference detection to ensure no overlapping material. Adjust the relative angular position if necessary. The tolerance for interference should be set to zero (or a small value representing backlash).
The final assembly model allows the user to examine the contact pattern, measure backlash, and prepare for further simulations. Figure 2 in the original publication (not shown) depicts the assembled worm gears with the worm positioned above the wheel.
4. Verification and Discussion
The parametric approach described above yields highly accurate solid models. To validate the geometry, one can perform cross-section analysis. In the middle plane, the axial tooth thickness of the worm and the space width of the worm wheel should satisfy the theoretical relationship: the worm axial tooth thickness equals the wheel tooth space width at the pitch circle (including appropriate backlash). Using the derived coordinates, we can verify that the profiles match.
For the given example, the axial tooth thickness of the worm at the pitch circle is:
$$s_{a1} = \frac{\pi m}{2} = 6.283\ \text{mm}$$
The worm wheel space width at the pitch circle in the middle plane is also πm/2 for a standard profile without addendum modification. Our Solidworks model should replicate this exactly. The involute curve was generated with the correct base circle, and the rotation angle θ0 ensures that the tooth space is centered. The helical sweep along the guiding curve then generates the three-dimensional shape of the tooth.
The advantages of the presented method include:
- High accuracy: Analytical equations directly drive the curves, eliminating manual point approximation.
- Full parameterization: Changing m, q, z1, z2 automatically updates the model via the associated equations and design tables.
- Time savings: The modeling time for a complete set of worm gears is reduced to less than one hour once the templates are created.
- Seamless downstream use: The solid models are ready for finite element analysis (FEA) to evaluate tooth stresses, for computational fluid dynamics (CFD) to analyze lubrication, or for multi-body dynamics to study transmission errors.
5. Conclusion
This paper presented a comprehensive methodology for the parametric 3D modeling and assembly of Archimedes worm gears using Solidworks 2010. By deriving the axial tooth profile equations for the worm and the involute profile for the worm wheel, and by implementing the helical guide curves, we created precise solid models. The step-by-step procedure, accompanied by tables of formulas and parameters, ensures reproducibility. The resulting digital prototypes of worm gears serve as a reliable basis for subsequent engineering analyses, thereby shortening the design cycle and improving product quality. The techniques demonstrated here are directly applicable to other types of worm gears such as ZN or ZK types with appropriate modifications to the profile equations.
Keywords: Archimedes worm gears; Solidworks; 3D modeling; assembly; parametric design; involute; helix.