Abstract
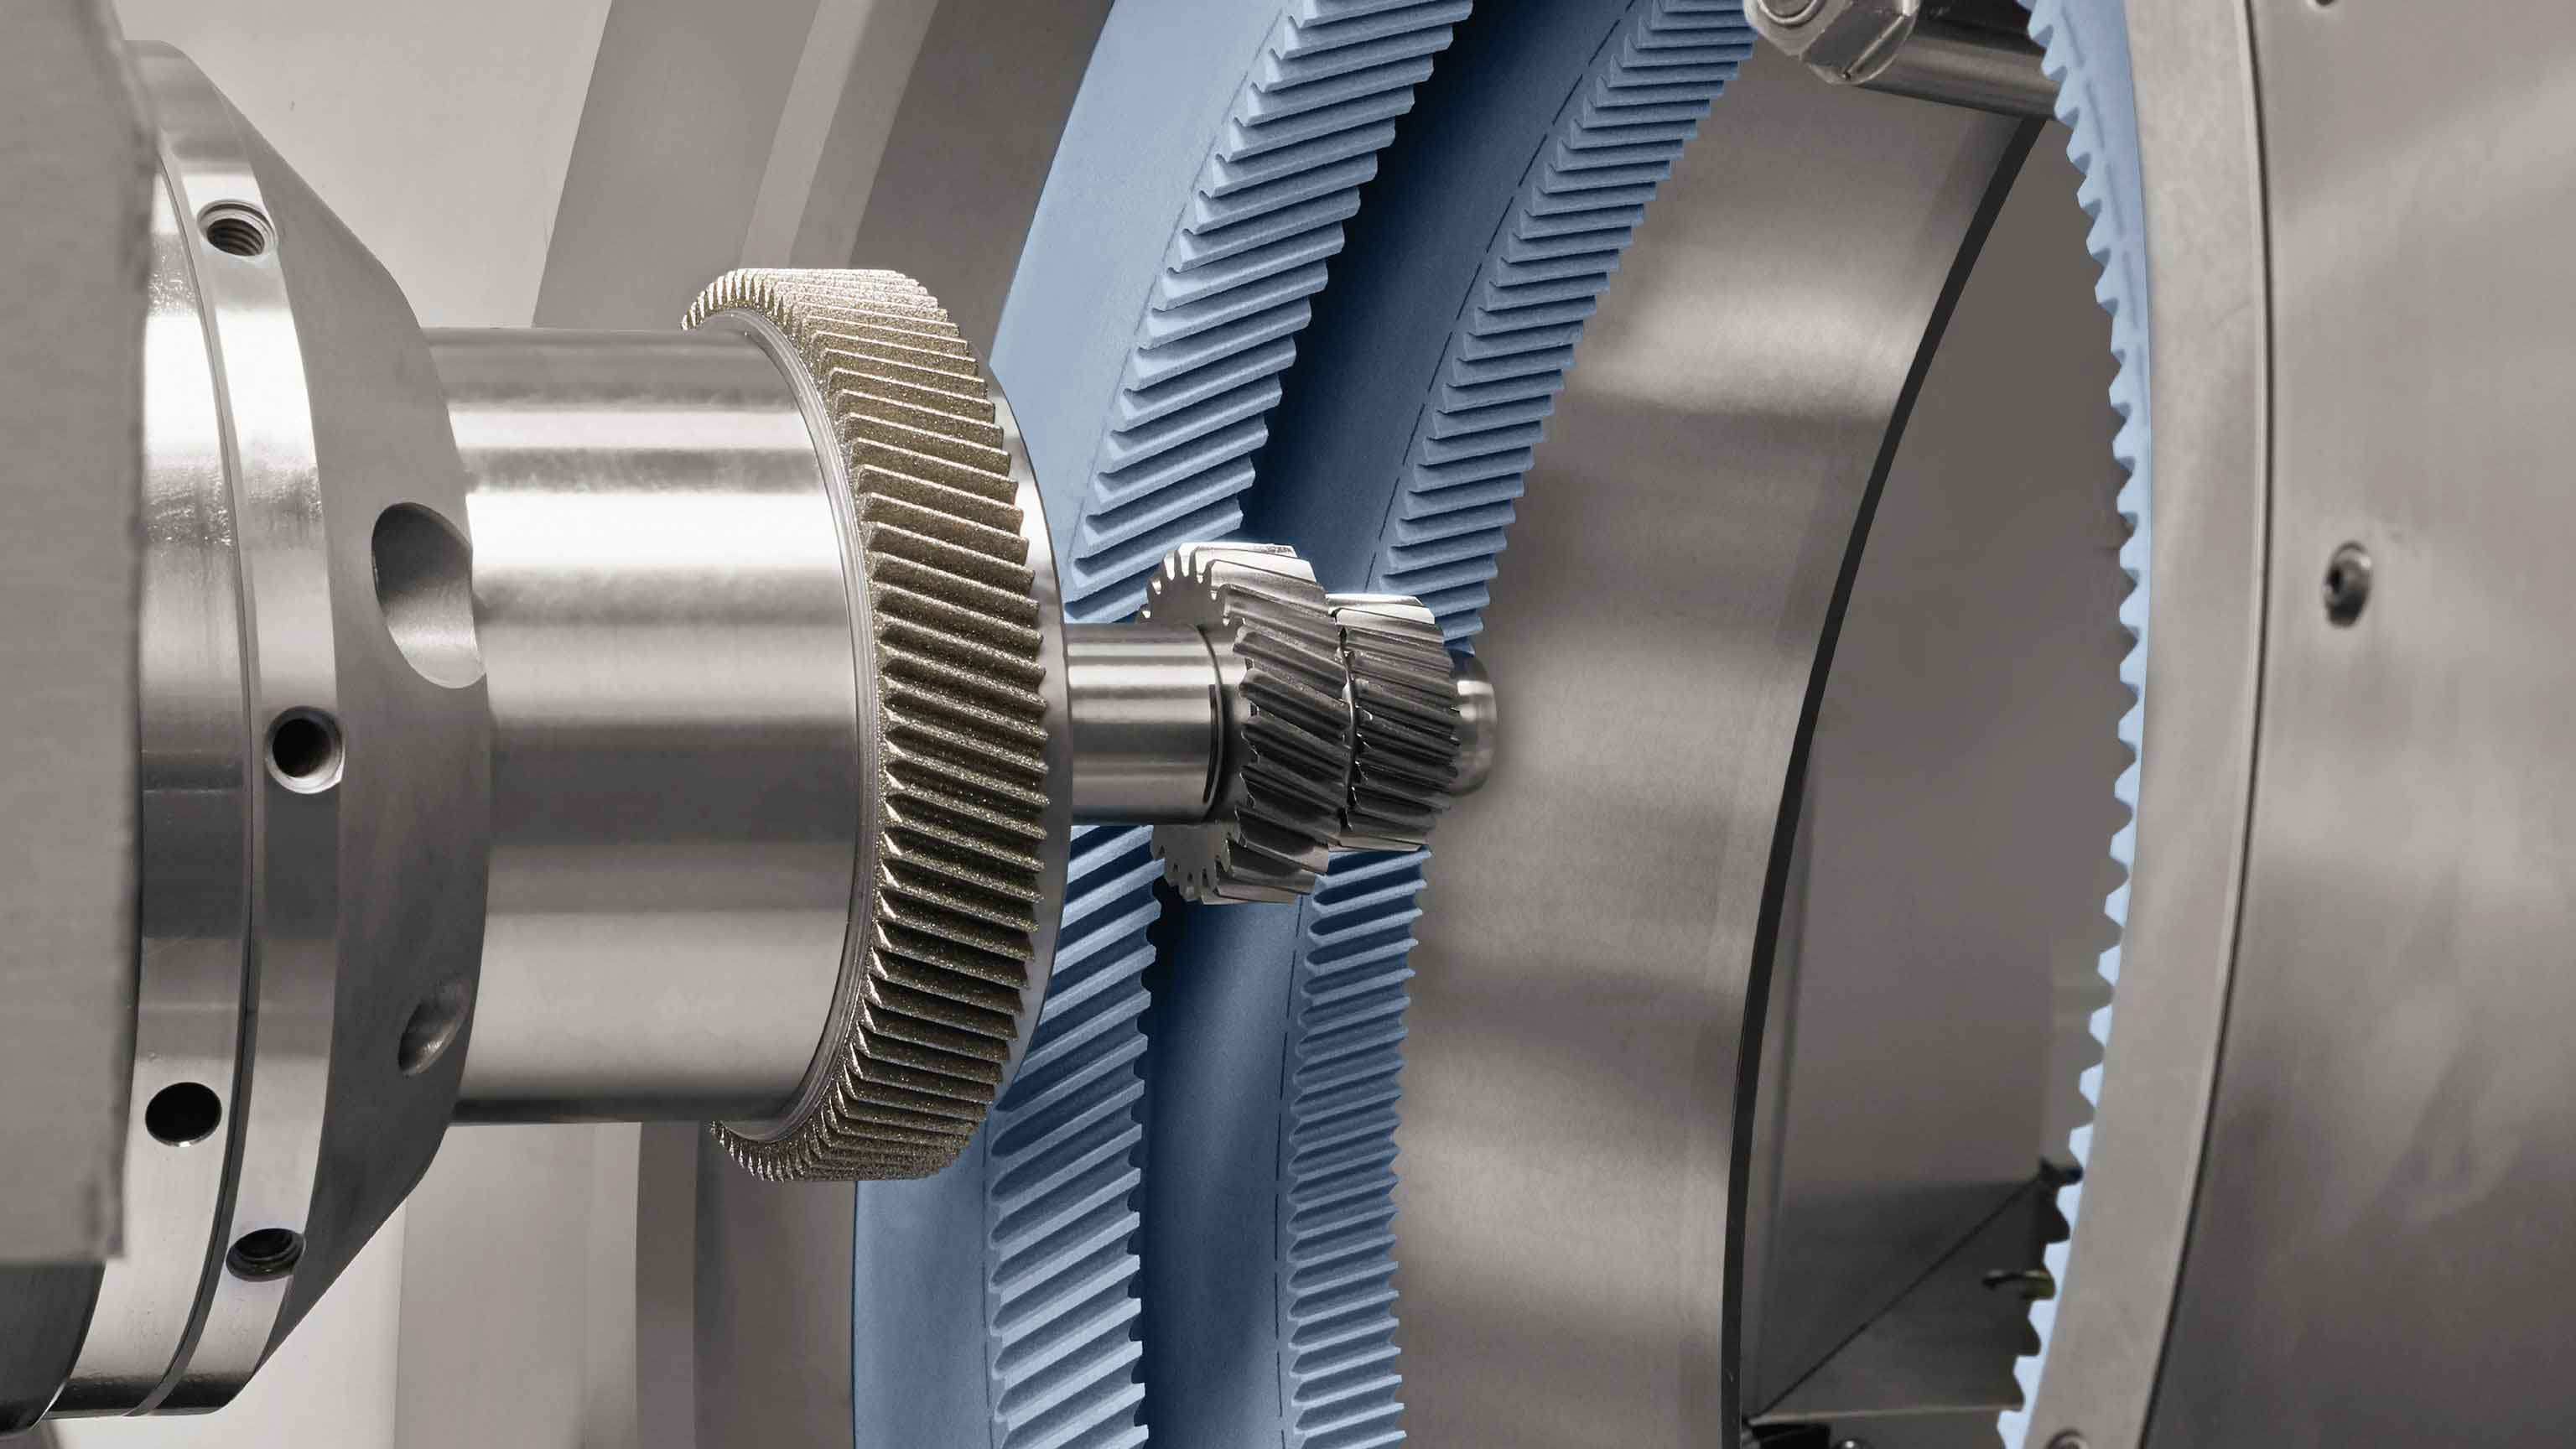
Gear, as a fundamental component in machinery, plays an increasingly significant role in the advancement of the machinery industry. High-precision gears are indispensable for the production of advanced mechanical products. Gear honing, as a type of finishing technology, plays a crucial role in achieving the desired precision and surface finish. This thesis focuses on the research of micro-morphology modeling of the internal gear honing wheel surface and roughness prediction of the workpiece in internal meshing power gear honing.

1. Introduction
With the continuous development of the machinery industry, the demand for high-precision gears is on the rise. Gear honing, as an essential finishing process, significantly impacts the quality of gears. This thesis aims to delve into the theoretical basis of gear honing, particularly internal meshing power gear honing, and establish models for predicting surface roughness, providing a theoretical foundation for practical production.
2. Literature Review
Research on gear honing and surface morphology modeling is relatively scarce globally. However, research on grinding mechanisms is more mature, offering valuable insights. Gear honing, similar to grinding, relies on numerous irregular microscopic abrasive grains on the honing wheel to cut material. The cutting process can be divided into three stages: sliding, ploughing, and material removal.
3. Theoretical Basis of Internal Meshing Gear Honing
3.1 Fundamentals of Cylindrical Helical Surface
The cylindrical helical surface is the basis for understanding gear honing. It is characterized by a spiral path along the axis of the cylinder.
3.2 Derivation of Relevant Equations in Internal Meshing Gear Honing
Based on the spatial meshing of internal meshing power gear honing, a coordinate system is established. Through gear meshing principles, the relative motion velocity, contact line, and meshing surface equations of the internal meshing power gear honing tooth surface are derived.
Table 1: Coordinate Systems in Gear Honing
| Coordinate System | Description |
|---|---|
| S(O-x,y,z) | Fixed coordinate system |
| S1(O1-x1,y1,z1) | Moving coordinate system attached to the honing wheel |
| S2(O2-x2,y2,z2) | Moving coordinate system attached to the workpiece gear |
4. Modeling of Micro-morphology on Internal Gear Honing Wheel Surface
4.1 Generation of Honing Wheel Surface Morphology
The abrasive grain protrusion height information on the honing wheel surface is collected. Filtering is applied to remove high-frequency noise, ensuring more accurate and valid data.
4.2 Johnson Transformation and Spectral Representation
Based on the theory that abrasive grain height distribution follows a non-Gaussian distribution, Johnson transformation is employed to convert between Gaussian and non-Gaussian domains. Spectral representation is used to enhance data ergodicity.
Table 2: Parameters for Micro-morphology Modeling
| Parameter | Description | Value |
|---|---|---|
| Material of Honing Wheel | Microcrystalline alumina | – |
| Modulus | – | 2.25 |
| Helix Angle | – | 33° |
| Pressure Angle | – | 17.5° |
| Number of Teeth | – | 123 |
| Grain Size Number | – | 120# |
| Structure Number | – | 4 |
4.3 Evaluation of Modeling Results
The measured and simulated results are evaluated using the “Birmingham 14” parameters, proving the correctness of the model.
5. Prediction of Workpiece Surface Roughness
5.1 Influence of Roughness on Mechanical Parts
Surface roughness significantly impacts the performance and lifespan of mechanical parts.
5.2 Calculation and Measurement of Surface Roughness
Methods for calculating and measuring surface roughness are discussed, including the use of precision non-contact microscopic morphology measuring instruments.
5.3 Factors Affecting Surface Roughness
Factors such as honing wheel parameters, motion parameters, and material properties affect surface roughness.
5.4 Honing Mechanism and Roughness Prediction Model
Based on classical grinding theory and the characteristics of internal meshing power gear honing, a mathematical model for predicting surface roughness is derived.
Table 3: Basic Parameters for Gear Honing and Workpiece Gear
| Parameter | Honing Wheel | Workpiece Gear |
|---|---|---|
| Material | Microcrystalline alumina | 20CrMnTiH |
| Modulus | 2.25 | 2.25 |
| Helix Angle | 33° | 41.722° |
| Pressure Angle | 17.5° | 17.5° |
| Number of Teeth | 123 | 73 |
6. Experimental Verification
Experiments are conducted to measure surface roughness at different positions on the workpiece gear. The measured roughness values are compared with predicted values, validating the roughness prediction model.
7. Discussion
7.1 Analysis of Roughness Formation Mechanism
The roughness formation mechanism during gear honing is analyzed, highlighting the role of abrasive grains on the honing wheel.
7.2 Influence of Variable Axis Angle on Surface Roughness
The influence of variable axis angle parameters on surface roughness is discussed, providing insights for optimizing gear honing processes.
8. Conclusion
This thesis presents a method for modeling the micro-morphology of the internal gear honing wheel surface and a mathematical model for predicting workpiece surface roughness in internal meshing power gear honing. Through experimental verification, the validity of the proposed models is confirmed. The research provides a theoretical foundation for improving gear honing processes and designing honing wheels.
