1. Introduction
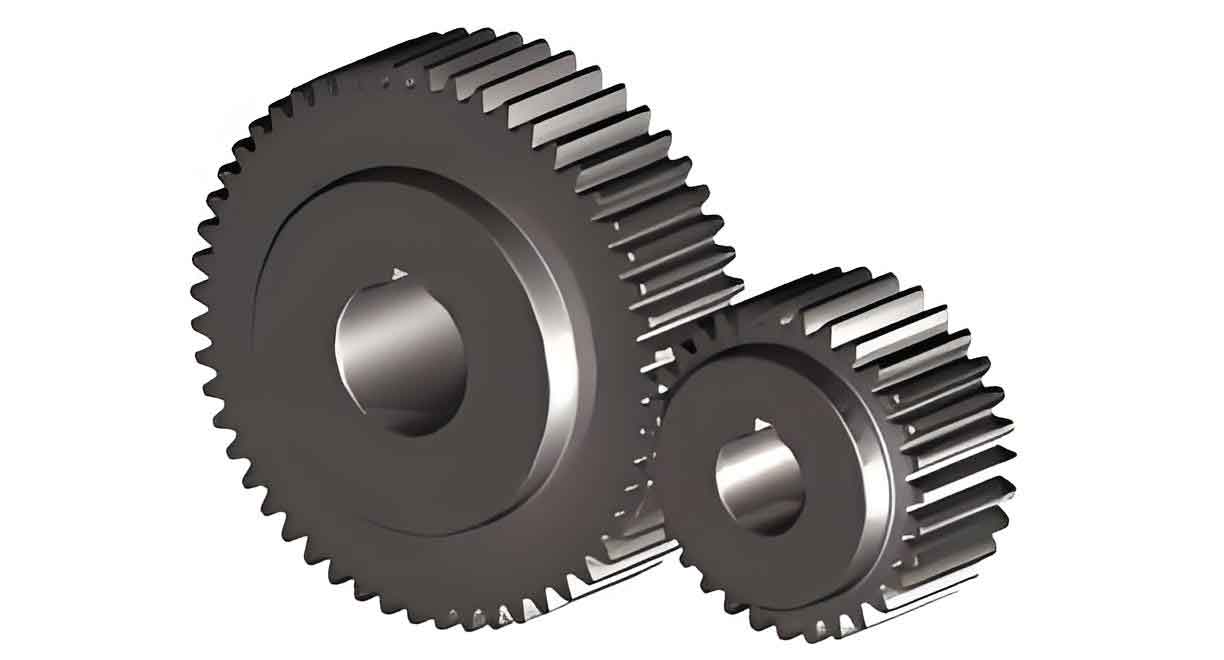
In gear transmission systems, precise control of tooth thickness is critical for minimizing backlash and ensuring smooth power transfer. Among the various parameters used to define tooth thickness in spur gear, three key measurements stand out: constant chord height (Sx), base tangent length (Wk), and span measurement with rods (M). These parameters are widely employed in gear design, manufacturing, and inspection. However, inconsistencies often arise when converting tolerances or incremental changes between these parameters, especially under different pressure angles. This paper systematically explores the incremental relationships between Sx, Wk, and M, derives conversion formulas, and provides practical applications to streamline engineering workflows for spur gear.

2. Measurement Methods of Three Tooth Thickness Parameters
2.1 Constant Chord Height (Sx)
The constant chord height measures the chord length between two symmetrical contact points of a standard rack and the spur gear tooth profile (Figure 1). Its simplified formula is:Sx=πm2cos2αfSx=2cos2αfπm
where αfαf is the pressure angle, and mm is the module.
Advantages:
- Independent of the number of teeth (zz).
- Simple calculation and measurement using tools like gear calipers.
Limitations:
- Sensitive to radial and tangential errors.
- Unsuitable for high-precision gears (e.g., above Grade 7 accuracy).
Applications:
- Recommended for gears with m>1m>1 and accuracy below Grade 7 (ISO 1328-1:2013).
2.2 Base Tangent Length (Wk)
The base tangent length is the distance between two parallel planes tangent to opposite tooth flanks (Figure 2). The formula for WkWk is:Wk=mcosαf[(k−0.5)π+z inv αf]Wk=mcosαf[(k−0.5)π+zinvαf]
where kk is the number of spanned teeth, calculated as k=0.5+αfz180∘k=0.5+180∘αfz.
Advantages:
- Unaffected by tip diameter errors.
- High resolution (0.05 mm) using vernier calipers.
Limitations:
- Complex calculation due to dependency on zz.
Applications:
- Suitable for gears with m≥0.5m≥0.5 and accuracy above Grade 7.
2.3 Span Measurement with Rods (M)
This method involves measuring the distance between two rods inserted into opposite tooth spaces (Figure 3). For even and odd zz, the formulas differ:{M=Dx+dp(even z)M=Dxcos90∘z+dp(odd z){M=Dx+dpM=Dxcosz90∘+dp(even z)(odd z)
where Dx=cosαfcosαxdfDx=cosαxcosαfdf, and dpdp is the optimal rod diameter.
Advantages:
- High sensitivity (ΔM≈2.75ΔSxΔM≈2.75ΔSx for αf=20∘αf=20∘).
- Immune to radial runout and tip diameter errors.
Applications:
- Ideal for small-module gears (m<1m<1) and applications requiring strict backlash control.
3. Incremental Relationships Between Parameters
The incremental relationships allow engineers to convert tolerances or deviations between Sx, Wk, and M. These relationships depend on the pressure angle (αfαf) and the number of teeth (zz).
3.1 Relationship Between ΔWkΔWk and ΔSxΔSx
A small change in SxSx (ΔSxΔSx) projects onto the normal direction as ΔWkΔWk:ΔWk=ΔSxcosαfΔWk=ΔSxcosαf
Example: For αf=20∘αf=20∘, ΔWk/ΔSx=0.94ΔWk/ΔSx=0.94.
3.2 Relationship Between ΔMΔM and ΔWkΔWk
For even zz:ΔM=ΔWksinαxΔM=sinαxΔWk
For odd zz:ΔM=ΔWksinαxcos90∘zΔM=sinαxΔWkcosz90∘
where αx≈αf+90∘zαx≈αf+z90∘.
3.3 Relationship Between ΔMΔM and ΔSxΔSx
Combining the above equations:
For even zz:ΔM=ΔSxcosαfsinαxΔM=ΔSxsinαxcosαf
For odd zz:ΔM=ΔSxcosαfsinαxcos90∘zΔM=ΔSxsinαxcosαfcosz90∘
An approximate formula simplifies this to:ΔM≈ΔSxcotαfΔM≈ΔSxcotαf
4. Tabulated Incremental Ratios
Table 1: ΔWk/ΔSxΔWk/ΔSx Ratios
| αfαf (°) | ΔWk/ΔSxΔWk/ΔSx |
|---|---|
| 20 | 0.94 |
| 15 | 0.996 |
| 14.5 | 0.968 |
Table 2: ΔM/ΔWkΔM/ΔWk Ratios for Even zz (αf=20∘αf=20∘)
| zz | ΔM/ΔWkΔM/ΔWk |
|---|---|
| 8 | 1.93 |
| 20 | 2.41 |
| 90 | 2.79 |
| ∞ | 2.92 |
Table 3: ΔM/ΔSxΔM/ΔSx Ratios for Odd zz (αf=15∘αf=15∘)
| zz | ΔM/ΔSxΔM/ΔSx |
|---|---|
| 7 | 2.02 |
| 19 | 2.85 |
| 89 | 3.50 |
| ∞ | 3.73 |
5. Engineering Applications
5.1 Case 1: Tolerance Conversion for αf=20∘αf=20∘
A spur gear with z=30z=30, αf=20∘αf=20∘, and ΔSx=−0.020 mmΔSx=−0.020mm requires calculating ΔWkΔWk and ΔMΔM:
- ΔWk=ΔSxcos20∘=−0.020×0.94=−0.019 mmΔWk=ΔSxcos20∘=−0.020×0.94=−0.019mm.
- ΔM≈ΔSxcot20∘=−0.020×2.747=−0.055 mmΔM≈ΔSxcot20∘=−0.020×2.747=−0.055mm.
5.2 Case 2: High-Precision Gear Inspection
For a small-module spur gear (m=0.8m=0.8, z=25z=25), M-value measurement is preferred due to its high sensitivity. A measured ΔM=31 μmΔM=31μm converts to:
- ΔSx=ΔM/cot20∘=31/2.747≈11.3 μmΔSx=ΔM/cot20∘=31/2.747≈11.3μm.
6. Discussion
The incremental relationships enable rapid tolerance conversions, enhancing efficiency in spur gear design and quality control. Key insights include:
- Pressure Angle Impact: Lower αfαf (e.g., 14.5°) increases ΔM/ΔSxΔM/ΔSx, favoring M-measurements for tight tolerances.
- Tooth Count Sensitivity: For small zz, odd/even distinctions significantly affect ΔMΔM.
- Method Selection:
- Use Sx for coarse inspections.
- Prefer Wk for mid-range accuracy.
- Opt for M-values in high-precision or small-module scenarios.
7. Conclusion
This study establishes a unified framework for interconverting tooth thickness parameters in spur gear, supported by derivations, tabulated ratios, and real-world examples. By leveraging these relationships, engineers can streamline tolerance allocations, reduce measurement errors, and optimize gear performance across diverse applications. Future work could extend these principles to helical or bevel gears.
