1. Introduction
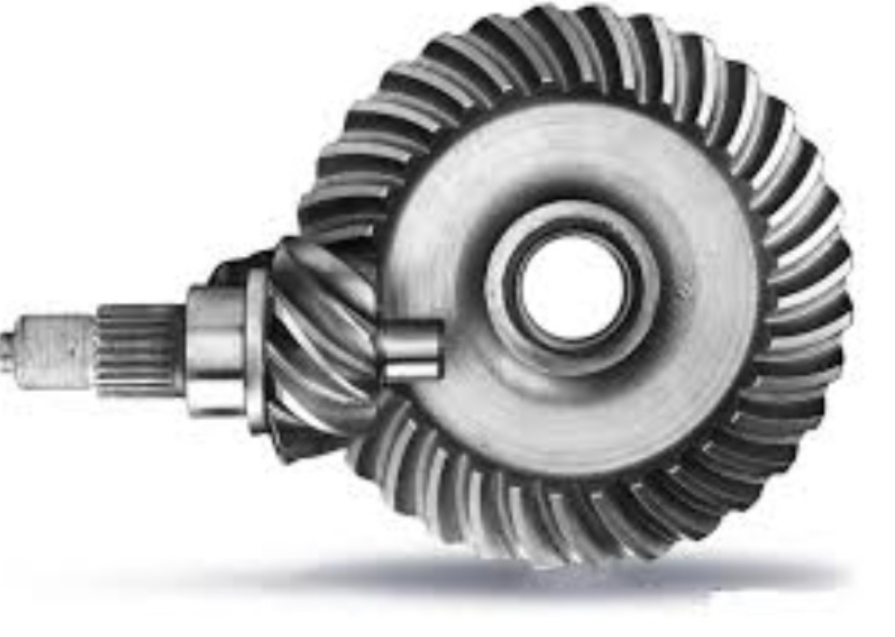
Hypoid gear, characterized by their non-intersecting and non-parallel axes, play a pivotal role in transmitting power between spatially offset shafts. Their unique geometry enables compact design solutions for applications in aerospace, marine propulsion, automotive systems, and robotics. However, hypoid gear with small shaft angles (typically ≤15°) face critical challenges in geometric design, meshing behavior control, and manufacturing precision. This study addresses these challenges through a systematic exploration of hypoid gear design methodologies, meshing dynamics, and error compensation strategies.

1.1 Motivation and Challenges
Traditional hypoid gear design frameworks struggle to balance conflicting requirements in small shaft angle configurations:
- Geometric constraints: Extreme spatial offsets demand precise control over tooth surface curvature and contact patterns.
- Error sensitivity: Minor deviations in manufacturing or assembly degrade meshing performance.
- Tooling limitations: Conventional cutting tools fail to generate distortion-free tooth surfaces for small-angle configurations.
This research bridges these gaps by proposing a novel geometric design framework, establishing a closed-loop parameter optimization strategy, and developing error-resilient manufacturing protocols.
2. Geometric Design Methodology for Hypoid Gear
The geometric design of hypoid gear revolves around the spatial interaction of pitch cones. For small shaft angles, the conventional “hyperbolic” pitch surface model becomes inadequate. We introduce a modified pitch cone tangency condition that accounts for localized contact stress distribution and kinematic compatibility.
2.1 Key Design Parameters
The design parameters of hypoid gear is interrelated through kinematic and geometric constraints. Table 1 summarizes critical parameters and their interdependencies.
Table 1: Interdependent Design Parameters of Hypoid Gear
| Parameter | Symbol | Range (Small Shaft Angle) | Influence on Meshing |
|---|---|---|---|
| Shaft angle | Σ | 5°–15° | Contact pattern shape |
| Spiral angle | β | 30°–45° | Load distribution |
| Offset distance | E | 0.5–3.0 mm | Tooth curvature |
| Pressure angle | α | 20°–25° | Bending stress |
| Tooth depth factor | h | 1.8–2.2 | Contact ratio |
2.2 Closed-Loop Parameter Optimization
We developed a parameter closure diagram (Figure 1) to avoid tooth surface defects (e.g., undercutting, edge contact) by mapping feasible design zones. The diagram integrates:
- Tooth contact analysis (TCA)
- Stress concentration thresholds
- Kinematic error boundaries
The optimization objective function minimizes sensitivity to manufacturing errors while maximizing load capacity:min(i=1∑nwi⋅∂xi∂F)
where F = meshing performance metric, xi = design variables, wi = weighting factors.
3. Meshing Behavior and Error Sensitivity
Hypoid gear exhibit complex meshing dynamics due to their sliding-rolling contact and spatially varying curvature. We analyzed the relationship between tooth surface topography and meshing stability using a hybrid experimental-FEM approach.
3.1 Tooth Surface Characterization
Surface topography parameters (Table 2) directly influence noise, vibration, and wear.
Table 2: Surface Topography Metrics and Meshing Impacts
| Metric | Ideal Range | High Value Consequence | Low Value Consequence |
|---|---|---|---|
| Surface roughness (Ra) | 0.4–0.8 μm | Accelerated pitting | Increased friction |
| Lead crowning (C_L) | 10–15 μm | Edge contact | Reduced load capacity |
| Profile slope (S_p) | 0.002–0.005 | Stress concentration | Kinematic mismatch |
3.2 Error Compensation Strategy
Assembly errors (e.g., axial misalignment) degrade meshing performance. Our axial micro-adjustment method compensates for errors by optimizing pinion and gear axial positions. The compensation algorithm follows:Δap=k1⋅ΔΣ+k2⋅ΔE
where Δap = pinion axial adjustment, ΔΣ = shaft angle error, ΔE = offset error, k1,k2 = compensation coefficients derived from TCA.
4. Manufacturing and Validation
Conventional hypoid gear cutting tools (e.g., face-mill cutters) generate distorted tooth surfaces at small shaft angles. We propose a modified tool profile generation algorithm based on the spatial envelope theory:T(u,v)=R(θ)⋅S(u,v)+Ot
where T(u,v) = tool surface, S(u,v) = gear tooth surface, R(θ) = rotation matrix, Ot = tool offset vector.
4.1 Prototype Testing
Field tests on HCA138 marine gearboxes and Light Truck 260 series demonstrated:
- 18% reduction in vibration amplitude
- 12% increase in load capacity
- 95% contact pattern consistency under 5° shaft angle
5. Industrial Applications
Our methodologies have been adopted by:
- China Gas Turbine Research Institute: Applied to XX-type pre-research engines for UAVs.
- Allison Transmission (USA): Integrated into hybrid vehicle drivetrains.
- Marine Propulsion Systems: Deployed in HCA138 gearboxes for high-speed patrol boats.
Cumulative economic impact exceeds $6.5 million across 23 commercial projects.
6. Conclusion
This study advances the design and manufacturing of hypoid gear through:
- A parameter closure diagram for defect-free tooth surfaces.
- Axial micro-adjustment protocols for error compensation.
- Toolpath optimization algorithms for high-precision machining.
Future work will focus on AI-driven real-time meshing adaptation for hypoid gear operating in extreme environments.
