1. Introduction
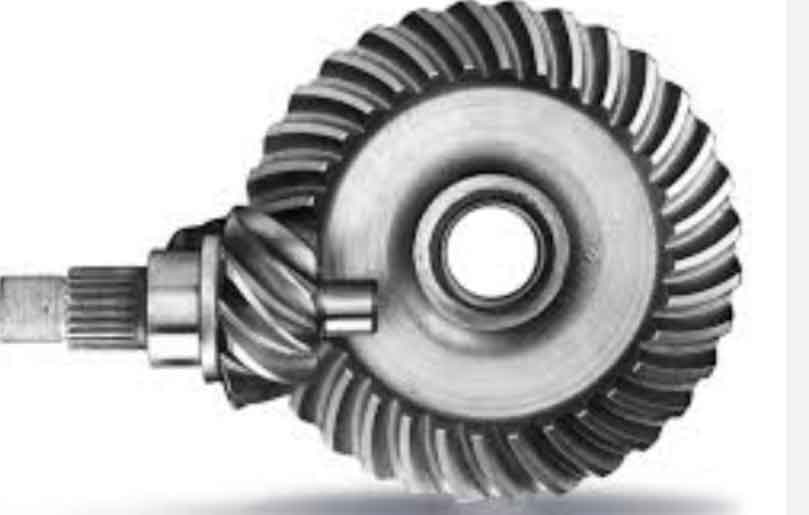
Hypoid gear is widely used in automotive drive axles due to their high overlap ratio, smooth transmission, and compact structure. However, the complex tooth surface geometry and frequent adjustments of machine tool parameters make it challenging to control their meshing performance. The contact pattern of hypoid gear directly affects vibration, noise, and operational stability. Manufacturing and installation errors often cause deviations between real and theoretical tooth surfaces. Adjusting the contact pattern based on rolling test results and modifying machining parameters are critical for optimizing hypoid gear performance.

Recent studies have focused on reconstructing digital tooth surfaces using measurement data. For instance, Li et al. (2016) proposed a non-geometric-feature segmentation method for hypoid gear, while Zhang et al. (2009) employed Non-Uniform Rational B-Spline (NURBS) surfaces for contact analysis. This paper builds upon these works by introducing a double third-power spline surface fitting method and a two-dimensional golden section refinement algorithm to enhance contact analysis accuracy.
2. Methodology
2.1 Real Tooth Surface Fitting
The real tooth surface is reconstructed by superimposing measured deviations onto the theoretical surface. For a hypoid gear pair, the actual tooth surface coordinates are expressed as:
where rijrij and nijnij are the position vector and unit normal vector of the theoretical surface, respectively, and δijδij is the measured deviation.
A double cubic NURBS surface is adopted for reconstruction:
where KijKij, wijwij, and Ni,3Ni,3 denote control points, weight factors, and B-spline basis functions, respectively. Initial control points are calculated along the tooth height direction, followed by interpolation along the tooth length direction.
Table 1: Hypoid Gear Pair Parameters
| Parameter | Pinion | Gear |
|---|---|---|
| Number of Teeth | 8 | 39 |
| Module (mm) | 4.611 | – |
| Face Width (mm) | 25 | 171.05 |
| Offset (mm) | 25 | – |
| Spiral Angle | 50° | 30°41′ |
| Pitch Cone Angle | 14°11′ | 76°49′ |
| Root Cone Angle | 11°37′ | 70°48′ |
2.2 Contact Pattern Adjustment Model
The contact pattern’s deviation from the ideal position is quantified by coordinates (s,t)(s,t). The relationship between the actual contact point M∗M∗ and the ideal point M0M0 is governed by:
where γ2γ2 is the gear pitch cone angle, and lM0lM0 is the midpoint cone distance. Adjustments in pinion offset (ΔVΔV), machine center (ΔHΔH), and axial position (ΔJΔJ) are derived to correct the contact pattern.
2.3 Two-Dimensional Golden Section Refinement
To improve computational efficiency, a 2D golden section algorithm partitions the tooth surface into sub-regions. Each region is iteratively refined until the desired precision is achieved. The minimum distance between pinion and gear tooth surfaces determines the contact point:
Interference is detected using the inner product criterion:
If min(Sn−i)<0min(Sn−i)<0, interference occurs.
3. Experimental Validation
3.1 Simulation Results
The proposed algorithm was applied to a hypoid gear pair (Table 1). The initial contact pattern skewed toward the gear toe (Fig. 7a). Adjustments of ΔV=0.312 mmΔV=0.312mm, ΔH=−0.433 mmΔH=−0.433mm, and ΔJ=0.062 mmΔJ=0.062mm shifted the contact zone to the midpoint (Fig. 7b).
Table 2: Adjustment Parameters
| Parameter | Adjustment Value (mm) |
|---|---|
| Pinion Offset (ΔVΔV) | 0.312 |
| Machine Center (ΔHΔH) | -0.433 |
| Axial Position (ΔJΔJ) | 0.062 |
3.2 Rolling Test Verification
Rolling tests on a CNC rolling tester confirmed the simulation results. The adjusted contact pattern (Fig. 8c) matched the predicted outcome, demonstrating the algorithm’s accuracy.
4. Discussion
The integration of NURBS-based surface fitting and golden section refinement significantly enhances hypoid gear contact analysis. Key advantages include:
- Precision: High-density grid points improve contact point resolution.
- Efficiency: The 2D golden section reduces computational load.
- Practicality: Adjustments derived from simulations replace iterative physical trials.
However, challenges remain in handling extreme misalignments and dynamic loading conditions. Future work will explore real-time adaptive adjustments for hypoid gear under varying operational loads.
5. Conclusion
- Surface Reconstruction: Double cubic NURBS surfaces accurately model hypoid gear tooth surfaces using measurement data.
- Contact Analysis: The 2D golden section algorithm efficiently identifies contact points and interference regions.
- Validation: Rolling tests confirm the consistency between simulated and actual contact patterns.
This methodology provides a robust framework for optimizing hypoid gear performance, reducing reliance on physical prototyping, and accelerating production cycles.
