1. Introduction
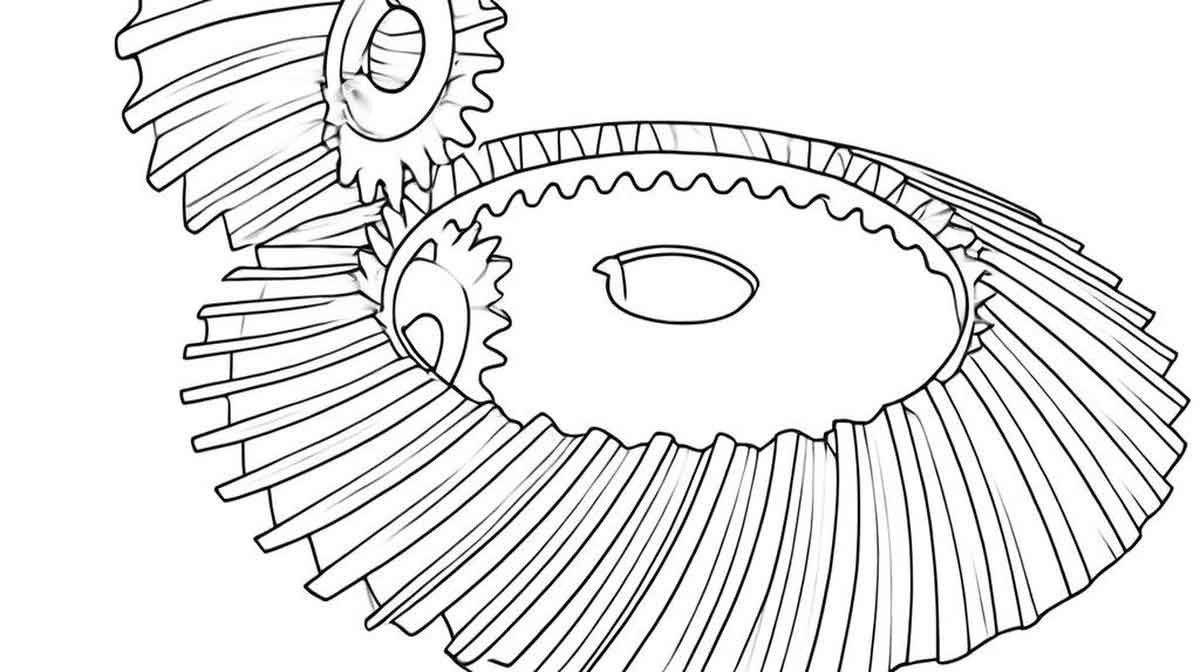
Spiral bevel gears are pivotal components in intersecting-axis transmission systems, widely used in automotive, aerospace, mining, and marine industries due to their smooth operation, high load capacity, and low noise. However, heat treatment-induced tooth profile deformation remains a critical challenge, leading to poor meshing, vibration, and reduced service life. This study proposes a reverse adjustment model for gear cutting parameters to pre-compensate heat treatment deformation, ensuring dimensional accuracy while preserving mechanical properties. The methodology integrates precise mathematical modeling of spiral bevel gears, multi-field coupled heat treatment simulation, sensitivity analysis of cutting parameters, and experimental validation.

2. Mathematical Modeling of Spiral Bevel Gears
2.1 Gear Cutting Principles
Spiral bevel gears are machined using a generating process where a hypothetical “crown gear” (represented by the machine’s cradle) interacts with the workpiece. The tooth surface geometry is derived from the relative motion between the cutting tool and gear blank. The coordinate systems for tool, machine, and workpiece are established to describe their kinematic relationships.
Key Equations for Tooth Surface Generation
For the pinion (small gear) and gear (large gear), the tooth surface equations are derived using coordinate transformations and meshing conditions. The pinion’s concave and convex surfaces are generated using single-indexing methods with tool tilt and swivel adjustments, while the gear is produced via double-sided cutting.
The parametric equation for the tool’s cutting edge is expressed as:rc(θ,s)=r01sinα±scosθr01cosα±ssinθ−ssinα1
where r01 is the tool tip radius, α is the pressure angle, θ is the rotational angle, and s is the linear displacement along the tool edge.
The meshing condition ensures continuous contact between the tool and workpiece:n⋅v12=0
where n is the surface normal vector, and v12 is the relative velocity between the tool and workpiece.
2.2 Tooth Surface Discretization and 3D Modeling
Discrete points on the tooth surface are solved numerically using MATLAB, with boundary conditions defined by the gear’s geometric parameters (Table 1).
Table 1: Key Geometric Parameters of Spiral Bevel Gears
| Parameter | Pinion | Gear |
|---|---|---|
| Number of Teeth | 9 | 39 |
| Module (mm) | 7.18 | 7.18 |
| Pressure Angle (°) | 20 | 20 |
| Spiral Angle (°) | 35 | 35 |
| Pitch Cone Angle (°) | 13 | 77 |
The discrete points are imported into UG/NX to construct 3D models (Figure 1). The root fillet transition surface is included to enhance model accuracy.
3. Multi-Field Coupled Heat Treatment Simulation
3.1 Material Properties and Process Parameters
The spiral bevel gear material, 20CrMnTi low-carbon alloy steel, undergoes carburizing-quenching-tempering. Material properties (Table 2) are calculated using JMatPro software.
Table 2: Thermophysical Properties of 20CrMnTi
| Temperature (°C) | Thermal Conductivity (W/m·K) | Specific Heat (J/kg·K) | Expansion Coefficient (×10⁻⁶/°C) |
|---|---|---|---|
| 20 | 67.21 | 446.92 | 0 |
| 500 | 38.60 | 707.01 | 0.76 |
| 900 | 27.74 | 610.41 | 1.21 |
3.2 Finite Element Model
A 1/3 symmetric model is meshed with 170,070 tetrahedral elements. The multi-field coupling model integrates carburization, temperature, microstructure, and stress-strain fields.
Governing Equations
- Heat Transfer:
ρcp∂t∂T=∇⋅(λ∇T)+Q
- Carburization Diffusion:
∂t∂C=∇⋅(D∇C)
- Phase Transformation:
Martensite volume fraction:
ξM=1−exp[−α(Ms−T)]
3.3 Simulation Results
- Temperature Field: Rapid cooling at tooth tips (281.6°C at 7.9 s) contrasts with slow core cooling (736.6°C).
- Carbon Distribution: Post-diffusion surface carbon content reaches 0.77%, with a carburized layer depth of 1.14 mm.
- Microstructure: Surface hardness achieves 63.5 HRC (martensite), while the core remains 33.8 HRC (ferrite-pearlite).
- Deformation Mechanism: Non-uniform phase transformation and thermal stress induce tooth profile distortion (max 0.12 mm at the tooth tip).
4. Sensitivity Analysis of Cutting Parameters
4.1 Tooth Profile Error Calculation
The deviation between nominal and adjusted tooth surfaces is quantified as:Δr=rnominal−radjusted
A sensitivity matrix S relates cutting parameter adjustments ΔP to profile errors Δr:Δr=S⋅ΔP
Table 3: Influence Weights of Cutting Parameters
| Parameter | Concave Surface Error (mm) | Convex Surface Error (mm) |
|---|---|---|
| Ratio of Roll (i) | 5.901 | 7.228 |
| Radial Tool Position | 3.442 | 4.115 |
| Tool Tilt Angle | 2.876 | 3.504 |
4.2 Optimization Strategy
The Levenberg-Marquardt algorithm solves the nonlinear inverse problem:ΔPmin∥Δr−S⋅ΔP∥2
Optimal parameter adjustments pre-compensate heat treatment deformation.
5. Experimental Validation
5.1 Reverse Adjustment Machining
Pre-adjusted gears are machined using a Gleason Phoenix II CNC machine. Cutting parameters (Table 4) are modified based on sensitivity analysis.
Table 4: Adjusted Cutting Parameters for Pinion
| Parameter | Nominal Value | Adjusted Value |
|---|---|---|
| Ratio of Roll | 4.2797 | 4.3121 |
| Radial Tool Position (mm) | 133.35 | 135.02 |
| Tool Tilt Angle (°) | 24.08 | 24.35 |
5.2 Heat Treatment and Measurement
Gears undergo carburizing (895°C, 1.1% C), quenching (830°C oil cooling), and tempering (180°C). Post-treatment tooth profiles are measured using a Klingelnberg P65 gear tester.
Results:
- Concave Surface: Cumulative error reduced from 52 μm to 18 μm.
- Convex Surface: Maximum error decreased from 68 μm to 23 μm.
6. Conclusion
- A reverse adjustment model for spiral bevel gear cutting parameters effectively compensates heat treatment-induced deformation.
- Multi-field coupled simulation accurately predicts carburization depth (1.14 mm), hardness distribution (63.5 HRC surface), and deformation patterns.
- Sensitivity analysis identifies ratio of roll as the most influential parameter, contributing 60–65% to tooth profile errors.
- Experimental validation confirms a 65–70% reduction in post-heat treatment errors, demonstrating the model’s industrial applicability.
This methodology enhances the precision of spiral bevel gear manufacturing, reducing reliance on post-heat treatment grinding and enabling cost-effective mass production. Future work will explore AI-driven adaptive control for real-time parameter optimization.
