1. Introduction
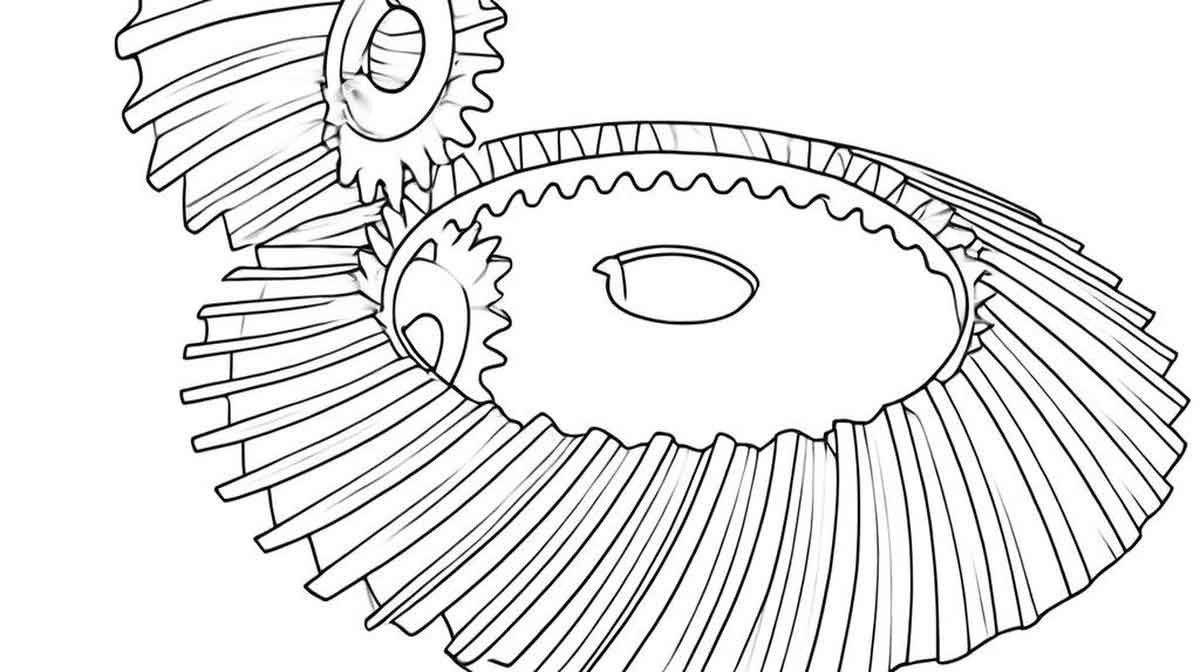
Spiral bevel gear is critical components in mechanical transmissions, widely used in automotive, aerospace, and industrial machinery due to their high load-bearing capacity and smooth operation. Traditional machining methods, such as milling, suffer from low efficiency, high costs, and material waste. Near-net forming via precision forging offers a sustainable alternative, reducing material waste and enhancing mechanical properties by preserving continuous metal flow lines. However, controlling microstructural evolution during hot forging—such as dynamic recrystallization (DRX), grain refinement, and strain distribution—remains a significant challenge. This study investigates the interplay between process parameters and microstructural behavior in spiral bevel gear forging, aiming to optimize parameters for uniform and refined grain structures.

2. Material Model and Constitutive Equations
The high-temperature deformation behavior of gear steel 20CrMnTiH was analyzed through thermal compression tests. Stress-strain curves under varying temperatures (900–1100°C) and strain rates (0.01–5 s−1−1) revealed two distinct deformation modes: dynamic recrystallization (at high temperatures/low strain rates) and dynamic recovery (at low temperatures/high strain rates).
The Arrhenius-type constitutive model was established to describe flow stress (σσ):ε˙=A[sinh(ασ)]nexp(−QRT),ε˙=A[sinh(ασ)]nexp(−RTQ),
where AA, αα, and nn are material constants, QQ is activation energy (440.547 kJ/mol), RR is the gas constant, and TT is temperature. The Zener-Hollomon parameter (ZZ) was derived as:Z=ε˙exp(QRT),Z=ε˙exp(RTQ),
and the flow stress model for 20CrMnTiH was formulated:σ=103.114⋅ln{(4.174×10⁻¹⁸⋅Z)0.1355+[(4.174×10⁻¹⁸⋅Z)0.271+1]1/2}.σ=103.114⋅ln{(4.174×10−18⋅Z)0.1355+[(4.174×10−18⋅Z)0.271+1]1/2}.
3. Finite Element Modeling of Spiral Bevel Gear Forging
A multi-stage forging process—upsetting, punching, ring rolling, and gear forming—was simulated using Deform-3D. Key parameters included:
| Parameter | Value |
|---|---|
| Initial billet temperature | 1000°C |
| Die temperature | 300°C |
| Friction factor | 0.3 |
| Striking speed | 200 mm/s |
| Heat transfer coefficient | 5 N/(s·mm·°C) |
3.1 Temperature and Strain Distribution
- Temperature fields showed higher values in the core due to plastic work heating, while surface regions cooled rapidly via die contact (Fig. 1a).
- Strain fields concentrated in deformation zones, with equivalent plastic strain exceeding 7.19 in tooth-forming regions (Fig. 1b).
3.2 Microstructural Evolution
- Dynamic recrystallization (DRX): Volume fraction increased with deformation, reaching >90% in critical zones (Fig. 2a).
- Grain refinement: Average grain size decreased from 84.5 µm (initial) to 11.8 µm after forging (Fig. 2b).
4. Influence of Process Parameters on Microstructure
Four critical parameters were analyzed: billet height-to-diameter ratio (H/DH/D), initial temperature, die speed, and friction factor.
4.1 Billet Height-to-Diameter Ratio (H/DH/D)
Increasing H/DH/D enhanced DRX uniformity and grain refinement (Table 1):
| H/DH/D | Avg. Grain Size (µm) | DRX Volume (%) |
|---|---|---|
| 1.77 | 16.6 | 70.77 |
| 2.63 | 11.8 | 80.86 |
4.2 Initial Billet Temperature
Higher temperatures promoted DRX but risked grain coarsening beyond 1050°C (Table 2):
| Temperature (°C) | Avg. Grain Size (µm) | DRX Volume (%) |
|---|---|---|
| 950 | 13.6 | 74.26 |
| 1050 | 9.79 | 87.53 |
| 1100 | 10.0 | 91.04 |
4.3 Die Striking Speed
Moderate speeds (200–225 mm/s) optimized grain refinement:
| Speed (mm/s) | Avg. Grain Size (µm) | DRX Volume (%) |
|---|---|---|
| 175 | 16.3 | 73.91 |
| 225 | 12.4 | 87.91 |
4.4 Friction Factor
Lower friction (f=0.2f=0.2) improved metal flow and uniformity:
| Friction Factor | Avg. Grain Size (µm) | DRX Volume (%) |
|---|---|---|
| 0.2 | 8.5 | 66.52 |
| 0.5 | 19.3 | 87.46 |
5. Multi-Objective Optimization Using Response Surface Methodology
A central composite design (CCD) with 30 trials was used to optimize Y1Y1 (average grain size) and Y2Y2 (grain uniformity). The quadratic response models were:Y1=782.8−20.11X1−1.34X2−0.55X3+2.98X4+(interaction terms)+4.46X12−0.63X22+0.9X32+17.45X42,Y1=782.8−20.11X1−1.34X2−0.55X3+2.98X4+(interaction terms)+4.46X12−0.63X22+0.9X32+17.45X42,Y2=4.67−0.28X1−0.035X2−0.16X3+0.12X4+(interaction terms)+0.06X12+0.14X22+0.058X32−0.027X42.Y2=4.67−0.28X1−0.035X2−0.16X3+0.12X4+(interaction terms)+0.06X12+0.14X22+0.058X32−0.027X42.
The optimal parameters were:
- H/D=2.34H/D=2.34,
- Temperature = 1025°C,
- Striking speed = 206 mm/s,
- Friction factor = 0.2.
This combination yielded Y1=10.31 μmY1=10.31 μm and Y2=4.39Y2=4.39, achieving a 14.45% reduction in grain size and 4.36% improvement in uniformity compared to baseline.
6. Experimental Validation
Forging trials with optimized parameters produced spiral bevel gear with full tooth filling and smooth surfaces (Fig. 3). Metallographic analysis confirmed:
| Sample Region | Simulated Grain Size (µm) | Experimental Grain Size (µm) | Error (%) |
|---|---|---|---|
| 1 | 14.57 | 15.87 | 8.2 |
| 2 | 11.22 | 12.15 | 7.6 |
Grain size homogeneity met industrial standards (ASTM 9.5), validating the model’s accuracy.
7. Conclusion
This study demonstrates that near-net forming of spiral bevel gear can achieve superior microstructural properties through parameter optimization. Key findings include:
- Dynamic recrystallization dominates at high temperatures (>1000°C>1000°C) and low strain rates, refining grains to 11.8 µm.
- Optimal parameters (H/D=2.34H/D=2.34, T=1025°CT=1025°C, v=206 mm/sv=206 mm/s, f=0.2f=0.2) reduce grain size by 14.45% and improve uniformity by 4.36%.
- Finite element models coupled with response surface methodology effectively predict and optimize microstructural evolution.
Future work will explore mold design enhancements and mesh-free simulation techniques to further improve accuracy and efficiency in spiral bevel gear manufacturing.
