1. Introduction
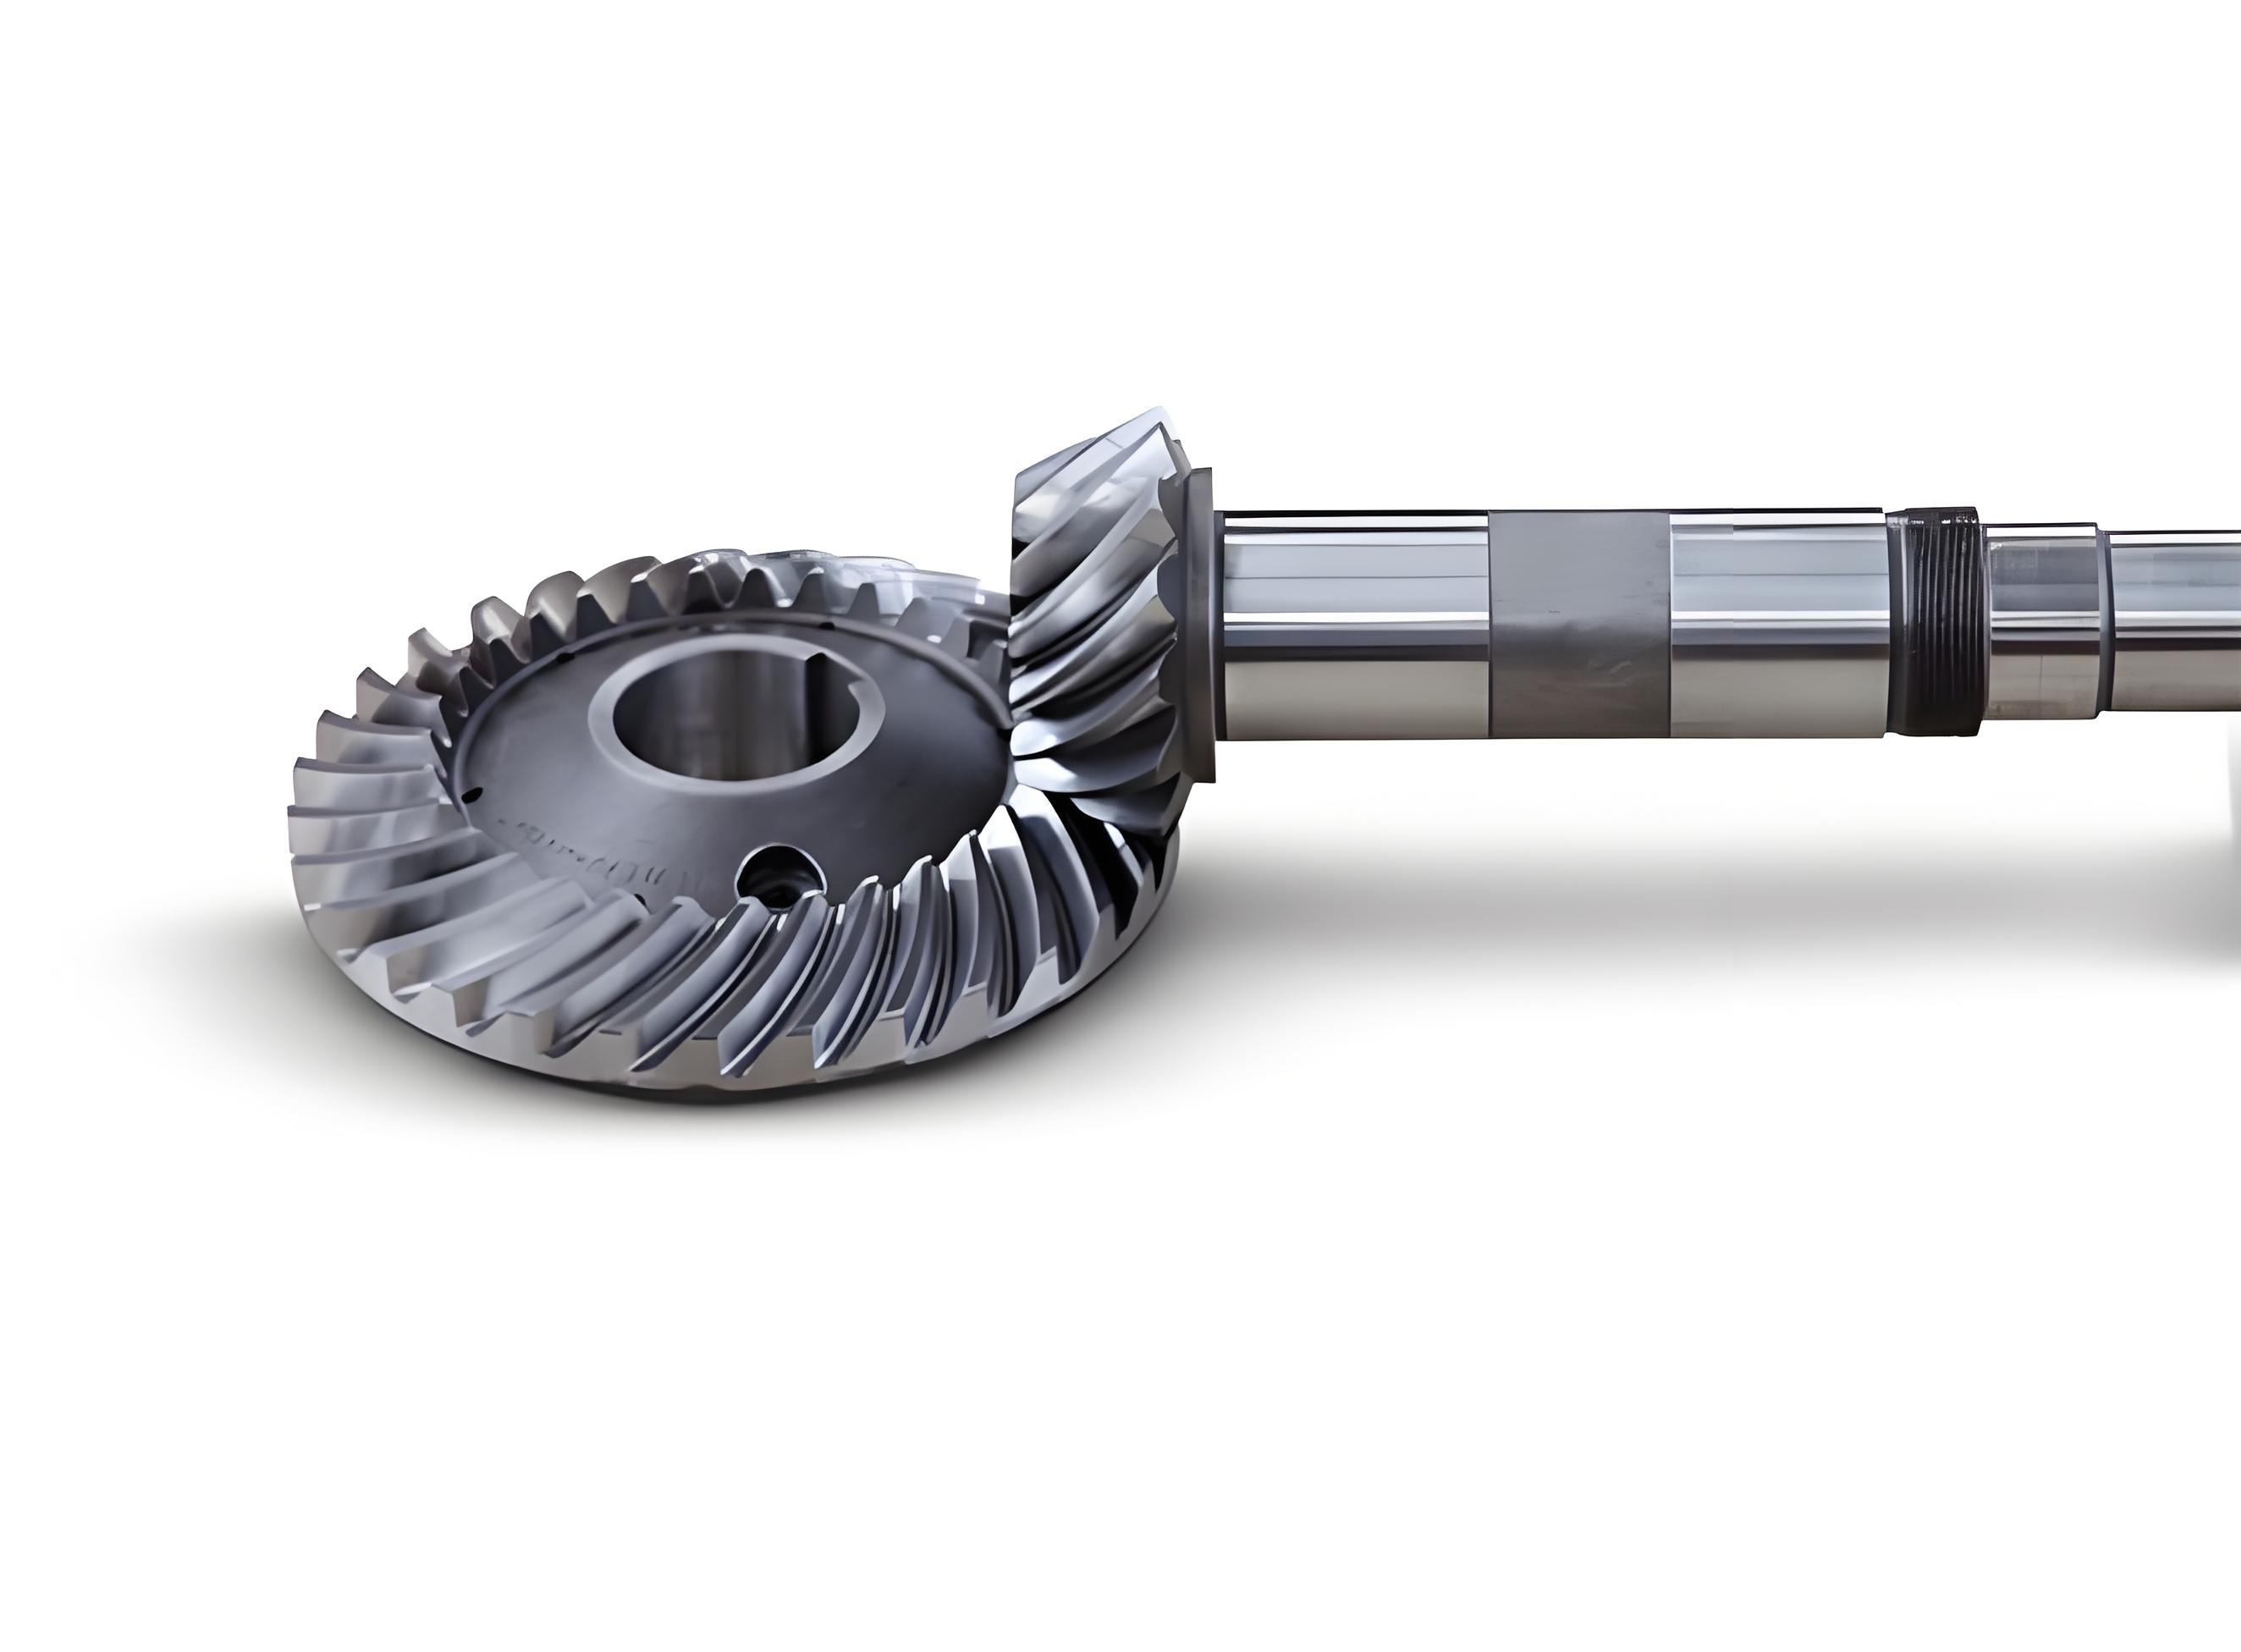
Spiral bevel gear is critical components in automotive, aerospace, and marine applications due to their high load-bearing capacity, low noise, and smooth operation. Hard-tooth surface heat treatment (HTSHT) is essential for enhancing surface hardness while maintaining core toughness. However, thermal distortions during HTSHT negatively affect gear performance and longevity. Current research lacks a systematic approach to simultaneously optimize deformation control and mechanical properties. This study addresses this gap by integrating multi-physics simulations, neural networks, and multi-objective optimization to achieve synergistic control of spiral bevel gear deformation and performance.

2. Multi-field Coupled Numerical Simulation of Spiral Bevel Gear HTSHT
2.1 Geometry and Material
The spiral bevel gear geometry was modeled using KISSsoft software (Table 1). Material 20CrMnTi, a low-carbon alloy steel, was selected for its balance of surface hardness and core ductility.
Table 1: Key Parameters of Spiral Bevel Gear
| Parameter | Pinion | Gear |
|---|---|---|
| Number of Teeth | 14 | 37 |
| Module (mm) | 11.57 | 11.57 |
| Pressure Angle (°) | 22.5 | 22.5 |
| Spiral Angle (°) | 37.7 | 34.8 |
2.2 Governing Equations
The HTSHT process involves temperature, carbon diffusion, phase transformation, and stress-strain fields. Key equations include:
- Heat Transfer (Fourier’s Law):q=−λ∂n∂Twhere q = heat flux, λ = thermal conductivity, and T = temperature.
- Carbon Diffusion (Fick’s Second Law):∂t∂C=∇⋅(D∇C)where C = carbon concentration, D = temperature-dependent diffusion coefficient.
- Phase Transformation Kinetics:
- Austenite Formation:ξA=1−exp(−4(Ac3−Ac1T−Ac1)2)
- Martensite Formation (Koistinen-Marburger):ξM=1−exp(−ψ1(Ms−T)+ψ2C)
- Stress-Strain Model:σ=f(ϵ,ϵ˙,T,ξ)where σ = stress, ϵ = strain, and ξ = phase fraction.
2.3 Simulation Results
Carbon Distribution:
- Surface carburization depths: 1.87 mm (tooth tip), 1.68 mm (tooth flank).
- Carbon concentration gradients aligned with industrial requirements.
Temperature Field:
- Rapid cooling during quenching caused significant temperature gradients (e.g., 390.4°C difference between tooth tip and core at 6 s).
Microstructure Evolution:
- Surface martensite content: 95.4% (tooth tip), 92.8% (flank).
- Core retained lower martensite (44.9%) with higher bainite and ferrite.
Residual Stress:
- Maximum compressive stress: -355 MPa (X-direction at tooth tip).
- Tensile stresses in the core due to thermal gradients.
3. Influence of HTSHT Parameters on Deformation and Performance
3.1 Orthogonal Experiment Design
An L32(48) orthogonal array tested 8 parameters (Table 2). Outputs included cumulative tooth profile error, surface/core hardness, and residual stress.
Table 2: Orthogonal Test Factors and Levels
| Factor | Level 1 | Level 2 | Level 3 | Level 4 |
|---|---|---|---|---|
| Carburizing Temp (°C) | 880 | 900 | 920 | 940 |
| Quenching Temp (°C) | 840 | 860 | 880 | 900 |
3.2 Key Findings
- Deformation Control:
- Quenching temperature had the greatest impact on cumulative error (range: 0.76–1.02 mm).
- Optimal parameters reduced error by 27%.
- Hardness Optimization:
- Surface hardness (59–62 HRC) correlated with carburizing carbon potential.
- Core hardness (33–42 HRC) depended on cooling rate and tempering.
- Residual Stress:
- Low-temperature tempering minimized tensile stresses in the core.
4. Cooperative Control via PSO-BP Neural Network and NSGA-II
4.1 Neural Network Architecture
A PSO-optimized BP neural network mapped HTSHT parameters to outputs. Inputs included carburizing/quenching temperatures, carbon potentials, and cooling rates.
Network Structure:
- Input layer: 8 neurons (HTSHT parameters).
- Hidden layer: 12 neurons (sigmoid activation).
- Output layer: 3 neurons (cumulative error, surface/core hardness).
4.2 Multi-objective Optimization
NSGA-II generated Pareto-optimal solutions (Table 3). Entropy weight method selected the best compromise:
- Surface hardness: +0.75 HRC.
- Core hardness: +0.06 HRC.
- Cumulative error: -0.136 mm.
Table 3: Optimal HTSHT Parameters
| Parameter | Value |
|---|---|
| Carburizing Temp (°C) | 925 |
| Carbon Potential (%) | 1.2 |
| Quenching Temp (°C) | 850 |
| Cooling Rate (°C/s) | 45 |
5. Experimental Validation and Database Development
5.1 Heat Treatment Experiments
- Gear Machining: Klingelnberg CNC machines produced test gears.
- HTSHT Process: Validated parameters achieved 59.1 HRC (surface) and 39.7 HRC (core).
5.2 Performance Testing
- Hardness: Microhardness tests matched simulations within 3% error.
- Residual Stress: X-ray diffraction confirmed surface compressive stresses (-320 MPa).
- Metallography: SEM images showed 92% martensite at the surface.
5.3 Database System
A SQL-based database archived material properties, HTSHT parameters, and simulation/experimental results. Users can query optimal parameters for specific gear specifications.
6. Conclusion
- Multi-field simulations accurately predicted carburization depth (1.68–1.87 mm), hardness (59–62 HRC), and residual stress (-355 MPa).
- Quenching temperature and carbon potential dominated deformation and hardness, respectively.
- The PSO-BP-NSGA-II framework reduced cumulative error by 13.6% while enhancing surface/core hardness.
- Experimental validation confirmed model accuracy (<5% deviation).
Future Work:
- Extend the model to include fatigue life prediction.
- Integrate real-time monitoring for adaptive HTSHT control.
Formulas and Tables
- Carbon Diffusion Coefficient:D(T,C)=D0.4exp(−RTQ)exp(−B(0.4−C))where D0.4=25.5mm2/s, Q=141kJ/mol, B=0.8.
- Hardness Model:H=HMξM+HBξB+HAξA+HFξFwhere HM=626.58−463.45C+24.55C2.
- Residual Stress Distribution:
- Compressive at surface (σmax=−355MPa).
- Tensile in core (σmax=+120MPa).
