Introduction
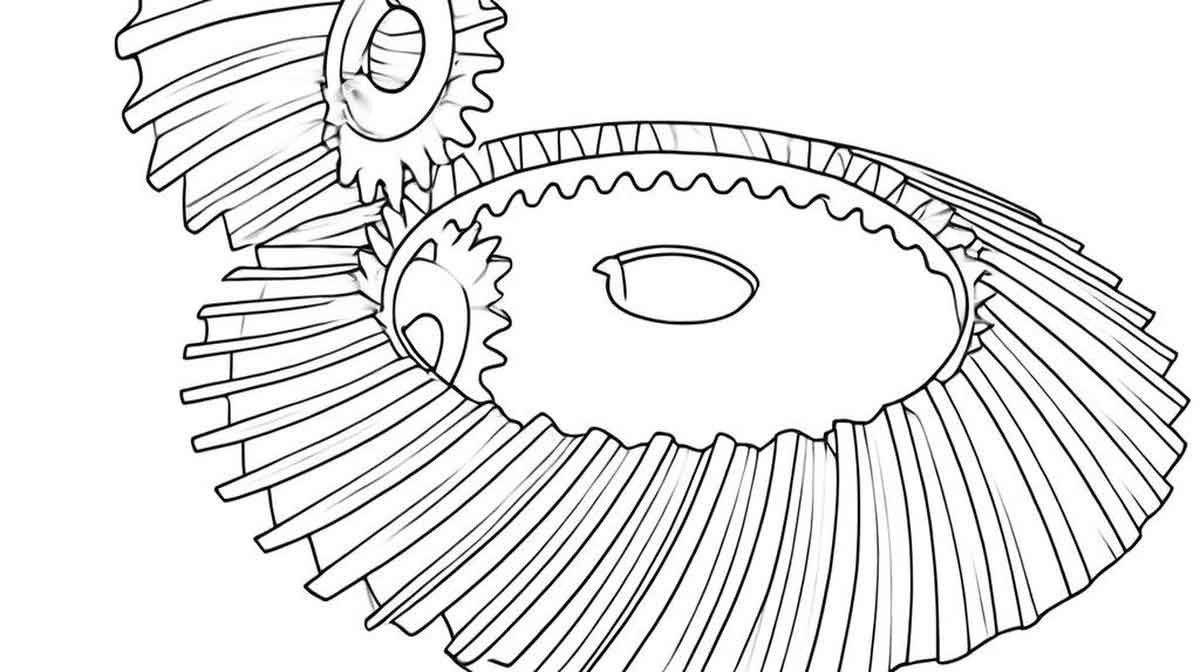
Spiral bevel gear is critical components in high-end aerospace power transmission systems, where surface integrity directly impacts fatigue resistance and operational reliability. Shot peening, a widely adopted surface strengthening technique, enhances fatigue life by introducing residual compressive stress fields. However, improper process parameters—such as excessive shot velocity, diameter, or peening duration—can lead to undesirable surface roughness, compromising contact performance. Traditional trial-and-error parameter optimization is resource-intensive, necessitating accurate numerical models to simulate and predict post-peening surface topography.

This study proposes a coupled discrete element method (DEM) and finite element method (FEM) framework to simulate the shot peening process on spiral bevel gear. The model predicts surface roughness (quantified by 3D roughness parameter SaSa) and correlates it with key parameters: peening time, shot velocity, and shot diameter. Experimental validation confirms the model’s accuracy, with prediction errors below 20%.
Methodology
1. Shot Peening Process and Experimental Setup
The test specimen, a spiral bevel gear made of AISI 9310 alloy steel (composition in Table 1), underwent carburizing and quenching to achieve a surface hardness of 62 HRC. A compressed-air peening machine with S110 cast steel shots (diameter: 0.3 mm, hardness: 55–62 HRC) was used under the following parameters:
- Air pressure: 4.5 bar
- Shot flow rate: 9 kg/min
- Nozzle speed: 150 mm/min
- Peening time: 10–100 s
Post-peening surface topography was measured using a Wyko NT9100 white-light interferometer at three regions: gear toe, center, and heel.
Table 1: Chemical composition of AISI 9310 alloy steel
| Element | C | Si | Mn | P | S | Cr | Ni |
|---|---|---|---|---|---|---|---|
| wt.% | 0.12 | 0.25 | 0.55 | 0.003 | 0.002 | 1.25 | 3.34 |
2. Coupled DEM-FEM Simulation Framework
The workflow (Figure 1) integrates DEM for shot dynamics and FEM for material deformation analysis.
2.1 DEM Model
- Geometry and Kinematics: A commercial EDEM model simulated shot trajectories from nozzle to gear surface. Key equations include the shot initial velocity vv:v=16.35P1.53qm+P+29.5P0.598d+P+4.83Pv=1.53qm+P16.35P+0.598d+P29.5P+4.83Pwhere PP = nozzle pressure (bar), qmqm = shot flow rate (kg/min), and dd = shot diameter (mm).
- Coordinate Transformation: Collision data (position, velocity) in the machine tool coordinate system SaSa were transformed to the gear coordinate system SbSb using rotation matrices.
2.2 FEM Model
Abaqus/CAE simulated material deformation using a 1 mm × 1 mm × 0.5 mm target plate with refined meshing (10 μm × 10 μm × 10 μm) at impact zones. Material properties:
- Elastic modulus: E=210 GPaE=210GPa
- Poisson’s ratio: μ=0.3μ=0.3
- Density: ρ=7800 kg/m3ρ=7800kg/m3
- Johnson-Cook plasticity model for strain-rate sensitivity:σ=(A+Bεn)(1+Clnε˙ε˙0)[1−(T∗)m]σ=(A+Bεn)(1+Clnε˙0ε˙)[1−(T∗)m]where T∗=T−TrTm−TrT∗=Tm−TrT−Tr, A=881 MPaA=881MPa, B=0.018B=0.018, n=0.238n=0.238, m=0.686m=0.686.
Results and Discussion
1. Model Validation
Simulated and experimental SaSa values showed strong agreement (Table 2). The maximum error of 19.2% validates the DEM-FEM framework for spiral bevel gear applications.
Table 2: Comparison of experimental and simulated 3D roughness SaSa
| Region | Experimental SaSa (μm) | Simulated SaSa (μm) | Error (%) |
|---|---|---|---|
| a | 0.938 | 1.09 | 16.2 |
| b | 0.817 | 0.927 | 13.5 |
| c | 0.741 | 0.883 | 19.2 |
2. Effect of Peening Time
SaSa initially increased with peening time due to higher coverage, peaking at 100% coverage (50 s). Beyond this, prolonged peening reduced SaSa as overlapping impacts smoothed surface asperities (Figure 2).Sa(t)={0.4+0.012tif t≤50 s1.01−0.001(t−50)if t>50 sSa(t)={0.4+0.012t1.01−0.001(t−50)if t≤50sif t>50s
Figure 2: SaSa vs. peening time
| Time (s) | 10 | 30 | 50 | 70 | 100 |
|---|---|---|---|---|---|
| SaSa (μm) | 0.52 | 0.76 | 1.01 | 0.98 | 0.97 |
3. Effect of Shot Velocity
Higher shot velocities (vv) amplified kinetic energy, increasing plastic deformation and SaSa. At v=50 m/sv=50m/s, SaSa rose to 1.1 μm (Figure 3).Sa(v)=0.4+0.014v(R2=0.96)Sa(v)=0.4+0.014v(R2=0.96)
Table 3: SaSa at different shot velocities
| Velocity (m/s) | 30 | 40 | 50 |
|---|---|---|---|
| SaSa (μm) | 0.82 | 1.01 | 1.1 |
4. Effect of Shot Diameter
Larger shot diameters (dd) caused deeper craters and higher SaSa. For d=0.9 mmd=0.9mm, SaSa peaked at 2.0 μm within 2 s (Figure 4).Sa(d)=0.4+1.78d(R2=0.94)Sa(d)=0.4+1.78d(R2=0.94)
Table 4: SaSa at different shot diameters
| Diameter (mm) | 0.3 | 0.6 | 0.9 |
|---|---|---|---|
| Max SaSa (μm) | 1.1 | 1.45 | 2.0 |
Key Findings
- The DEM-FEM model accurately predicts post-peening surface roughness (SaSa) for spiral bevel gear, with errors <20%.
- Optimal peening time is 50 s (100% coverage), beyond which SaSa decreases due to surface smoothing.
- Shot diameter has a stronger influence on SaSa than velocity, with larger shots causing significant roughness.
Conclusion
This study establishes a robust numerical framework for optimizing shot peening parameters in spiral bevel gear manufacturing. By correlating process variables with surface topography, the model enables precise control over fatigue life and contact performance. Future work will expand the model to include multi-shot interactions and temperature effects.
