Introduction
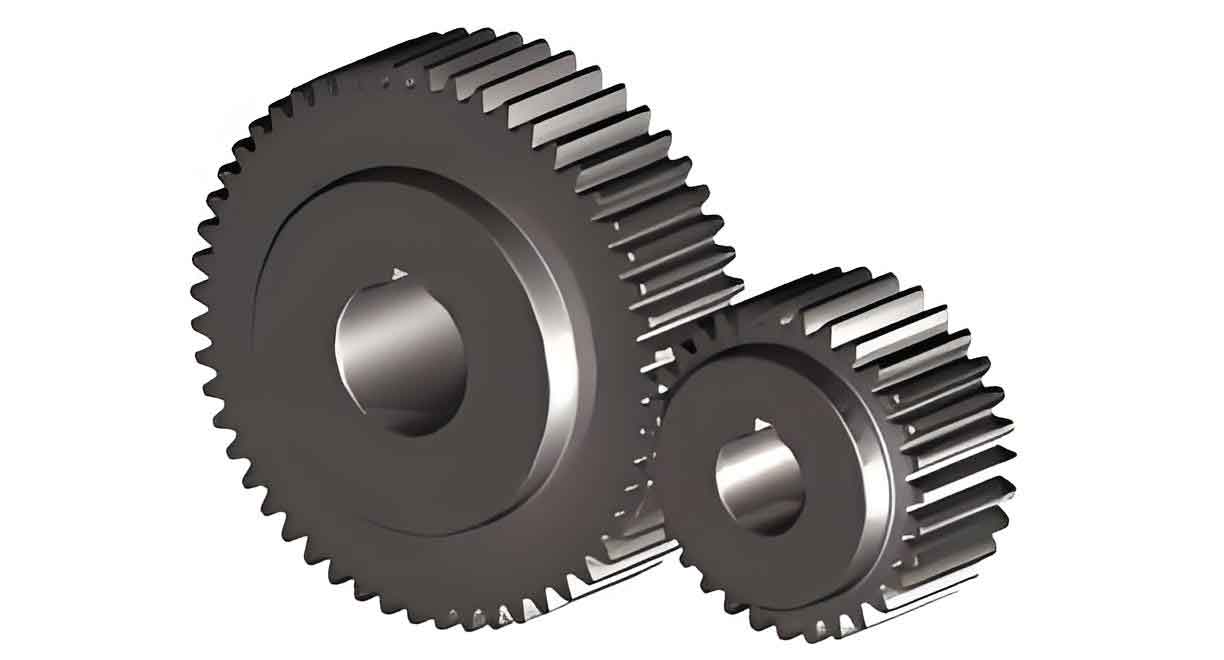
Spur gear is fundamental components in mechanical transmission systems, widely used in automotive, aerospace, and industrial machinery due to their simplicity and high power density. However, vibration and noise caused by time-varying mesh stiffness (TVMS) remain critical challenges in designing high-performance spur gear systems. Existing studies have extensively explored the effects of tooth surface friction and manufacturing defects on gear dynamics, yet the combined influence of assembly errors and friction on spur gear meshing behavior remains underexplored. This study addresses this gap by developing a comprehensive model to analyze spur gear mesh stiffness and dynamic responses under these coupled factors.

Spur Gear Mesh Stiffness Modeling
Geometric Analysis with Assembly Errors
Assembly errors, such as eccentricity and misalignment, alter the ideal meshing geometry of spur gear. The modified geometric relationships under assembly errors are derived as follows:
- Coordinate Systems:
- Ideal positions of driving and driven gear centers: OpOp and OgOg.
- Actual positions with assembly errors: Op′(epx,epy)Op′(epx,epy) and Og′(egx+asinϕg,egy+acosϕg)Og′(egx+asinϕg,egy+acosϕg), where aa is the ideal center distance and ϕgϕg is the installation angle.
- Node coordinates: C(egx+Rbgsinϕg/cosαg,epy+Rbgcosϕg/cosαg)C(egx+Rbgsinϕg/cosαg,epy+Rbgcosϕg/cosαg), where RbgRbg is the base circle radius and αgαg is the actual pressure angle.
- Meshing Line Equation:
The actual meshing line A′B′A′B′ under assembly errors is determined by solving:(x−epx)2+(y−epy)2=Rbg2(Base circle equation)(x−epx)2+(y−epy)2=Rbg2(Base circle equation)x−epxy−epy=bpg(Meshing line slope)y−epyx−epx=bpg(Meshing line slope)where bpgbpg accounts for misalignment-induced geometric deviations.
Energy-Based Mesh Stiffness Calculation
The total potential energy stored in meshing spur gear teeth comprises five components: bending (UbUb), axial compression (UaUa), shear (UsUs), Hertzian contact (UhUh), and foundation deformation (UfUf). The stiffness contributions are derived as:
- Bending Stiffness (kbkb):1kb=∫0dM22EpIxdxkb1=∫0d2EpIxM2dxwhere MM is the bending moment, EpEp is Young’s modulus, and IxIx is the area moment of inertia.
- Axial Compression (kaka) and Shear Stiffness (ksks):1ka=∫0dFa22EpAxdx,1ks=∫0d1.2Fb22GpAxdxka1=∫0d2EpAxFa2dx,ks1=∫0d2GpAx1.2Fb2dxwhere FaFa and FbFb are axial and tangential forces, and GpGp is the shear modulus.
- Hertzian Contact Stiffness (khkh):1kh=1−νp2EpπL[2ln(4ρXpb)−1]+1−νg2EgπL[2ln(4ρXgb)−1]kh1=EpπL1−νp2[2ln(b4ρXp)−1]+EgπL1−νg2[2ln(b4ρXg)−1]where ρXρX is the curvature radius at the contact point, and bb is the semi-width of the contact zone.
- Foundation Stiffness (kfkf):1kf=cos2αEpL[L∗(μfSf)+M∗(μfSf)+P∗(1+Q∗tan2α)]kf1=EpLcos2α[L∗(Sfμf)+M∗(Sfμf)+P∗(1+Q∗tan2α)]where μfμf, SfSf, and geometric parameters L∗,M∗,P∗,Q∗L∗,M∗,P∗,Q∗ are derived from gear geometry.
The total mesh stiffness (kmkm) for nn pairs of meshing teeth is:1km(t)=∑i=1n[∑j=p,g(1kbj+1kaj+1ksj)+1kh]+1εpkfp+1εgkfgkm(t)1=i=1∑n[j=p,g∑(kbj1+kaj1+ksj1)+kh1]+εpkfp1+εgkfg1
where εpεp and εgεg are foundation stiffness correction factors.
Dynamic Modeling of Spur Gear Systems
A 6-degree-of-freedom (6-DOF) bending-torsional coupled model is established using the lumped mass method. The governing equations for driving (pp) and driven (gg) gears are:{mpx¨p+kpxxp+cpxx˙p=−Fmmpy¨p+kpyyp+cpyy˙p=0Ipθ¨p+FmRbp=Tpmgx¨g+kgxxg+cgxx˙g=Fmmgy¨g+kgyyg+cgyy˙g=0Igθ¨g−FmRbg=−Tg⎩⎨⎧mpx¨p+kpxxp+cpxx˙p=−Fmmpy¨p+kpyyp+cpyy˙p=0Ipθ¨p+FmRbp=Tpmgx¨g+kgxxg+cgxx˙g=Fmmgy¨g+kgyyg+cgyy˙g=0Igθ¨g−FmRbg=−Tg
Here, FmFm is the dynamic meshing force:Fm=km(t)δe+cmδ˙eFm=km(t)δe+cmδ˙e
where δeδe is the dynamic transmission error:δe=xp−xg+Rbpθp−Rbgθgδe=xp−xg+Rbpθp−Rbgθg
Simulation and Analysis
System Parameters
Key parameters for the spur gear system are listed below:
| Parameter | Value |
|---|---|
| Number of teeth (z) | 50 (both) |
| Module (mm) | 3 |
| Pressure angle (°) | 20 |
| Young’s modulus (GPa) | 200 |
| Poisson’s ratio | 0.3 |
| Bearing stiffness (N/m) | 1×1081×108 |
| Friction coefficient (μ) | 0.05–0.15 |
Effect of Tooth Surface Friction
Figure 1 illustrates the reduction in spur gear mesh stiffness with increasing friction coefficient (μμ). For μ=0.05μ=0.05, stiffness drops by 12% compared to frictionless conditions. The dynamic transmission error (DTE) spectrum (Figure 2) shows minimized vibration amplitudes at μ=0.05μ=0.05, validating the importance of optimized friction levels.
Impact of Assembly Errors
Three assembly error cases are analyzed:
| Case | epxepx (μm) | epyepy (μm) | egxegx (μm) | egyegy (μm) |
|---|---|---|---|---|
| 1 | 0 | 0 | 0 | 0 |
| 2 | 0 | 0 | 10 | 10 |
| 3 | 0 | 0 | 100 | 100 |
Case 3 exhibits the smallest DTE amplitude (Figure 3), while Case 2 shows severe vibration due to altered contact patterns. This highlights that moderate assembly errors can enhance spur gear performance by redistributing load.
Conclusion
- Mesh Stiffness Model: A spur gear mesh stiffness model integrating assembly errors and friction is developed using energy principles.
- Friction Effects: Higher friction coefficients reduce spur gear mesh stiffness but can optimize dynamic performance at μ=0.05μ=0.05.
- Assembly Error Mitigation: Controlled assembly errors improve load distribution and reduce vibration amplitudes.
This study provides a robust framework for optimizing spur gear systems in high-precision applications, emphasizing the interplay between geometric accuracy and tribological conditions.
