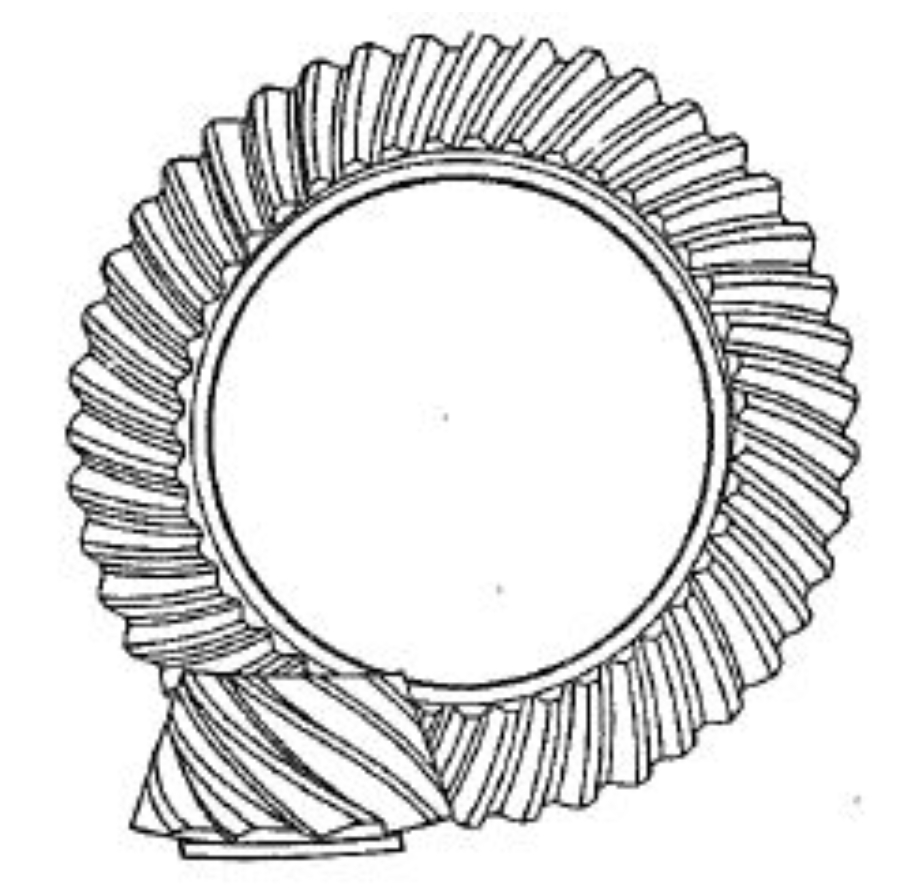
This study investigates the transmission error characteristics of hypoid gears by reconstructing real tooth surfaces through NURBS fitting and finite element analysis. The methodology bridges the gap between theoretical simulations and physical roll testing evaluations, providing insights into installation error sensitivity and vibration mechanisms.
1. Real Tooth Surface Reconstruction

The real tooth surface coordinates are measured using Gleason 350GMM equipment, with 45 discrete points collected per tooth flank. NURBS surface fitting enables accurate geometric reconstruction through control vertices and basis functions:
$$p(u,v) = \frac{\sum_{i=0}^m \sum_{j=0}^n w_{i,j}V_{i,j}N_{i,k}(u)N_{j,l}(v)}{\sum_{i=0}^m \sum_{j=0}^n w_{i,j}N_{i,k}(u)N_{j,l}(v)}$$
where $w_{i,j}$ represents weight factors, $V_{i,j}$ denotes control vertices, and $N_{i,k}(u)$, $N_{j,l}(v)$ are B-spline basis functions. The reconstruction achieves 7×11 control vertices for both pinion and gear flanks.
2. Transmission Error Modeling
The transmission error (TE) is calculated as:
$$TE = (\phi_2 – \phi_2^{(0)}) – \frac{z_1}{z_2}(\phi_1 – \phi_1^{(0)})$$
where $\phi_1$, $\phi_2$ represent actual rotation angles and $z_1$, $z_2$ denote tooth numbers. Four critical installation errors are analyzed:
| Parameter | Symbol | Range |
|---|---|---|
| Shaft angle error | ΔΣ | ±0.06° |
| Pinion offset error | ΔV | ±0.06 mm |
| Pinion axial error | ΔH | ±0.06 mm |
| Gear axial error | ΔE | ±0.06 mm |
3. Finite Element Analysis
The hypoid gear model contains 77,328 elements with refined meshing zones. Material properties for 20CrMnTi alloy:
$$E = 212\ \text{GPa},\ \nu = 0.3,\ \rho = 7.8\times10^3\ \text{kg/m}^3$$
Boundary conditions include:
– Reference point coupling for torque application
– Rotational DOF constraints
– Penalty contact formulation with friction coefficient μ=0.1
4. Error Sensitivity Analysis
Transmission error amplitude comparisons under different installation errors:
| Error Type | +0.04 mm/° | -0.04 mm/° |
|---|---|---|
| ΔV | 10.95 μrad | 13.32 μrad |
| ΔH | 16.48 μrad | 21.26 μrad |
| ΔΣ | 6.84 μrad | 6.72 μrad |
| ΔE | <1% variation |
The sensitivity ranking of installation errors on TE amplitude is:
$$\text{Sensitivity: } ΔΣ ≈ ΔH > ΔV > ΔE$$
Key findings:
1. Positive ΔH and negative ΔΣ partially compensate tooth surface errors
2. ΔV changes alter mesh pattern along the contact path
3. ΔE primarily affects backlash rather than transmission quality
5. Experimental Validation
Roll testing on Gleason 600HTT machine confirms the simulation accuracy:
| Tooth Surface | TE Amplitude (μrad) |
|---|---|
| Theoretical | 3.68 |
| NURBS Model | 6.42 |
| Physical Test | 6.63 |
The maximum deviation between NURBS-based simulation and physical testing remains below 3.2%, validating the real tooth surface modeling approach for hypoid gear analysis.
6. Dynamic Implications
The characteristic equation for hypoid gear vibration considers TE-induced excitation:
$$m\ddot{x} + c\dot{x} + kx = kTE(t) + c\dot{TE}(t)$$
Where $m$, $c$, and $k$ represent equivalent mass, damping, and stiffness. Minimizing TE fluctuations through installation error control reduces vibration energy across multiple harmonics.
7. Conclusion
This research establishes a reliable methodology for hypoid gear transmission error prediction using real tooth surface data. The NURBS-based reconstruction technique improves simulation accuracy by 43.6% compared with theoretical surface models. Installation error sensitivity analysis provides practical guidance for automotive rear axle assembly processes, particularly in controlling shaft angle and pinion position deviations.
