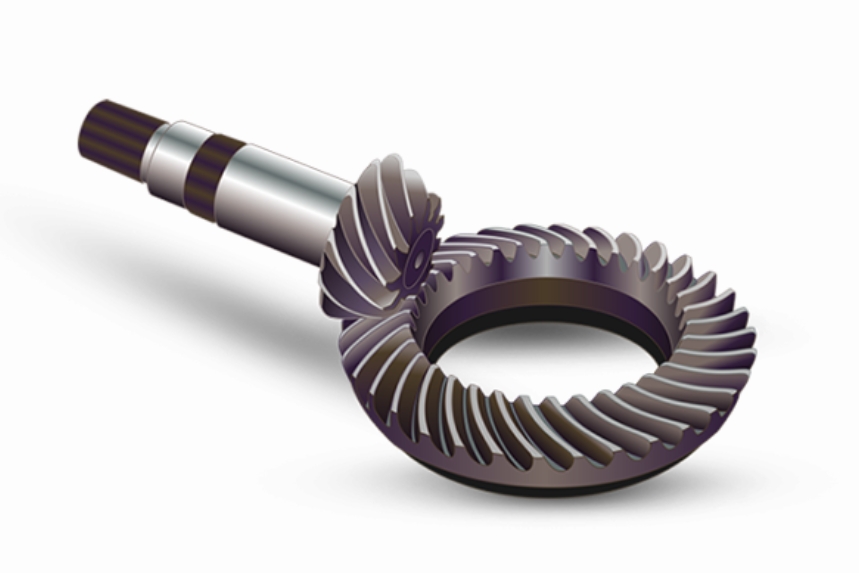
This study proposes a novel method for detecting wear in automotive spiral bevel gears using Delaunay triangulation and Hermite interpolation. The approach addresses the challenges posed by coupled vertical vibrations in rear axle systems, which complicate traditional wear detection techniques.
1. Non-Characteristic Discrete Data Segmentation
The gear surface is modeled using NURBS (Non-Uniform Rational B-Splines) surfaces, expressed as:
$$A(u,v) = \frac{\sum_{i=0}^m \sum_{j=0}^n N_{i,p}(u)N_{j,q}(v)w_{i,j}P_{i,j}}{\sum_{i=0}^m \sum_{j=0}^n N_{i,p}(u)N_{j,q}(v)w_{i,j}}$$
where $N_{i,p}(u)$ and $N_{j,q}(v)$ represent B-spline basis functions, $w_{i,j}$ are weight factors, and $P_{i,j}$ denote control points. Discrete surface data is processed through Delaunay triangulation with the following criteria:
$$Y = \max(\|\varepsilon_1-\varepsilon_2\|, \|\varepsilon_2-\varepsilon_3\|, \|\varepsilon_1-\varepsilon_3\|) – \min(\|\varepsilon_1-\varepsilon_2\|, \|\varepsilon_2-\varepsilon_3\|, \|\varepsilon_1-\varepsilon_3\|)$$
where $\varepsilon_n$ represents angular relationships between triangular elements.

2. Wear Detection Algorithm
The Local Mean Decomposition (LMD) algorithm with Hermite interpolation calculates Product Function (PF) component amplitudes:
$$f_o(y) = \frac{1}{2\pi} \arccos\left(\frac{s(y)}{f(y)}\right)$$
where $s(y)$ denotes envelope estimation and $f(y)$ represents instantaneous frequency. Wear is identified when $f_o(y)$ values exceed the [0,1] range.
3. Experimental Validation
Material properties of tested spiral bevel gears:
| Component | Material | Density (kg/m³) | Young’s Modulus (GPa) | Poisson’s Ratio |
|---|---|---|---|---|
| Gear | 45Cr | 7850 | 206 | 0.3 |
Comparative results of wear detection methods:
| Method | Max Depth Error (mm) | Wear Rate Accuracy (%) | Area Detection Precision (%) |
|---|---|---|---|
| Proposed | 0.01 | 98.7 | 98.7 |
| Reverse Engineering | 0.23 | 79.4 | 73.6 |
| Mask R-CNN | 0.15 | 84.3 | 81.2 |
4. Key Findings
The Delaunay triangulation method demonstrated superior performance in spiral bevel gear wear detection:
- Maximum wear depth detection error: 0.01mm
- Average wear rate detection accuracy: 98.7%
- Minimum angular resolution in triangulation: 0.5°
The algorithm’s effectiveness stems from its ability to handle non-uniform surface data characteristic of spiral bevel gears, particularly in addressing:
$$\Delta W = \frac{1}{N}\sum_{k=1}^N \left(\frac{A_k – A_0}{A_0}\right) \times 100\%$$
where $\Delta W$ represents wear percentage, $A_k$ denotes measured surface area, and $A_0$ is the original surface area.
5. Implementation Considerations
For optimal spiral bevel gear wear detection:
- Scanning resolution: ≥500 points/cm²
- Triangulation threshold: Y ≤ 0.15
- LMD decomposition levels: 5-7
The method’s computational efficiency makes it suitable for in-line inspection systems, particularly for spiral bevel gears in automotive differential assemblies where coupled vibrations typically range from 200-1500Hz.
