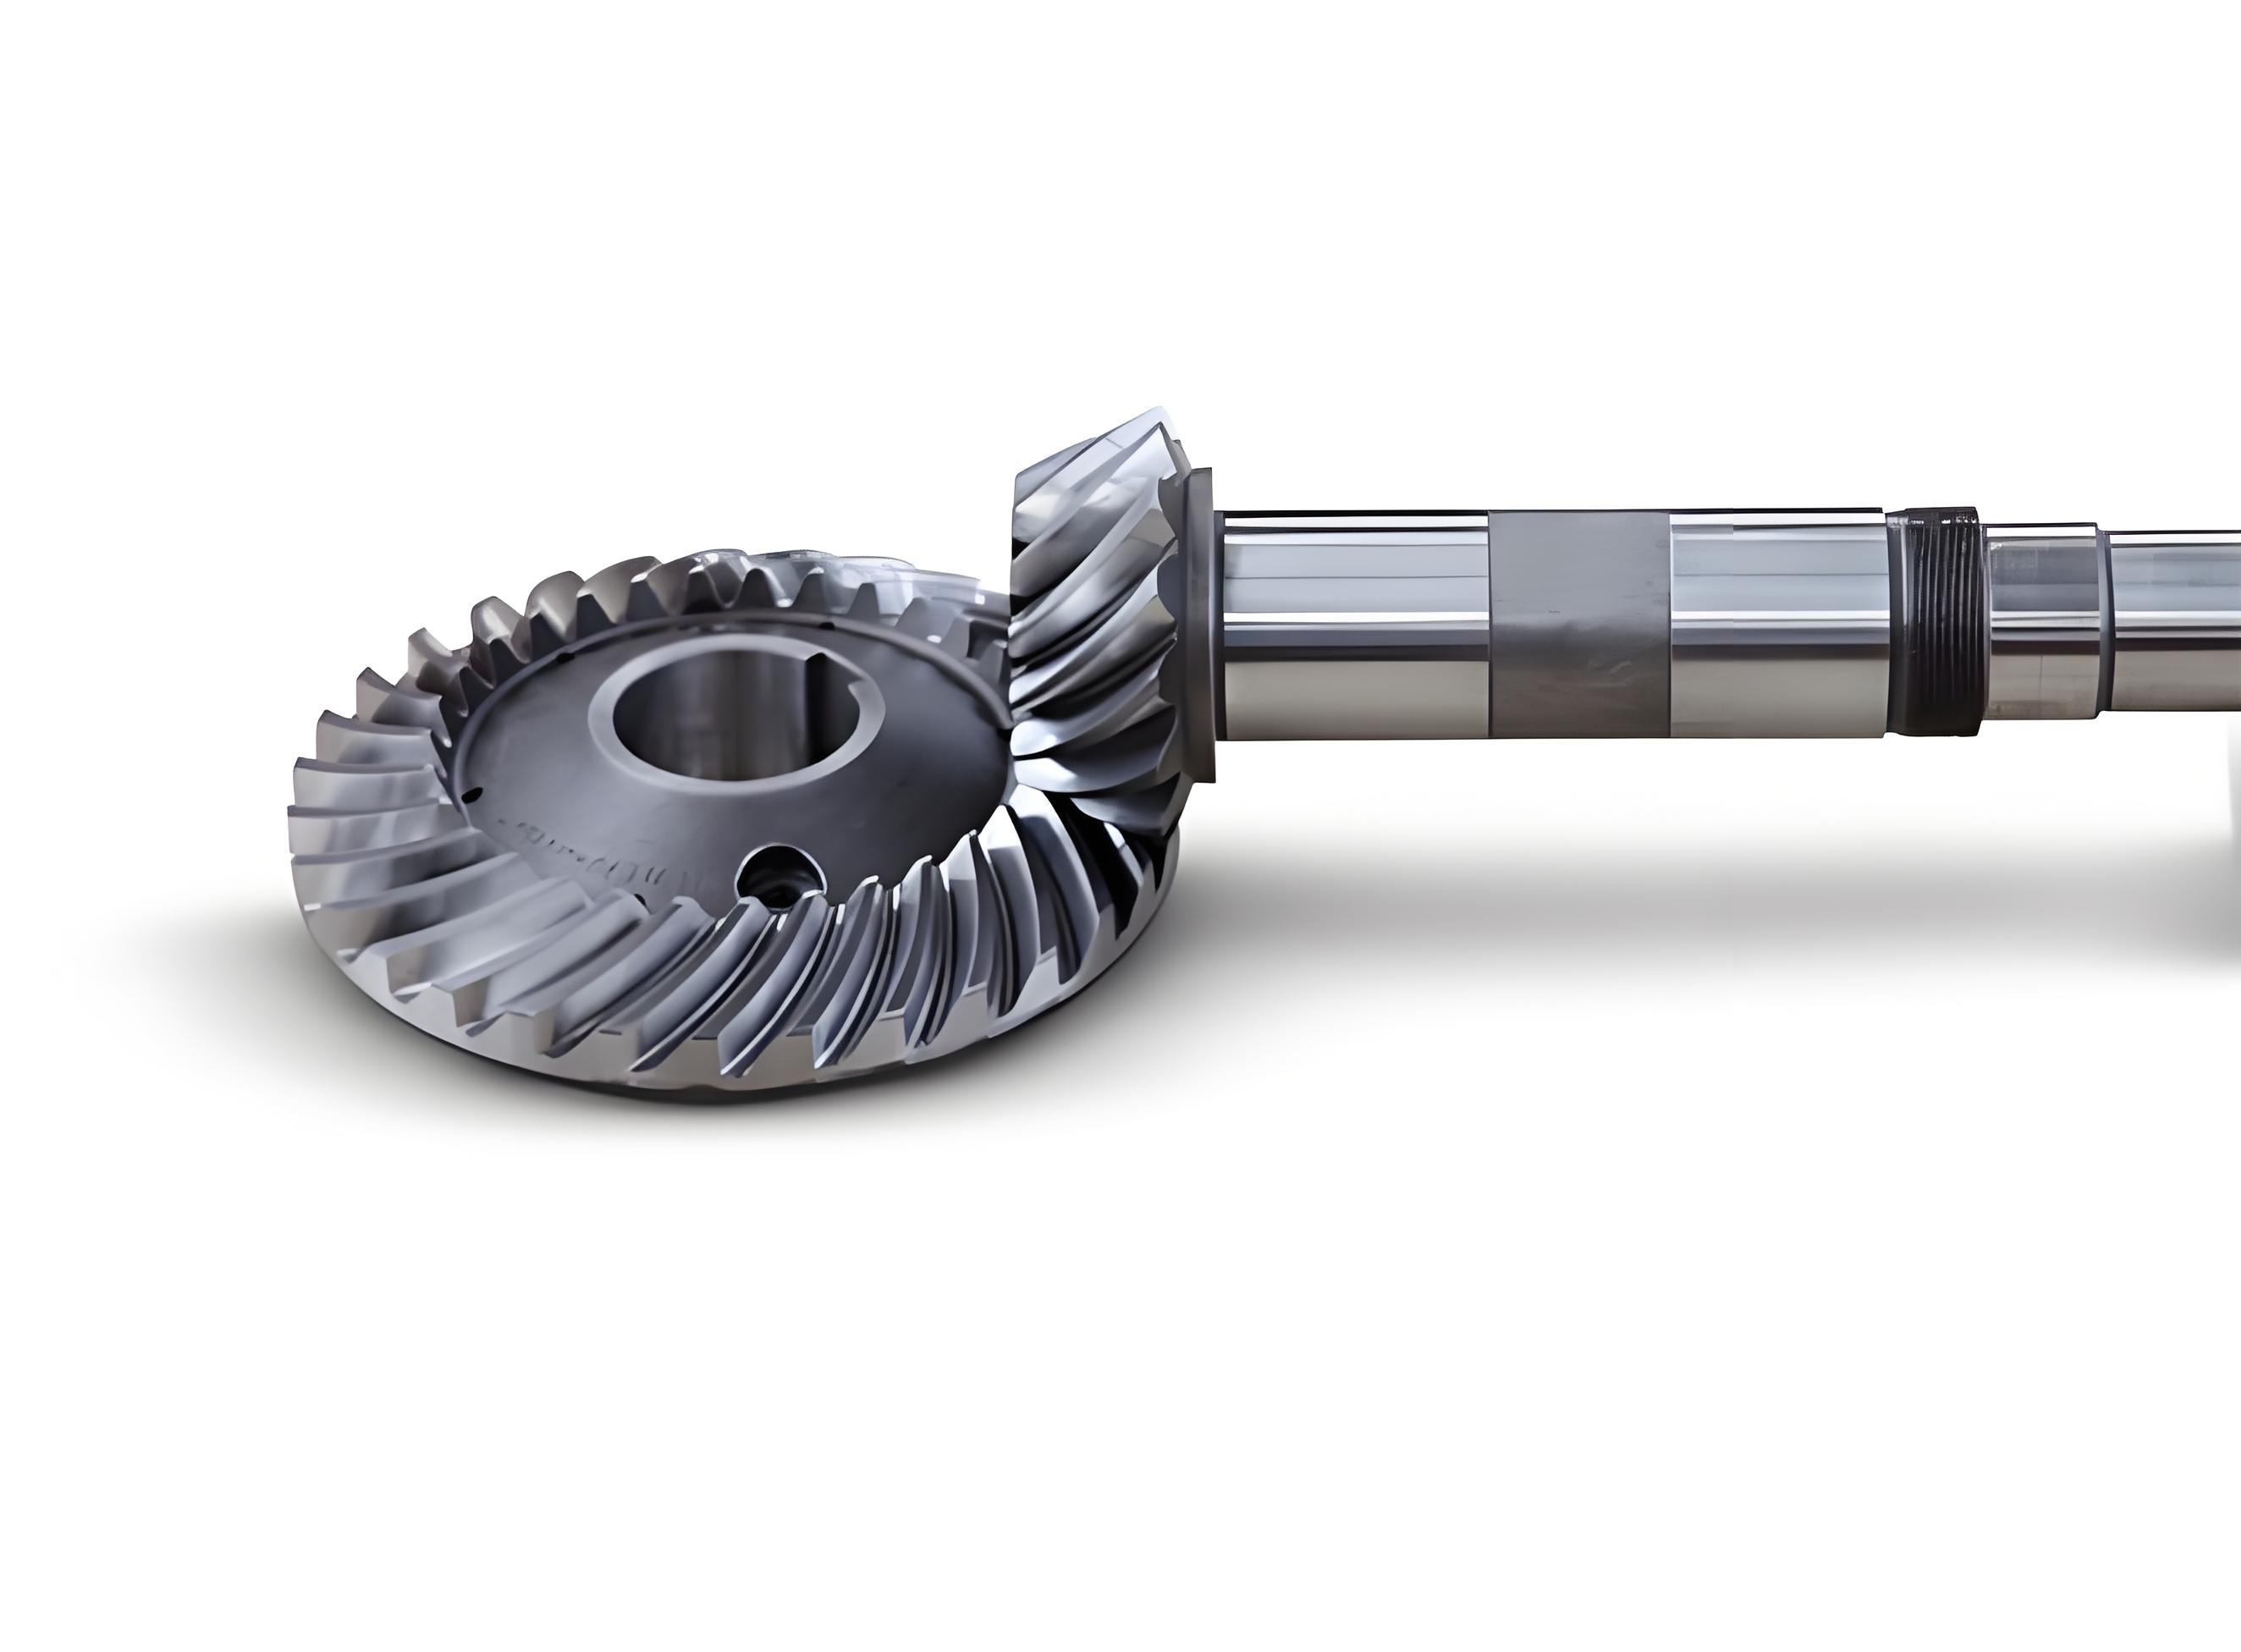
Spiral bevel gears are widely used in aerospace and automotive industries due to their high load capacity, smooth motion, and controlled contact characteristics. This paper presents a novel collaborative solution method for tooth contact analysis (TCA) that simultaneously calculates contact patterns and transmission errors with enhanced precision and efficiency.

Numerical Tooth Surface Modeling
The mathematical model of spiral bevel gear tooth surfaces is derived from cutting tool geometry and machine kinematics. For a straight-edged cutting tool, the tool surface equation is expressed as:
$$
\mathbf{F}_C(\theta, s) = \begin{bmatrix}
(R_{tip} + s \cdot \sin\alpha)\cos\theta \\
(R_{tip} + s \cdot \sin\alpha)\sin\theta \\
-s \cdot \cos\alpha
\end{bmatrix}
$$
where $R_{tip}$ represents tool tip radius, $\alpha$ is pressure angle, and $s$ denotes height parameter. The normal vector equation is:
$$
\mathbf{N}_C(\theta) = \begin{bmatrix}
-\cos\alpha\cos\theta \\
-\cos\alpha\sin\theta \\
-\sin\alpha
\end{bmatrix}
$$
Machine Kinematics and Surface Generation
The coordinate transformation matrix for spiral bevel gear generation combines multiple machine settings:
$$
\mathbf{M} = \prod_{i=1}^{n} \mathbf{T}_i(\phi_C, X_{BH}, \gamma_m)
$$
Key machine parameters include:
| Parameter | Pinion | Gear |
|---|---|---|
| Machine Angle (°) | 34.34 | 27.73 |
| Radial Setting (mm) | 152.07 | 163.34 |
| Cutter Tilt Angle (°) | 17.46 | 1.84 |
| Spiral Modification | 38.95 | 0 |
Meshing Condition Equations
The contact analysis requires solving nonlinear equations for position and normal vector continuity:
$$
\begin{cases}
\mathbf{F}_P(\theta_P, \phi_{C,P}, \varpi_P) = \mathbf{F}_G(\theta_G, \phi_{C,G}, \varpi_G) \\
\mathbf{N}_P(\theta_P, \phi_{C,P}, \varpi_P) = -\mathbf{N}_G(\theta_G, \phi_{C,G}, \varpi_G)
\end{cases}
$$
Where $\varpi_P$ and $\varpi_G$ represent rotational angles of pinion and gear respectively.
Transmission Error Calculation
The transmission error (TE) is defined as the deviation from ideal kinematic relationship:
$$
TE = \varpi_G – \left(\frac{Z_P}{Z_G}\varpi_P + \varpi_{G0}\right)
$$
where $Z_P$ and $Z_G$ are tooth numbers, $\varpi_{G0}$ is initial phase angle.
Contact Pattern Determination
The contact ellipse dimensions are calculated using surface curvature parameters:
$$
a = \sqrt{\frac{2w}{\pi E^* \kappa_e}}, \quad b = \sqrt{\frac{2w}{\pi E^* \kappa_g}}
$$
where $w$ is contact load, $E^*$ equivalent elastic modulus, $\kappa_e$ and $\kappa_g$ principal curvatures.
| Parameter | Pinion | Gear |
|---|---|---|
| Module (mm) | 5.09 | 3.44 |
| Face Width (mm) | 32 | 32 |
| Outer Cone Distance (mm) | 208.81 | 208.81 |
Case Study and Verification
A spiral bevel gear pair was analyzed using the proposed method:
$$
\begin{aligned}
\text{Transmission Error} &= 108.6\ \mu\text{rad} \\
\text{Contact Ellipse Major Axis} &= 6.17\ \text{mm} \\
\text{Contact Path Length} &= 22.4\ \text{mm}
\end{aligned}
$$
| Parameter | Proposed Method | CAGE |
|---|---|---|
| TE Peak (μrad) | 108.6 | 110.3 |
| Contact Position Error | <0.2mm | Reference |
The collaborative solution method demonstrates superior computational efficiency (38% faster than conventional sequential methods) while maintaining equivalent accuracy in spiral bevel gear analysis. This approach enables simultaneous optimization of contact pattern localization and transmission error minimization during gear design phase.
Conclusion
The developed TCA methodology provides an effective tool for spiral bevel gear performance prediction, combining numerical surface generation with analytical contact mechanics. Future work will extend this approach to loaded tooth contact analysis and dynamic behavior simulation.
