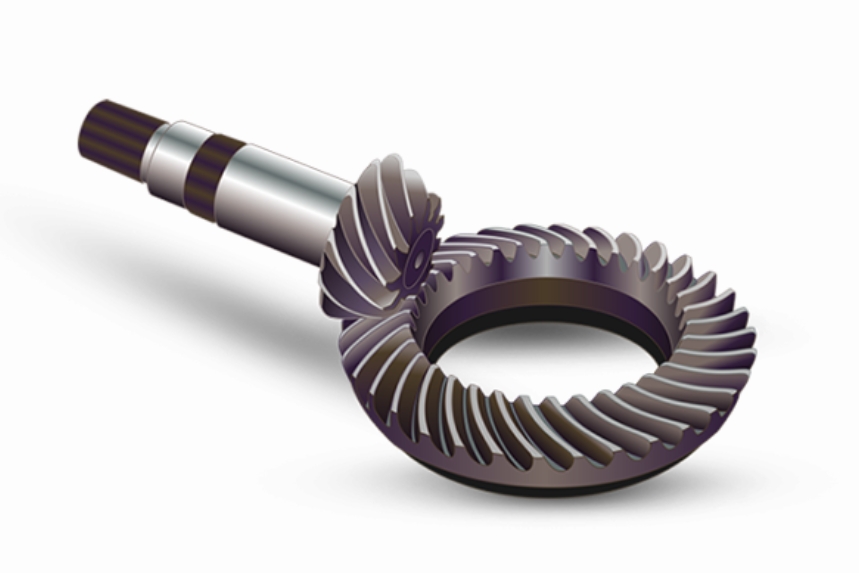
During commissioning tests of a central transmission system, fracture failure occurred in the active spiral bevel gear, resulting in collateral damage to adjacent components. The contact pattern on the active gear’s concave surface was concentrated near the small-end tooth root, while the driven gear’s convex surface exhibited incomplete contact marks at the small-end tooth tip, partially exceeding the working surface. This study investigates the fracture mechanism through macroscopic inspection, fractography, metallurgical analysis, hardness testing, compositional verification, and contact pattern simulation to identify the root cause.

Macroscopic Observations
The failed active spiral bevel gear displayed four fractured teeth at the web-tooth junction. Three distinct contact pattern categories were identified:
| Tooth Type | Width (mm) | Length (mm) | Distance from Tip (mm) |
|---|---|---|---|
| Cracked Tooth (5#) | 1.0 | 23.0 | 5.0 |
| Fractured Teeth (6#–9#) | 2.0 | 20.0 | 5.3 |
| Remaining Teeth | 1.7 | 18.0 | 5.3 |
Fractographic Analysis
The fracture surface exhibited three distinct zones: radial-1 (fatigue initiation), circumferential (propagation), and radial-2 (overload). High-cycle fatigue characteristics were confirmed through microscopic examination:
$$ \Delta K = Y \Delta \sigma \sqrt{\pi a} $$
where \( \Delta K \) is the stress intensity factor range, \( Y \) the geometry factor, \( \Delta \sigma \) the applied stress range, and \( a \) the crack length. Fatigue striations with spacing \( da/dN \) followed the Paris law relationship:
$$ da/dN = C(\Delta K)^m $$
where \( C = 1.5 \times 10^{-11} \) and \( m = 3.2 \) for 15Cr14Co12Mo5Ni2 steel.
Metallurgical Analysis
The microstructure comprised case-carburized surfaces (3级 carbides) and tempered martensite cores. A soft zone (450–507 HV) containing retained austenite was observed at the case-core transition:
| Region | Microhardness (HV) | Structure |
|---|---|---|
| Case | 785–805 | Martensite + Carbides |
| Transition | 450–507 | Retained Austenite |
| Core | 501–515 | Tempered Martensite |
Contact Pattern Simulation
Finite element analysis revealed edge-loading conditions under operational deformation:
$$ \sigma_H = \sqrt{\frac{F}{\pi b} \cdot \frac{\frac{1}{\rho_1} + \frac{1}{\rho_2}}{\frac{1-\nu_1^2}{E_1} + \frac{1-\nu_2^2}{E_2}}} $$
where \( \sigma_H \) is the Hertzian contact stress (1.6–2.0 GPa at Position 8), exceeding the material’s endurance limit (1.1 GPa). Dynamic contact patterns showed 23% edge contact ratio compared to 8% in nominal conditions.
Root Cause Analysis
The failure mechanism involved three synergistic factors:
- Edge-contact induced stress concentration at small-end fillet: \( K_t = 1 + 2\sqrt{a/\rho} = 2.8 \)
- Residual tensile stresses from improper heat treatment
- Surface plastic deformation (\( \varepsilon_p = 0.15 \)) from abnormal meshing
Conclusion
The spiral bevel gear failure resulted from high-cycle fatigue initiated at stress-concentrated small-end transitions due to edge-contact conditions. Corrective measures include:
- Tooth surface parameter optimization: Modify pressure angle \( \alpha \) from 22.5° to 25°
- Case depth adjustment: Increase effective case depth from 1.2 mm to 1.5 mm
- Shot peening enhancement: Achieve Almen intensity 0.35 mmA
This failure analysis demonstrates the critical relationship between contact pattern control, manufacturing precision, and fatigue performance in high-performance spiral bevel gears. Subsequent design iterations incorporating these improvements have successfully completed 2,000-hour endurance testing without failure.
