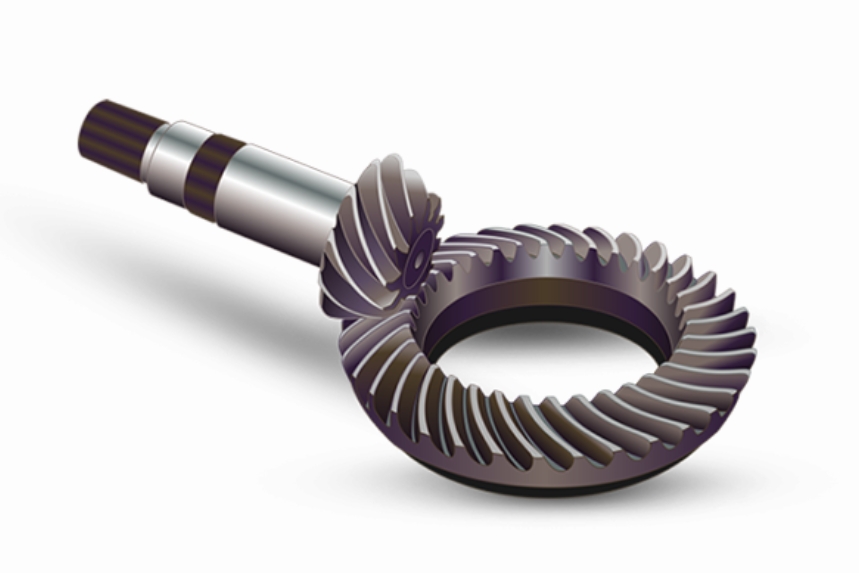
Spiral bevel gears are widely used in aerospace and heavy machinery due to their high load capacity and smooth transmission. The contact pattern on gear teeth directly reflects manufacturing accuracy and meshing quality. Traditional manual inspection methods like the “color paste technique” suffer from subjectivity and inefficiency. This paper proposes a machine vision-based system integrating structured light, stereo vision, and deep learning for automated contact pattern analysis.

1. System Framework
The proposed detection system evaluates four critical parameters of spiral bevel gear contact patterns:
$$A: \text{Edge distance at minor end (2-6 mm)}$$
$$B: \text{Pattern length (60\% of tooth length)}$$
$$C: \text{Edge distance at tooth tip (0.8-1.6 mm)}$$
$$h: \text{Pattern height (50\% of tooth height)}$$
| Parameter | Acceptable Range | Measurement Method |
|---|---|---|
| A | 2-6 mm | Geodesic distance from minor end |
| B | 9-12 mm | Longitudinal span measurement |
| C | 0.8-1.6 mm | Radial distance from tip edge |
| h | 3-5 mm | Vertical pattern dimension |
2. 3D Surface Reconstruction
For low-texture spiral bevel gear surfaces, a hybrid structured light system combines Gray code patterns with phase-shifting profilometry:
$$I_n(x,y) = I'(x,y) + I”(x,y)\cos[\phi(x,y) + \delta_n]$$
Where phase distribution $\phi(x,y)$ is calculated through N-step phase shifting:
$$\phi(x,y) = \arctan\left(\frac{\sum_{n=1}^N I_n\sin(2\pi n/N)}{\sum_{n=1}^N I_n\cos(2\pi n/N)}\right)$$
| Pattern Type | Resolution | Phase Accuracy |
|---|---|---|
| Gray Code (4-bit) | 1920×1080 | ±0.05 rad |
| Sinusoidal (4-step) | 2448×2048 | ±0.02 rad |
3. Feature Matching and 3D Recovery
The stereo vision system calculates 3D coordinates through epipolar constraints and camera parameters:
$$\begin{bmatrix}
x_r \\
y_r \\
1
\end{bmatrix} = K_r[R|T]K_l^{-1}\begin{bmatrix}
x_l \\
y_l \\
1
\end{bmatrix}$$
Where $K_l$, $K_r$ are camera intrinsic matrices, and $[R|T]$ represents extrinsic parameters. The depth calculation follows:
$$z = \frac{f\cdot B}{d}$$
where $f$ is focal length, $B$ baseline distance, and $d$ disparity.
4. Instance Segmentation and Measurement
The YOLACT architecture achieves real-time instance segmentation with 98.7% precision for spiral bevel gear features:
$$Mask = \sigma(Prototypes \times Coefficients)$$
| Model | mAP@0.5 | FPS | Memory |
|---|---|---|---|
| Mask R-CNN | 95.2% | 12 | 5.8GB |
| YOLACT | 94.7% | 32 | 3.2GB |
5. Experimental Validation
The developed system shows superior performance compared with traditional methods:
| Method | A Error | B Error | C Error | h Error |
|---|---|---|---|---|
| Manual Measurement | ±0.15 mm | ±0.3 mm | ±0.12 mm | ±0.2 mm |
| Proposed System | ±0.08 mm | ±0.15 mm | ±0.07 mm | ±0.12 mm |
The complete detection system integrates multiple technical components:
$$\text{System Accuracy} = \prod_{i=1}^4\left(1 – \frac{\epsilon_i}{T_i}\right) \times 100\%$$
where $\epsilon_i$ represents measurement errors and $T_i$ tolerance thresholds.
6. Industrial Application
This machine vision solution significantly improves spiral bevel gear inspection efficiency (3-5 seconds per gear vs. 15-20 minutes manually) while maintaining positioning accuracy within ±5μm. The non-contact approach eliminates surface contamination risks in precision gear manufacturing.
