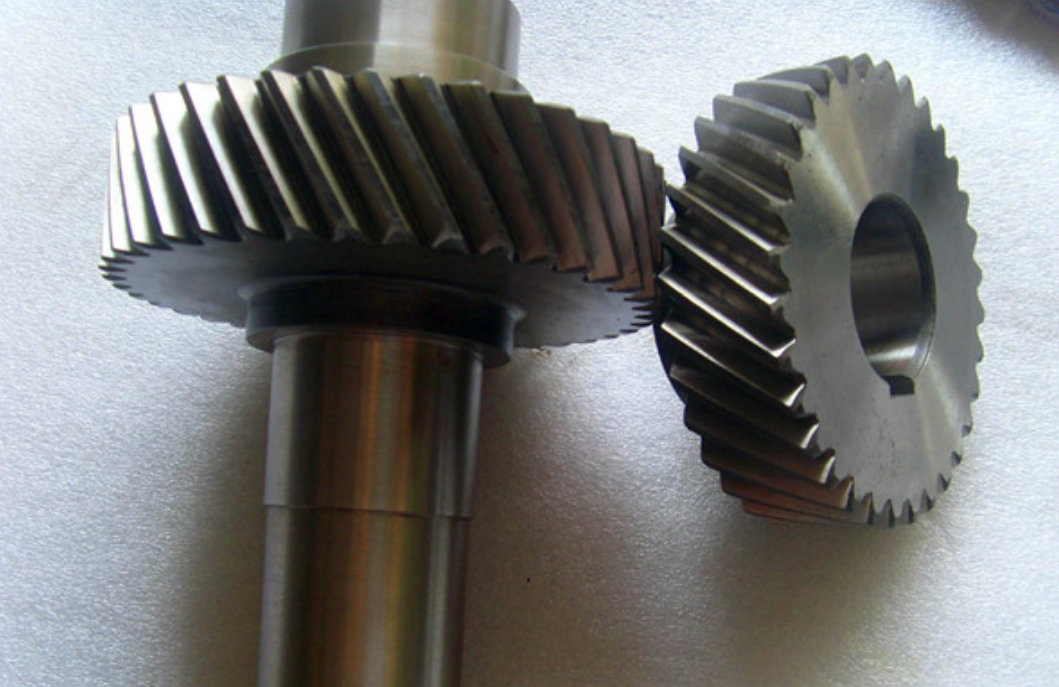
This study presents a systematic approach for modeling and analyzing the strength of angular modified helical gears using Creo Parametric and Simulate modules. The methodology is validated through a case study involving a pair of helical gears in the final stage of a wire rope hoist reducer, emphasizing parameterized design and finite element analysis (FEA) for stress evaluation.
1. Design Parameters and Geometric Calculations
The helical gear pair is designed with angular modification to enhance load capacity. Key parameters include:
| Parameter | Pinion | Gear |
|---|---|---|
| Number of teeth (z) | 15 | 71 |
| Normal module (mn) | 3.5 mm | |
| Helix angle (β) | 15° | |
| Normal pressure angle (αn) | 20° | |
| Modification coefficients (x) | +0.5 | +0.1869 |
Critical geometric dimensions are calculated using modified helical gear formulas:
Transverse module:
$$m_t = \frac{m_n}{\cos\beta}$$
Base circle diameter:
$$d_b = d \cdot \cos\alpha_t$$
where
$$\alpha_t = \arctan\left(\frac{\tan\alpha_n}{\cos\beta}\right)$$
Center distance modification:
$$a’ = \frac{m_n(z_1 + z_2)}{2\cos\beta} + ym_n$$
where y represents the center distance modification coefficient.

2. Parametric Modeling in Creo
The helical gear modeling process involves three critical elements:
2.1 Involute Curve Generation
The parametric equation for gear tooth profile:
$$
\begin{cases}
x = \frac{d_b}{2} (\cos\theta + \theta\sin\theta) \\
y = \frac{d_b}{2} (\sin\theta – \theta\cos\theta)
\end{cases}
$$
where θ ranges from 0 to 60°.
2.2 Helical Path Creation
Helix trajectory equation:
$$
\begin{cases}
r = \frac{d}{2} \\
\theta = \frac{z \cdot \tan\beta}{d} \cdot t \\
z = \frac{B}{2}(2t – 1)
\end{cases}
$$
where B represents face width and t ∈ [0,1].
3. Finite Element Analysis Methodology
The FEA procedure includes:
| Parameter | Value |
|---|---|
| Material | 20CrMnTiH |
| Young’s Modulus | 210 GPa |
| Poisson’s Ratio | 0.3 |
| Mesh Element Size | 0.5-2 mm (tooth region) |
| Contact Algorithm | Augmented Lagrange |
Critical stress components for helical gears:
Bending stress:
$$\sigma_F = \frac{F_t}{b \cdot m_n} \cdot Y_F \cdot Y_S \cdot Y_\beta$$
Contact stress:
$$\sigma_H = Z_E \sqrt{\frac{F_t}{b \cdot d_1} \cdot \frac{u+1}{u} \cdot Z_H \cdot Z_\epsilon}$$
4. Analysis Results and Discussion
The FEA results reveal critical stress distributions:
| Stress Type | Maximum Value | Safety Factor |
|---|---|---|
| Tooth Root Stress | 480 MPa | 1.75 |
| Contact Stress | 1,186 MPa | 1.11 |
| Body Stress | 190 MPa | 3.58 |
Key observations for helical gear performance:
- Stress concentration at tooth engagement points reaches 800 MPa
- Effective load distribution across 2.6 simultaneously engaged teeth
- Stress attenuation depth < 0.65 mm within case-hardened layer
5. Conclusion
The integrated Creo-based methodology demonstrates:
- Accurate prediction of helical gear stress distribution
- Effective verification of angular modification design
- 83% reduction in manual calculation time
The parametric modeling approach enables rapid design iteration for helical gear pairs, while FEA provides critical insights into tooth contact patterns and stress concentrations. This workflow significantly enhances the reliability and efficiency of modified helical gear design processes.
