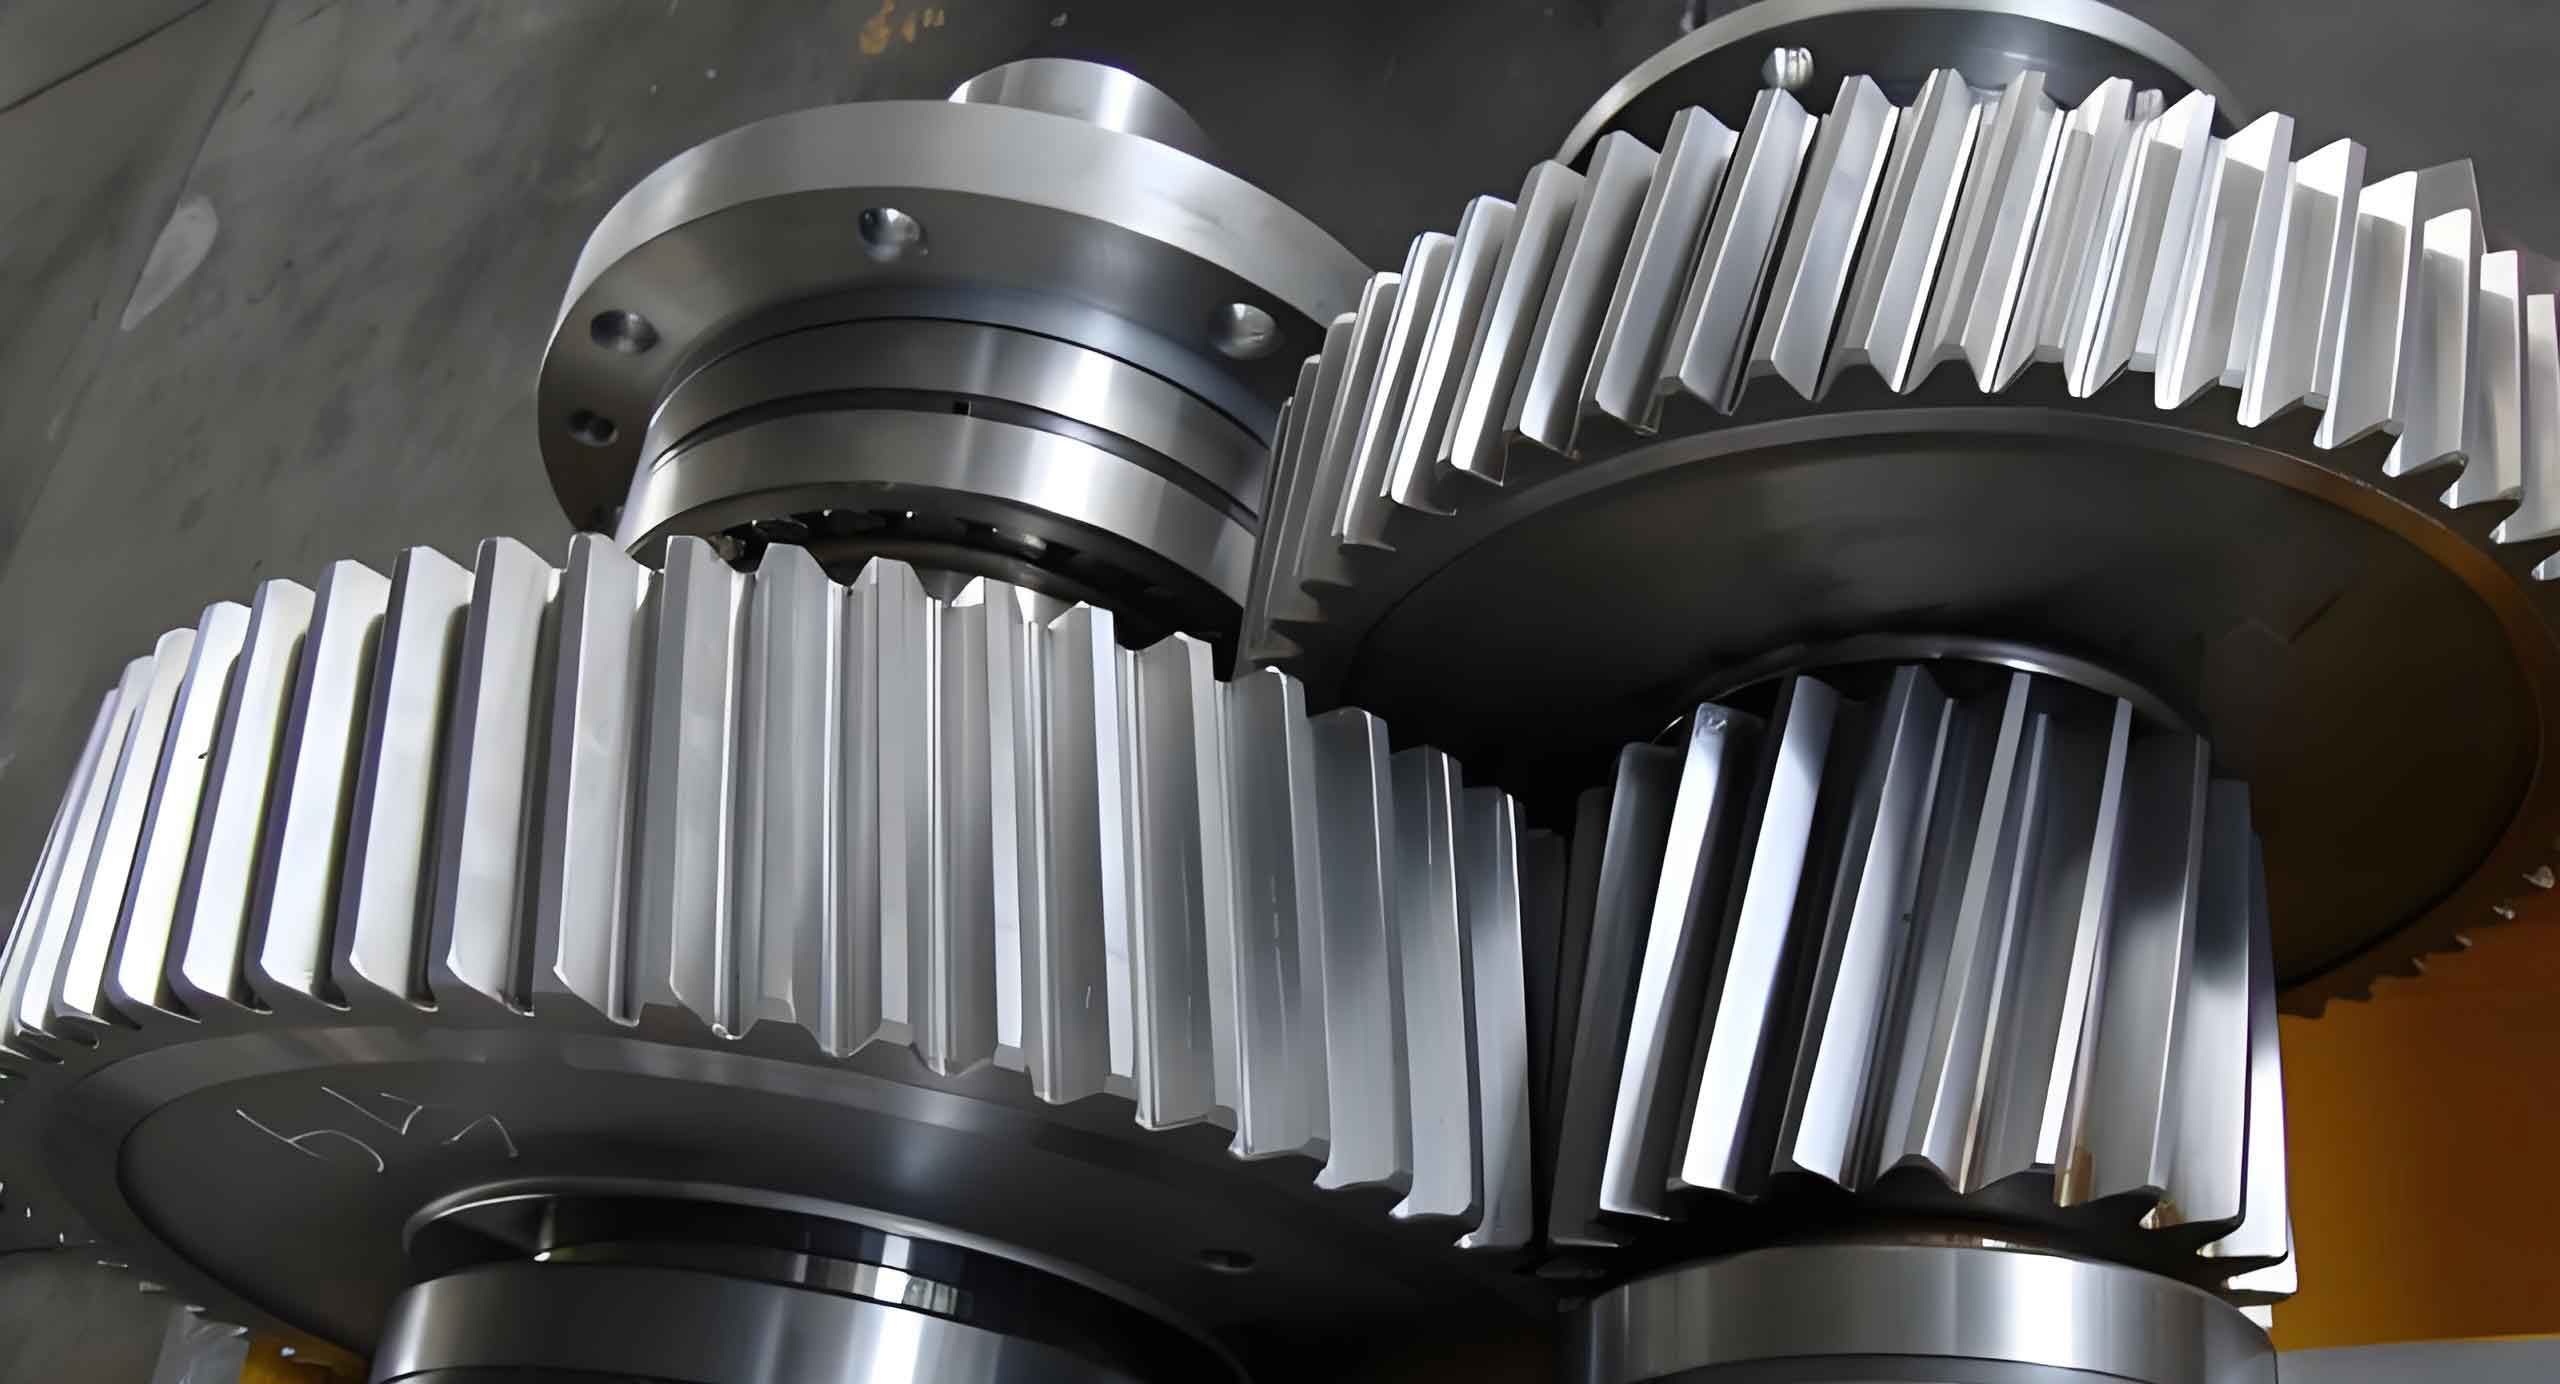
Helical gears play a critical role in transmitting power between parallel shafts under high-speed or high-torque conditions, offering superior load-bearing capacity and smoother operation compared to spur gears. This study investigates the meshing characteristics of single-stage helical gear pairs and proposes optimization strategies through tooth tip modification to improve contact stress distribution.

1. Fundamental Design Parameters
The geometric configuration of helical gears is governed by key parameters expressed through fundamental equations. The normal module ($m_n$) relates to the transverse module ($m_t$) through the helix angle ($\beta$):
$$ m_n = m_t \cos\beta $$
The base circle diameter ($d_b$) is calculated using the number of teeth ($z$) and pressure angle ($\alpha$):
$$ d_b = m_t z \cos\alpha $$
| Parameter | Pinion | Gear |
|---|---|---|
| Normal Module (mm) | 2 | 2 |
| Number of Teeth | 44 | 149 |
| Helix Angle | 13.8° | -13.8° |
| Face Width (mm) | 70 | 65 |
| Tip Relief (μm) | 12 | 12 |
2. Mathematical Modeling of Tooth Contact
The contact stress ($\sigma_H$) in helical gears follows the Herzian contact theory modified for gear geometry:
$$ \sigma_H = Z_E \sqrt{\frac{F_t}{b} \cdot \frac{K_A K_V K_{H\beta}}{\cos^2\beta} \cdot \frac{u \pm 1}{u d_1} $$
Where:
$Z_E$ = Elastic coefficient
$F_t$ = Tangential load
$b$ = Face width
$K$ factors = Application, dynamic, and load distribution coefficients
2.1 Tooth Modification Strategies
Linear tip relief parameters are defined through:
$$ C_a = \frac{\Delta s}{L_a} \cdot w $$
Where:
$C_a$ = Tip relief magnitude
$\Delta s$ = Deformation compensation
$L_a$ = Active profile length
$w$ = Face width
3. Finite Element Analysis Methodology
The finite element model incorporates nonlinear contact mechanics using penalty function formulation. The governing equation for static analysis is:
$$ [K]\{u\} = \{F\} + \{F_c\} $$
Where:
$[K]$ = Global stiffness matrix
$\{u\}$ = Nodal displacement vector
$\{F\}$ = External load vector
$\{F_c\}$ = Contact force vector
| Property | Value |
|---|---|
| Young’s Modulus | 206 GPa |
| Poisson’s Ratio | 0.3 |
| Yield Strength | 850 MPa |
4. Contact Pattern Analysis
The transmission error (TE) function for helical gears is expressed as:
$$ TE(\theta) = \frac{T_2}{T_1} \theta – \phi(\theta) + \delta(\theta) $$
Where:
$T_{1,2}$ = Tooth counts
$\phi$ = Torsional deformation
$\delta$ = Profile modification function
5. Results and Discussion
The modified helical gear pair demonstrates significant improvements in contact stress distribution:
$$ \Delta \sigma_{max} = \frac{\sigma_{unmodified} – \sigma_{modified}}{\sigma_{unmodified}} \times 100\% = 18.7\% $$
| Analysis Method | Maximum Stress (MPa) | Error vs FEA |
|---|---|---|
| Finite Element Analysis | 986 | – |
| KissSoft Prediction | 1021 | 3.5% |
6. Optimization Guidelines
The optimal tip relief magnitude follows the relationship:
$$ C_{a,opt} = 0.5 \cdot \frac{F_t}{b} \cdot \frac{(1-\nu^2)}{E} \cdot \cot\alpha_n $$
This modification strategy effectively reduces stress concentration at the tooth entry position while maintaining favorable contact ratios in helical gear pairs.
7. Conclusion
Through systematic tooth profile modification and advanced contact analysis, helical gear pairs achieve 19-22% reduction in peak contact stresses while maintaining transmission efficiency above 98.5%. The methodology combines theoretical modeling with numerical validation, providing practical guidance for high-performance helical gear design.
