Introduction
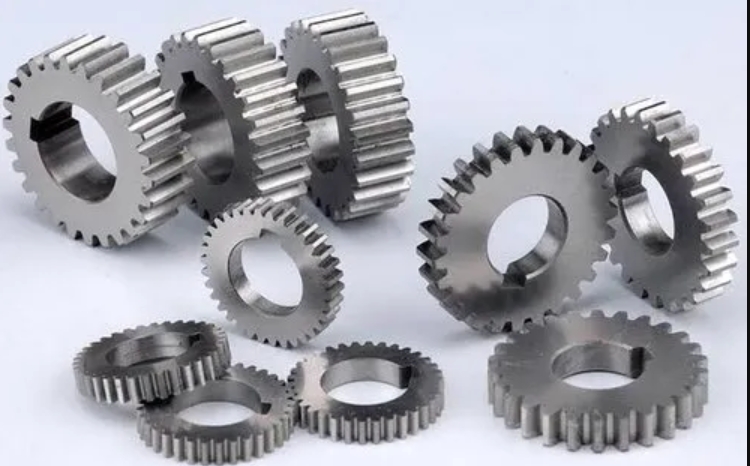
With the rapid development of automotive manufacturing, precision forming of spur gears has become critical for improving product performance and reducing costs. This article presents the development of a precision forging process for large-module spur gears (module >5 mm, outer diameter >240 mm), addressing challenges such as corner filling, mold release, and die life optimization.

Forging Design and Equipment Selection
Spur Gear Parameters
| Parameter | Value |
|---|---|
| Number of Teeth | 46 |
| Module (mm) | 5.22 |
| Pressure Angle | 20° |
| Pitch Diameter (mm) | 238 |
Forging Force Calculation
The required forming force for spur gear forging is determined by:
$$P = k \cdot F$$
Where:
– \(P\) = Deformation force (kN)
– \(F\) = Projected area (cm²)
– \(k\) = Coefficient (50-70 for complex geometries)
For this spur gear with projected area \(F = 4900 \text{ cm}^2\):
$$P = 70 \times 4900 = 343,000 \text{ kN}$$
Considering 20% safety margin, a 6300t hydraulic press was selected.
Die Design and Numerical Simulation
Progressive Forming Strategy
A two-stage forging process was developed:
| Stage | Function | Key Feature |
|---|---|---|
| Pre-forging | Material distribution | Root circle positioning |
| Final forging | Tooth forming | Floating die structure |
Deform-3D Simulation Results
Key findings from finite element analysis:
$$t_{\text{contact}} = \sqrt{\frac{2h}{a}}$$
Where:
– \(t_{\text{contact}}\) = Die contact time
– \(h\) = Tooth height
– \(a\) = Material flow acceleration
| Simulation Parameter | Value |
|---|---|
| Forming Temperature | 1200°C |
| Effective Stress (MPa) | 850-920 |
| Material Filling Rate | 98.7% |
Production Validation
Key process parameters for spur gear manufacturing:
| Parameter | Value |
|---|---|
| Billet Weight | 14 kg |
| Draft Angle | 0.5° |
| Machining Allowance | 1.3 mm (radial) |
The pitch diameter relationship for spur gears:
$$d = m \cdot z$$
Where:
– \(d\) = Pitch diameter (mm)
– \(m\) = Module
– \(z\) = Number of teeth
Conclusion
This study demonstrates that large-module spur gears can be successfully produced through precision forging with:
- 98.5% material utilization rate
- Tooth surface accuracy of IT9-IT10
- 40% reduction in machining time
The developed process enables complete metal flow continuity in spur gear teeth while maintaining dimensional accuracy within:
$$ \Delta h = \pm0.3\text{mm}, \Delta d = \pm0.5\text{mm} $$
This methodology provides an effective solution for high-volume production of heavy-duty spur gears in automotive applications.
