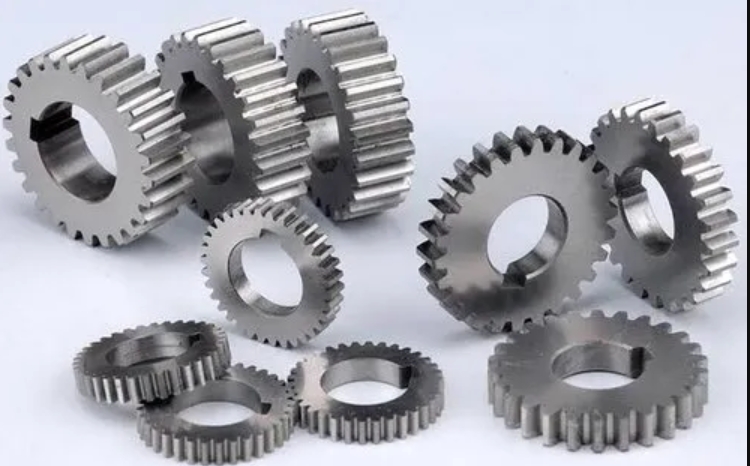
This study presents a systematic methodology for analyzing high-altitude modified spur gears through parametric modeling and transient dynamics. The workflow integrates UG/NX-based CAD modeling, Hertzian contact theory, and ANSYS Workbench simulations to evaluate gear performance under operational conditions.
1. Geometric Parameterization of Modified Spur Gears
The geometric configuration of modified spur gears requires precise calculation of dimensional parameters. For a gear pair with module \( m = 2.5 \), pressure angle \( \alpha = 20^\circ \), and modified coefficients \( x_1 = +0.35 \), \( x_2 = -0.35 \), key parameters are derived as follows:
| Parameter | Formula | Pinion | Gear |
|---|---|---|---|
| Pitch Diameter | \( d = m \cdot z \) | 75 mm | 162.5 mm |
| Addendum Diameter | \( d_a = d + 2m(f + x) \) | 81.75 mm | 165.75 mm |
| Dedendum Diameter | \( d_f = d – m(2f – x + c) \) | 70.5 mm | 154.5 mm |
| Tooth Height | \( h = h_a + h_f \) | 5.625 mm | 5.625 mm |
Where \( f = 1 \) (addendum coefficient) and \( c = 0.25m \) (clearance). The equal tooth height (\( h = 5.625 \) mm) confirms the high-altitude modification characteristic.
2. Parametric Modeling of Spur Gears
The UG/NX modeling process implements parametric equations for spur gear generation:
$$
\begin{cases}
x = r_b \cos\theta + r_b \theta \sin\theta \\
y = r_b \sin\theta – r_b \theta \cos\theta
\end{cases}
$$
where \( r_b = \frac{mz}{2}\cos\alpha \) is base radius. Modification coefficients are integrated through tool offset adjustments during the gear generation process.
3. Hertzian Contact Stress Analysis
The maximum theoretical contact stress between spur gear teeth is calculated using the refined Hertz formula:
$$
\sigma_H = 0.418 \sqrt{\frac{F_n E}{L \rho_{eq}}}
$$
Where:
- \( F_n = \frac{2T}{d \cos\alpha} = 1,327.6 \) N (normal load)
- \( \rho_{eq} = \frac{\rho_1 \rho_2}{\rho_1 + \rho_2} = 18.42 \) mm (equivalent curvature radius)
- \( L = \frac{3b}{4 – \epsilon_\alpha} = 32.29 \) mm (effective contact length)
For structural steel (\( E = 206 \) GPa), the calculated stress is:
$$
\sigma_H = 283.37 \text{ MPa}
$$
4. Transient Finite Element Analysis
The ANSYS Workbench transient analysis incorporates:
| Element Type | Quadratic Tetrahedral (SOLID186) |
| Mesh Density | Local refinement at contact zone (2 mm) |
| Contact Definition | Frictional (μ = 0.15), asymmetric formulation |
| Boundary Conditions | Pinion: 1 rad/s rotation Gear: 500 N·m torque |
Simulation results demonstrate:
$$
\sigma_{max}^{FEA} = 287.55 \text{ MPa} \quad (\text{0.74\% deviation from theoretical value})
$$
Stress distribution patterns confirm proper load sharing across multiple spur gear teeth during meshing cycles.
5. Dynamic Response Characteristics
The transient analysis reveals critical insights into spur gear behavior:
$$
\delta_{max} = 0.023 \text{ mm} \quad \text{(Maximum elastic deformation)}
$$
Vibration spectra show dominant frequency components at:
$$
f_m = \frac{z \cdot n}{60} = 25 \text{ Hz} \quad \text{(Mesh frequency)}
$$
These results validate the effectiveness of high-altitude modification in maintaining stress uniformity while preventing undercutting.
6. Conclusion
This integrated CAD-FEA methodology demonstrates:
- Parametric UG modeling enables accurate generation of modified spur gear geometry
- Hertzian theory provides reliable initial stress estimation (1.47% simulation deviation)
- Transient analysis captures dynamic load distribution in spur gear systems
The workflow establishes a foundation for optimizing spur gear performance through systematic modification and computational verification.
