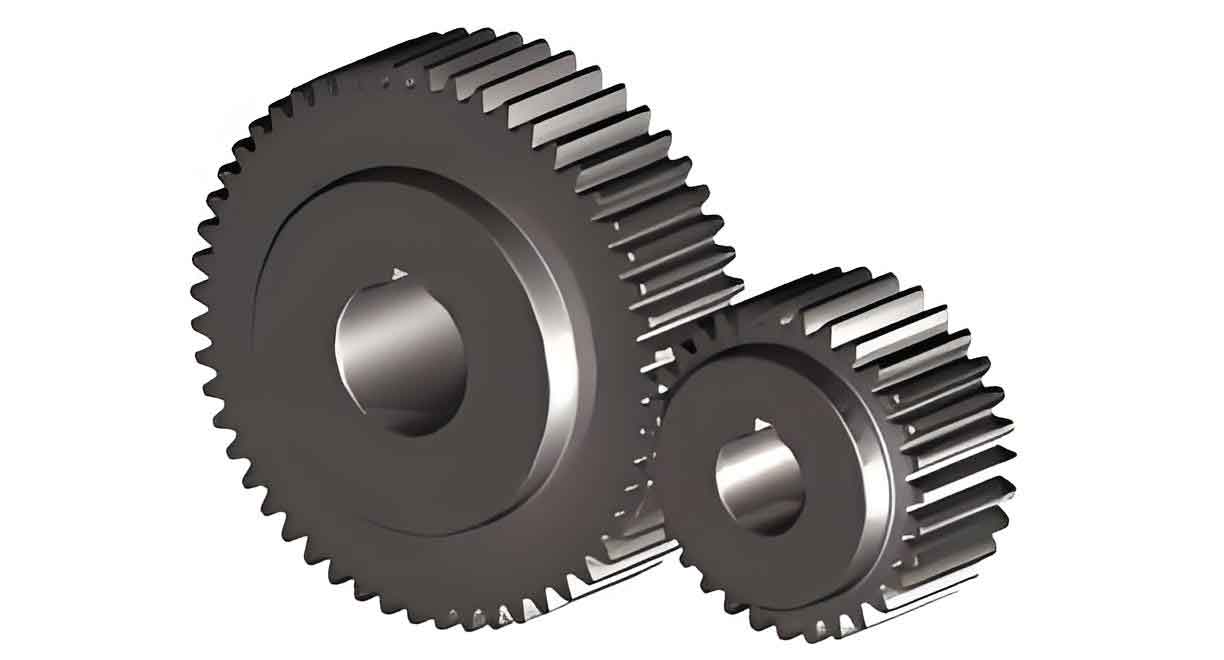
This study proposes a precise design methodology for skiving tools to enhance the machining accuracy of orthogonal spur face gears. By leveraging the meshing principles of crossed-axis gears and advanced numerical modeling, we develop an error-free skiving process capable of generating spur gear tooth surfaces with minimal deviations. The methodology integrates analytical derivations, computational simulations, and experimental validations to address critical challenges in gear manufacturing.

Fundamental Equations for Spur Gear Generation
The tooth surface of cylindrical spur gears is defined through parametric equations in coordinate system \( S_1 \):
$$
\mathbf{R}_1(u_1, \theta_1) = \begin{bmatrix}
r_{b1}[\\sin(\theta_1 + \theta_{o1}) – \theta_1\\cos(\theta_1 + \theta_{o1})] \\
-r_{b1}[\\cos(\theta_1 + \theta_{o1}) + \theta_1\\sin(\theta_1 + \theta_{o1})] \\
u_1
\end{bmatrix}
$$
where \( r_{b1} = \\frac{m_n z_1 \\cos\\alpha}{2} \) represents the base circle radius, and \( \\theta_{o1} \) denotes the initial angular position. The normal vector is derived as:
$$
\mathbf{n}_1 = -\\begin{bmatrix}
\\cos(\theta_1 + \theta_{o1}) \\
\\sin(\theta_1 + \theta_{o1}) \\
0
\end{bmatrix}
$$
Tool Surface Generation
The skiving tool surface is generated through coordinate transformations and meshing constraints:
$$
\mathbf{R}_v = \mathbf{M}_{v1}\\mathbf{R}_1, \\quad \mathbf{n}_v = \mathbf{L}_{v1}\\mathbf{n}_1
$$
Meshing conditions are established through dual parametric constraints:
$$
\\begin{cases}
\mathbf{n}_v \\cdot \\frac{\\partial \\mathbf{R}_v}{\\partial \\phi_1} = 0 \\\\
\mathbf{n}_v \\cdot \\frac{\\partial \\mathbf{R}_v}{\\partial l} = 0
\\end{cases}
$$
| Parameter | Value | Unit |
|---|---|---|
| Module (\( m_n \)) | 3.0 | mm |
| Pressure Angle (\( \\alpha \)) | 25° | – |
| Tool Teeth (\( z_v \)) | 27 | – |
| Face Gear Teeth (\( z_2 \)) | 150 | – |
| Helix Angle (\( \\beta_v \)) | 7° | – |
Cutting Edge Formulation
The cutting edge geometry is determined through normal plane intersection:
$$
y_v \\tan\\eta(x_v \\sin\\beta_v – z_v \\cos\\beta_v) = 0
$$
Combined with the tool surface equation, this defines the cutting edge locus:
$$
\\begin{cases}
\mathbf{R}_v = \mathbf{M}_{v1}\\mathbf{R}_1 \\\\
\mathbf{R}_v^{(2)} \\tan\\eta[\\mathbf{R}_v^{(1)}\\sin\\beta_v – \\mathbf{R}_v^{(3)}\\cos\\beta_v] = 0
\\end{cases}
$$
Numerical Verification
Tooth surface errors are quantified through numerical comparison:
$$
\\delta_k = (\\mathbf{R}_{2a_k} – \\mathbf{R}_{k2}) \\cdot \\mathbf{n}_2
$$
Vericut simulations demonstrate maximum profile errors below 10μm, confirming the effectiveness of the proposed skiving tool design for spur gear manufacturing.
| Rake Angle | Left Flank Error (μm) | Right Flank Error (μm) |
|---|---|---|
| 0° | 8.1 / -2.6 | 7.8 / -1.7 |
| 5° | 7.3 / -2.1 | 7.7 / -1.5 |
| 10° | 6.5 / -2.1 | 8.8 / -1.4 |
| 15° | 6.0 / -2.1 | 9.4 / -1.2 |
The methodology enables precise manufacturing of spur gears through skiving operations, achieving theoretical accuracy when tool errors are eliminated. This advancement significantly improves the production efficiency and quality consistency in spur gear manufacturing processes.
