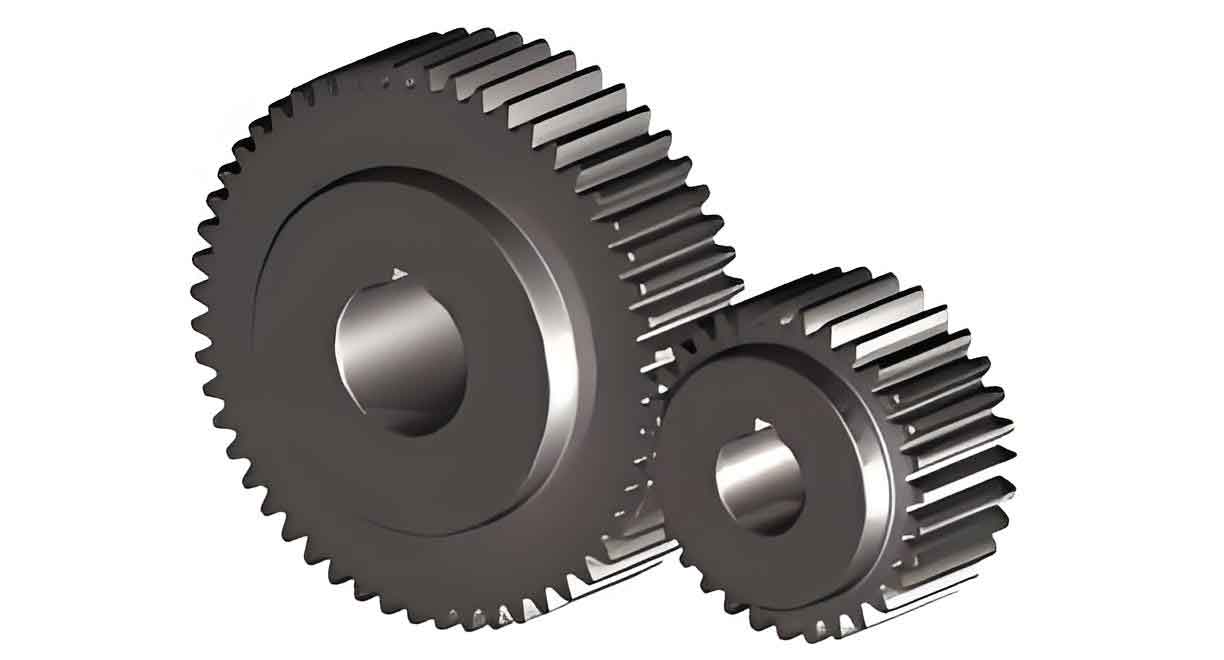
Numerical Analysis and Optimization of Cold Precision Forging Process for Cylindrical Spur Gears

This study investigates the cold precision forging process optimization for cylindrical spur gears through numerical simulations. Three process schemes are compared: baseline closed-die forging (Plan A), flash hole implementation (Plan B), and diversion groove design (Plan C). The analysis focuses on forming load reduction, stress distribution uniformity, and parameter sensitivity.
Process Design and Numerical Modeling
For spur gear manufacturing, the geometric parameters include module $m=2.0$, tooth count $z=30$, and face width $b=20\text{mm}$. The finite element model employs quarter symmetry to reduce computational costs. Key simulation parameters are summarized in Table 1:
| Parameter | Value |
|---|---|
| Billet dimensions | ϕ50 × 38.5 mm |
| Temperature | 20°C |
| Forming speed | 1 mm/s |
| Mesh count | 100,000 |
| Material | AISI 4120 |
| Friction coefficient | 0.1 |
The forming load evolution follows the relationship:
$$ F = k \cdot \sigma_f \cdot A \cdot \left(1 + \frac{\mu d}{3h}\right) $$
where $k$ represents strain hardening coefficient, $\sigma_f$ flow stress, $A$ contact area, $\mu$ friction coefficient, $d$ diameter, and $h$ instantaneous height.
Comparative Analysis of Process Schemes
Figure 1 demonstrates the forming load characteristics for different spur gear processes. Plan B (flash hole ϕ6mm) and Plan C (0.5mm diversion groove) show significant improvements:
| Process | Max Load (kN) | Stress Concentration Factor |
|---|---|---|
| Plan A | 1,500 | 5.5 |
| Plan B | 1,393 | 3.0 |
| Plan C | 1,397 | 3.1 |
The equivalent stress distribution follows:
$$ \sigma_{eq} = \sqrt{\frac{3}{2}s_{ij}s_{ij}} $$
where $s_{ij}$ denotes deviatoric stress components. Plan B/C exhibit 45% lower maximum stress compared to Plan A, confirming improved stress uniformity for spur gear forming.
Parameter Optimization Results
The parametric study evaluates friction coefficient (0.1-0.3) and ram speed (1-10 mm/s) effects on spur gear forming loads:
| Case | μ | Speed (mm/s) | Max Load (kN) |
|---|---|---|---|
| 1 | 0.1 | 1 | 1,489 |
| 2 | 0.1 | 5 | 1,652 |
| 3 | 0.1 | 10 | 1,688 |
| 4 | 0.2 | 1 | 1,654 |
| 5 | 0.2 | 5 | 1,773 |
| 6 | 0.2 | 10 | 1,862 |
| 7 | 0.3 | 1 | 1,718 |
| 8 | 0.3 | 5 | 1,873 |
| 9 | 0.3 | 10 | 2,070 |
The load variation follows the empirical relationship:
$$ \Delta F = 2070 – 1489 = 581\ \text{kN}\ (28\%\ \text{reduction}) $$
Optimal parameters for spur gear production were identified as μ=0.2 with 1 mm/s ram speed, achieving 1,654 kN forming load while maintaining dimensional accuracy.
Conclusion
Both flash hole and diversion groove implementations effectively reduce forming loads in spur gear cold forging by 7-7.5%. The parametric study establishes a 28% load variation range, providing crucial guidance for industrial process design. Future work will focus on multi-objective optimization considering die wear and surface finish.
