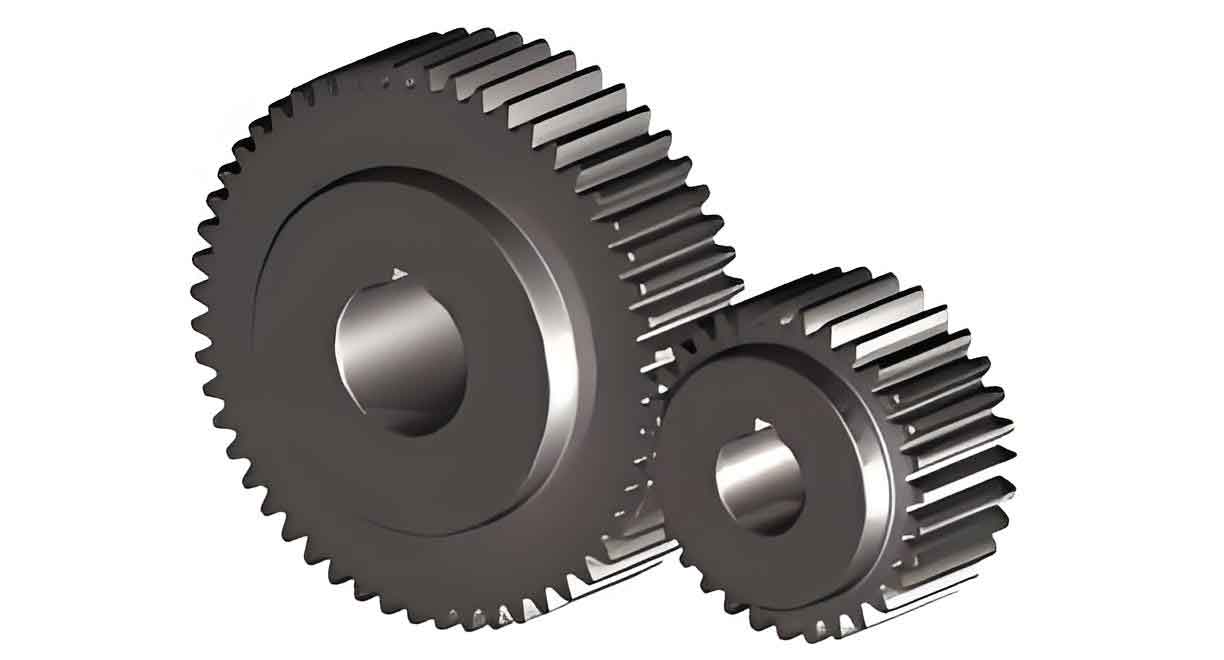
This paper presents a comprehensive methodology for simulating cutter-workpiece engagement (CWE) boundaries during ball-end milling of spur gears, combining kinematic modeling with advanced solid modeling techniques. The analysis focuses on achieving precise geometric representation of engagement zones through systematic toolpath planning and Boolean operations.

1. Mathematical Modeling of Spur Gear Milling
The fundamental kinematic relationship between cutter and spur gear workpiece is established through coordinate transformations:
$$
\begin{cases}
M_{T}^{W} = M_{T}^{F}M_{F}^{W} \\
M_{F}^{W} = R_y(\beta_k)R_z(90^\circ)T(x_{CL}, y_{CL}, z_{CL})
\end{cases}
$$
Where $M_{T}^{W}$ represents the transformation matrix from tool to workpiece coordinate system, with $\beta_k$ denoting the inclination angle between cutter axis and gear axis.
2. Tooth Profile Generation
The involute tooth profile of spur gears is mathematically described using parametric equations:
$$
\begin{aligned}
x &= \frac{r_b}{\cos\alpha}\sin(\Omega_S – \tan\alpha + \alpha) + T\cos(\tan\alpha – \Omega_S) \\
y &= \frac{r_b}{\cos\alpha}\cos(\Omega_S – \tan\alpha + \alpha) + T\sin(\tan\alpha – \Omega_S) \\
z &= 0
\end{aligned}
$$
| Parameter | Symbol | Value (mm) |
|---|---|---|
| Base Circle Radius | $r_b$ | 56.38 |
| Pressure Angle | $\alpha$ | 20° |
| Tooth Thickness Angle | $\Omega_S$ | $\pi/2z + \theta_n$ |
| Machining Allowance | $T$ | 0.3 |
3. Toolpath Planning Strategy
The constant scallop height method ensures uniform surface finish in spur gear milling:
$$
\begin{cases}
(x_{G_k} – x_{CL_k})^2 + (y_{G_k} – y_{CL_k})^2 = R^2 \\
(x_{G_k} – x_{CL_{k+1}})^2 + (y_{G_k} – y_{CL_{k+1}})^2 = R^2
\end{cases}
$$
| Tool Parameter | Value |
|---|---|
| Cutter Radius (R) | 3 mm |
| Helix Angle | 15° |
| Number of Flutes | 2 |
| Scallop Height (h) | 0.03 mm |
4. Engagement Zone Calculation
The Boolean subtraction operation between tool swept volume and workpiece model generates updated engagement boundaries:
$$
V_{updated} = V_{workpiece} \setminus V_{swept}
$$
Key steps in CWE determination:
- Construct tool swept volume using NURBS surfaces
- Perform Boolean subtraction with Parasolid kernel
- Identify spherical engagement regions through geometric filtering
- Calculate entry/exit angles using axial plane intersections
5. Experimental Validation
Cutting tests confirm simulation accuracy through comparative analysis:
| Path No. | Simulated Angle (°) | Measured Angle (°) | Deviation (%) |
|---|---|---|---|
| Path 2 | 42.7-118.3 | 41.9-117.5 | 1.87 |
| Path 4 | 38.1-123.9 | 37.4-122.8 | 1.45 |
The maximum deviation of 1.87% between simulated and actual engagement angles demonstrates the effectiveness of the proposed method for spur gear milling analysis.
6. Process Optimization Considerations
Critical factors influencing CWE in spur gear milling:
$$
\begin{aligned}
\text{Engagement Area} &= \int_{\theta_{entry}}^{\theta_{exit}} R^2(\sin\phi – \phi\cos\phi)d\phi \\
\text{Radial Depth Ratio} &= \frac{a_e}{D} \times 100\%
\end{aligned}
$$
| Parameter | Optimal Range |
|---|---|
| Cutter Inclination | 55°-65° |
| Feed per Tooth | 0.04-0.06 mm |
| Spindle Speed | 2800-3200 rpm |
| Radial Engagement | 35-45% |
This comprehensive analysis methodology enables accurate prediction of cutting forces and tool wear patterns in spur gear manufacturing, particularly valuable for high-precision applications requiring minimal profile errors.
