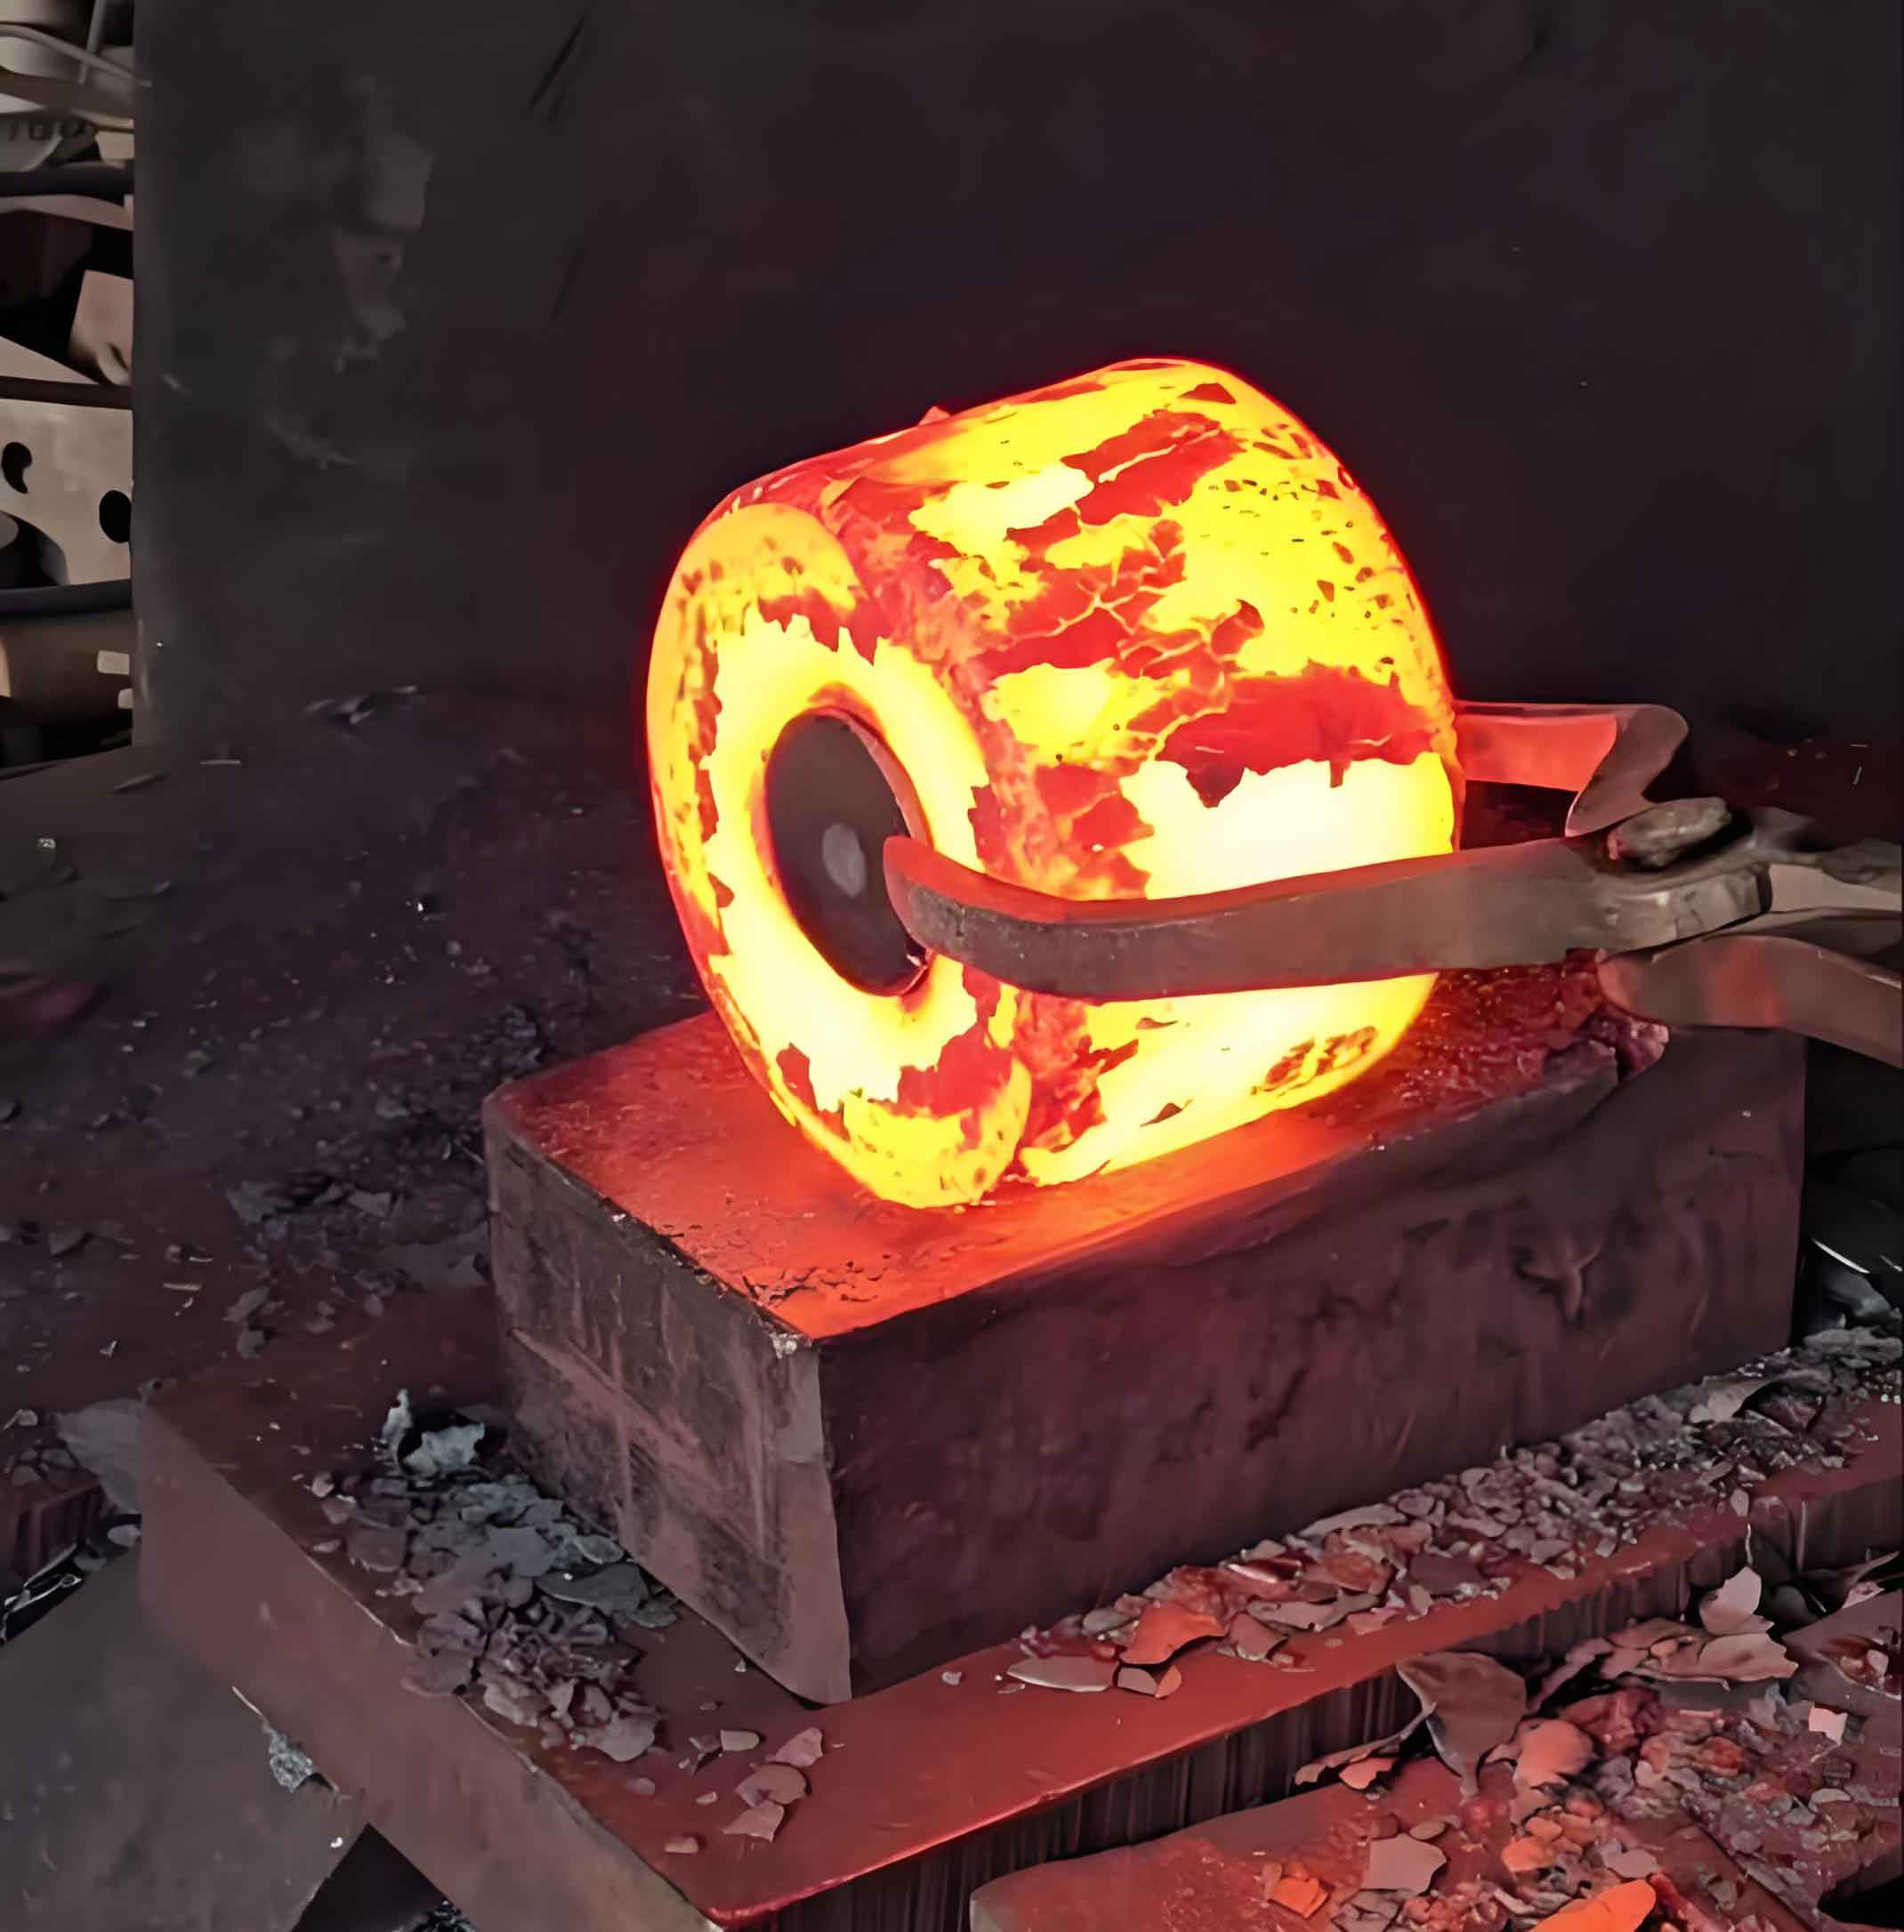
As an engineer specializing in heavy machinery, I often encounter challenges in designing durable gear systems for industrial applications. Gears are fundamental transmission components in mechanical systems, regulating speed and transferring power across devices like cranes, vehicles, and machine tools. During operation, gears endure significant stresses, including cyclic bending stress, contact stress, and frictional forces at the meshing surfaces. Uneven meshing can even induce impact loads, leading to failures such as pitting, wear, and tooth breakage. To withstand these demands, gear blanks must exhibit exceptional quality, particularly for large gears exceeding 2 meters in diameter. Historically, such large gear blanks were manufactured using casting due to cost-effectiveness, but this approach often resulted in defects at the tooth roots after machining, compromising lifespan. In this article, I detail our innovative forged gear blank composite structure, which combines the strengths of forging and casting to enhance reliability while reducing costs.
Conventional gear blank manufacturing relies on either forging or casting, each with distinct advantages and limitations. For small gears, forging is preferred for its superior material integrity, but for large gears, forging becomes impractical due to equipment constraints and high expenses. Casting offers benefits like complex shape formation and minimal machining allowances, but it suffers from low yield rates (around 60%) and susceptibility to internal flaws. To illustrate, consider the stress analysis: bending stress at the tooth root can be expressed as:
$$
\sigma_b = \frac{K F}{b m}
$$
where \( \sigma_b \) is the bending stress, \( K \) is a stress concentration factor, \( F \) is the tangential force, \( b \) is the face width, and \( m \) is the module. Similarly, contact stress follows Hertzian theory:
$$
\sigma_H = \sqrt{ \frac{F}{\pi} \left( \frac{1}{R_1} + \frac{1}{R_2} \right) }
$$
where \( \sigma_H \) is the contact stress, and \( R_1 \) and \( R_2 \) are the radii of curvature. Cast blanks often fail under such stresses due to inclusions or porosity, whereas forged gear blanks provide higher density and homogeneity. The table below summarizes key comparisons:
| Property | Casting | Forging |
|---|---|---|
| Material Integrity | Lower, prone to defects | Higher, uniform grain flow |
| Cost for Large Gears | Lower initial cost | Higher due to equipment needs |
| Yield Rate | ~60% | ~90% |
| Suitability for Critical Areas | Poor in tooth root zones | Excellent for high-stress regions |
To address these issues, we developed a composite structure where the tooth-intensive ring is forged for strength, while the hub is cast for cost efficiency. This forged gear blank approach ensures that the critical tooth area benefits from forging’s robustness, while the hub, which experiences lower stresses, utilizes economical casting.

Our design involves splitting the gear blank into two components: a forged gear blank ring and a cast hub. This separation allows us to optimize material properties based on functional requirements. For instance, in a large gear application like a steel mill reducer, the tooth ring must resist high contact stresses, making the forged gear blank ideal. The hub, which primarily handles torsional loads, can be cast with relaxed quality standards. Material selection is critical; we recommend ZG35CrMo for the cast hub due to its weldability and mechanical properties, while the forged gear blank ring uses 35CrMo steel for enhanced toughness. The manufacturing sequence begins with hub production: casting with specific parameters like transition radii of 17–25 mm and a draft angle of 1:20. After rough machining, the hub undergoes quenching and tempering to achieve a hardness of 250–280 HBW, followed by non-destructive testing. The forged gear blank ring starts with high-quality ingots, subjected to a forging ratio exceeding 3 to ensure grain refinement. Post-forging heat treatment relieves residual stresses, and after rough turning and tempering, ultrasonic testing confirms quality. Assembly involves aligning the hub and ring with positioning pins, followed by welding using Ar-CO₂ gas shielding and H08Mn2SiA wire. Preheating to 250–300°C prevents thermal shock, and controlled cooling minimizes distortion. Stress relief annealing at 520±20°C for 3 hours ensures dimensional stability before final machining, including turning, gear cutting, and keyway broaching. This process not only elevates the forged gear blank’s performance but also cuts costs by 30% compared to full forging.
Thermal management during welding is vital to avoid microstructural changes. The heat input \( Q \) can be calculated as:
$$
Q = \frac{\eta V I}{v}
$$
where \( \eta \) is efficiency, \( V \) is voltage, \( I \) is current, and \( v \) is travel speed. We maintain \( I = 200 \, \text{A} \) and \( V = 27–30 \, \text{V} \) for uniform penetration. Post-weld annealing kinetics follow an Arrhenius model:
$$
k = A e^{-\frac{E_a}{RT}}
$$
where \( k \) is the reaction rate, \( A \) is a constant, \( E_a \) is activation energy, \( R \) is the gas constant, and \( T \) is temperature. Holding at 520°C ensures adequate stress relief without softening the forged gear blank. Final quality validation includes non-destructive testing, with the forged gear blank ring meeting stringent standards like JB/T5000.15 II level, while the hub adheres to lower criteria. This composite design has proven effective in field applications, reducing failure rates by over 50% and extending service life. By integrating a forged gear blank for high-stress zones, we achieve optimal performance-cost balance, demonstrating the versatility of hybrid manufacturing in heavy industry.
