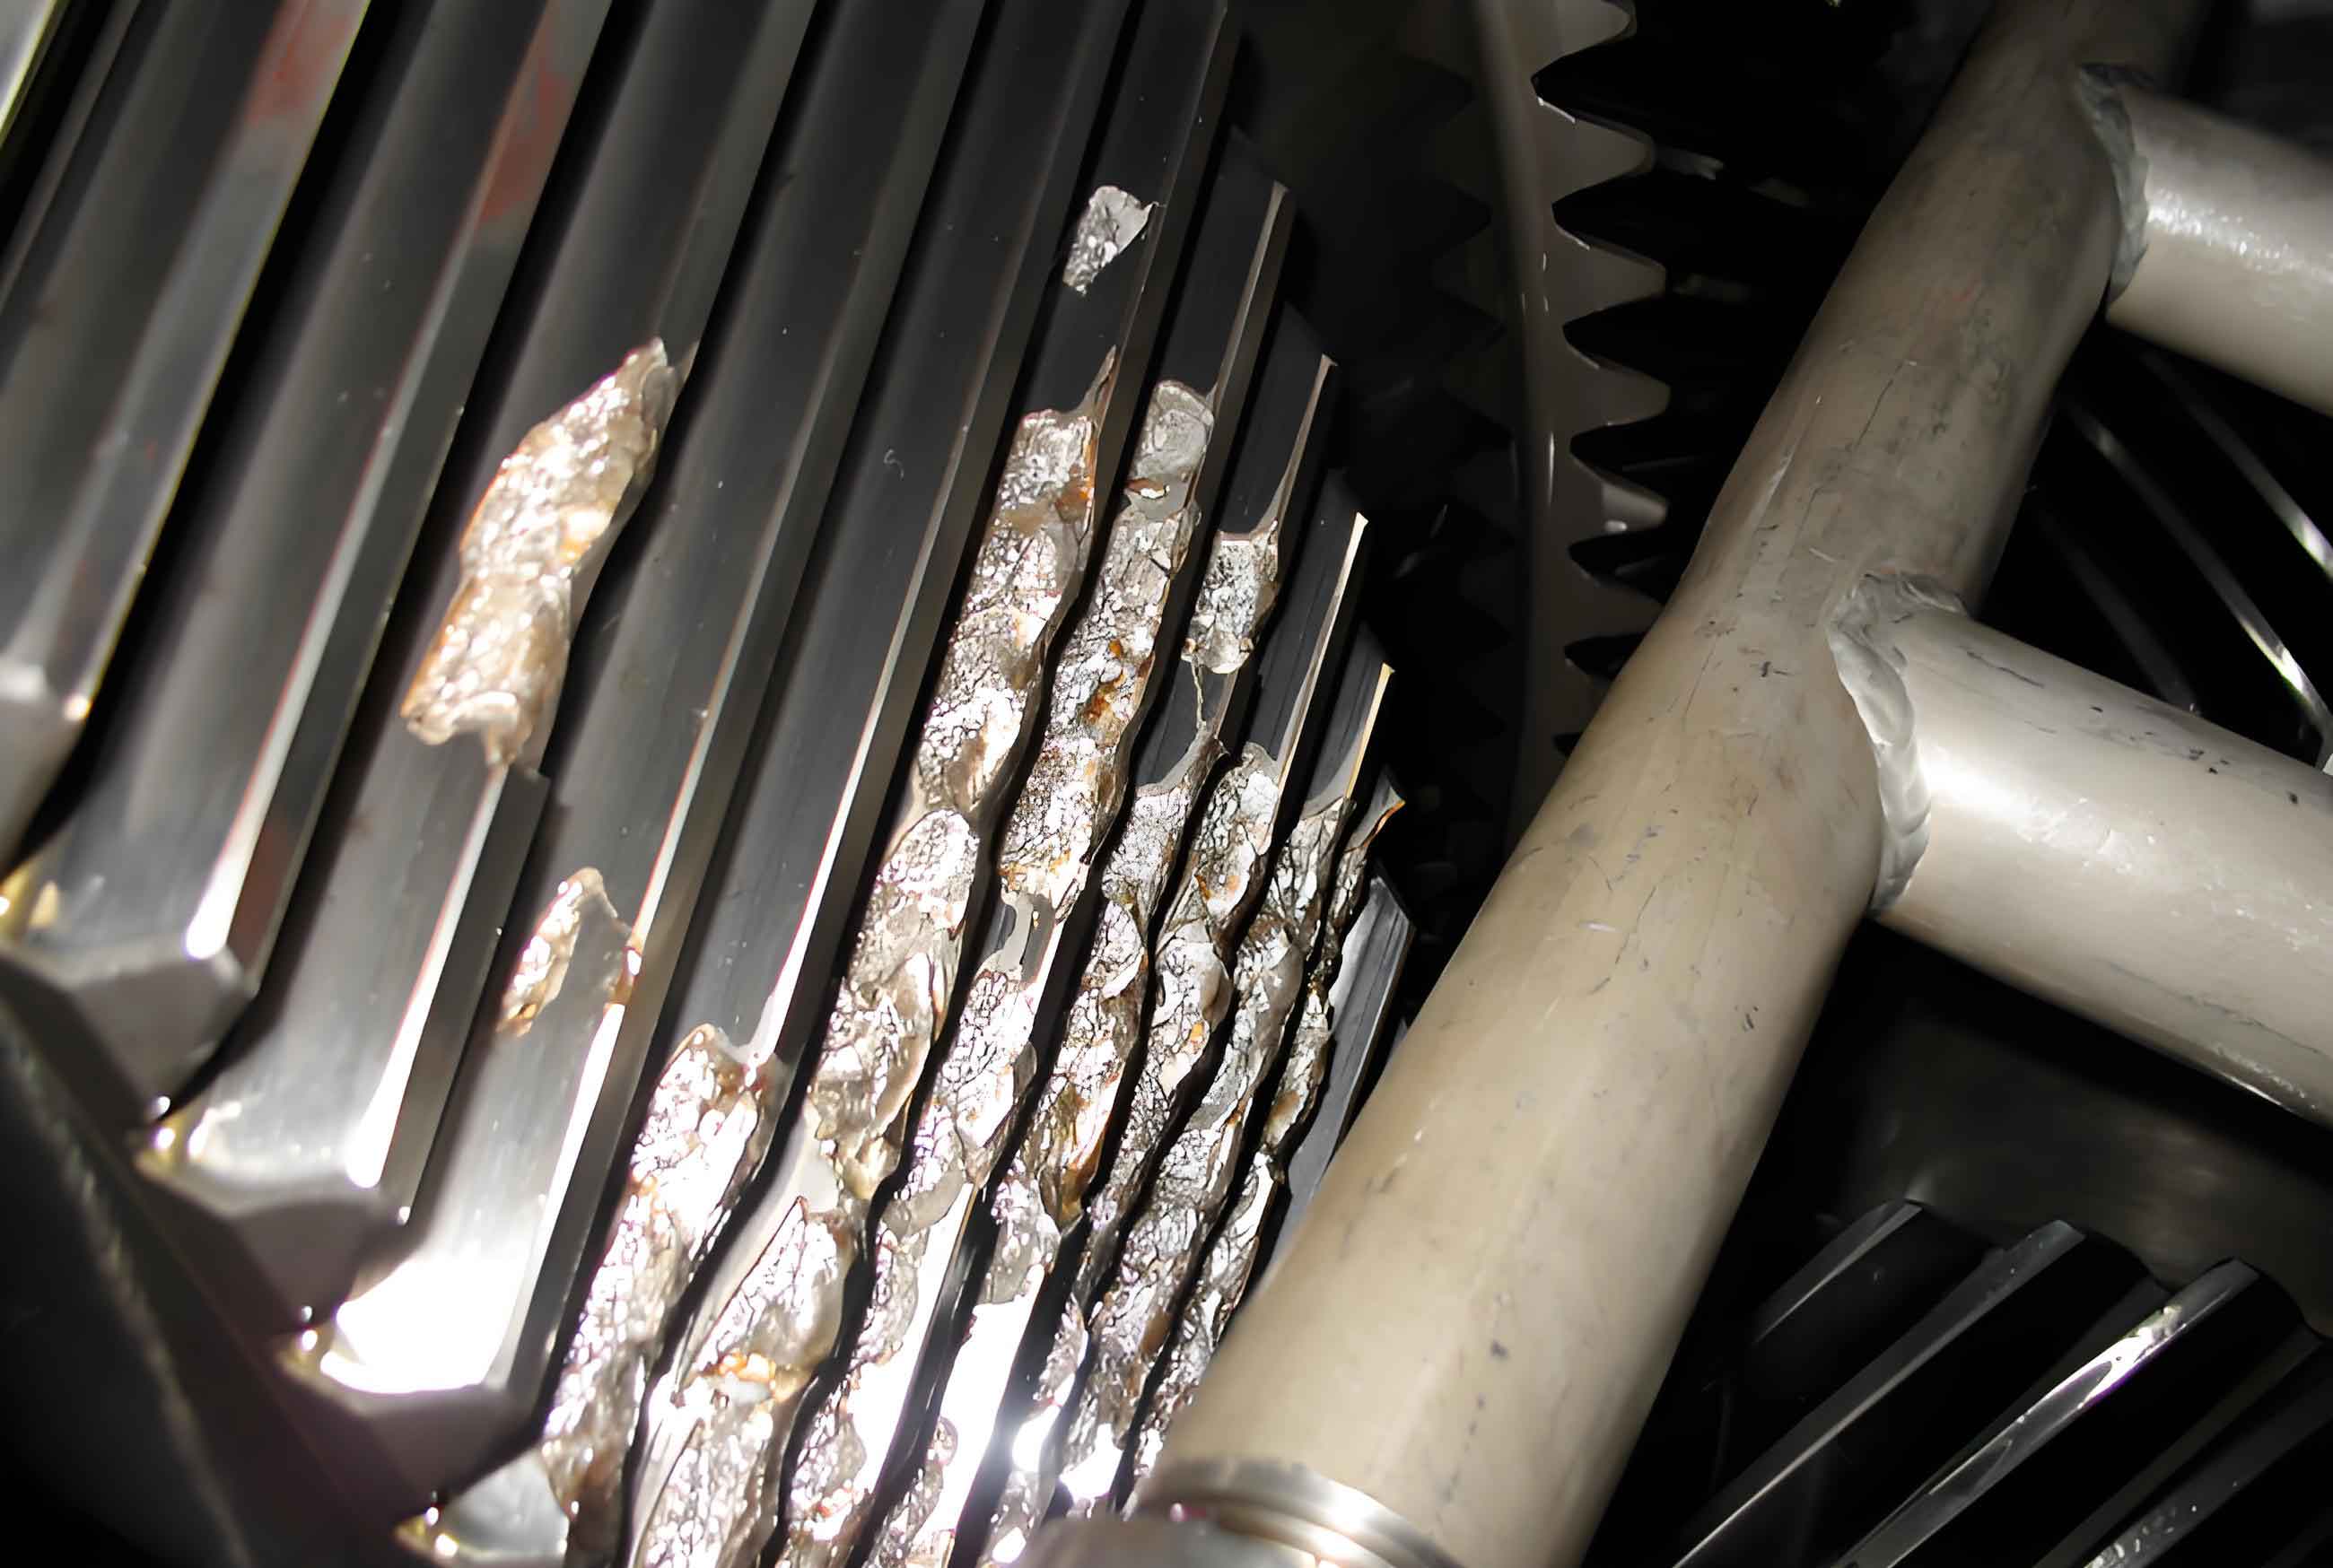
Electric vehicles require transmission systems with exceptional noise control, efficiency, and durability. Gear design critically influences reducer performance, where suboptimal parameters precipitate gear failure through fatigue, pitting, or excessive vibration. Traditional experience-based design struggles with computational complexity and inconsistent results. This study details a systematic approach integrating macro-parameter optimization via full-factorial Design of Experiments (DOE) and micro-geometry modifications using Romax software, significantly enhancing gear reliability and acoustic performance.
Gear Modeling and Initial Performance Analysis
The helical gear pair (Table 1) was modeled in Romax, incorporating ISO 6336 MQ-grade carburized steel properties (Table 2). Bearings were selected for maximum fatigue resistance, with a 0.05mm preload applied to replicate assembly conditions. Operational loads were converted to an equivalent spectrum (Table 3) using S-N curve damage equivalence for simulation efficiency.
| Parameter | Pinion | Gear |
|---|---|---|
| Teeth | 22 | 47 |
| Normal Module (mm) | 1.75 | |
| Pressure Angle (°) | 20 | |
| Helix Angle (°) | 17 | |
| Center Distance (mm) | 63 | |
| Property | Value |
|---|---|
| Surface Hardness (HV) | 670 |
| Core Hardness (HRC) | 31 |
| Ultimate Tensile Strength (MPa) | 2,180 |
| Yield Strength (MPa) | 314 |
| Allowable Contact Stress (MPa) | 1,500 |
| Parameter | Value |
|---|---|
| Torque (Nm) | 360 |
| Power (kW) | 140 |
| Duration (h) | 34.5 |
Initial analysis revealed critical vulnerabilities (Table 4). Bending safety factors fell below ISO 6336 recommendations, indicating high gear failure risk. Contact patterns showed edge-loading (max stress: 224.1 N/mm), accelerating wear and pitting. Transmission error measured 0.931 μm, contributing to vibration noise.
| Parameter | Pinion | Gear |
|---|---|---|
| Bending Safety Factor | 1.92 | 1.58 |
| Contact Safety Factor | 1.07 | 1.13 |
| Transmission Error (μm) | 0.931 | |

Macro-Parameter Optimization via Full-Factorial DOE
A full-factorial DOE assessed pressure angle (17°-22°), module (1.3-1.8mm), and helix angle (15°-25°). Objectives included maximizing bending/contact safety factors and minimizing transmission error. Pressure angle reduction improved contact ratio but required compensatory adjustments:
$$ \varepsilon_{\alpha} = \frac{\sqrt{r_{a1}^2 – r_{b1}^2} + \sqrt{r_{a2}^2 – r_{b2}^2} – a \sin\alpha_t}{\pi m_t \cos\alpha_t} $$
where \(\varepsilon_{\alpha}\) is transverse contact ratio, \(r_a\) is tip radius, \(r_b\) is base radius, \(a\) is center distance, \(\alpha_t\) is transverse pressure angle, and \(m_t\) is transverse module. The optimized configuration (Table 5) increased teeth count and helix angle while reducing pressure angle and module, boosting contact ratio by 31%.
| Parameter | Pinion | Gear |
|---|---|---|
| Teeth | 27 | 58 |
| Normal Module (mm) | 1.393 | |
| Pressure Angle (°) | 18 | |
| Helix Angle (°) | 20 | |
Results showed significant gains (Table 6): contact ratio reached 4.89, transmission error dropped 42.3%, and bending safety improved by 33%. However, contact patterns still exhibited stress concentrations, necessitating micro-geometry refinement.
| Parameter | Improvement |
|---|---|
| Contact Ratio | +31% |
| Transmission Error | -42.3% |
| Bending Safety (Pinion) | +33% |
Micro-Geometry Optimization for Load Distribution
Micro-modifications corrected misalignment-induced edge-loading. Lead crowning (\(C_c\)) was calculated to centralize contact:
$$ C_c = \frac{2F_m F_{\beta y}}{C_{\gamma} b} $$
$$ C_{\gamma} = C’ \left(0.25 + \frac{0.75}{\varepsilon_{\alpha}}\right) $$
where \(F_m\) is transmitted force, \(F_{\beta y}\) is misalignment, \(C_{\gamma}\) is mesh stiffness, \(b\) is face width, and \(C’\) is material constant. Profile crowning (\(\Delta_{max}\)) minimized edge stress:
$$ \Delta_{max} = \frac{K_A F_t}{\varepsilon_{\alpha} C_{\gamma} b} $$
where \(K_A\) is application factor (1.25) and \(F_t\) is tangential force. Initial values were \(C_c\)=8.31μm and \(\Delta_{max}\)=1.76μm. DOE optimization refined these (Table 7), with lead taper correcting residual misalignment.
| Modification | Value (μm) |
|---|---|
| Lead Crowning | 8 |
| Profile Crowning | 6 |
| Lead Taper | -7 |
Final results (Table 8) showed transmission error reduced by 76% versus baseline. Contact stress centralized (max: 244 N/mm), raising safety factors despite higher localized pressure due to optimized load distribution. This directly mitigates gear failure mechanisms like pitting and spalling.
| Parameter | Pinion | Gear |
|---|---|---|
| Bending Safety Factor | 1.66 | 1.49 |
| Contact Safety Factor | 1.11 | 1.18 |
| Transmission Error (μm) | 0.219 | |
Validation and Discussion
Noise testing confirmed vibration reduction. Optimized gears exhibited lower sound pressure levels across orders, with shifted and diminished resonance peaks. Key improvements include:
- Gear failure resistance: Bending safety +33%, contact safety +37%
- Transmission error: −76% reduction
- Contact ratio: +31% for load sharing
Micro-modifications accounted for 59.2% of the transmission error reduction by correcting misalignment. While crowning increased localized stress, the net effect enhanced durability by eliminating edge-loading—a critical gear failure trigger. Scuffing safety (flash temperature method) rose 41.8%, further reducing failure risk.
Conclusion
Integrating macro-parameter DOE with micro-geometry optimization significantly enhances reducer performance. Macro-changes (increased contact ratio via helix/pressure angle adjustment) improve fundamental strength. Micro-modifications (crowning/taper) then optimize load distribution, reducing transmission error by 76% and centralizing contact to prevent gear failure. This methodology elevates safety factors beyond 30% while measurably reducing noise, providing a robust framework for high-performance electric drive gear design. Future work will explore manufacturing tolerances and thermal effects on micro-geometry efficacy.
