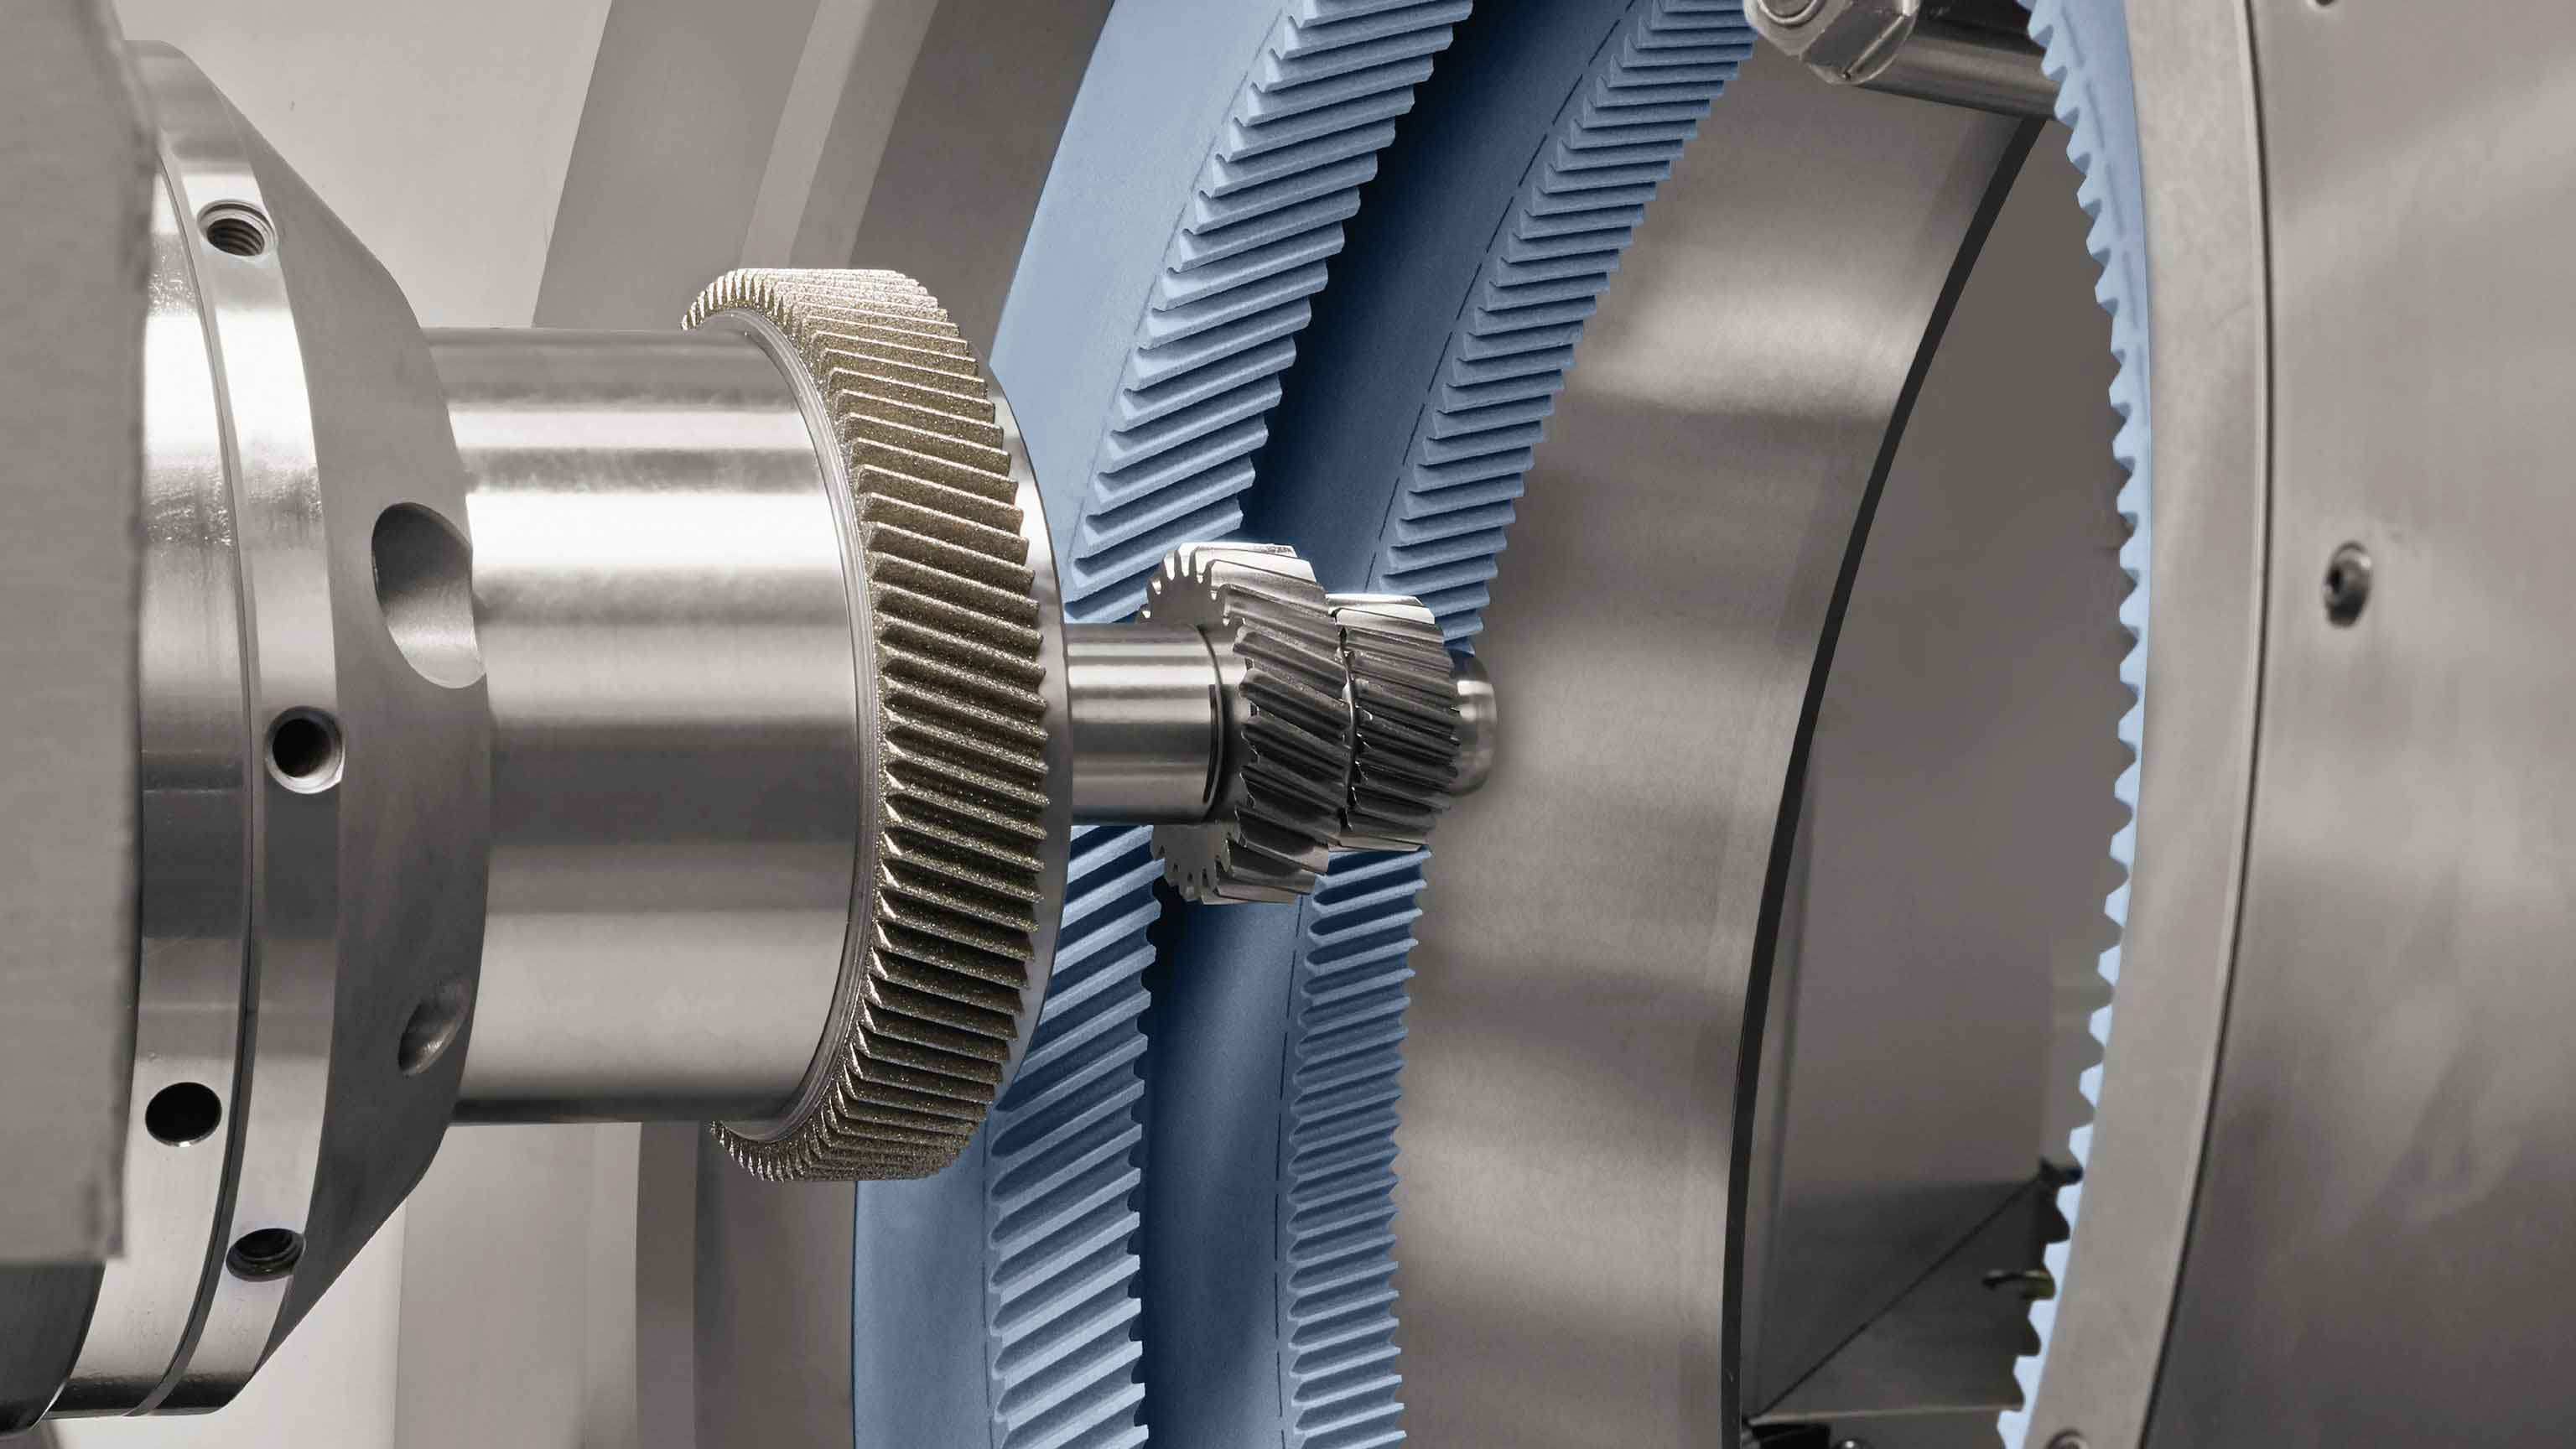
Industrial advancements continuously demand higher gear performance in strength, stability, and noise reduction. Traditional gear honing modification relies on specialized diamond dressing gears tailored to specific profile parameters, limiting versatility and increasing costs. We propose a novel topology modification method using CNC internal gear power honing machines by adjusting motion axes parameters. This approach eliminates profile-specific diamond tools, reduces processing expenses, and accelerates development cycles.

Internal gear power honing operates through crossed-axis helical gear engagement. The honing wheel (internal gear) actively rotates while the workpiece gear undergoes controlled relative motion. Material removal occurs through abrasive interaction under electronic gearbox (EGB) coordination. The mathematical foundation involves three key surfaces:
Diamond dressing gear surface:
$$r_d(\theta_d, \lambda_d) = \begin{bmatrix} r_{bd}\cos(\sigma_{0d} + \theta_d + \lambda_d) + r_{bd}\lambda_d\sin(\sigma_{0d} + \theta_d + \lambda_d) \\ r_{bd}\sin(\sigma_{0d} + \theta_d + \lambda_d) – r_{bd}\lambda_d\cos(\sigma_{0d} + \theta_d + \lambda_d) \\ \theta_d p_d \end{bmatrix}$$
where \(p_d = r_{bd}\tan\beta_{bd}\) denotes helix lead, and \(\theta_d\), \(\lambda_d\) are spiral and involute increment angles.
Honing wheel surface: Derived via coordinate transformation \(M_{hd}(\phi_d)\) and meshing equation:
$$\begin{cases} r_h(\theta_d, \lambda_d, \phi_d) = M_{hd}(\phi_d) r_d(\theta_d, \lambda_d) \\ f(\theta_d, \lambda_d, \phi_d) = n_d \cdot v_d^{hd} = 0 \end{cases}$$
where \(\phi_h = (Z_{1d}/Z_{1h})\phi_d\) synchronizes rotational motion.
Workpiece gear surface: For topology modification, A, B, and X-axes motions are parameterized as bivariate polynomial functions of \(\Phi_{C1}\) (honing wheel rotation) and \(L_Z\) (axial displacement):
$$\begin{align*}
L_X &= a_0 + a_1\Phi_{C1} + a_2L_Z + a_3\Phi_{C1}^2 + a_4L_Z^2 + a_5\Phi_{C1}L_Z \\
\phi_A &= \Sigma_{wh} + a_6 + a_7\Phi_{C1} + a_8L_Z + a_9\Phi_{C1}^2 + a_{10}L_Z^2 + a_{11}\Phi_{C1}L_Z \\
\phi_B &= a_{12} + a_{13}\Phi_{C1} + a_{14}L_Z + a_{15}\Phi_{C1}^2 + a_{16}L_Z^2 + a_{17}\Phi_{C1}L_Z
\end{align*}$$
The workpiece tooth surface becomes:
$$r_w = M_{wh}(\Phi_{C1}, L_Z) r_h, \quad \text{subject to} \quad \begin{cases} f_{\Phi_{C1}} = n_h \cdot v_h^{wh} = 0 \\ f_{L_Z} = n_h \cdot v_h^{wh} = 0 \end{cases}$$
where \(M_{wh}\) incorporates all machine axes transformations.
Topology modification maps 45 grid points on the tooth flank. Normal deviation \(\delta_i\) between modified and theoretical surfaces is:
$$\delta_i = (r_{cw}^i – r_w^i) \cdot n_w^i$$
Sensitivity matrix \(S\) links coefficient adjustments \(\Delta a_j\) to deviation changes \(\Delta \delta_i\):
$$\Delta \delta = S \Delta a, \quad S_{ij} = \frac{\partial \delta_i}{\partial a_j}$$
Coefficient influences are quantified through \(\pm 0.001\) perturbations. Dominant sensitivities are observed in B-axis (highest), A-axis, and X-axis coefficients.
| Polynomial Coefficient | Primary Influence | Sensitivity Magnitude |
|---|---|---|
| \(a_0, a_1, a_2\) (X-axis) | Tooth thickness | Low (1.98 – 6.21) |
| \(a_6 – a_{11}\) (A-axis) | Lead crowning | Medium (5.28e-5 – 3.99e-4) |
| \(a_{12} – a_{17}\) (B-axis) | Profile modification | High (4.31e-6 – 3.58e-10) |
Target modification requires solving the overdetermined system \(\Delta \delta = S \Delta a\). We employ Particle Swarm Optimization (PSO) to minimize the objective function:
$$y = \min \sum_{i=1}^{45} f(i)^2, \quad f(i) = \begin{cases} -\delta_i – S_i a & \text{if } S_i a < 0 \\ -\delta_i & \text{if } S_i a \geq 0 \end{cases}$$
where \(S_i a < 0\) indicates honing wheel penetration into the workpiece during gear honing.
Simulation validates the method using industrial gear parameters:
| Parameter | Workpiece Gear | Honing Wheel | Diamond Gear |
|---|---|---|---|
| Teeth (\(Z\)) | 57 | 151 | 61 |
| Module (mm) | 1.94 | 1.94 | 1.94 |
| Pressure Angle (°) | 18 | 18 | 18 |
| Helix Angle (°) | 23.000 | 31.009 | 23.000 |
Optimized coefficients yield axis motions:
| Axis | Motion Function |
|---|---|
| X | \(-0.0014 -0.0011\Phi_{C1} + 1.0822 \times 10^{-6} L_Z + 0.0020\Phi_{C1}^2 + 8.9101 \times 10^{-4} L_Z^2 – 1.4024 \times 10^{-7}\Phi_{C1}L_Z\) |
| A | \(8.0090 + 5.2844 \times 10^{-5} + 1.2579 \times 10^{-4}\Phi_{C1} – 6.5778 \times 10^{-9} L_Z – 3.9876 \times 10^{-4}\Phi_{C1}^2 – 3.7462 \times 10^{-6} L_Z^2 – 1.9853 \times 10^{-7}\Phi_{C1}L_Z\) |
| B | \(4.3068 \times 10^{-6} -5.3102 \times 10^{-5}\Phi_{C1} + 2.9730 \times 10^{-7} L_Z -1.0146 \times 10^{-5}\Phi_{C1}^2 -2.2479 \times 10^{-7} L_Z^2 -3.5704 \times 10^{-10}\Phi_{C1}L_Z\) |
PSO converges after 80 generations. Maximum modification error is ≤6μm, predominantly at gear endpoints. This confirms precise topology control via CNC gear honing motion parameterization.
Key innovations include:
• Multi-axis polynomial parameterization for gear honing
• Sensitivity-driven topology modification
• Diamond-gear-independent honing process
• PSO-optimized motion coefficients
• Sub-10μm modification accuracy
This methodology enhances gear honing flexibility, reduces tooling costs by 85%, and shortens development cycles by 60%. Future work will implement real-time compensation for thermal distortions during high-power gear honing operations.
