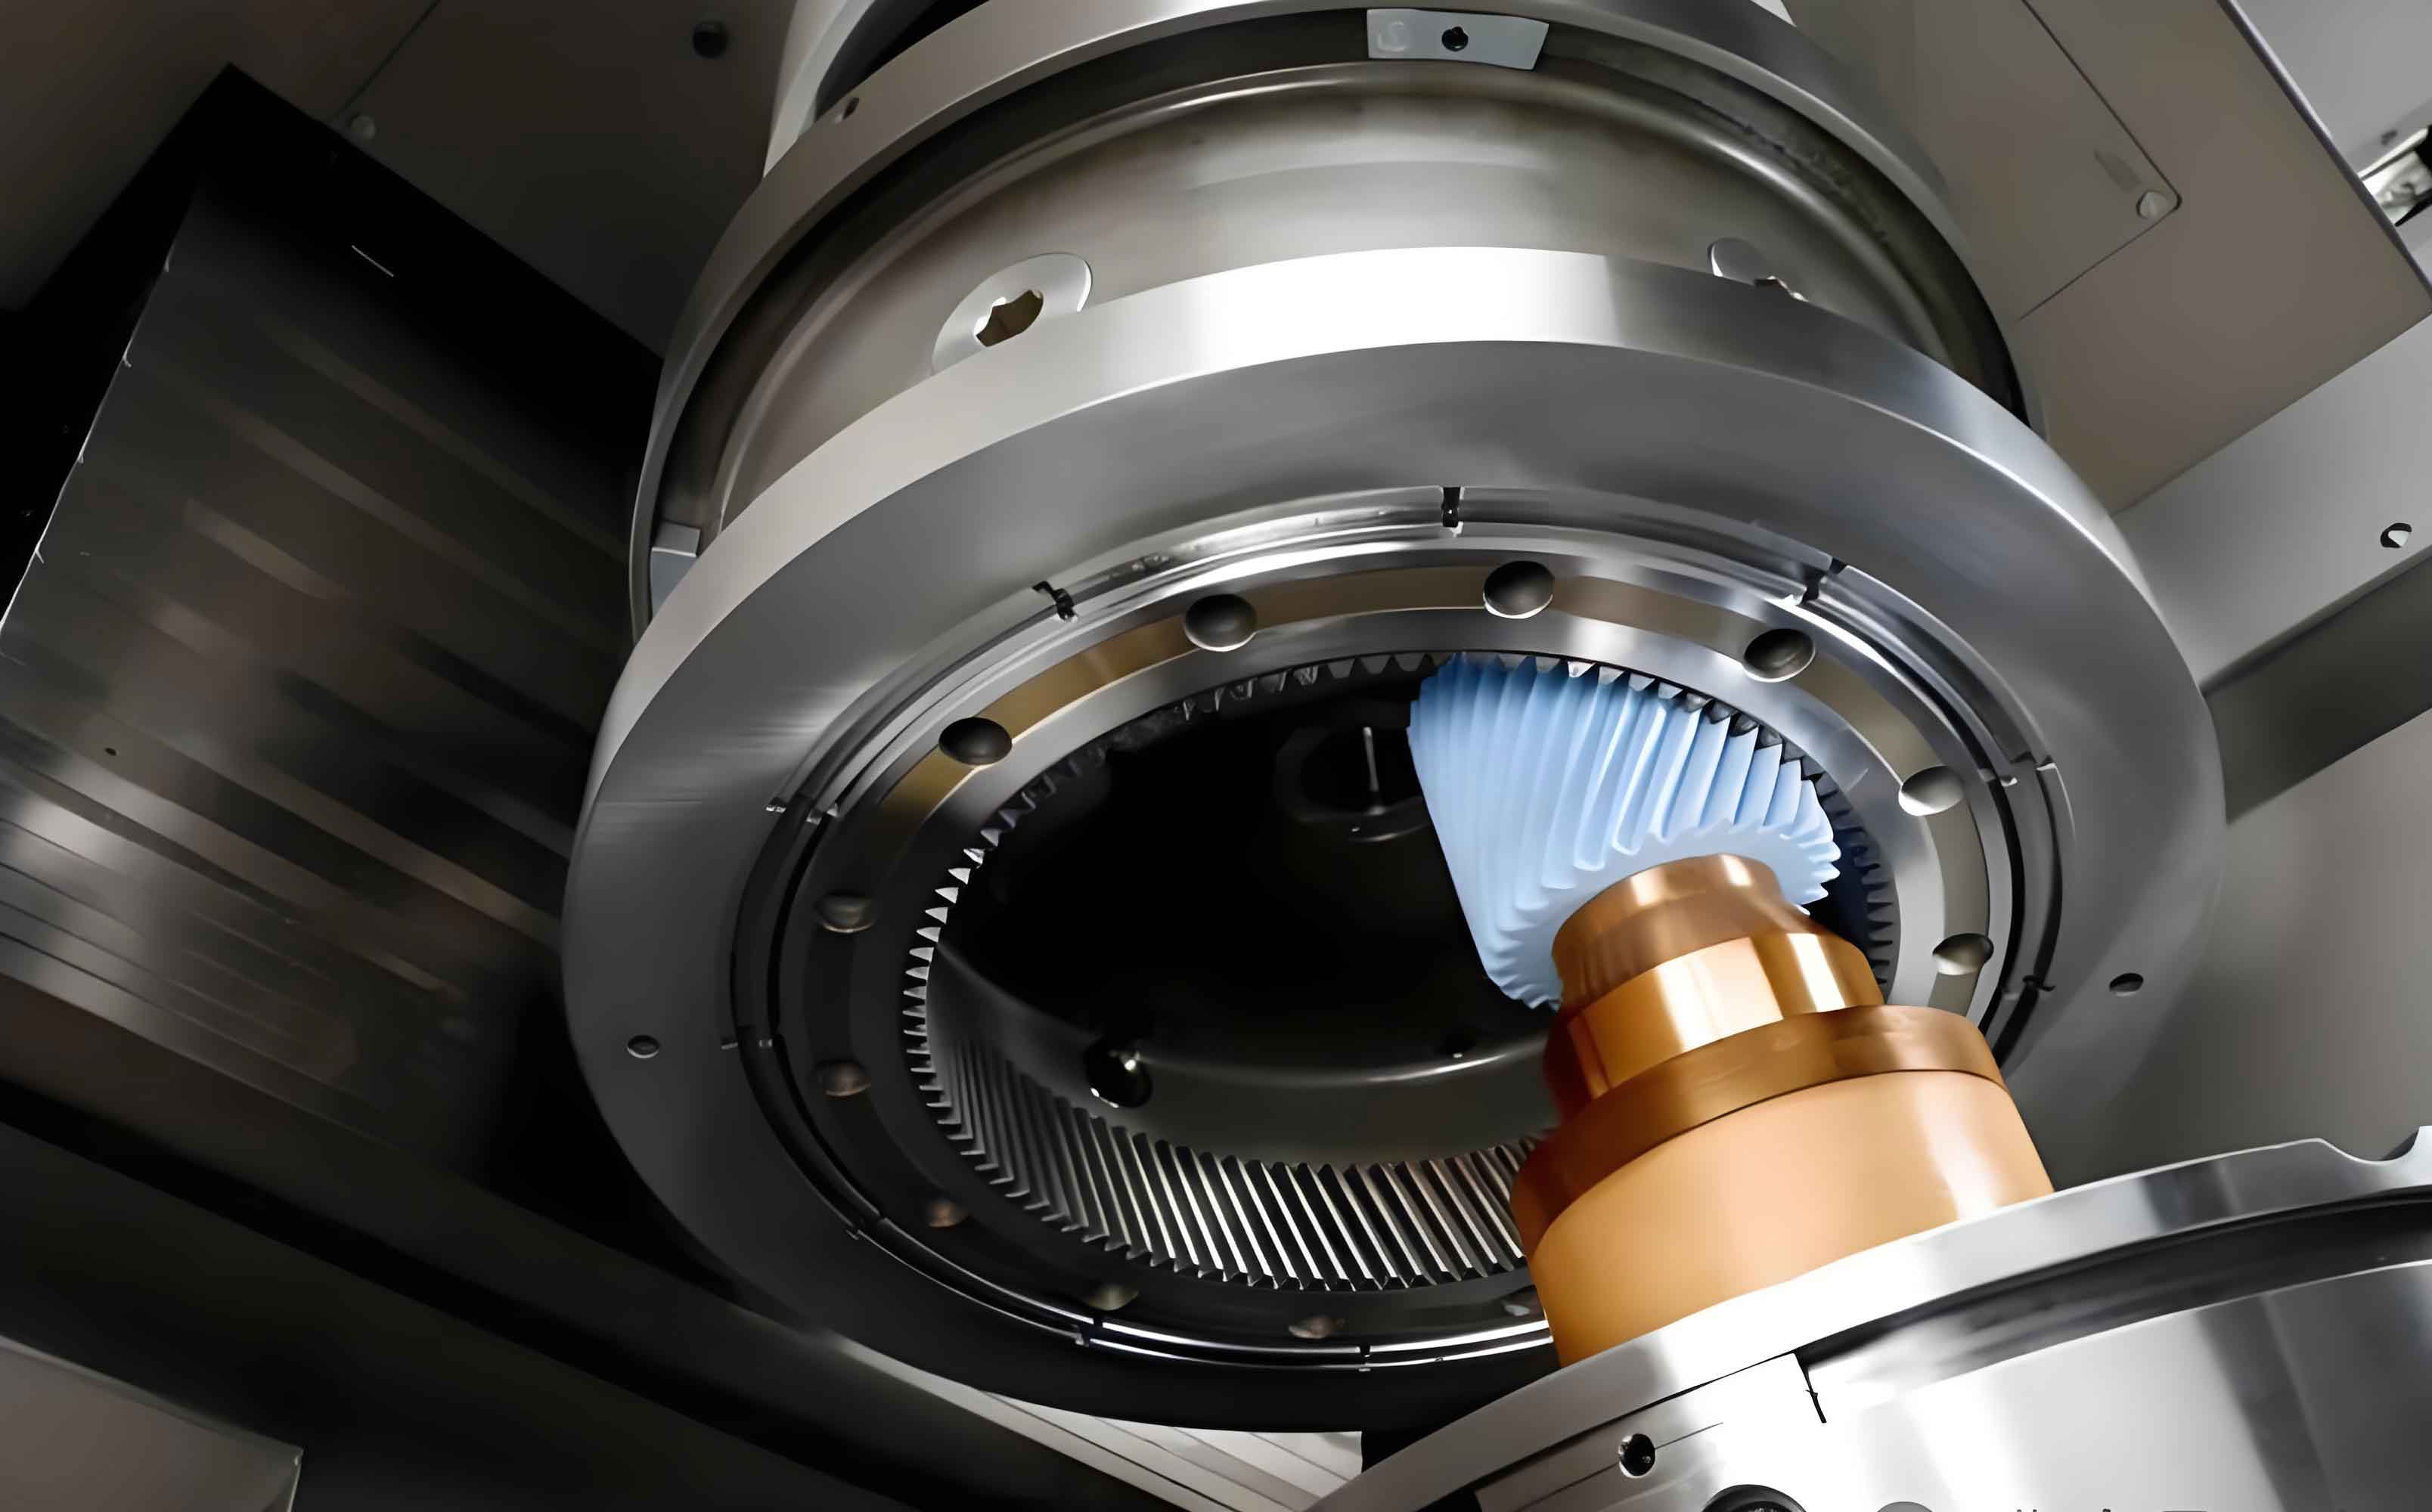
Internal gear power honing represents a high-precision finishing technology for gear manufacturing, where the honing wheel engages with the workpiece under crossed-axis conditions. This process requires periodic dressing of the honing wheel due to abrasive wear and surface degradation. Traditional single radial dressing methods induce gradual deviations in workpiece tooth profiles, compromising gear honing precision. This study establishes a conjugate meshing framework to analyze contact mechanics during gear honing and proposes a novel fluctuating crossed axis angle dressing methodology to stabilize meshing behavior.
Conjugate Meshing Fundamentals
The coordinate systems for the honing wheel (index p) and workpiece (index 1) are established with center distance a and crossed axis angle Σ. The workpiece tooth surface is modeled as a helical involute surface:
$$ \begin{align*}
x_1 &= r_b \cos(\sigma_0 + \theta + \lambda) + r_b \lambda \sin(\sigma_0 + \theta + \lambda) \\
y_1 &= r_b \sin(\sigma_0 + \theta + \lambda) – r_b \lambda \cos(\sigma_0 + \theta + \lambda) \\
z_1 &= \theta \cdot p
\end{align*} $$
where \(r_b\) is base radius, \(\sigma_0\) is involute starting angle, \(\theta\) is helix increment angle, \(\lambda\) is involute increment angle, and \(p = r_1 / \tan\beta_1\) is lead parameter. The conjugate meshing condition requires orthogonality between relative velocity \(\mathbf{v}\) and surface normal \(\mathbf{n}\):
$$ \mathbf{v} \cdot \mathbf{n} = 0 $$
Derived meshing equation for gear honing contact:
$$ (\theta p^2 – \lambda r_b^2) \sin\Sigma \sin(\varphi_1 + \tau) + (a p \cos\Sigma – r_b^2 \sin\Sigma) \cos(\varphi_1 + \tau) = r_b a \sin\Sigma – (\cos\Sigma – i_{12}) p r_b $$
where \(\tau = \sigma_0 + \theta + \lambda\), \(\varphi_1\) is workpiece rotation angle, and \(i_{12}\) is transmission ratio.
Contact Line Distortion in Radial Dressing
Single radial dressing modifies center distance \(a’ = a + \Delta a\) while maintaining constant Σ. Simulation of contact lines before and after 2mm radial dressing reveals significant migration:
| Cumulative Dressing Δa (mm) | Contact Line Position | Equivalent Force Location |
|---|---|---|
| 0 | Near honing wheel tooth tip | Workpiece root zone |
| 2 | Shifted toward honing wheel root | Workpiece mid-flank zone |
This migration alters force distribution during gear honing. The elastic honing wheel exhibits variable deformation across the tooth profile, causing inconsistent material removal and progressive tooth profile deviations in workpieces.
Crossed Axis Angle Compensation Method
The fluctuating crossed axis angle method maintains conjugate condition at fixed point C on the workpiece flank, defined by \(\varphi_{1C} = 0^\circ\), \(\theta_C = 0^\circ\), and \(\lambda_C = 20.420^\circ\). The modified meshing equation incorporates axis angle compensation:
$$ (\theta_C p^2 – \lambda_C r_b^2) \sin\Sigma’ \sin(\tau_C + \varphi_{1C}) + (a’ p \cos\Sigma’ – r_b^2 \sin\Sigma’) \cos(\tau_C + \varphi_{1C}) = r_b a’ \sin\Sigma’ – (\cos\Sigma’ – i_{12}) p r_b $$
Solving for \(\Sigma’\) yields dressing-dependent axis angles:
| Δa (mm) | a’ (mm) | Σ’ (°) |
|---|---|---|
| 0 | 87.471 | 8.722 |
| 1 | 88.471 | 9.064 |
| 2 | 89.471 | 9.402 |
| 3 | 90.471 | 9.734 |
Simulated contact lines for variable axis angle dressing show minimal deviation across dressing cycles, confirming contact stability preservation during gear honing operations.
Experimental Validation
Tests were conducted on HMX-400Fassler gear honing machine using these parameters:
| Parameter | Workpiece | Honing Wheel |
|---|---|---|
| Normal module (mm) | 2.25 | 2.25 |
| Normal pressure angle (°) | 17.5 | 17.5 |
| Teeth number | 73 | 123 |
| Helix angle (°) | 33 | 41.722 |
| Face width (mm) | 27 | 30 |
Implementation protocol:
- Initial gear honing at Σ < 9° with 0.1mm dressing increments
- Axis angle adjustment per equation: ΔΣ ≈ 0.0006 rad/0.1mm dressing
- Tooth profile measurement at 0.5° axis angle intervals using Klingelnberg P40
Results across axis angles 9-13° showed consistent tooth profiles with average form error reduction of 42% compared to radial dressing. Profile deviations remained below 6μm, demonstrating the efficacy of axis angle compensation in gear honing stability.
Conclusions
The fluctuating crossed axis angle method effectively stabilizes gear honing contact mechanics by compensating for dressing-induced center distance variations. Mathematical modeling confirms contact line consistency across dressing cycles, while experimental results validate significant improvement in workpiece profile accuracy. This methodology extends honing wheel service life while maintaining micron-level precision in high-volume gear honing production.
