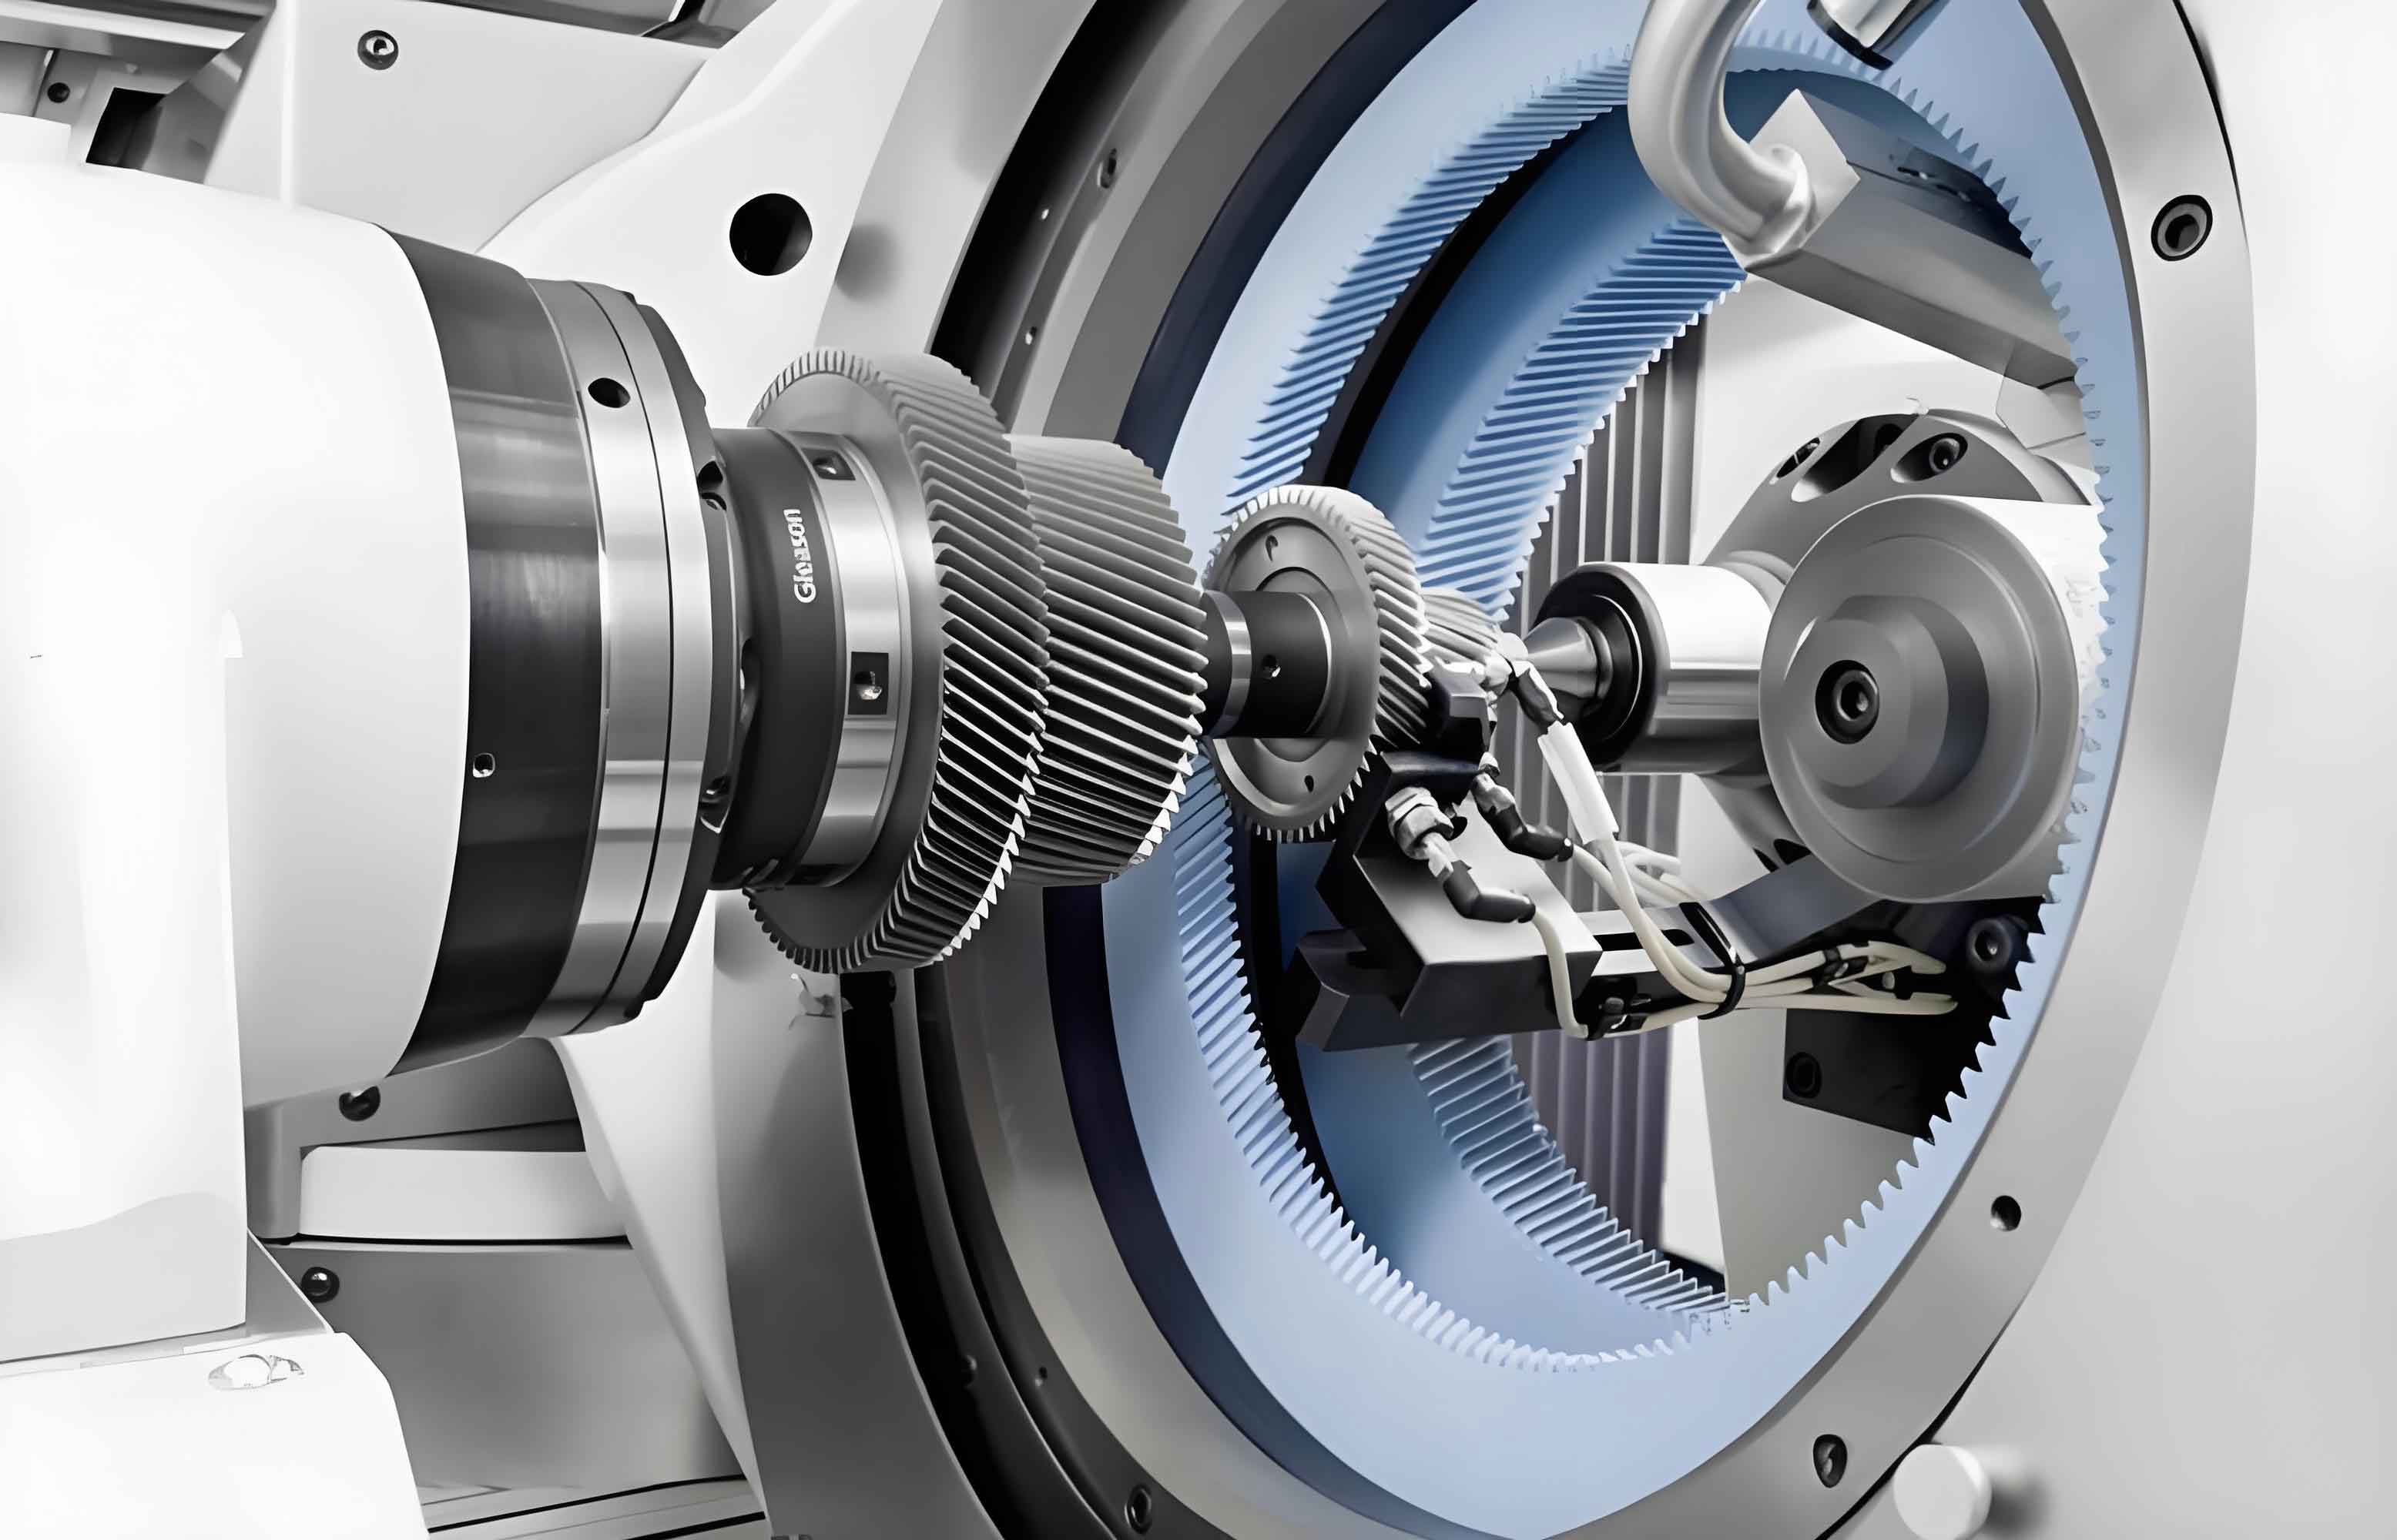
Gear honing has become a critical finishing process for high-precision gears across industries. This study establishes a comprehensive model for predicting surface roughness in internal gear honing operations and analyzes its variation along the tooth profile. Based on kinematic analysis and classical grinding theory, we derive motion equations and curvature relationships to quantify roughness distribution from root to tip. Experimental validation confirms that surface roughness increases progressively along the tooth height due to velocity and curvature effects.
Kinematic Analysis of Internal Gear Honing
The coordinate systems for internal gear honing are established as follows: Fixed coordinate system $S(O-x,y,z)$ for the workpiece and $S_p(O-x_p,y_p,z_p)$ for the honing wheel. The moving coordinate systems $S_1(O-x_1,y_1,z_1)$ and $S_2(O-x_2,y_2,z_2)$ rotate with the workpiece and honing wheel respectively. The transformation between these systems governs the relative motion during gear honing. The workpiece tooth surface equation in $S_1$ is:
$$ \mathbf{r}_{W1} = \begin{bmatrix} x_1 \\ y_1 \\ z_1 \end{bmatrix} = \begin{bmatrix} r_{b1} \cos(\sigma_0 + \theta + \lambda) + r_{b1}\lambda \sin(\sigma_0 + \theta + \lambda) \\ r_{b1} \sin(\sigma_0 + \theta + \lambda) – r_{b1}\lambda \cos(\sigma_0 + \theta + \lambda) \\ p\theta \end{bmatrix} $$
where $r_{b1}$ is the base circle radius, $p$ is the helix parameter, $\sigma_0$ is the starting angle, $\theta$ is the spiral increment angle, and $\lambda$ is the involute increment angle. Transformation to fixed coordinate system $S$ uses the rotation matrix:
$$ \mathbf{M}_{O1} = \begin{bmatrix} \cos \phi_1 & -\sin \phi_1 & 0 \\ \sin \phi_1 & \cos \phi_1 & 0 \\ 0 & 0 & 1 \end{bmatrix} $$
The relative velocity between workpiece and honing wheel at any contact point is calculated through angular velocity vectors:
$$ \boldsymbol{\omega}_W = \omega_1 \begin{bmatrix} 0 \\ 0 \\ 1 \end{bmatrix}, \quad \boldsymbol{\omega}_H = \begin{bmatrix} 1 & 0 & 0 \\ 0 & \cos\Sigma & -\sin\Sigma \\ 0 & \sin\Sigma & \cos\Sigma \end{bmatrix} \begin{bmatrix} 0 \\ 0 \\ \omega_1 / i_{12} \end{bmatrix} $$
The instantaneous linear velocities ($\mathbf{v}$ for workpiece, $\mathbf{V}$ for honing wheel) and curvature radii ($r$, $R$) are derived as:
$$ r = \frac{4\pi^2 r_W^2 + p^2}{4\pi^2 r_W \lambda_1 r_{b1}}, \quad R = \frac{4\pi^2 r_H^2 + p_2^2}{4\pi^2 r_H (a \sin \alpha + \lambda_1 r_{b1})} $$
| Symbol | Physical Meaning | Determination Method |
|---|---|---|
| $x$ | Mean grit spacing | $x = 137.9G^{-1.4} \sqrt[3]{\pi/(32 – S)}$ |
| $\beta$ | Half apex angle of abrasive grit | $\beta = \arccos(1/S_{sc} – a/S_{sc})$ |
| $S_{sc}$ | Arithmetic mean curvature | $S_{sc} = -\frac{1}{2n}\sum_{k=1}^{n} \left( \frac{\partial^2 h}{\partial x^2} + \frac{\partial^2 h}{\partial y^2} \right)$ |
Surface Roughness Prediction Model
The surface roughness prediction for gear honing adapts Usui’s grinding theory. Maximum valley depth $H_v$ is calculated as:
$$ H_v = 0.97x^{1.2} (\cot \beta)^{0.4} \left( \frac{v}{V} \right)^{\frac{1}{2}} \left( \frac{1}{r} – \frac{1}{R} \right)^{0.4} $$
where the negative sign in the curvature term arises from internal meshing in gear honing. The arithmetic mean roughness $Ra$ is then derived as:
$$ Ra = 0.256(1 + c) \left( \frac{1}{z} \right)^{0.4} H_v $$
with the number of cutting passes $z = n \cdot t$ (workpiece speed × spark-out time). The curling compensation coefficient $c$ ranges 0-0.35, where lower values apply to hardened gears in gear honing due to minimal plastic deformation.
| Parameter | Workpiece Gear | Honing Wheel |
|---|---|---|
| Material | 20CrMnTi | Microcrystalline Corundum |
| Module (mm) | 2.25 | 2.25 |
| Number of Teeth | 73 | 123 |
| Helix Angle (°) | 33 | 41.722 |
| Pressure Angle (°) | 17.5 | 17.5 |
Experimental Validation
Validation experiments used the TRIMOS 3D profilometer to measure surface roughness at five positions along the tooth height. The gear honing parameters were: workpiece speed 1450 rpm, cutting depth 20 μm, total honing time 91 s, and spark-out time 3 s. Measurement areas (1mm×1mm) were distributed from root to tip as shown:

Predicted and measured roughness values demonstrate close agreement with maximum error under 0.3 μm, confirming the increasing roughness trend from root to tip during gear honing:
| Position | Predicted $Ra$ (μm) | Measured $Ra$ (μm) | Error (%) |
|---|---|---|---|
| Root (Position 1) | 0.96 | 1.05 | 8.6 |
| Lower Flank (Position 2) | 1.12 | 1.25 | 10.4 |
| Pitch (Position 3) | 1.41 | 1.52 | 7.2 |
| Upper Flank (Position 4) | 1.63 | 1.75 | 6.9 |
| Tip (Position 5) | 2.06 | 2.25 | 8.4 |
Parameter Sensitivity in Gear Honing
The validated model reveals critical relationships for gear honing optimization. Surface roughness shows inverse correlation with grit number $G$:
$$ \frac{\partial Ra}{\partial G} = -0.256(1+c) z^{-0.4} \cdot 1.2 \cdot 0.97 (\cot\beta)^{0.4} \left( \frac{v}{V} \right)^{0.5} \left( \frac{1}{r} – \frac{1}{R} \right)^{0.4} \cdot 137.9 \cdot (-1.4) G^{-2.4} \sqrt[3]{\frac{\pi}{32-S}} $$
Key process relationships include:
- Roughness increases with $\left( \frac{v}{V} \right)^{0.5}$ ratio (workpiece/honing wheel speed)
- Curvature term $\left( \frac{1}{r} – \frac{1}{R} \right)^{0.4}$ causes roughness variation along tooth profile
- Higher grit numbers (finer abrasives) reduce $Ra$ but increase dressing frequency
- Optimal spark-out time balances $z$ value and process efficiency
Conclusions
This investigation establishes a physics-based roughness prediction model for internal gear honing. The analytical framework combines kinematic analysis of meshing gears with fundamental grinding theory, validated through precision measurements. The increasing roughness from tooth root to tip is attributed to velocity distribution and curvature effects during gear honing. The model provides quantitative relationships between honing parameters and surface quality, enabling optimization of grit selection, speed ratios, and spark-out duration. Future work will extend this approach to study the influence of axial angle and coolant parameters on gear honing performance.
