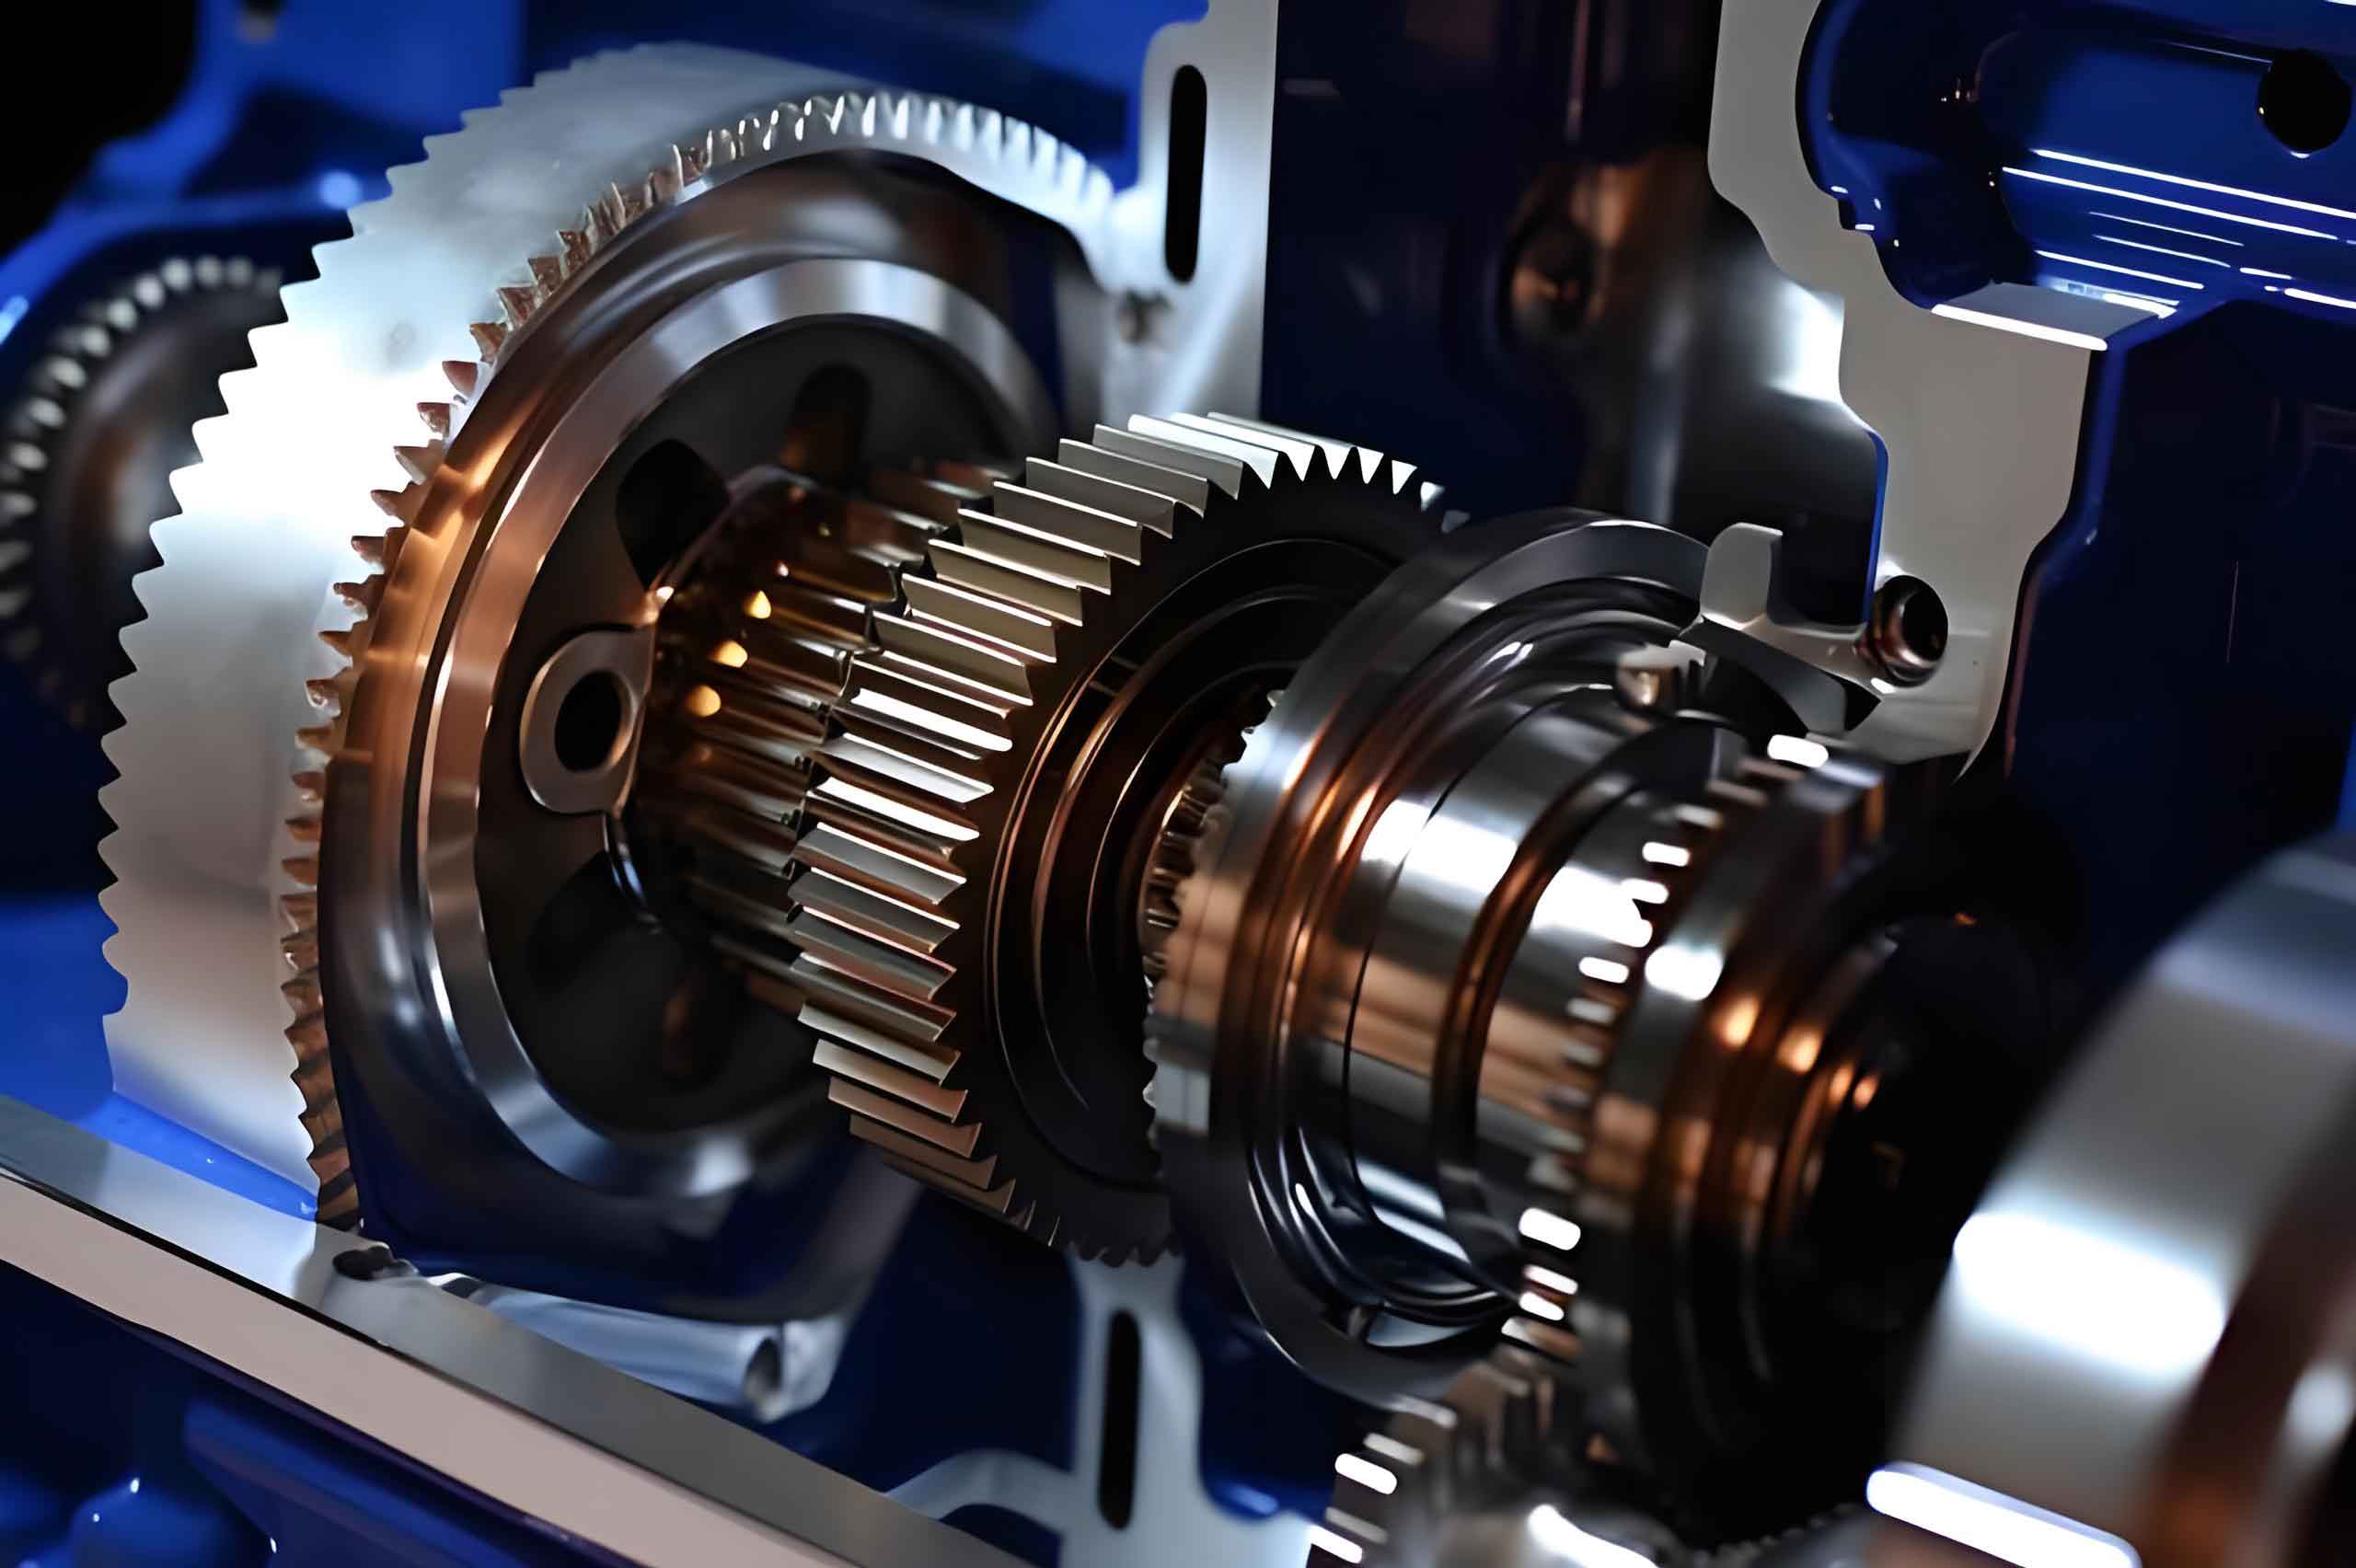
Automotive gears are critical components in vehicle transmission systems, where grinding cracks pose significant reliability risks. These defects exhibit characteristics like shallow depth, short length, and low detectability. Multi-optical path conditions further complicate crack identification due to diverse imaging geometries and complex light interactions. This work presents a machine vision-based approach for robust crack recognition in automotive gears under such challenging conditions.
The imaging system employs a CCD industrial camera with 5mm focal length, F2.1 aperture, and ring-shaped LED illumination positioned within 20mm of the optical axis. Image resolution is standardized at 100×300 pixels to maintain consistency. The acquisition setup minimizes optical interference while capturing detailed surface characteristics:

Preprocessing begins with Gaussian spatial filtering to eliminate high-frequency noise while preserving crack morphology. The filter operates in 2D space as:
$$G(m,n) = \frac{1}{2\pi\delta^2} e^{-\frac{(i^2 + j^2)}{2\delta^2}}$$
where $\delta$ denotes Gaussian variance. Residual impurities are removed through information entropy calibration:
$$P(m,n) = \frac{\sum_{s=0}^{200} \sum_{v=0}^{200} r \cdot h}{\log_2(m \cdot n)}$$
Grayscale conversion follows using single-component weighting and threshold shearing. Color channels are weighted by:
$$k(x,y) = 1.3R + 1.692G + 14B$$
Shearing continues iteratively until color saturation $r=0$:
$$S = \sum_{r=0}^{\lambda} \frac{w \cdot r^2}{x}$$
Feature extraction utilizes 3D vision sensors to segment images into gear body ($\Omega_b$), auxiliary components ($\Omega_a$), and background ($\Omega_{bg}$). Segmentation thresholds are determined by histogram peak similarity:
$$E = \alpha(X_0 + X_e) / 2$$
with optimal partitioning achieved through:
$$U(i,j) = \sum_{k=1}^{n} A_l \cdot [k \cdot E(i,j,k)]$$
Three feature classes are extracted from segmented regions:
Shape features via bidirectional projections:
$$V = \frac{\theta}{4\pi} \left( \int_{p=1}^{m} X_p(w,t) dp + \int_{r=1}^{n} Y_r(w,t) dr \right)$$
Density features using non-stationary filtering:
$$D = \eta \sum_{u \in [0,1]} V_u \cdot d_u$$
Area features through boundary expansion:
$$I = \lambda(D_u / 2 + L_o)$$
Recognition employs Support Vector Machines with particle swarm optimization. Feature weights are optimized in $k$-dimensional space:
$$\min_{f \in S} \sum_{k=1}^{n} \| f(k) – s_k \|^2$$
Classification is performed using the decision function:
$$G_{SVM} = \text{sgn} \left[ \sum_{k=1}^{n} \alpha_i \beta_j \cdot S(i,j) \cdot C \right]$$
Experimental validation used 600 automotive gear images with hardware configuration: 64GHz CPU, 128GB RAM, and MATLAB R2019b. Performance comparisons against established methods demonstrate superiority:
| Method | Initial Accuracy | Noisy Accuracy | Fault Tolerance |
|---|---|---|---|
| Proposed | 95.6% | 96.8% | 97.3% |
| Reference [4] | 94.3% | 94.9% | 95.7% |
| Reference [5] | 95.4% | 96.1% | 96.8% |
Recognition efficiency was evaluated across image batches:
| Image Count | Proposed (s) | Ref [4] (s) | Ref [5] (s) |
|---|---|---|---|
| 100 | 0.8 | 1.2 | 1.5 |
| 300 | 2.1 | 3.8 | 4.3 |
| 600 | 4.0 | 7.2 | 8.1 |
For automotive gear quality control, this method demonstrates significant advantages in multi-optical environments. The integration of 3D segmentation with optimized SVM classification achieves 40% faster processing than comparative techniques while maintaining 97.3% fault tolerance. Future work will extend this framework to other drivetrain components like bearing surfaces and spline shafts.
