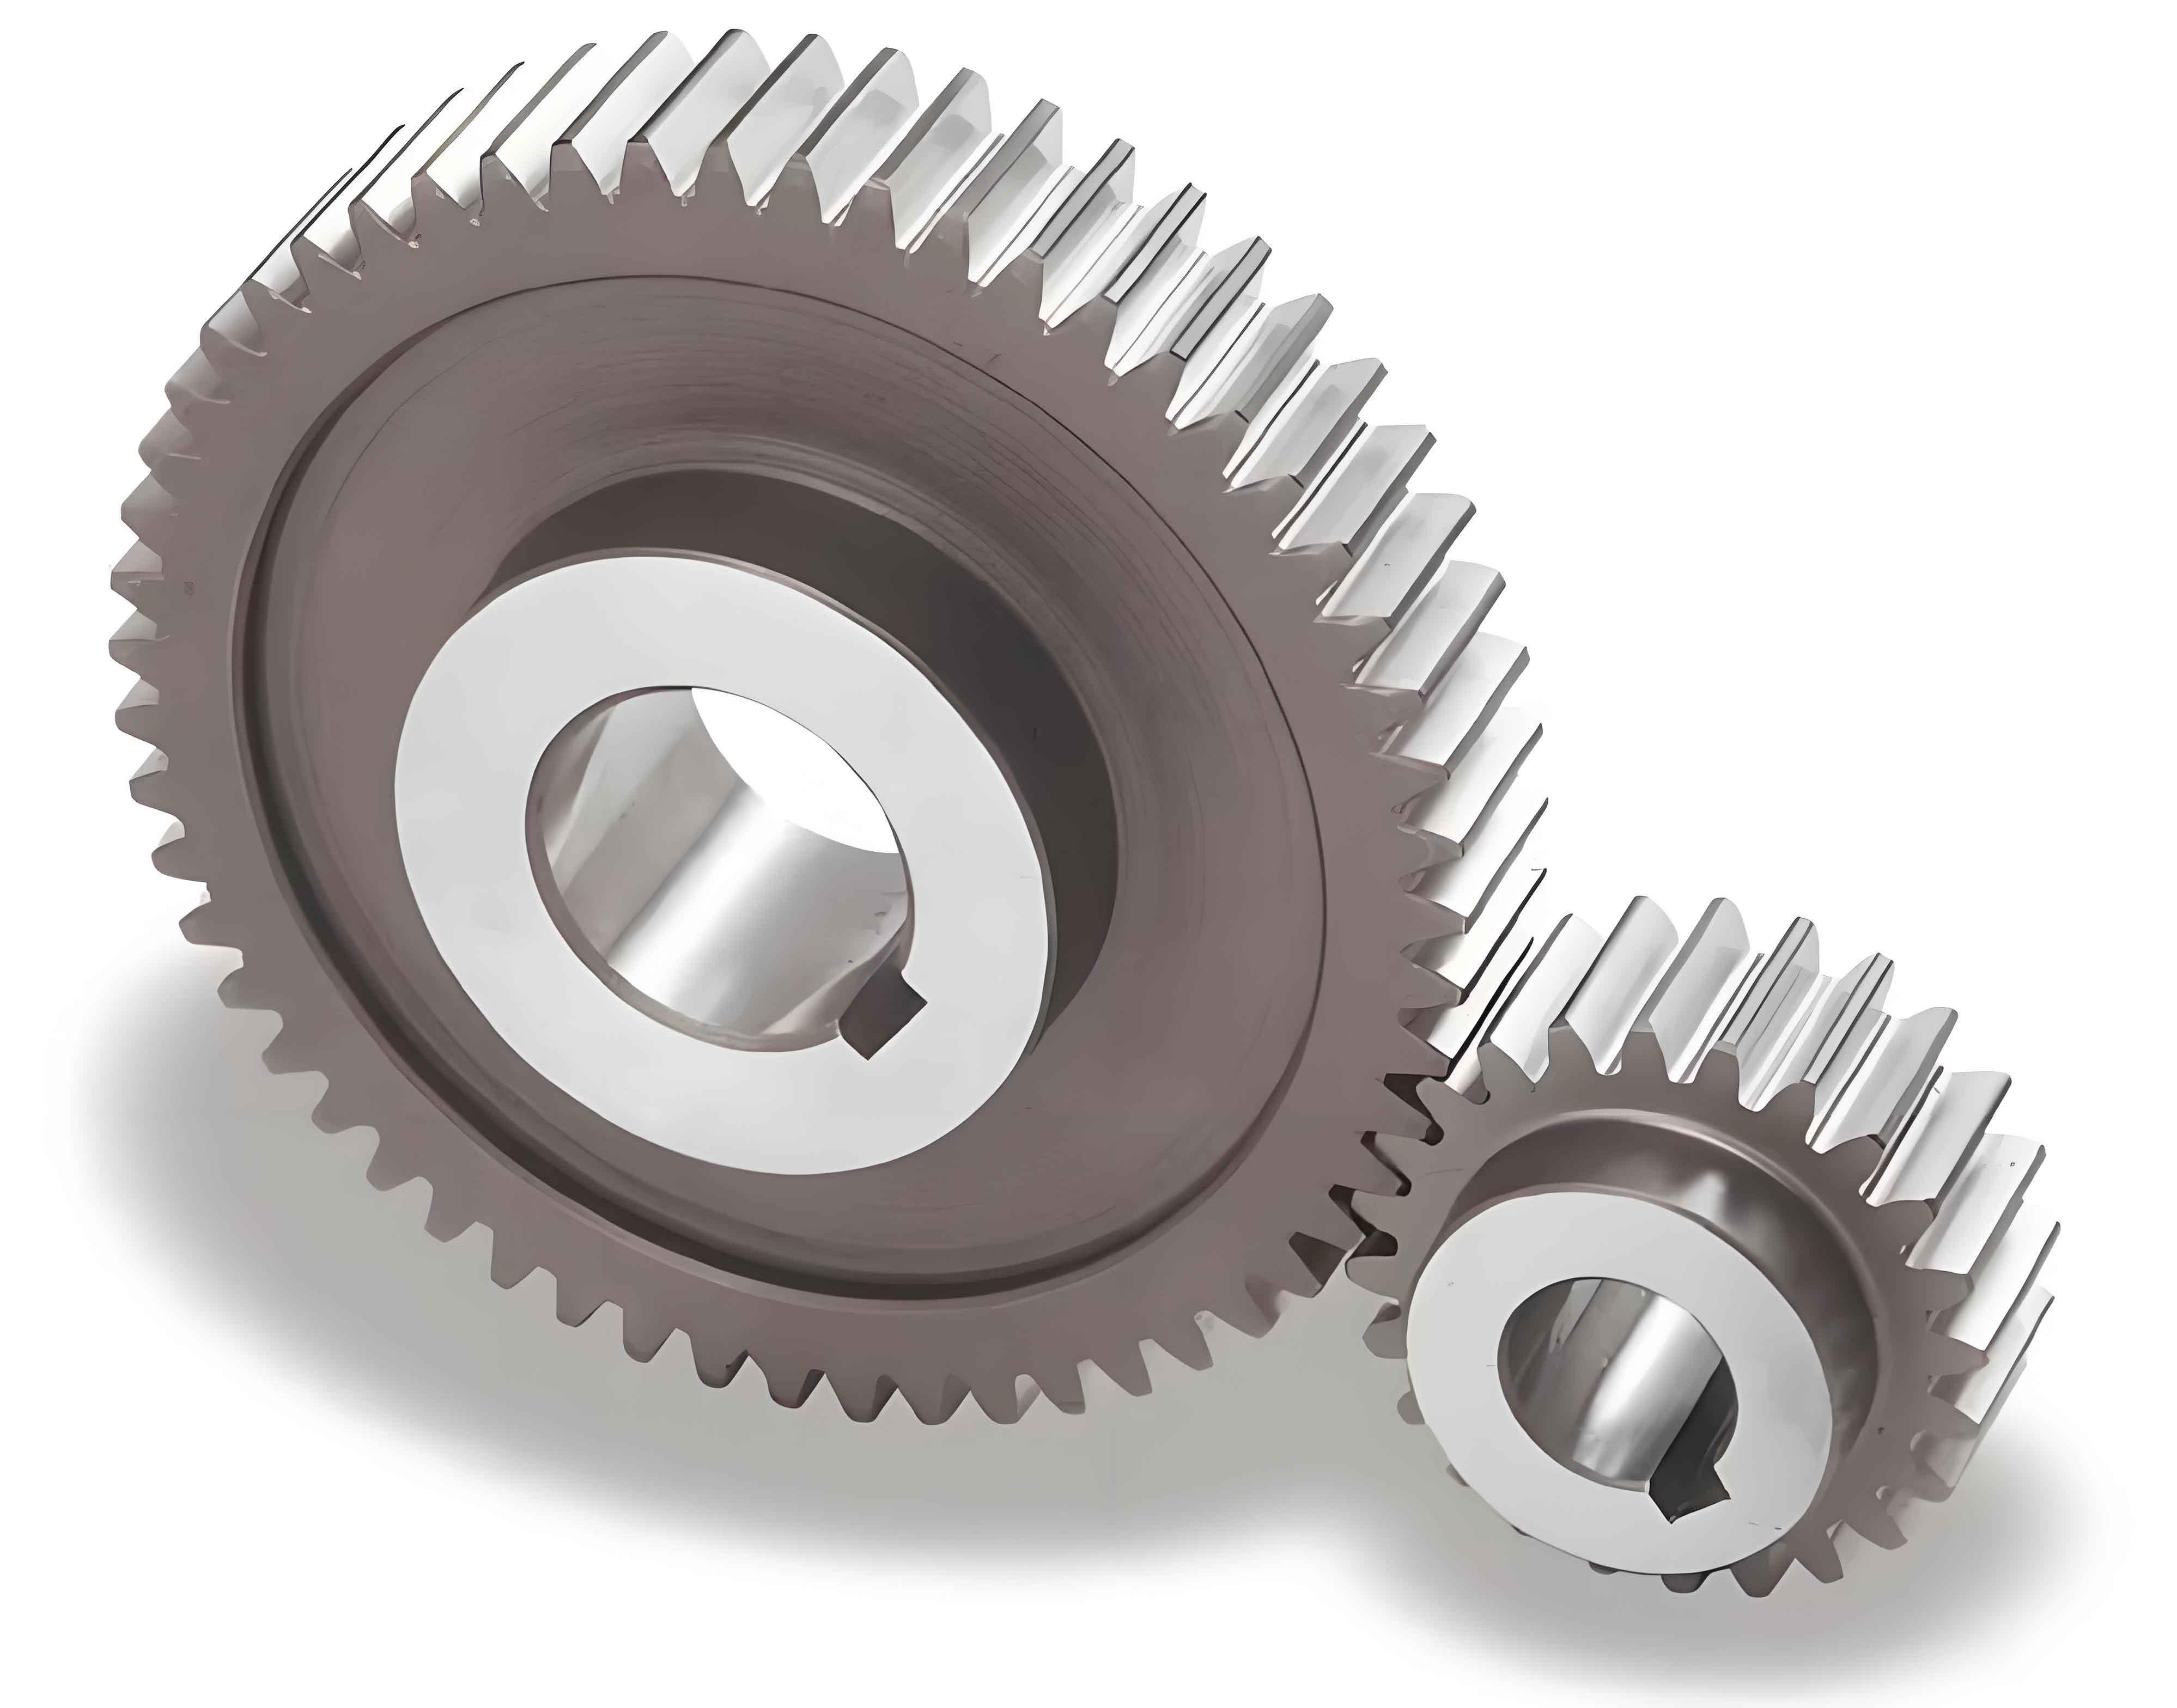
In modern mechanical transmission systems, spur gears are widely used due to their simplicity and efficiency. However, traditional spur gears often face challenges such as edge contact and stress concentration under misalignment conditions caused by assembly or manufacturing errors. To address these issues, this paper proposes a novel method for constructing point-contact spur gear pairs. The approach involves designing contact trajectories on the tooth surfaces to maintain point contact during meshing, which enhances tolerance to axial misalignment. The construction process, mathematical modeling, simulation, and contact analysis are detailed to demonstrate the effectiveness of this method.
The construction of point-contact spur gear pairs begins with defining a virtual auxiliary involute gear. Two points are selected at opposite ends of the tooth surface—one near the root and the other near the top—and connected by a smooth curve to form the contact trajectory for the driving gear. The mating contact trajectory for the driven gear is derived through solving the meshing equations. Subsequently, the tooth surfaces are generated by sweeping a normal-section tooth profile along these trajectories. This method ensures that the meshing point always lies on the theoretical line of action, maintaining point contact throughout the engagement.
The mathematical model for the spur gear pair is established using spatial coordinate systems. Let $S_p$ and $S_g$ represent the fixed coordinate systems for the driving and driven gears, respectively, with a center distance $a$. The moving coordinate systems $S_1$ and $S_2$ are attached to the gears, rotating with angular velocities $\omega_1$ and $\omega_2$. The transmission ratio is defined as $i_{21} = \omega_2 / \omega_1$. The virtual involute tooth surface in $S_1$ is given by:
$$ \begin{cases}
x_{\Sigma1} = r \cos \theta + r \theta \sin \theta \\
y_{\Sigma1} = r \sin \theta – r \theta \cos \theta \\
z_{\Sigma1} = b
\end{cases} $$
where $r$ is the base circle radius, $\theta$ is the involute roll angle, and $b$ is the tooth width parameter. The contact trajectory $\Gamma_1$ is defined by a linear relationship between $b$ and $\theta$, connecting points at the root and top:
$$ \theta = \theta_A + \frac{\theta_B – \theta_A}{W_b} b $$
Here, $\theta_A$ and $\theta_B$ are the roll angles at the start and end points, and $W_b$ is the total tooth width. The relative velocity vector and meshing condition are derived to solve for the mating trajectory $\Gamma_2$. The meshing equation is expressed as:
$$ \mathbf{n} \cdot \mathbf{v}^{(12)} = 0 $$
where $\mathbf{n}$ is the common normal vector, and $\mathbf{v}^{(12)}$ is the relative velocity. In coordinate system $S_1$, this simplifies to:
$$ -\i_{21} a n_{y1} \cos \phi_1 – i_{21} a n_{x1} \sin \phi_1 = (1 + i_{21})(y_1 n_{x1} – x_1 n_{y1}) $$
The tooth surface is constructed by sweeping a circular arc profile along the contact trajectory. The arc profile in the normal section is defined as:
$$ \begin{cases}
x(t) = k \cos t + k \\
z(t) = k \sin t
\end{cases} $$
where $k$ is the radius of the arc. This ensures convex-to-convex point contact, reducing stress concentration.

To validate the method, a spur gear pair with specific parameters is modeled. The design parameters are summarized in the following table:
| Parameter | Value |
|---|---|
| Module (mm) | 4 |
| Number of teeth (gear 1 and 2) | 20 |
| Tooth width (mm) | 40 |
| Upper offset (mm) | 2 |
| Lower offset (mm) | 3.5 |
| Pitch circle radius (mm) | 50 |
| Pressure angle (°) | 20 |
| Arc profile radius (mm) | 15 |
| Root circle radius (mm) | 43 |
| Tip circle radius (mm) | 36 |
The geometric model is developed in MATLAB, and the solid model is created in UG. Motion simulations confirm that the spur gear pair maintains point contact along the trajectories, with the meshing point moving on the theoretical line of action. The contact process is consistent between theoretical and solid models.
The contact ratio for spur gears is crucial for smooth transmission. The transverse contact ratio $\epsilon_\alpha$ is calculated as:
$$ \epsilon_\alpha = \frac{1}{2\pi} \left[ z_2 (\tan \theta’_A – \tan \alpha’) + z_1 (\tan \theta’_B – \tan \alpha’) \right] $$
where $z_1$ and $z_2$ are the numbers of teeth, $\theta’_A$ and $\theta’_B$ are the engagement angles, and $\alpha’$ is the operating pressure angle. For the given parameters, $\epsilon_\alpha = 1.207$, indicating continuous meshing.
Contact analysis is performed using finite element methods. The spur gear pair is meshed with fine elements in the contact region (0.15 mm × 0.15 mm) and coarser elements elsewhere. The material is 40Cr steel with a Poisson’s ratio of 0.3, elastic modulus of 2.06 × 10^5 MPa, tensile strength of 980 MPa, and yield strength of 785 MPa. A torque of 100 N·m is applied to the driving gear, and boundary conditions are set to simulate fixed and remote displacements.
Under normal meshing conditions, the contact stress distribution is elliptical, with maximum values of 759.11 MPa for single-tooth contact and 739.52 MPa for double-tooth contact. For misaligned conditions (0.1° tilt in x and y axes), the stress distribution remains elliptical, with maximum stresses of 891.91 MPa and 873.34 MPa for single and double-tooth contact, respectively. The difference in stress between normal and abnormal meshing is approximately 18.09%, demonstrating the robustness of the point-contact design.
The point-contact spur gear pair construction method offers significant advantages in handling misalignment. The mathematical model ensures precise meshing, and the swept surface generation provides flexibility in tooth profile design. Future work will focus on manufacturing feasibility and load-bearing characteristics. This approach enriches gear meshing theory and provides a foundation for innovative spur gear designs.
In conclusion, the proposed point-contact spur gear pair effectively mitigates edge contact and stress concentration under misalignment. The construction method, supported by mathematical modeling and simulation, ensures reliable performance. The contact analysis confirms that the stress distribution remains stable, making it suitable for high-precision applications. Further research will explore optimization and practical implementation of these spur gears in various mechanical systems.
