
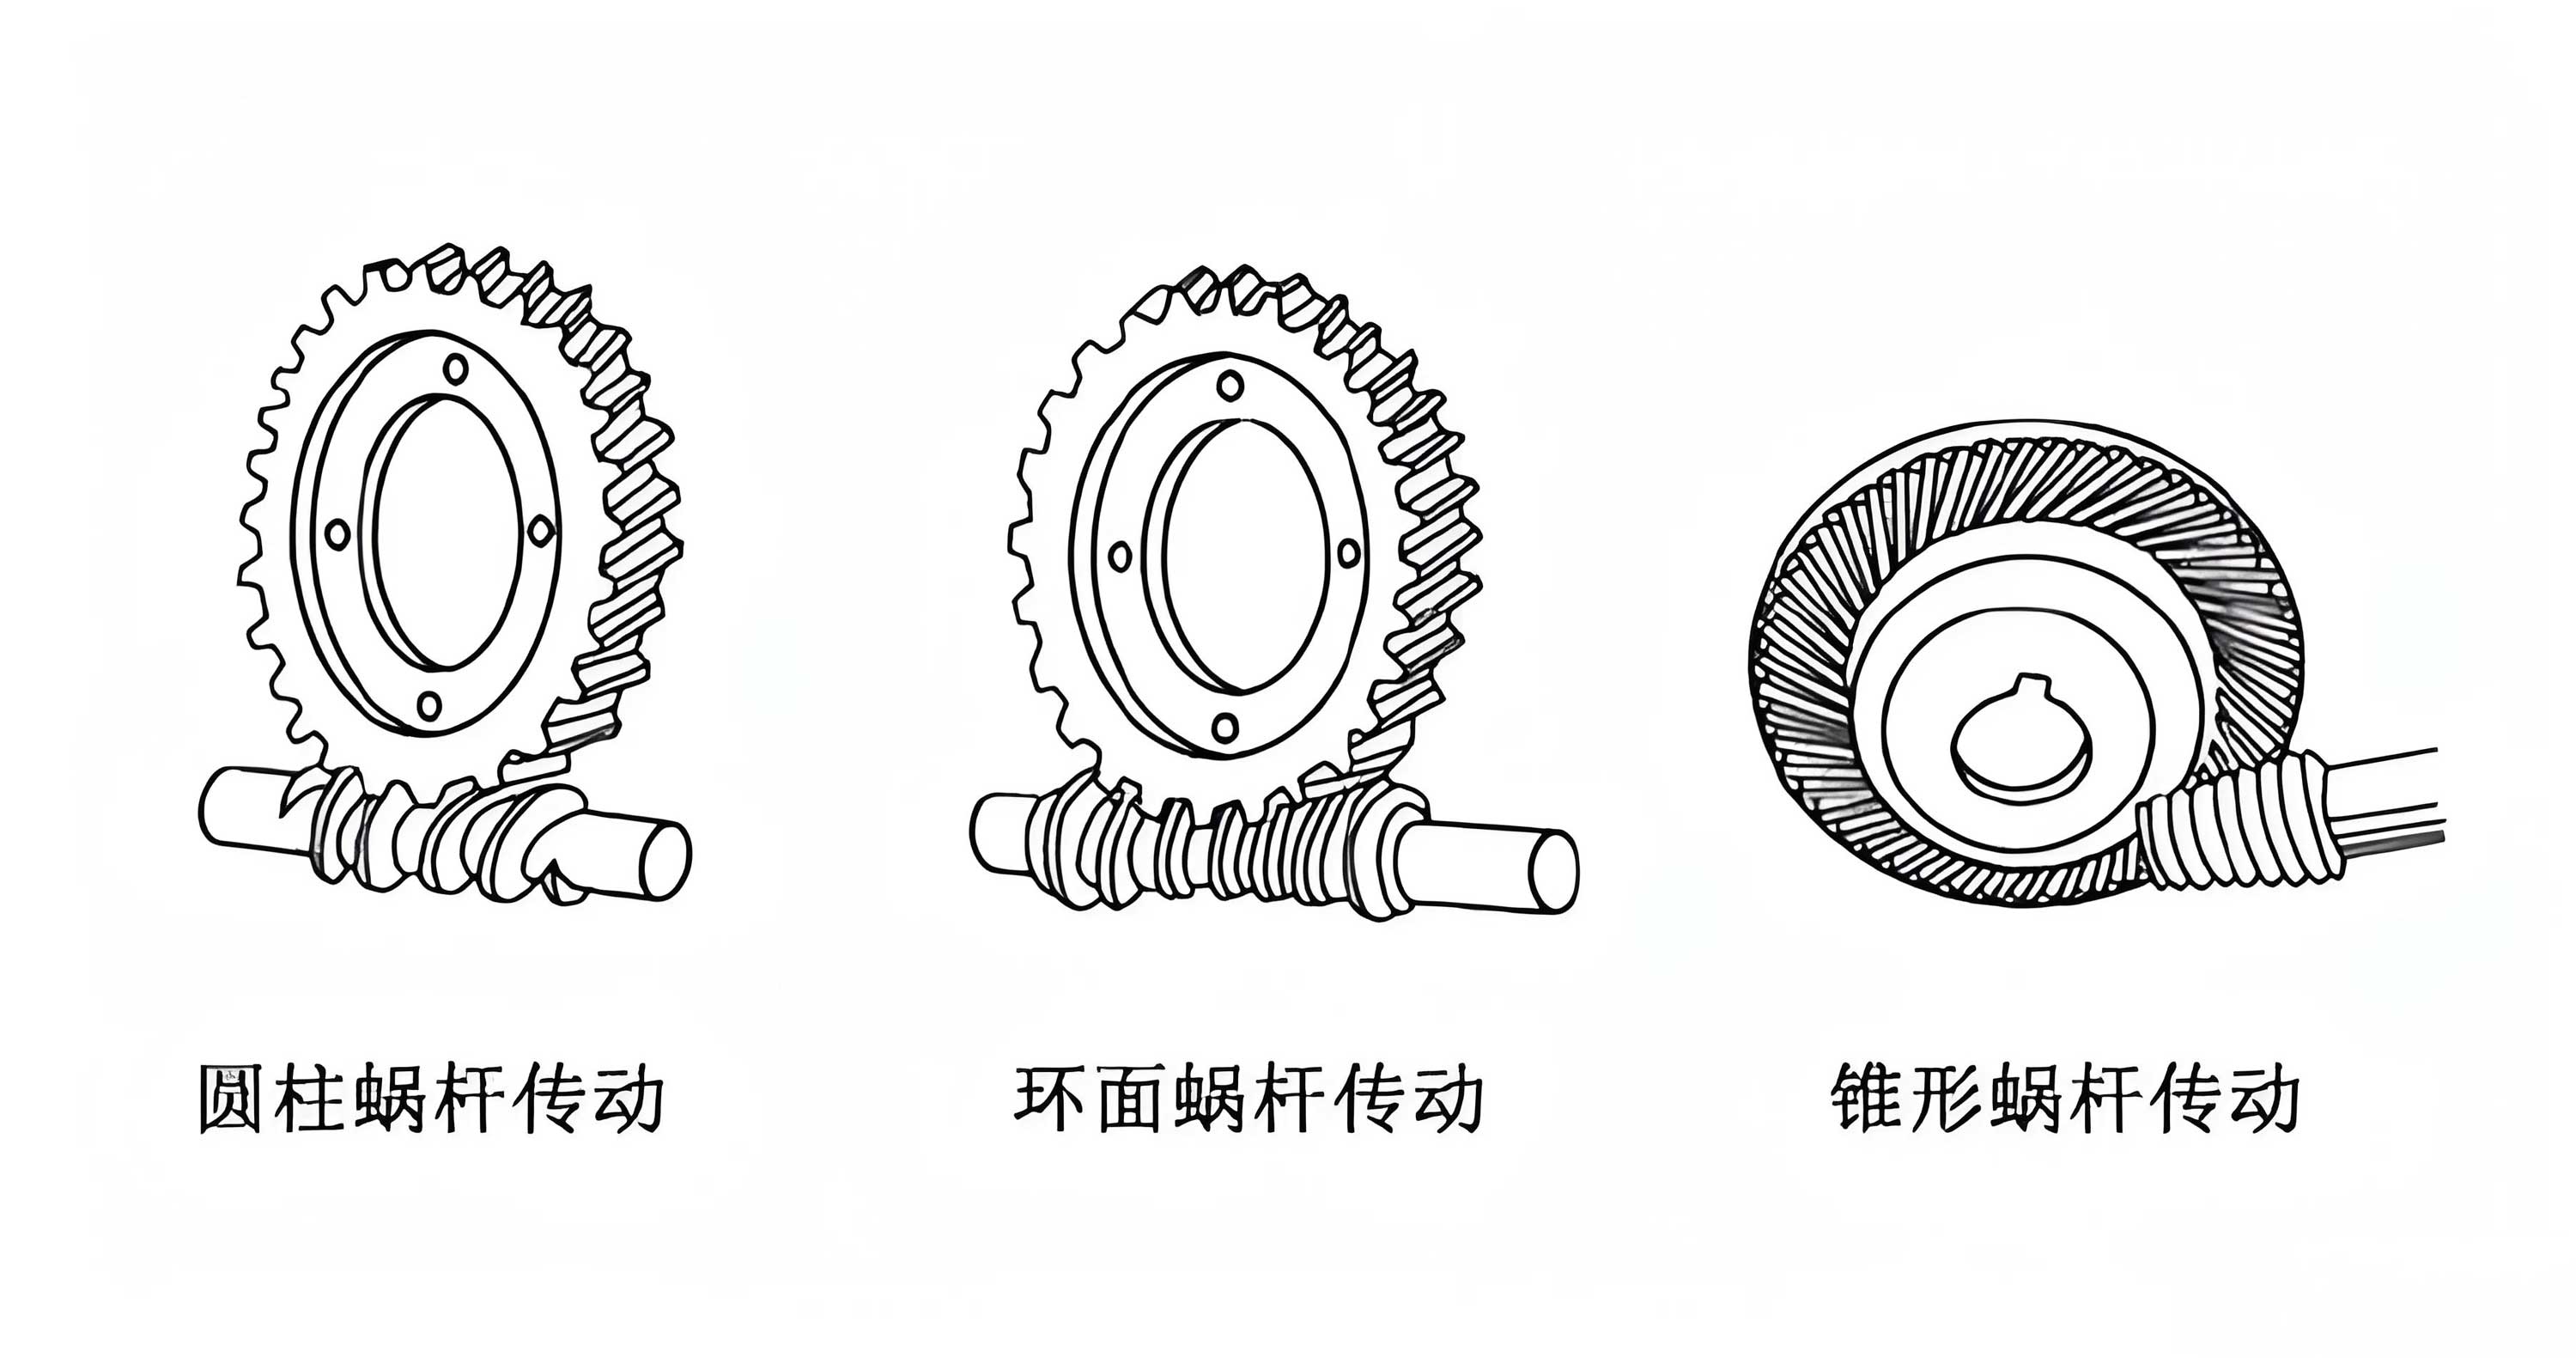
In my experience designing power transmission systems, worm gears represent a fascinating and uniquely capable solution for achieving high reduction ratios in a compact space. The design process, however, requires a meticulous blend of theoretical calculation, precise modeling, and practical engineering judgment. This article details my comprehensive approach to the design and engineering of worm gear drives, moving from fundamental principles and calculations to advanced three-dimensional modeling and automated drawing generation. I will emphasize the critical parameters, employ formulas and tables for clarity, and integrate modern digital tools to streamline the entire workflow. The unique meshing action between the worm (screw) and the worm wheel (gear) offers distinct advantages, such as quiet operation and the potential for self-locking, but it also introduces specific challenges in efficiency and heat generation that must be addressed during the design phase.
The fundamental geometry of worm gears is more complex than that of parallel-shaft gears. The key design parameters are interdependent, and their selection dictates the performance, size, and cost of the drive. I always begin by defining the core requirements: the transmission ratio (i), the input speed and torque, the output torque, and the desired service life. The transmission ratio for a single-start worm is simply the number of teeth on the worm wheel, $Z_w$, but it becomes $i = Z_w / Z_1$ for a multi-start worm, where $Z_1$ is the number of worm threads (starts). A crucial early decision is the selection of the axial module, $m_x$, (or diametral pitch, $P_d$) and the worm diameter factor, $q$, which relates the pitch diameter of the worm to the module. The center distance, $a$, is a primary size determinant and is calculated from the chosen parameters of the worm and worm wheel.
| Parameter | Symbol | Description & Selection Guidance |
|---|---|---|
| Transmission Ratio | $i$ | Defined by application. High ratios (>40:1) typical for worm gears. |
| Axial Module | $m_x$ | Standardized value. Determines tooth size. Selected based on torque/strength. |
| Number of Worm Starts | $Z_1$ | 1, 2, 3, or 4. Affects ratio, efficiency, and lead angle. |
| Number of Worm Wheel Teeth | $Z_w$ | $Z_w = i \times Z_1$. Should be >28 to avoid undercutting. |
| Worm Diameter Factor | $q$ | $q = d_1 / m_x$. Standardized (e.g., 8, 10, 12.5). Affects worm stiffness and efficiency. |
| Center Distance | $a$ | $a = \frac{m_x (q + Z_w + 2x)}{2}$, where $x$ is addendum modification coefficient. |
| Lead Angle | $\gamma$ | $\gamma = \arctan(\frac{Z_1 m_x}{d_1}) = \arctan(\frac{Z_1}{q})$. Critical for efficiency. |
The efficiency of a worm gear set is significantly lower than that of other gear types due to substantial sliding friction. It is highly dependent on the lead angle, $\gamma$, and the coefficient of friction, $\mu$. The approximate efficiency, $\eta$, for a worm driving the wheel can be estimated using the following formula, which neglects bearing and seal losses:
$$ \eta = \frac{\tan \gamma}{\tan(\gamma + \rho’)} $$
where $\rho’$ is the virtual friction angle, $\rho’ = \arctan(\mu / \cos \alpha_n)$, and $\alpha_n$ is the normal pressure angle (typically 20°). This relationship clearly shows why higher lead angles improve efficiency. For a self-locking condition (the wheel cannot drive the worm), the lead angle must be less than the virtual friction angle ($\gamma < \rho’$), but this comes at the cost of very low efficiency, often below 50%.
Strength calculations for worm gears must address two primary failure modes: surface durability (pitting) of the worm wheel teeth and bending strength at the root of the worm wheel teeth. The contact stress on the worm wheel tooth flank is the most critical check. The fundamental formula for contact stress, $\sigma_H$, is derived from the Hertzian theory and adapted for the specific geometry of worm gears:
$$ \sigma_H = Z_E \sqrt{\frac{F_{tn}}{L_{min} \rho_{red}} \cdot K_A \cdot K_v \cdot K_\beta} \leq \sigma_{HP} $$
Where:
- $Z_E$ is the elasticity factor, accounting for the material properties of the worm (typically steel) and worm wheel (typically bronze).
- $F_{tn}$ is the nominal tangential force at the worm wheel reference circle.
- $L_{min}$ is the minimum total length of contact lines.
- $\rho_{red}$ is the reduced radius of curvature in the contact zone.
- $K_A$, $K_v$, $K_\beta$ are application, dynamic, and load distribution factors, respectively.
- $\sigma_{HP}$ is the permissible contact stress for the worm wheel material.
The bending stress calculation, while often less critical than contact stress for worm gears due to the conformal shape, must still be verified, especially for cast iron or high-strength bronze wheels. The formula follows the Lewis equation principle, modified for worm gear geometry:
$$ \sigma_F = \frac{F_{tn}}{b_w m_n} \cdot Y_F \cdot Y_\epsilon \cdot Y_\beta \cdot K_A \cdot K_v \cdot K_\beta \leq \sigma_{FP} $$
Where:
- $b_w$ is the face width of the worm wheel.
- $m_n$ is the normal module ($m_n = m_x \cos \gamma$).
- $Y_F$ is the form factor based on the virtual number of teeth.
- $Y_\epsilon$, $Y_\beta$ are contact ratio and helix angle factors.
- $\sigma_{FP}$ is the permissible bending stress.
Material selection is paramount. The worm is almost always case-hardened steel (e.g., 16MnCr5, 20MnCr5) to resist wear. The worm wheel is typically a softer material to accommodate run-in and protect the more expensive worm. Common choices include tin bronze (e.g., CuSn12Ni), aluminum bronze (e.g., CuAl10Ni), or cast iron for light-duty applications. The permissible stresses $\sigma_{HP}$ and $\sigma_{FP}$ depend heavily on the specific bronze alloy, its casting method (centrifugal cast, sand cast), and the number of load cycles. I rely on standardized tables from AGMA or ISO to obtain these values. A key consideration is thermal power capacity. The low efficiency means significant heat generation. The allowable power, $P_{th}$, is often limited by the gearbox’s ability to dissipate heat to the environment, calculated as:
$$ P_{th} = k_s A (T_{oil} – T_{ambient}) $$
where $k_s$ is the heat transfer coefficient, $A$ is the effective surface area of the housing, and $T$ are temperatures. For continuous duty, a thermal analysis is essential and may dictate the need for cooling fins, a fan on the worm shaft, or even an external cooler.
| Worm Material | Worm Wheel Material | Typical $\sigma_{HP}$ (MPa) | Application Notes |
|---|---|---|---|
| Case-Hardened Steel | Tin Bronze (Centrifugal Cast) | 200 – 300 | High performance, high sliding speeds, best wear resistance. |
| Case-Hardened Steel | Aluminum Bronze | 180 – 250 | Good strength and wear resistance, lower cost than tin bronze. |
| Hardened & Ground Steel | Phosphor Bronze (Sand Cast) | 100 – 150 | General purpose, moderate speeds and loads. |
| Hardened Steel | Cast Iron | 60 – 100 | Light duty, intermittent operation, low cost. |
Once the theoretical design is complete and verified through calculation, I transition to the three-dimensional modeling phase. Modern parametric CAD software is indispensable here. The process begins by creating the worm shaft model. I start with a sketch containing the calculated root diameter and use a helical sweep feature to create the thread geometry. The helix pitch, $p_z$, is defined as $p_z = \pi \cdot m_x \cdot Z_1$. The profile of the worm thread is trapezoidal, defined by the axial pressure angle $\alpha_x$ (usually equal to $\alpha_n$). Chamfers and fillets are added at the ends of the threaded section to facilitate assembly and reduce stress concentrations. The rest of the shaft features—bearing journals, seals lands, and connection details (keyways, splines)—are then added using extruded profiles and revolved cuts.
Modeling the worm wheel is more involved. While it’s possible to model a single tooth using a swept cut and then pattern it, the most accurate method, especially for visualization and interference checking, is to simulate the generation process using the worm as a cutting tool. In advanced CAD systems, this can be achieved through a Boolean subtraction operation: positioning the modeled worm at the correct center distance and orientation, and using it to cut the blank of the worm wheel. This creates a true conjugate geometry. For preliminary models, a simplified representation with the correct number of teeth, outside diameter, and face width is often sufficient. The hub, web, and attachment features (keyway, set screws, bolt circle) are then modeled onto this gear blank.
The housing design must accommodate the precise positioning of the worm and wheel shafts, provide adequate lubrication, ensure sealing, and dissipate heat. I model the main housing and the cover as separate parts. Critical features are the bearing bores, whose tolerances (e.g., H7 for housing bores) are directly applied to the model dimensions. Ribs are added to increase stiffness and heat dissipation area. Bosses for lubrication (fill, drain, level, and inspection ports) and sealing surfaces for gaskets are integral parts of the design. The use of a standardized parts library (often called a “Resource Center” or “Content Center”) dramatically speeds up the assembly process. From this library, I can instantly insert standard components such as deep groove ball bearings (e.g., 6205, 6204), oil seals, hex-head cap screws, dowel pins, and lubrication fittings. This ensures geometric and metadata accuracy.
Assembly involves applying geometric constraints (mates) to position all components correctly. The foundation is fixing the housing to the global origin. The worm shaft sub-assembly (worm shaft, bearings, and perhaps a seal) is then inserted and constrained. Its axis is aligned with the housing bore axis, and its axial position is fixed relative to a housing shoulder. Next, the worm wheel sub-assembly (wheel, key, shaft, bearings) is inserted. The most critical constraint here is the meshing condition between the worm and the worm wheel. This is typically achieved by ensuring the correct center distance and by applying a “gear” constraint that ties the rotational position of the worm to the worm wheel, often using a ratio defined by the number of worm starts and wheel teeth. Finally, the cover, seals, fasteners, and auxiliary parts are positioned and constrained. A cross-sectional analysis of the final assembly is crucial to verify clearances, especially between the worm wheel and the housing interior, and between bearing components.
A powerful advantage of a fully parametric 3D model is the automated generation of manufacturing drawings. Each part model (.ipt) contains integrated properties (iProperties) where information like part number, description, material, and creator is stored. When creating a drawing (.idw or .dwg), a base view is projected from the 3D model. For complex parts like the housing, additional views (top, side, detailed) are added. Section views are created with a single click by defining a cutting plane in a parent view. The software can automatically retrieve model dimensions, which I then organize, adjust for clarity, and supplement with geometric tolerances (like parallelism between bearing bores or runout on a shaft journal) and surface finish symbols. Bill of Materials (BOM) tables and associated balloon callouts are generated automatically from the assembly file, pulling data from the iProperties of each component. This dynamic link ensures the drawing package is always consistent with the 3D design; any change in the model is reflected in the drawings upon update.
| Design Stage | Traditional 2D-Centric Approach | Modern 3D-Parametric CAD Approach |
|---|---|---|
| Concept & Calculation | Manual calculations, reference to handbook tables. | Manual/scripted calculations, integrated design calculators/wizards. |
| Component Design | Separate 2D drawings for each part. No inherent relationship between drawings. | Parametric 3D part models. Dimensions drive geometry. Relationships (e.g., hole patterns) are maintained. |
| Assembly Verification | Manual checking for interference using overlayed drawings or physical prototypes. | Real-time 3D interference detection within the digital assembly. Motion simulation. |
| Drawing Creation | All views, sections, and dimensions are drawn manually. High risk of inconsistency. | Views are automatically projected from the 3D model. Model dimensions can be retrieved. BOM is auto-generated. |
| Design Change | Change in one part requires manual updates to its drawing and all related assembly/part drawings. Error-prone. | Change the 3D model. All associated drawings and assemblies update automatically, maintaining consistency. |
In conclusion, the successful design of worm gears hinges on a deep understanding of their unique kinematics, tribology, and strength characteristics. A rigorous analytical phase must define the geometry, verify stresses, and select appropriate materials. This theoretical foundation is then brought to life efficiently and accurately through modern 3D parametric CAD systems. These tools not only facilitate the creation of precise digital prototypes and enable comprehensive interference checking but also revolutionize documentation by automating the generation of standardized, interconnected engineering drawings. The entire process, from initial concept to manufacturing documentation, is significantly accelerated and rendered more reliable. Mastering both the underlying theory of worm gears and the capabilities of contemporary design software is therefore essential for any engineer developing compact, high-ratio power transmission systems.