
The pursuit of high-precision, compact, and reliable transmission systems has consistently driven innovation in mechanical engineering. Among the various solutions, the strain wave gear, also known as a harmonic drive, stands out due to its unique operating principle and exceptional performance characteristics. This technology enables remarkable capabilities within a minimal envelope, making it indispensable in fields demanding precision and efficiency, such as robotics, aerospace instrumentation, and semiconductor manufacturing.
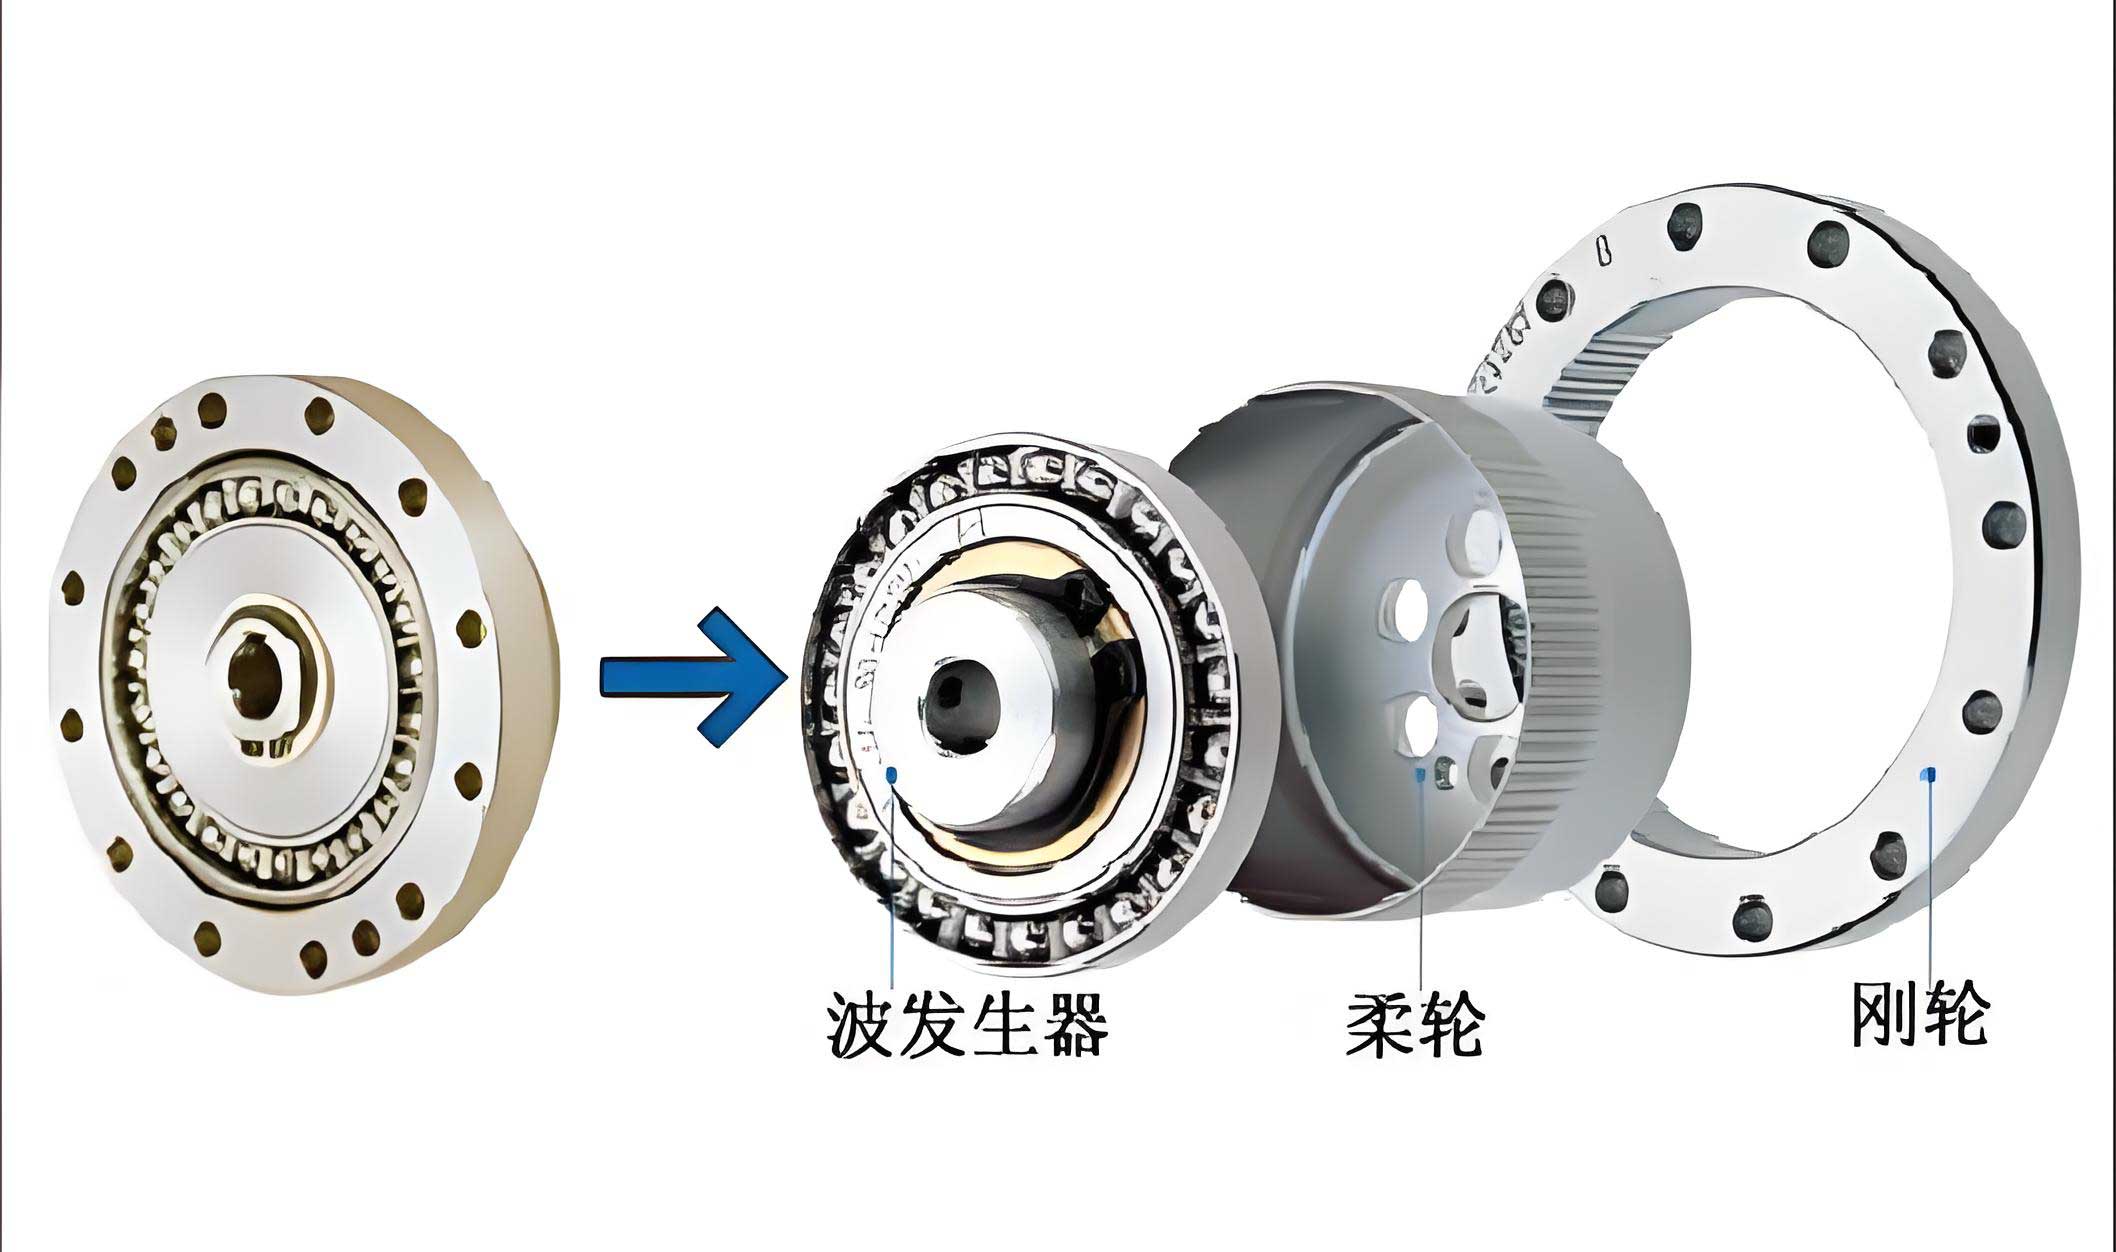
The fundamental operation of a strain wave gear relies on the controlled elastic deformation of a critical component called the flexspline. This thin-walled, cup-shaped or hat-shaped gear is subjected to a wave generator, typically an elliptical cam paired with a flexible bearing. This action causes the flexspline to deform, allowing its external teeth to mesh with the internal teeth of a rigid circular spline at two diametrically opposite regions. The relative motion between these components results in a high reduction ratio. The predictable and controlled deformation of the flexspline underlies the entire kinematic and load-bearing function of the drive.
For decades, the prevailing analytical foundation for modeling the flexspline has been the assumption that its neutral contour, after assembly, conforms perfectly to the elliptical profile of the wave generator. This model simplifies the flexspline into an inextensible thin ring or shell that wraps completely around the wave generator’s major axis region. While this classical theory, often attributed to researchers like Ivanov, provides a valuable starting point, it inherently overlooks two significant practical realities: the presence of assembly clearances and the circumferential elongation (stretching) of the neutral surface due to membrane forces.
In real-world manufacturing and assembly, perfect interference fit is neither practical nor desirable. Clearances arise from multiple sources: dimensional tolerances of the flexspline bore and the wave generator’s outer race, and crucially, the internal radial clearance or “play” within the flexible ball bearing itself. Furthermore, as the thin-walled flexspline deforms, significant circumferential membrane forces develop, leading to an elongation of its neutral surface. Ignoring this elongation violates the inextensibility assumption of the simple ring theory. The combined effect of these factors is that the flexspline does not make full circumferential contact with the wave generator. Instead, contact occurs only over a specific arc, known as the wrap angle, which is substantially smaller than the idealized 180-degree contact often assumed. The region outside this wrap angle remains unloaded and deflects freely.
Accurately predicting this actual wrap angle and the associated stress field within the flexspline is not merely an academic exercise; it is of paramount practical importance. The wrap angle directly influences the load distribution on the flexible bearing, affecting its service life and radial stiffness. The stress concentration at the boundary of the wrap angle is a critical factor in fatigue life prediction for the flexspline. Most importantly, the precise deformed shape of the flexspline’s neutral contour is the foundational datum for tooth profile design, tooth engagement analysis, and the calculation of kinematic error. An inaccurate contour model leads to suboptimal tooth geometry, increased wear, and compromised transmission accuracy. Therefore, developing a more realistic mechanical model that accounts for assembly clearance and neutral surface elongation is essential for advancing the design and performance prediction of strain wave gears.
Theoretical Framework and Contact Mechanics Model
To address the limitations of the classical model, a new analytical framework is established. This model explicitly considers the assembly clearance, modeled as an effective increase in the nominal radius of the flexspline’s neutral contour, and the elastic elongation of that contour. The core of the analysis is to treat the deformation as a contact problem with an unknown boundary—the wrap angle.
Consider an elliptical cam wave generator with semi-major axis $a$ and semi-minor axis $b$. The nominal radius of the undeformed flexspline neutral circle is $r_m$. The total assembly clearance is quantified by an effective radial increment $\Delta r$, leading to an as-assembled initial neutral radius of $R_m = r_m + \Delta r$.
The deformation process is conceptualized in two distinct zones:
- The Contact Zone ($0 \leq \theta < \gamma$): Within the wrap angle $\gamma$, the flexspline’s neutral contour is assumed to be in continuous contact with the wave generator. Its shape is described by the equidistant curve (offset by half the wall thickness) of the elliptical cam profile. The polar equation for this contour, relative to the cam center, is:
$$ \rho(\theta) = \frac{ab}{\sqrt{a^2\sin^2\theta + b^2\cos^2\theta}} $$
where $\theta$ is the angular coordinate from the major axis. - The Non-Contact Zone ($\gamma \leq \phi \leq \pi/2$): Beyond the wrap angle $\gamma$, the flexspline is free from contact. This section is modeled as a cantilevered curved beam, fixed at the boundary point $B_1$ (where $\theta = \gamma$) and subjected to internal forces and moments from the contact zone.
The wrap angle $\gamma$ after deformation and its corresponding angle $\gamma_1$ on the undeformed circle are unknown a priori and become the primary unknowns of the problem. Their relationship is governed by two key conditions: the equality of the material arc length (accounting for elastic stretching) and geometric compatibility.
Governing Equations and Internal Forces
Within the contact zone, the curvature of the deformed neutral line is known from the ellipse geometry: $K_E(\theta) = \frac{ab(c^2\cos^2\theta – \cos 2\theta – c^2)}{(c^4\cos^2\theta – \cos 2\theta – c^4)^{3/2}}$ where $c = a/b$. The change in curvature from the initial circular state is $\chi(\theta) = K_E(\theta) – 1/R_m$. According to beam theory, this curvature change is directly proportional to the bending moment $M(\theta)$:
$$ M(\theta) = EI_z \cdot \chi(\theta) = EI_z \left[ K_E(\theta) – \frac{1}{R_m} \right] $$
where $E$ is Young’s modulus and $I_z$ is the area moment of inertia of the flexspline cross-section.
The circumferential (membrane) force $F_N(\theta)$ and shear force $F_S(\theta)$ in the contact zone are derived from equilibrium considerations on a differential element:
$$ F_S(\theta) = \frac{1}{R_m} \frac{dM(\theta)}{d\theta} $$
$$ F_N(\theta) = \frac{EI_z}{R_m} \left[ K_E(\gamma) – K_E(\theta) \right] + F_N(\gamma) $$
Here, $F_N(\gamma)$ is the circumferential force at the wrap angle boundary, which serves as a key connection to the non-contact zone.
The distributed radial contact pressure $q_r(\theta)$ between the flexspline and the wave generator is also derived from equilibrium:
$$ q_r(\theta) = \frac{1}{R_m} \left[ F_N(\theta) – \frac{dF_S(\theta)}{d\theta} \right] $$
In the non-contact zone, the flexspline segment is a curved beam under the action of the internal forces transferred at point $B_1$. These are statically equivalent to a moment $X_1$ and a force $X_2$ (the circumferential force at the minor axis) acting at the free end (the minor axis point C). Using the angular coordinate $\phi$ measured from the fixed end $B_1$, the internal forces in the non-contact zone are:
$$ M_1(\phi) = X_1 + X_2 R_m (\cos\alpha – \sin(\phi+\alpha)) $$
$$ F_{N1}(\phi) = X_2 \sin(\phi+\alpha) $$
$$ F_{S1}(\phi) = X_2 \cos(\phi+\alpha) $$
where $\alpha = \gamma_0 – \gamma_1$ is the rigid-body rotation of the non-contact segment, and $\gamma_0$ is the angle of the normal at $B_1$.
Solution via the Energy Method and Iteration
The problem is solved by enforcing compatibility conditions between the contact and non-contact zones. This results in a set of nonlinear equations that are solved iteratively. The primary equations are:
1. Arc Length and Elongation Condition: The material arc length from the major axis to the wrap point must be consistent before and after deformation, including the elastic stretch caused by the average circumferential force.
$$ \gamma_1 = \frac{a}{R_m} \int_0^{\gamma} \frac{\sqrt{c^4\sin^2\theta + \cos^2\theta}}{(c^2\sin^2\theta + \cos^2\theta)^{3/2}} d\theta – \frac{\Delta S_{AB}}{R_m} $$
where $\Delta S_{AB} = \frac{R_m}{ES} \int_0^{\gamma} F_N(\theta) d\theta$ is the total circumferential elongation in the contact zone, and $S$ is the cross-sectional area.
2. Geometric Boundary Conditions at the Minor Axis: Using Castigliano’s theorem (energy method), the deflection and slope at the minor axis (point C) are related to the strain energy $U$ in the non-contact zone.
$$ \frac{\partial U}{\partial X_1} = -\alpha, \quad \frac{\partial U}{\partial X_2} = y_{C_1} $$
where $U = \frac{R_m}{2EI_z}\int_{\gamma_1}^{\pi/2} M_1^2(\phi) d\phi + \frac{R_m}{2ES}\int_{\gamma_1}^{\pi/2} F_{N1}^2(\phi) d\phi$, and $y_{C_1}$ is the vertical coordinate of point C before elastic bending.
3. Curvature Continuity at the Wrap Angle: The bending moment must be continuous at the boundary point $B_1$.
$$ M(\gamma) = M_1(\gamma_1) $$
$$ EI_z \left[ K_E(\gamma) – \frac{1}{R_m} \right] = X_1 + X_2 R_m (\cos\alpha – \sin(\gamma_1+\alpha)) $$
These four equations are solved simultaneously for the four primary unknowns: $\gamma$, $\gamma_1$, $X_1$, and $X_2$. An iterative numerical procedure, such as the Newton-Raphson method, is typically employed until convergence on the moment continuity condition is achieved (e.g., with an error tolerance $\epsilon < 1\times10^{-7}$ N·mm).
Analysis of Mechanical Characteristics
Applying the developed model reveals significant insights that challenge the classical view of the strain wave gear’s assembly state. The analysis is performed with typical parameters: $r_m = 21.312$ mm, $a = 21.662$ mm, wall thickness $h=0.902$ mm, width $b_1=1$ mm, and $E=196$ GPa. The effective clearance $\Delta r$ is varied and expressed as a percentage of the nominal radius: $\zeta = \Delta r / r_m$.
Wrap Angle and Contact Behavior
The most striking result is the calculated wrap angle. Contrary to the idealized full-wrap model, the actual contact arc is significantly smaller and highly sensitive to assembly clearance.
| Clearance Ratio $\zeta$ (%) | Deformed Wrap Angle $\gamma$ (degrees) | Contact Zone Reduction vs. $\zeta=0$ |
|---|---|---|
| 0.00 | 41.0 | 0% (Baseline) |
| 0.50 | 26.5 | 35.4% |
| 2.00 | 16.8 | 59.0% |
| 5.20 | 13.1 | 68.0% |
| 11.70 | 12.8 | 68.8% |
The data shows that even with theoretically zero clearance ($\zeta=0$), accounting for neutral surface elongation alone limits the wrap angle to approximately 41°, far less than 90° (half the ellipse). Introducing a small clearance causes a dramatic initial decrease in the wrap angle. Beyond $\zeta \approx 5\%$, the wrap angle stabilizes at a very small value (around 13°). This implies that in most practical assemblies, the flexspline contacts the wave generator over a very limited arc, concentrating the load.
Internal Forces and Stresses
The distribution of internal forces is fundamentally altered by the finite wrap angle. A critical indicator is the shear force jump at the wrap angle boundary, $|\Delta F_S| = |F_S(\gamma) – F_{S1}(\gamma_1)|$. This discontinuity is associated with a concentrated radial force, which contributes to localized wear on both the flexspline and the outer race of the flexible bearing.
$$ |\Delta F_S| \text{ increases monotonically with } \zeta \text{, from ~0.93 N/mm at } \zeta=0 \text{ to ~2.95 N/mm at } \zeta=11.7\% $$
The bending stress distribution, a primary driver of flexspline fatigue, is also affected. The maximum bending stress typically occurs near the major axis. As clearance increases and the wrap angle shrinks, the stress distribution changes:
- The bending stress at the major axis slightly decreases.
- The bending stress in the transition region (near the former wrap angle) increases.
- The bending stress at the minor axis decreases as the free span becomes longer and more compliant.
The general expression for bending stress is $\sigma_b(\theta) = \frac{h}{2I_z} M(\theta)$ in the contact zone and $\sigma_b(\phi) = \frac{h}{2I_z} M_1(\phi)$ in the non-contact zone.
Deformed Shape and Tooth Positioning
The accurate prediction of the deformed neutral contour is the ultimate goal for precise tooth positioning. The contour is defined piecewise:
Contact Zone ($0 \leq \theta \leq \gamma$): Directly given by the elliptical equidistant curve $\rho(\theta)$.
Non-Contact Zone ($\gamma < \theta \leq \pi/2$): Found by calculating the elastic deflection of the cantilevered segment. The coordinates of a point originally at $\phi_E$ are:
$$ x_{E_2} = x_{E_1} – \Delta x(\phi_E), \quad y_{E_2} = y_{E_1} – \Delta y(\phi_E) $$
where $\Delta x$ and $\Delta y$ are computed using the unit load method integrating the internal work done by moments and axial forces over the non-contact zone.
The final polar coordinates for tooth positioning are:
$$ \rho = \sqrt{x_{E_2}^2 + y_{E_2}^2}, \quad \theta = \arctan(x_{E_2}/y_{E_2}) $$
The impact of clearance on tooth position is notable. While the angular position ($\theta$) of teeth is relatively insensitive to clearance changes, their radial position ($\rho$) is significantly affected, especially in the non-contact region near the minor axis. A larger clearance results in a larger radial deflection at the minor axis. The following formula summarizes the radial coordinate dependency:
$$ \rho_{\text{minor axis}} \approx b + \delta(\zeta) $$
where $\delta(\zeta)$ is an increasing function of the clearance ratio, representing the additional “spring-back” of the free section.
Model Validation and Comparative Discussion
The proposed theoretical model was validated against detailed Finite Element Analysis (FEA) using shell elements for the flexspline and rigid surface contact for the wave generator. Both small deformation and large deformation (geometrically nonlinear) FEA solutions were obtained for comparison.
| Parameter | Proposed Model | FEA (Large Def.) | FEA (Small Def.) | Classical Full-Wrap Model |
|---|---|---|---|---|
| Wrap Angle $\gamma$ for $\zeta=5.2\%$ | 13.1° | ~14° | ~13° | 90° |
| Minor Axis Radial Deflection | Closer to Large Def. FEA | Reference | Underestimated | Fixed at $b$ |
| Bending Stress at Major Axis | Matches FEA trend | Reference | Slight overestimation | Overestimated |
| Shear Force Distribution | Shows clear jump at $\gamma$ | Shows sharp contact pressure peak at $\gamma$ | Similar trend | Continuous, no jump |
The validation shows strong agreement between the proposed analytical model and FEA, particularly with the large deformation analysis for moderate clearances. The model correctly predicts:
- The finite wrap angle and its sensitivity to clearance.
- The sharp jump in shear/contact pressure at the wrap boundary, observed as a concentrated reaction in FEA.
- The general shape of the bending stress distribution.
The main discrepancy lies in the assumption of a perfectly smooth, frictionless contact in the analytical model, whereas FEA captures local pressure variations. However, for global force, deformation, and stress prediction, the analytical model offers remarkable accuracy with vastly lower computational cost.
Implications for Strain Wave Gear Design
The findings have direct and critical implications for the design and application of strain wave gears:
1. Bearing Load and Life: The flexible bearing is only loaded over the actual wrap angle. A smaller wrap angle means higher specific pressure on the bearing rollers in the loaded zone, potentially accelerating wear and fatigue. Minimizing assembly clearance is crucial to maximizing the wrap angle, spreading the load, and improving bearing life. The relationship between bearing load zone $L_b$ and wrap angle is approximately:
$$ L_b \propto \gamma $$
2. Flexspline Fatigue Analysis: High-stress gradients occur at the wrap angle boundary, not just at the major axis. This region should be a focus for fatigue life calculation and potential structural reinforcement or smooth transition design.
3. Tooth Profile Design and Meshing Analysis: Using the classical full-wrap contour for tooth profiling will introduce errors in the true meshing position, especially for teeth located near and beyond the actual wrap angle. This can lead to imperfect conjugate motion, increased transmission error, and non-optimal load sharing among tooth pairs. The proposed model provides a more accurate foundation for both initial tooth profile generation and subsequent profile modification (topping, lead crowning). The corrected tooth position vector $\vec{P}_{\text{tooth}}$ is:
$$ \vec{P}_{\text{tooth}} = \vec{r}(\theta_s) + \frac{h}{2} \hat{n}(\theta_s) $$
where $\vec{r}(\theta_s)$ is the calculated neutral contour point at the tooth centerline angle $\theta_s$, and $\hat{n}$ is the unit normal vector.
4. Torsional Stiffness: The torsional stiffness of the strain wave gear assembly under load is influenced by the compliance of the non-contact zone. A smaller wrap angle (larger free span) generally reduces the overall torsional stiffness, as more of the flexspline can wind up elastically. Accurate prediction of this stiffness requires the realistic deformation model presented here.
Conclusion
This investigation into the mechanical behavior of the flexspline in a strain wave gear, considering practical assembly clearances and the elasticity of the neutral surface, fundamentally refines the classical analytical paradigm. The key conclusion is that the assumption of full circumferential contact between the flexspline and the wave generator is non-conservative and inaccurate for practical engineering analysis and design.
The developed contact mechanics model, which introduces the wrap angle as a primary unknown and solves for it using energy methods and compatibility conditions, successfully captures the true assembly state. It demonstrates that even with zero mechanical clearance, the elongation of the neutral surface limits the contact arc to a value significantly less than 180 degrees. The introduction of realistic assembly clearances further drastically reduces this contact arc, concentrating loads and creating a sharp transition at the wrap boundary.
The implications are profound for the entire design chain of the strain wave gear. A more accurate prediction of the wrap angle leads to better assessment of flexible bearing loads, more precise identification of high-stress regions in the flexspline for fatigue life prediction, and, most critically, a correct foundation for determining the deformed shape of the flexspline neutral contour. This accurate contour is indispensable for optimal tooth profile design, precise kinematic and load-sharing analysis, and ultimately, for achieving the high performance and reliability expected from strain wave gear transmissions in advanced robotic and aerospace systems. This work establishes a more rigorous analytical foundation, bridging the gap between idealized theory and the practical reality of strain wave gear assembly and operation.