
As a widely adopted power transmission solution, the cycloidal drive, a specific type of cycloidal speed reducer, has become indispensable across numerous industries due to its exceptional characteristics. In sectors like food processing and flour milling, its ability to offer high reduction ratios, compact design, high efficiency, and smooth operation has made it the preferred choice over traditional gear trains. However, maximizing the performance, lifespan, and reliability of a cycloidal drive hinges on a deep understanding of its proper selection, precise installation, dedicated lubrication, and systematic maintenance. This guide consolidates critical knowledge from field experience and engineering principles to address common installation and usage challenges associated with cycloidal drives.
The fundamental operation of a cycloidal drive is based on planetary motion and the unique meshing between a lobed cycloidal disc and stationary needle rollers. This principle grants it distinct advantages. The mathematical foundation of the cycloidal curve is crucial for its performance. A standard epitrochoidal curve, which forms the lobe profile of the cycloidal disc, can be defined parametrically:
$$ x = (R – r) \cos(\theta) + \lambda r \cos\left(\frac{R – r}{r} \theta\right) $$
$$ y = (R – r) \sin(\theta) – \lambda r \sin\left(\frac{R – r}{r} \theta\right) $$
Where:
- $R$ is the pitch circle radius of the needle pins.
- $r$ is the generating circle radius.
- $\theta$ is the rotation angle of the generating circle.
- $\lambda$ is the trochoid ratio factor (typically close to 1 for a standard cycloid).
The primary reduction ratio $i$ of a single-stage cycloidal drive is determined by the relationship between the number of lobes on the cycloidal disc ($Z_c$) and the number of needle pins ($Z_p$):
$$ i = \frac{Z_p}{Z_p – Z_c} $$
Given the high precision required for manufacturing these components—especially the cycloidal disc which demands specialized CNC equipment—selecting a cycloidal drive from a reputable manufacturer with proven technical capability is paramount. Inferior products often fail prematurely due to poor metallurgy and inaccurate tooth profile machining.
Selection and Sizing Guidelines
Choosing the correct cycloidal drive for an application involves more than just matching the desired speed ratio. Critical parameters must be calculated to ensure the unit operates within its design limits. The following table outlines the key selection criteria and calculation steps.
| Parameter | Description & Formula | Considerations |
|---|---|---|
| Required Torque ($T_{req}$) | $T_{req} = \frac{9550 \times P}{n}$ Where $P$ is power in kW, $n$ is output speed in RPM. |
Always apply a service factor ($SF$) based on load characteristics (shock, intermittent, uniform). $T_{rated} \geq T_{req} \times SF$. |
| Thermal Capacity | Calculate heat dissipation based on efficiency ($\eta$): $P_{loss} = P_{in} \times (1 – \eta)$. Ensure ambient temperature + temperature rise < max allowable. |
Efficiency ($\eta$) of a cycloidal drive is typically 90-94%. For high duty cycles or enclosed spaces, consider forced cooling. |
| Overhung Load & Axial Force | Verify that the resultant force from sprockets, pulleys, or couplings does not exceed the output shaft’s catalogued Overhung Load (OHL) and Axial Force limits. | Use supported shafts or external bearings if loads exceed the cycloidal drive’s capacity. Never hammer components onto the shaft. |
| Mounting Configuration | Foot-mounted, flange-mounted, or shaft-mounted. | Determined by spatial constraints and driven equipment interface. Ensures rigidity and minimizes misalignment. |
| Hygiene & Environmental | For food-grade applications (e.g., flour milling). | Specify sealed housings, stainless steel parts if necessary, and food-compatible, non-leaking lubricants. |
Precision Installation Procedures
A perfectly selected cycloidal drive can fail quickly if installed incorrectly. The installation process is critical for ensuring longevity and optimal performance. Adherence to the following steps is non-negotiable.
1. Foundation and Alignment: The mounting surface must be flat, clean, and sufficiently rigid to prevent distortion of the cycloidal drive housing. Use shims (steel or cast iron) for leveling, but avoid using more than three stacked shims at any point. Preferably, use wedge blocks for initial alignment and then replace them with permanent flat shims. The arrangement of shims and foundation bolts should be symmetrical to avoid inducing stress.
2. Shaft Connection: The output shaft of a cycloidal drive is not designed to withstand direct axial hammering. When attaching couplings, sprockets, or pulleys, always utilize the threaded hole on the shaft end. Insert a bolt into this hole to press the connecting element on smoothly and squarely.
3. Alignment Tolerance: Misalignment between the cycloidal drive’s output shaft and the driven machine’s input shaft generates destructive parasitic forces. Use dial indicators to check radial and angular misalignment. The tolerance must remain within the limits specified by the coupling manufacturer. A general guideline for flexible couplings is to keep misalignment below 0.1 mm for parallel offset and 0.1° for angular error.
4. Orientation Considerations: Standard horizontal-mount cycloidal drives are designed for a horizontal axis of rotation. While slight inclinations are permissible, the maximum continuous tilt should not exceed 15°. For installations beyond this angle, special lubrication arrangements (e.g., auxiliary oil pumps or pressurized grease systems) are mandatory to ensure all critical components, especially the eccentric bearing and needle rollers, receive adequate lubrication and to prevent oil seepage from breathers or seals.
| Installation Step | Key Action | Common Pitfall to Avoid |
|---|---|---|
| Pre-Installation Check | Verify model number, ratio, and check for transport damage. | Installing a unit with incorrect ratio or pre-existing damage. |
| Base Preparation | Clean, level, and prepare foundation bolts and shims. | Mounting on a warped or dirty surface causing housing strain. |
| Unit Placement | Position the cycloidal drive and loosely install bolts. | Over-tightening bolts before alignment is complete. |
| Shaft Alignment | Use dial indicators to measure and correct parallel and angular misalignment of the coupling. | Visual alignment only, which is insufficient for precision drives. |
| Final Tightening | Sequentially tighten foundation bolts to the specified torque in a cross pattern. | Tightening bolts in a circle, which can warp the base. |
| Shaft Connection | Use the axial screw method to mount driven elements onto the output shaft. | Directly hammering a gear or sprocket onto the shaft, damaging bearings. |
Lubrication: The Lifeline of the Cycloidal Drive
Lubrication is arguably the most critical aspect of cycloidal drive operation and maintenance. The right lubricant reduces friction, wear, dissipates heat, and protects against corrosion. For modern applications, especially in food processing, the trend is towards using high-performance, long-life synthetic greases instead of traditional oil baths.
Lubricant Selection: Manufacturers specify dedicated lubricants for their cycloidal drives. These are often high-viscosity, extreme-pressure (EP) greases with excellent adhesion properties, formulated to withstand the high shear stresses and sliding/rolling contact within the cycloidal mechanism. For hygienic environments, NSF H1-registered food-grade greases are essential. The benefits of专用润滑脂 (dedicated grease) include minimized leakage, resistance to washout, extended re-lubrication intervals, and compliance with sanitary standards.
Lubrication Intervals and Procedure:
- Initial Fill/First Change: A new cycloidal drive is typically factory-filled. The first lubricant change should occur after the first 500 hours of operation to remove any initial wear particles and assembly contaminants.
- Regular Changes: Thereafter, under continuous operation (24/7), the lubricant should be completely replaced every 6 months or 2,500-3,000 operating hours, whichever comes first. Less strenuous duty cycles may allow for longer intervals as per manufacturer guidelines.
- Procedure: To change the grease, thoroughly clean out the old grease from the housing interior. This is crucial as used grease contains metal wear particles that act as abrasives. Refill with the specified grease until it reaches the center of the sight glass (if equipped) or the recommended volume. Overfilling can cause churning and overheating, while underfilling leads to inadequate lubrication and premature failure.
- Re-lubrication: Some designs allow for periodic replenishment via grease fittings. Follow the manufacturer’s schedule for adding small quantities of grease to compensate for minor leakage or degradation.
| Lubricant Property | Importance for Cycloidal Drive | Typical Specification/Value |
|---|---|---|
| Base Oil Viscosity | Determines film strength under load and temperature. Must be high enough to separate surfaces. | ISO VG 460 or equivalent common for grease base oil. |
| NLGI Grade | Consistency of the grease. Affects pumpability and stay-put characteristics. | NLGI 1.5 or 2 is commonly specified. |
| EP (Extreme Pressure) Additives | Protects against high contact stresses at needle rollers and cycloidal disc lobes. | Contains Sulphur-Phosphorus (S-P) or similar EP additives. |
| Thickener Type | Provides structure and stability. Lithium complex or polyurea are common. | Lithium Complex offers good all-round performance. |
| Operating Temperature Range | Must remain stable and not separate or oxidize rapidly. | Typically -20°C to +120°C or better. |
| Hygienic Certification | For food, pharmaceutical, or packaging applications. | NSF H1 registration is mandatory. |
The allowable operating ambient temperature for a standard cycloidal drive is usually between -10°C and +40°C. The temperature rise of the oil sump (or housing) under full load should not exceed 45°C above ambient. Monitoring operational temperature is a simple but effective health check.
Systematic Maintenance and Troubleshooting
Proactive maintenance prevents unexpected downtime and costly repairs. A well-structured schedule should be established for every cycloidal drive in service.
Routine Checks:
- Daily/Weekly: Listen for unusual noise (grinding, knocking). Feel for excessive vibration or heat.
- Monthly: Check all fasteners (foundation bolts, coupling screws) for tightness. Inspect shaft seals for leaks. Verify lubricant level via sight glass.
- Pre-Shutdown (Scheduled): Perform a thorough inspection, including alignment check and lubricant analysis.
Disassembly and Overhaul: If a cycloidal drive exhibits high temperature (>80°C housing), severe noise, or a noticeable drop in performance, it must be opened for inspection. This process requires care:
- Clean the exterior thoroughly before disassembly to prevent contaminant ingress.
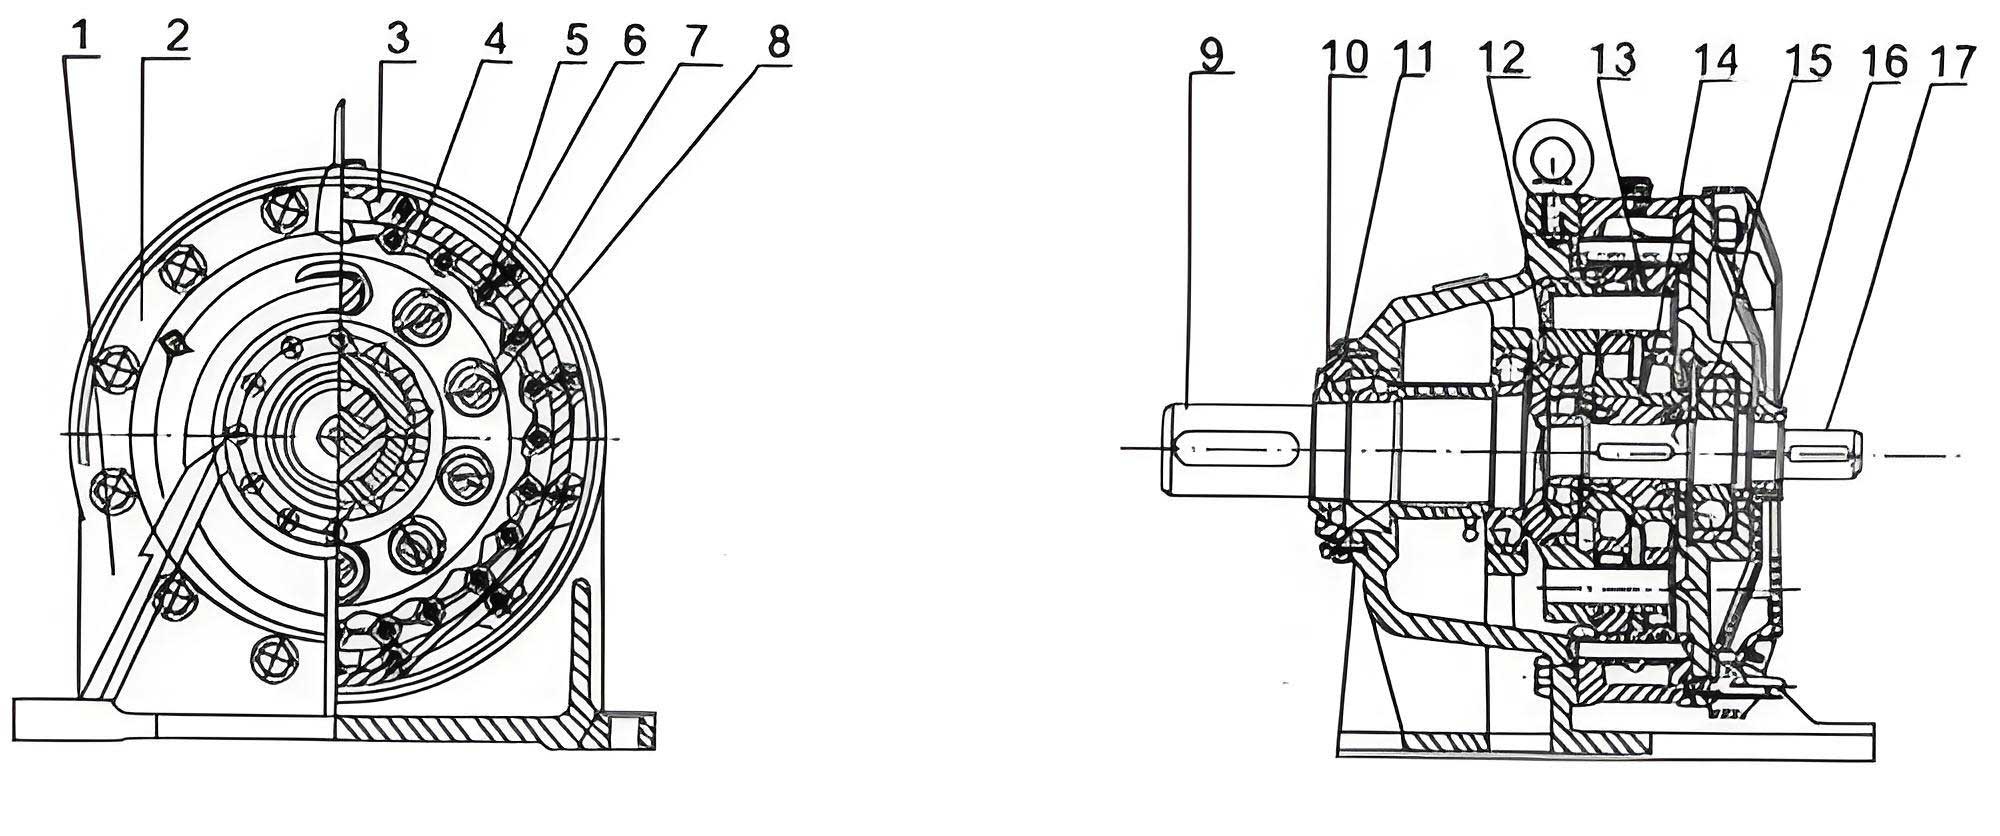
- Upon opening, inspect the cycloidal disc(s), needle pins and their housings (pin rings), eccentric bearings, and the output mechanism (pins, rollers, or wobble plate) for signs of pitting, spalling, scoring, or excessive wear.
- Critical Rule: The cycloidal discs are a matched set, precision-ground together. They must never be interchanged with discs from another unit or used in a mismatched pair.
- When removing the eccentric bearing, use two pry bars inserted at symmetric points on the bearing’s inner race and apply even, balanced force. Never hammer on one side or the shaft, as this can bend the eccentric crankshaft or damage the cycloidal disc bore.
- Before reassembly, meticulously scrape off all old sealant from flange faces. Apply a new bead of high-quality silicone or anaerobic sealant. Use a new gasket with the correct thickness (typically 0.5mm).
- After reassembly and before powering on, manually rotate the input shaft at least 3-4 full revolutions to ensure smooth, unhindered movement throughout the entire cycle.
| Symptom/Observation | Potential Cause | Corrective Action |
|---|---|---|
| Excessive noise or vibration | Worn bearings (eccentric or output), damaged cycloidal disc lobes, severe misalignment, loose fasteners. | Stop operation. Check alignment and fasteners first. If problem persists, inspect internal components for wear. |
| Rapid temperature rise | Overloading, insufficient or degraded lubricant, overfilling of lubricant, failed bearing, severe misalignment. | Verify load is within rating. Check lubricant level and condition. Inspect for alignment issues. |
| Lubricant leakage | Damaged or aged shaft seals, overfilled housing, clogged breather, worn gaskets/sealant failure. | Replace shaft seals. Ensure proper lubricant level. Clean or replace breather. Reseal housing flanges. |
| Output shaft stiffness or binding | Internal component failure (jammed roller, seized bearing), incorrect reassembly, foreign object inside housing. | Disassemble and inspect for mechanical obstruction or incorrect part assembly. |
| Reduced output speed or power transmission | Severe internal slippage due to stripped components (rare), input source problem. | Check motor and input coupling. Internal inspection of the cycloidal drive is necessary if input is confirmed OK. |
Conclusion
The reliable and efficient operation of a cycloidal drive is not a matter of chance but the direct result of informed selection, precision installation, and disciplined maintenance. By understanding the engineering principles behind the cycloidal drive, meticulously following installation protocols, employing the correct dedicated lubricants, and adhering to a proactive maintenance schedule, users can fully leverage the benefits of this robust transmission technology. This approach minimizes unplanned downtime, extends service life well beyond typical expectations, and ensures that the cycloidal drive remains a dependable workhorse in demanding industrial applications, from the rigorous environment of a flour mill to the precise needs of automated packaging lines. The initial investment in quality and proper care pays continuous dividends in operational stability and total cost of ownership.