
Traditional machining of cylindrical gears, whether spur or helical, is predominantly accomplished using dedicated gear manufacturing equipment such as hobbing, shaping, or grinding machines. However, the evolving capabilities of modern multi-axis CNC machining centers present new possibilities. This exploration delves into the methodologies for producing a helical gear on a four-axis machining center, a task conventionally reserved for specialized gear-cutting machines. The objective is to develop and verify a viable process leveraging common CNC platforms, utilizing domestic CAD/CAM software for programming, and validating through simulation and physical machining.
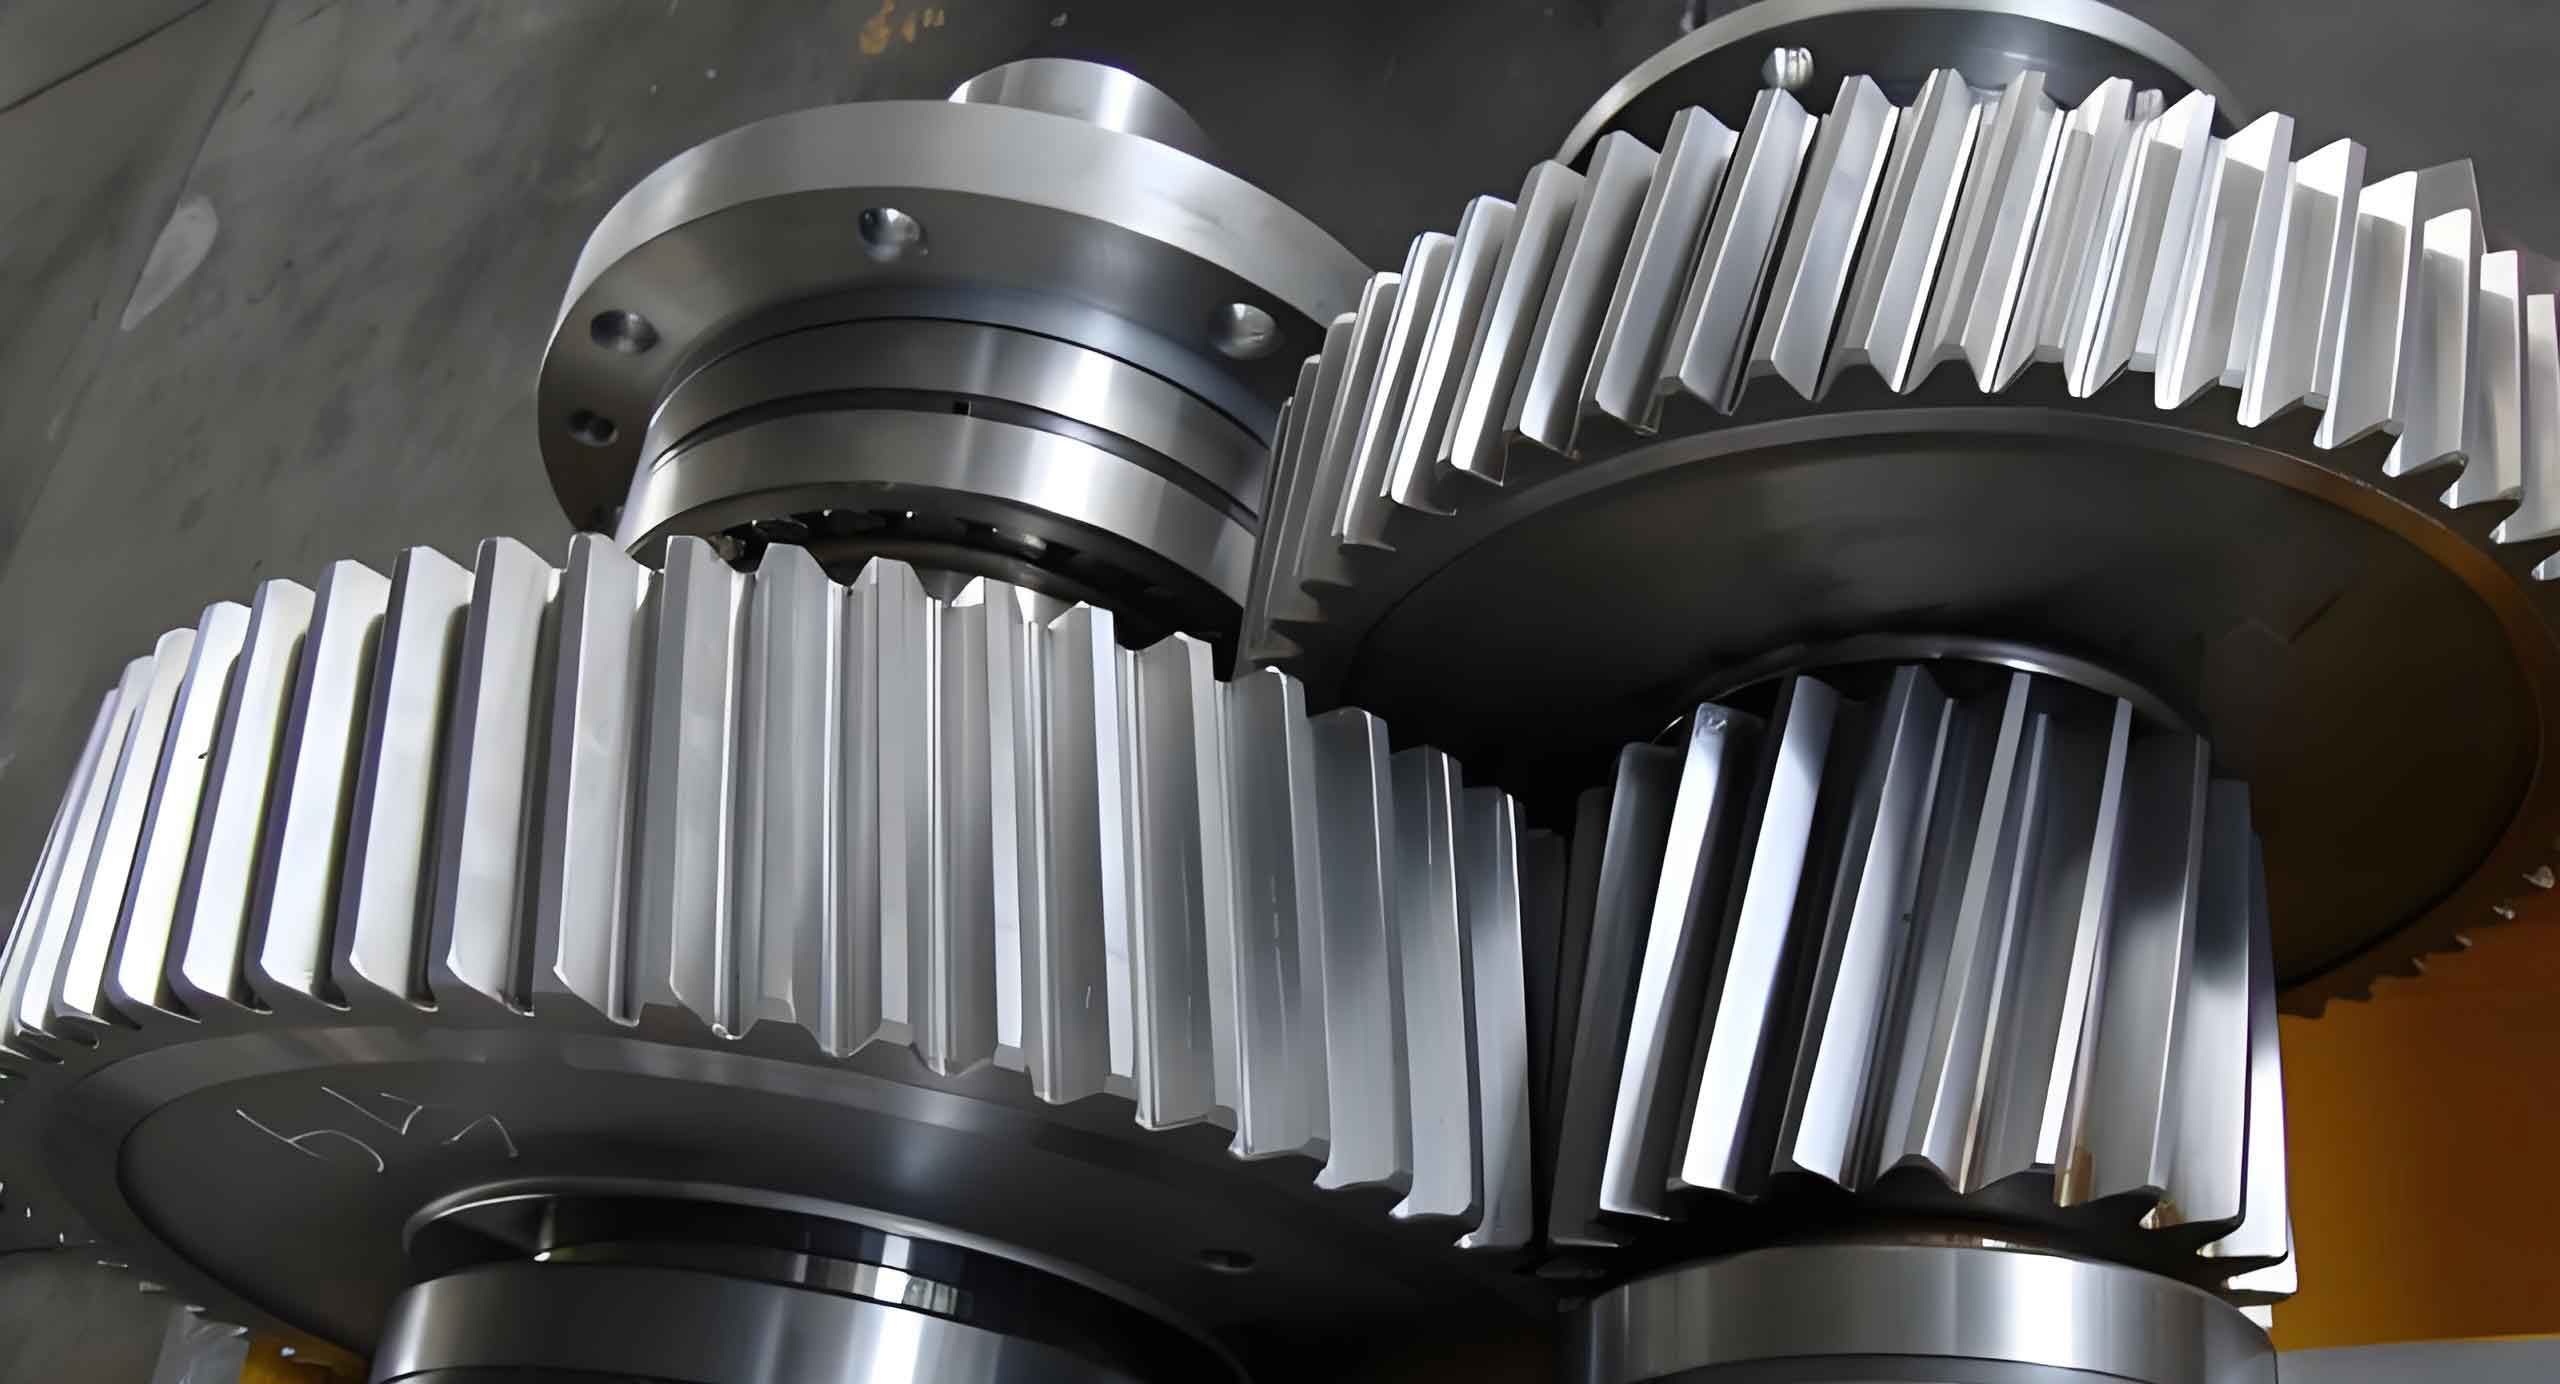
The impetus for this exploration stems from practical scenarios, such as skills competitions or small-batch production, where access to dedicated gear hobbing machines is unavailable, but four-axis machining centers are present. This approach unlocks the potential for manufacturing custom or non-standard helical gears directly from solid blanks. A representative helical gear serves as our case study. The primary challenge lies in its 20° helix angle and the requirement for precise tooth geometry to ensure smooth meshing in an assembly.
The core parameters defining our target helical gear are critical for all subsequent calculations and toolpath generation. These are summarized in the table below:
| Parameter | Value |
|---|---|
| Tooth Profile | Involute |
| Helix Angle (β) | 20° (Single Helix) |
| Module (mn) | 4 mm |
| Number of Teeth (z) | 20 |
| Normal Pressure Angle (αn) | Typically 20° (Assumed) |
From these fundamental parameters, other essential dimensions for machining are derived. The pitch diameter (d) is calculated for a standard helical gear. It’s crucial to distinguish between the normal module (used here) and the transverse module (mt). The relationship is given by:
$$ m_t = \frac{m_n}{\cos\beta} $$
The pitch diameter is then:
$$ d = z \times m_t = z \times \frac{m_n}{\cos\beta} $$
Substituting our values (z=20, mn=4, β=20°):
$$ d = 20 \times \frac{4}{\cos(20°)} \approx 20 \times 4.255 \approx 85.1 \text{ mm} $$
This value is pivotal for programming the rotary axis motion synchronized with linear axes. The lead (L) of the helical gear, which determines the axial travel per one full revolution of the gear, is calculated as:
$$ L = \frac{\pi \times d}{\tan\beta} \approx \frac{\pi \times 85.1}{\tan(20°)} \approx \frac{267.3}{0.364} \approx 734.3 \text{ mm} $$
This lead value is conceptually used to synchronize the rotary C-axis (or A-axis) with the linear Z-axis motion during toolpath generation.
Two distinct strategies for machining the helical gear on a four-axis center are explored: one using universal (standard) cutting tools and another employing custom-form tools. Each approach has its merits and is suited to different production contexts.
Method 1: Contour Machining with Universal Tools
This method is highly flexible and suitable for prototyping or very low-volume production. It does not require special tooling; instead, it uses standard end mills to sculpt the tooth space by following the complex helical involute surface. The process relies heavily on the advanced multi-axis programming capabilities of CAD/CAM software. The workflow involves creating a precise 3D solid model of the target helical gear. Subsequently, multi-axis machining strategies, such as “swarf machining” or “parallel to curve” operations, are applied to the tooth gaps. These operations typically generate 5-axis toolpaths where the tool orientation is continuously adjusted to avoid collisions and maintain optimal cutting conditions on the complex double-curvature surface of the helical gear tooth flank.
A critical adaptation is required to run these toolpaths on a 4-axis machine (typically with rotations about one axis, e.g., the A or C axis). The CAM software’s toolpath transformation function is utilized to convert the 5-axis toolpaths into a format executable on a 4-axis machine. This often involves locking one of the rotational axes from the 5-axis solution, effectively creating a “3+1” axis toolpath where the rotary axis indexes to a position, and then a 3-axis milling operation is performed, or creating a continuous 4-axis toolpath where one rotary axis moves synchronously with three linear axes.
The machining is typically done one tooth space at a time. A roughing operation using a flat-end mill or a bull-nose tool is performed first to remove the bulk of the material. This is followed by a finishing operation using a ball-nose end mill or a tapered ball-nose mill to accurately achieve the final involute and helical form. The toolpath for a single tooth gap is then rotationally patterned around the gear axis to machine all teeth. The major advantage of this method is its generality; the same programming logic can be applied to a helical gear of any module, helix angle, or number of teeth by simply updating the CAD model. However, significant drawbacks are its low material removal rate and extended machining time. Surface finish and geometric accuracy are also heavily dependent on the step-over distance and tool deflection, potentially requiring multiple semi-finishing passes.
Method 2: Form Machining with Custom Tools
For batch production, efficiency and consistency become paramount. This method addresses these needs by utilizing a custom-designed form-relief cutter whose profile matches the exact geometry of the tooth space of the helical gear. This approach mimics the generative principle of gear hobbing but on a machining center platform.
Tool Design and Fabrication
The first step is to define the precise cross-sectional profile of the gear tooth space. Using the gear parameters, the involute curve for one side of a tooth can be generated. The coordinates of this profile are then used to design the form tool. The tool consists of a cylindrical shank for holding and a formed cutting section. The profile of this section is the mirror image of the gear tooth space. While this custom tool is more expensive than a standard end mill, its productivity gains in batch production justify the investment. A single plunge-and-traverse motion can complete an entire tooth space, drastically reducing cycle time and improving profile consistency.
The specifications for a custom tool might be defined as follows:
| Tool Feature | Specification |
|---|---|
| Shank Diameter | 12 mm |
| Overall Length | 100 mm |
| Cutting Profile | Involute form matching gear module=4, pressure angle=20° |
| Cutting Width | Slightly larger than gear face width |
| Helix Angle Compensation | Tool profile is normal to gear helix (requires precise calculation) |
Fixture Design
Efficient batch machining requires a dedicated fixture. The challenge with the gear blank is its short axial clamping length and the risk of collision between the spindle/toolholder and the rotary chuck during machining of the helical gear teeth. A custom two-part fixture is designed. A fixed baseplate is permanently mounted onto the machine’s fourth-axis rotary table. A removable top clamp, which holds the gear blank, locates precisely onto this baseplate. This design allows for quick and repeatable loading/unloading of workpieces, eliminating the need for re-indicating each part and significantly reducing non-cutting time.
Toolpath Strategy for Form Tool
The programming strategy is simpler yet requires precise synchronization. The core operation uses a “cylindrical wrapping” or “4-axis curve machining” function available in the CAM software. The programmer defines a drive curve on the developed cylinder of the gear blank. This curve accounts for both the linear motion along the gear axis (Z) and the rotary motion (C) to generate the required helix. The key steps are:
- Calculate the angular shift per unit of axial travel: $$ \theta_{per\_mm} = \frac{360°}{L} $$ where L is the lead calculated earlier (~734.3 mm).
- In the CAM environment, create a reference line on the cylinder surface that has this helical relationship.
- Select the 4-axis curve machining operation, specify the custom form tool, and select this helical line as the drive geometry. The software then generates G-code that synchronously controls the linear Z-axis and the rotary C-axis to move the tool along this path.
- The toolpath for machining one tooth gap is a simple, synchronized Z-C move. This single toolpath block is then rotationally arrayed (indexed) by $$ \Delta C = \frac{360°}{z} = 18° $$ to machine all 20 tooth spaces on the helical gear.
This method is extremely efficient. The machining sequence becomes: rapid to start position, engage the custom tool, execute the synchronized helical plunge/traverse to cut one tooth space, retract, index the rotary table by 18°, and repeat. The process flow is summarized below:
| Step | Action | Axis Motion |
|---|---|---|
| 1 | Position Tool at Start Point | X, Y, Z, C to safe start position. |
| 2 | Plunge/Traverse for One Tooth | Z and C move synchronously along calculated helix (Lead = 734.3mm). |
| 3 | Retract Tool | Z moves to clear position. |
| 4 | Index for Next Tooth | C rotates by 360°/20 = 18°. |
| 5 | Repeat | Loop steps 1-4 for all teeth. |
Simulation and Physical Machining
Prior to any metal cutting, the generated G-code must be thoroughly verified. This is accomplished using advanced simulation software like VERICUT. A digital twin of the four-axis machining center, complete with its kinematic chain, control system (e.g., FANUC), tool holders, the custom fixture, and the gear blank, is constructed. The G-code is loaded into this virtual CNC. The simulation visually reveals any potential errors: programming mistakes, axis travel limits, collisions between tool/holder/spindle and fixture/chuck/workpiece, or incorrect material removal. For the helical gear machining with a form tool, the simulation shows the synchronized motion and validates that the tool profile correctly generates the tooth space. Only after a flawless simulation is the program transmitted to the physical four-axis machining center. The setup involves mounting the custom fixture, indicating it true, loading the custom tool, and setting the work and tool offsets. The first-part run is often conducted with extra vigilance, possibly using a lower feed rate. The successful outcome is a precisely machined helical gear ready for assembly and functional testing.
Comparative Analysis and Application Scope
The choice between the two methods for producing a helical gear depends on the production volume, available tooling budget, and required precision.
| Aspect | Method 1: Universal Tool Contouring | Method 2: Custom Form Tool |
|---|---|---|
| Tooling Cost | Low (Standard End Mills) | High (Custom Form Cutter) |
| Setup & Programming | Complex (5-axis to 4-axis conversion) | Simpler (Synchronized 4-axis path) |
| Machining Time | Very Long (Multiple passes per tooth) | Very Short (One pass per tooth) |
| Surface Finish & Accuracy | Good, depends on step-over | Excellent, defined by tool profile |
| Flexibility | High (Any gear geometry) | Low (Dedicated to one gear spec) |
| Ideal For | Prototyping, Single Pieces, R&D | Batch Production, Repetitive Jobs |
Conclusion
The conventional pathway for manufacturing a helical gear is through dedicated gear-cutting machinery. This exploration demonstrates a feasible alternative using a standard four-axis machining center, thereby expanding the application scope of this widely available CNC platform. Two practical methodologies have been presented. The first, using universal tools and contouring strategies, offers maximum flexibility for unique or prototype helical gears. The second, employing a custom form tool and synchronized 4-axis motion, provides a highly efficient solution for batch production of a specific helical gear. The entire process chain—from 3D modeling and CAM programming using domestic software, through rigorous virtual verification in simulation environments, to final physical machining—has been successfully outlined. This approach effectively breaks the constraint of requiring specialized equipment for helical gear production, making it accessible for workshops equipped with modern four-axis CNC centers, whether for custom one-off components, maintenance parts, or competitive technical challenges.