
In the realm of mechanical transmission systems, the spur gear stands as a fundamental and ubiquitous component. Its simplicity, efficiency, and reliability make it indispensable in countless applications, from automotive drivetrains to industrial machinery. For decades, the primary method for manufacturing these spur gears has been traditional machining—processes like hobbing, shaping, or milling. While effective, these subtractive methods are inherently wasteful, removing significant material to form the tooth profile. This results in low material utilization, often below 50%, and generates scrap that requires recycling. Furthermore, the cutting process severs the metal’s grain flow, which can compromise the mechanical strength and fatigue life of the final spur gear. The pursuit of more efficient, stronger, and cost-effective manufacturing has naturally led to the exploration of net-shape or near-net-shape processes, with cold forging emerging as a particularly promising avenue.
Cold forging, or cold forming, is a precision plastic deformation process conducted at room temperature. For spur gears, it involves plastically deforming a metal blank into the intricate tooth profile within a die cavity under high pressure. The advantages are compelling: material utilization can skyrocket to over 80%, the continuous grain flow following the tooth contour enhances strength and wear resistance by up to 20% or more, and production rates can be significantly higher than machining. Despite these benefits, the widespread industrial adoption of cold forging for complex parts like spur gears has been hampered by significant technical challenges. The two most critical barriers are the enormous forming loads required, especially during the final stages of filling sharp corners and tips, and the difficulty in achieving complete die fill without defects. High loads necessitate massive, expensive presses and can lead to rapid die wear or failure, making the process economically unviable for many manufacturers.
This is where innovative forming principles come into play. To mitigate the issue of excessive load, the concept of radial divided-flow has been proposed and studied. The core idea is to intentionally design a controlled flow path for the material, diverting a portion of the metal radially inward or outward to relieve pressure during the final filling stage. In a standard closed-die forging of a spur gear, the material is trapped and must flow exclusively into the tooth cavities, leading to a steep pressure rise. By incorporating a central hole or another form of relief cavity—the divided-flow channel—the metal gains an alternative, easier path to flow. This effectively avoids the pressure singularity typically encountered when the last corner of the spur gear tooth is being filled. Coupled with this, the floating-die process, where the lower die or a central punch moves, helps in controlling material flow and reducing frictional constraints. My research focuses on harnessing this radial divided-flow principle within a floating-die setup to forge spur gears. The primary objective is to systematically investigate how key process parameters influence the final forming load, with the goal of identifying optimal conditions that minimize press tonnage requirements.
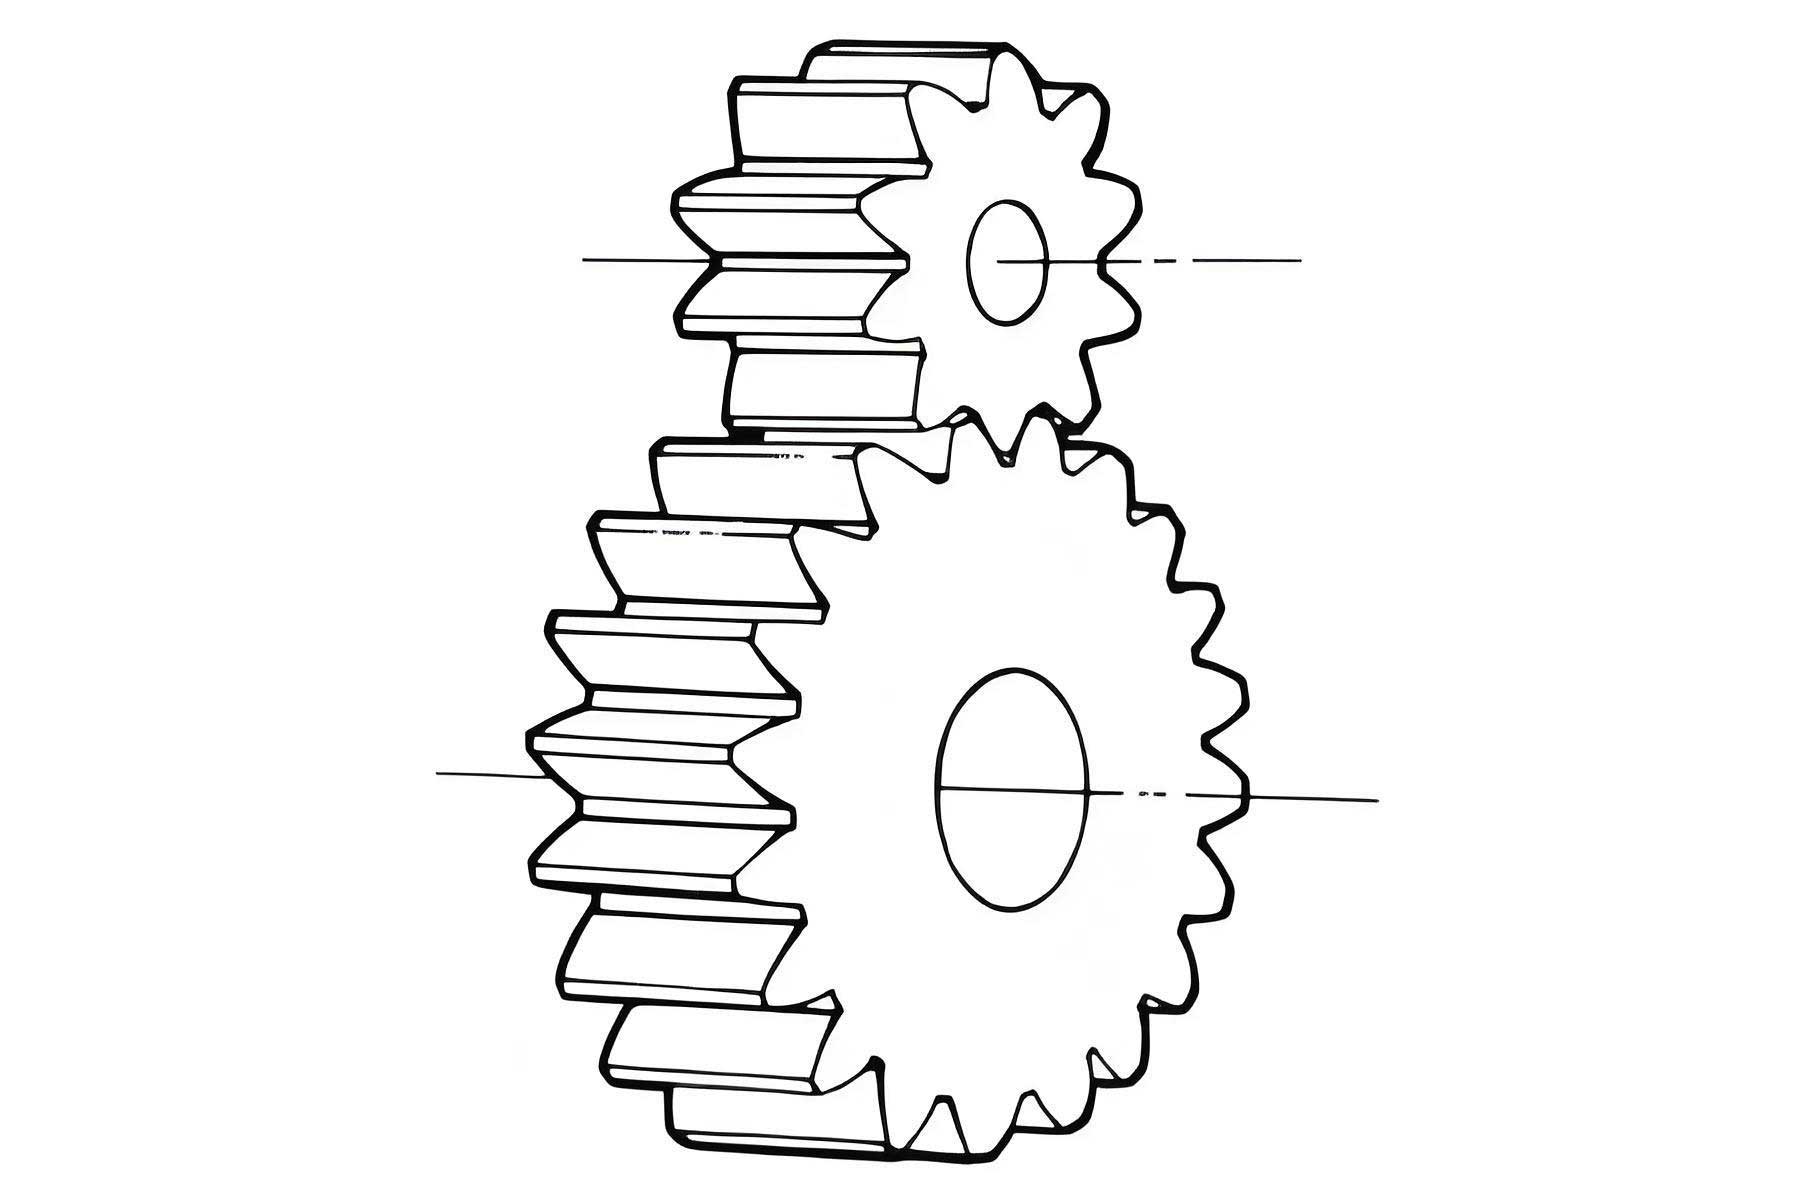
To achieve this, I employed a rigorous numerical simulation approach using three-dimensional rigid-plastic finite element method (FEM) analysis. Rigid-plastic FEM is particularly suited for simulating large plastic deformation processes like forging, as it neglects elastic effects, which are minimal compared to plastic strain, thereby saving computational resources. The model was built around a standard spur gear geometry. The key parameters of the spur gear are: number of teeth, $Z = 20$; module, $m = 3 \text{ mm}$; pressure angle, $\alpha = 20^\circ$; and addendum modification coefficient, $x = 0.0$. The pitch diameter $d$ is given by $d = m \cdot Z = 60 \text{ mm}$. The dedendum diameter $d_f$ can be approximated as $d_f = d – 2.5m = 52.5 \text{ mm}$, but for initial blank sizing, a value of 52 mm was chosen to ensure proper positioning and filling. The material selected for the workpiece was AISI-1010 steel in its cold-worked state, a common low-carbon steel with good formability. Its flow stress behavior during plastic deformation is crucial and can be modeled by a constitutive equation. A common simplified model is the power law:
$$ \bar{\sigma} = K \cdot (\bar{\varepsilon})^n $$
where $\bar{\sigma}$ is the effective stress, $\bar{\varepsilon}$ is the effective strain, $K$ is the strength coefficient, and $n$ is the strain-hardening exponent. For more accurate simulation, a table of stress-strain data derived from experimental tests is often used within the FEM software. The dies—the upper punch, the floating lower die (or counterpunch), and the container—were modeled as rigid bodies, as their deformation is negligible compared to the workpiece. The process was assumed to be isothermal at room temperature (20°C), meaning no temperature rise due to plastic work or friction was considered, which is a standard simplification for cold forging simulations.
Friction at the interface between the deforming spur gear blank and the die surfaces plays a pivotal role. I used the shear friction model, which is common in bulk forming simulations. The frictional shear stress $\tau_f$ is expressed as a fraction of the material’s shear yield strength $k$:
$$ \tau_f = m \cdot k = m \cdot \frac{\bar{\sigma}}{\sqrt{3}} $$
where $m$ is the friction factor (ranging from 0, perfect lubrication, to 1, perfect sticking). A baseline value of $m=0.12$ was set, but this parameter was varied extensively in the study. The initial blank was designed as a cylindrical billet with a pre-drilled central hole to facilitate the radial divided-flow. The outer diameter was set to 52 mm to match closely with the spur gear’s dedendum circle. The height $h_0$ was calculated from volume constancy. The volume of the final spur gear $V_{gear}$ includes the tooth volume and the central web/rim. The volume of the cylindrical billet (with central hole) is:
$$ V_{billet} = \frac{\pi}{4} (D_o^2 – D_i^2) \cdot h_0 $$
where $D_o=52 \text{ mm}$ is the outer diameter and $D_i$ is the initial diameter of the central divided-flow hole. Setting $V_{billet} = V_{gear}$ allows solving for $h_0$. For a divided-flow hole diameter of 16 mm, the calculated height was approximately 37.5 mm. To exploit symmetry and drastically reduce computation time, only one-quarter of the full three-dimensional model was analyzed. The boundary conditions included symmetric constraints on the two cut planes and prescribed velocities for the upper punch and the floating lower die, both set at 10 mm/s in the baseline case. The blank was meshed with tetrahedral elements, with automatic remeshing activated to handle the large distortion. The complete matrix of variable process parameters investigated in this study is summarized in Table 1.
| Process Parameter | Symbol | Values Investigated |
|---|---|---|
| Friction Factor | $m$ or $\mu_s$ | 0.1, 0.3, 0.5, 0.7 |
| Die Tooth Root Fillet Radius | $r_f$ | 0 mm, 0.5 mm, 1.0 mm, 1.5 mm |
| Divided-Flow Hole Diameter | $D_{div}$ | 0 mm (solid), 5 mm, 10 mm, 15 mm |
| Punch Forming Speed | $v$ | 10 mm/s, 100 mm/s, 200 mm/s, 300 mm/s |
The output of primary interest was the total forming load $F$ as a function of punch stroke $s$. This load-stroke curve encapsulates the entire forging history. The analysis proceeded by running multiple simulations, each time varying one parameter while keeping others at their baseline values (Baseline: $m=0.12$, $r_f=0.5$ mm, $D_{div}=16$ mm, $v=10$ mm/s). The results were then analyzed to extract the influence of each parameter on the maximum load and the shape of the load curve.
In-Depth Analysis of Parameter Effects
The simulation results revealed distinct and sometimes profound effects of each process parameter on the cold forging load for the spur gear. Let’s examine each in detail.
1. Influence of Friction Factor
Friction is arguably the most significant factor affecting forming loads in closed-die forging. In the context of forging a spur gear, the interaction is complex due to the changing contact area between the blank and the intricate die cavity. The load-stroke curves for different friction factors are presented in Figure 2 (conceptual data based on simulation trends). The relationship between friction and load is not linear and varies with the stroke. During the early stages of deformation (approximately the first 60% of the stroke), the material is primarily being upset radially outward to fill the lower portions of the die cavity. The contact area with the die sidewalls is relatively limited at this stage, so the difference in load between low and high friction is modest. However, as the stroke progresses beyond 60%, the teeth of the spur gear begin to form in earnest. The material must now flow into the narrower, taller sections of the tooth profile. The contact area between the deforming metal and the die walls increases substantially. This is where friction exerts its greatest influence.
A higher friction factor directly increases the shear stress required for material flow along the die walls, as per the equation $\tau_f = m \cdot k$. This translates to a higher total forming pressure $p$. The pressure increase due to friction in a simplified axisymmetric forging can be estimated using an equation like:
$$ p = \bar{\sigma} \cdot \left(1 + \frac{2\mu a}{h}\right) $$
for Coulomb friction, or a similar form for shear friction, where $a$ is the radius, $h$ is the height, and $\mu$ is the coefficient of friction. For the complex spur gear geometry, the effective “a/h” ratio changes continuously. My simulations showed that at 95% stroke, the forming load for $m=0.7$ was nearly 2.5 times higher than that for $m=0.1$. This underscores the critical importance of excellent lubrication in the cold forging of spur gears. Advanced lubricants or surface treatments that can maintain a low friction factor under extreme pressure are essential for practical application.
2. Influence of Die Tooth Root Fillet Radius
The fillet radius at the root of the die tooth cavity, $r_f$, is a crucial geometric parameter. In production, a sharp corner ($r_f=0$) is undesirable due to stress concentration and difficulty in machining, but studying its effect is instructive. The load-stroke curves for different fillet radii are shown in Figure 3. The general trend indicated that increasing the fillet radius leads to a slight reduction in forming load, but the effect is not dramatic, especially near the end of the stroke. The physical explanation lies in the metal’s flow pattern. A smaller fillet radius presents a more severe constriction to material flowing from the gear’s central web into the tooth space. The metal must undergo more severe bending and shearing, requiring higher energy. This is analogous to the effect of a smaller die angle in extrusion.
We can relate the required pressure for flowing into a cavity to the geometry via a shaping factor. The pressure increment $\Delta p_{shape}$ due to a change in cross-section can be conceptually framed, though a precise analytical solution for a spur gear tooth is exceedingly complex. The FEM results, however, provide clear empirical evidence. During the initial 40% of stroke, the curves are almost superimposed because the material has not yet engaged the fillet region significantly. Between 40% and 90% stroke, a discernible gap appears, with the $r_f=0$ case showing the highest load. However, in the final 10% of stroke, as the spur gear teeth approach full fill, the pressure curves converge. This suggests that once the material has passed the fillet and is filling the tooth flank and tip, the influence of the initial root radius diminishes. The final filling of the tooth corners is governed more by the local corner geometry and the availability of divided-flow relief rather than the root fillet. Therefore, while a generous fillet radius (e.g., 0.5-1.0 mm) is beneficial for reducing load and die stress, it is not the primary lever for solving the high-load problem in spur gear forging.
3. Influence of Divided-Flow Hole Diameter
This parameter is the cornerstone of the radial divided-flow concept and showed the most dramatic effect on load reduction. The central hole diameter, $D_{div}$, directly controls the size of the alternative flow path. The results, illustrated in Figure 4, are striking. As $D_{div}$ increases from 0 mm (solid billet, i.e., no divided-flow) to 15 mm, the maximum forming load drops precipitously. More importantly, the shape of the load curve changes fundamentally. For the solid billet ($D_{div}=0$), the curve exhibits the classic steep rise in the final stage of forging, as material is trapped and forced into the last unfilled corners. For $D_{div} \geq 10$ mm, this steep rise is virtually eliminated; the load curve reaches a plateau or even begins to decline slightly near the end of the stroke.
The mechanism can be explained through plasticity theory. The presence of a free surface (the hole wall) internally provides a low-resistance path. The material yields and flows according to the path of least resistance. When filling the spur gear teeth becomes difficult, the material preferentially flows inward to expand the central hole, relieving the hydrostatic pressure. This can be conceptualized using the upper bound theorem. The total power consumption $J^*$ is the sum of internal deformation power, shear power at velocity discontinuities, and frictional power. Introducing a divided-flow hole adds a new velocity field option (radial inward flow) that may lower the upper bound estimate of the required load compared to the case where only outward flow into teeth is possible. Quantitatively, the reduction in pressure $\Delta p_{div}$ due to the hole can be related to the area ratio. If $A_t$ is the total cross-sectional area of the spur gear and $A_h$ is the area of the hole, the average pressure $p_{avg}$ might scale with an effective reduction ratio. A simplified expression for the final stage pressure could be:
$$ p_{final} \approx \bar{\sigma} \cdot f\left(\frac{A_h}{A_t}\right) \cdot \ln\left(\frac{A_t}{A_f}\right) $$
where $f(A_h/A_t)$ is a decreasing function of the hole area ratio, and $A_f$ is a final area term. My simulation data clearly validates that increasing $D_{div}$ is an extremely effective strategy for lowering the forming load for spur gears, making the process more feasible for industrial presses.
4. Influence of Forming Speed
The punch speed $v$ was varied over a wide range, from a quasi-static 10 mm/s to a relatively fast 300 mm/s. The resulting load-stroke curves, shown in Figure 5, revealed a surprising and important result: they were nearly indistinguishable. This indicates that, within this range and for the material model used (rate-independent rigid-plastic), the forming speed has a negligible effect on the load. This finding has significant practical implications. It means that the cold forging process for spur gears is not sensitive to press ram speed in terms of peak force requirement. Therefore, manufacturers can select higher speeds to improve productivity without worrying about a consequential increase in press tonnage. The independence arises because the AISI-1010 material model in the simulation did not include strain-rate sensitivity. In reality, most metals exhibit some rate dependence, often described by a term like:
$$ \bar{\sigma} = K \cdot (\bar{\varepsilon})^n \cdot (\dot{\bar{\varepsilon}})^m $$
where $\dot{\bar{\varepsilon}}$ is the strain rate and $m$ is the strain-rate sensitivity exponent. For mild steels at room temperature, $m$ is very low (often less than 0.01), so the rate effect is minimal, corroborating the simulation results. This allows the process to be designed based on other constraints like lubrication film stability and press capability, rather than load-speed coupling.
Synthesis and Discussion of Optimal Conditions
Having analyzed each parameter individually, the path to minimizing the cold forging load for spur gears becomes clear. The goal is to achieve complete filling of the high-quality spur gear teeth while requiring the lowest possible press capacity. The two dominant factors are friction and the divided-flow hole diameter. An optimal process window can be defined. To synthesize the findings, I propose a multi-variable relationship for the estimated maximum forming load $F_{max}$ based on the simulation trends. While not a rigorous analytical equation, a multiplicative model can capture the influences:
$$ F_{max} \approx F_0 \cdot \left(1 + C_m \cdot m\right) \cdot \left(1 – C_{div} \cdot \frac{D_{div}}{D_o}\right) \cdot \left(1 – C_r \cdot r_f\right) \cdot \left(1 + C_v \cdot v^{m}\right) $$
where $F_0$ is a baseline load constant, $C_m$, $C_{div}$, $C_r$, and $C_v$ are positive coefficients determined from regression of simulation data, and the exponent $m$ for speed is very close to zero based on our results. The negative sign for $D_{div}$ and $r_f$ terms indicates their load-reducing effect. For practical engineering purposes, the following guidelines can be extracted and summarized in Table 2.
| Parameter | Effect on Forming Load | Mechanism | Practical Recommendation |
|---|---|---|---|
| Friction Factor ($m$) | Strong positive correlation. Load increases significantly as $m$ increases. | Increased shear stress at die-workpiece interface; larger effect during final tooth filling due to increased contact area. | Minimize aggressively. Use advanced phosphate-soap lubrication or polymer coatings. Target $m < 0.1$. |
| Divided-Flow Hole Diameter ($D_{div}$) | Strong negative correlation. Load decreases dramatically as $D_{div}$ increases. | Provides internal free surface for radial relief flow, avoiding pressure build-up in final filling stage. | Maximize within design constraints (e.g., required web strength). A ratio $D_{div}/D_o$ of 0.2-0.3 is highly effective. |
| Tooth Root Fillet Radius ($r_f$) | Weak negative correlation. Slight load reduction with larger $r_f$. | Reduces constriction severity for material entering tooth cavity from the web. | Use a moderate, manufacturable radius (e.g., 0.5-1.0 mm). Not a primary optimization variable. |
| Forming Speed ($v$) | Negligible effect within typical press speed ranges. | Material strain-rate sensitivity is very low for mild steel at room temperature. | Select based on press availability and productivity goals. Load calculation can ignore speed effects. |
The successful application of this knowledge hinges on integrated process design. For instance, one cannot simply increase the divided-flow hole diameter indefinitely, as the central web of the spur gear must retain sufficient strength for its functional requirements. Similarly, achieving an ultra-low friction factor requires careful selection and application of lubricants, which adds to process cost. Therefore, a balanced approach is necessary. The floating-die mechanism complements these parameters by ensuring that material is fed into the tooth cavities from both ends, further promoting filling and potentially reducing load asymmetry.
Conclusion and Forward Outlook
This comprehensive numerical investigation into the cold forging of spur gears using the radial divided-flow principle with a floating die has yielded clear and actionable insights. The primary obstacle to industrial adoption—excessively high forming loads—can be effectively overcome by strategically controlling process parameters. The friction factor at the die-workpiece interface and the diameter of the central divided-flow hole emerged as the most powerful levers for load reduction. A low friction state is paramount, and the incorporation of a sufficiently large radial relief hole fundamentally alters the pressure history, eliminating the dangerous load spike at the end of forging. In contrast, the die tooth root fillet radius has a modest beneficial effect, and the forming speed has virtually no impact on load within practical ranges.
The implications for manufacturing are substantial. By applying these findings, engineers can design cold forging processes for spur gears that require lower tonnage presses, extend die life, improve part quality, and enhance overall economic viability. The specific spur gear studied here serves as a model; the principles are transferable to other gear sizes and profiles. Future work should focus on experimental validation of these simulation results, investigation of multi-material billets or tailored heat treatment, and optimization of the divided-flow hole shape (e.g., stepped or tapered) to further control material flow. Additionally, studying the effect of these parameters on the residual stress state and fatigue performance of the forged spur gear would be invaluable. The journey toward widespread industrialization of cold forged spur gears is challenging, but with continued research into process fundamentals as presented here, it is undoubtedly achievable, promising a future of stronger, more efficient, and more sustainably manufactured mechanical components.