
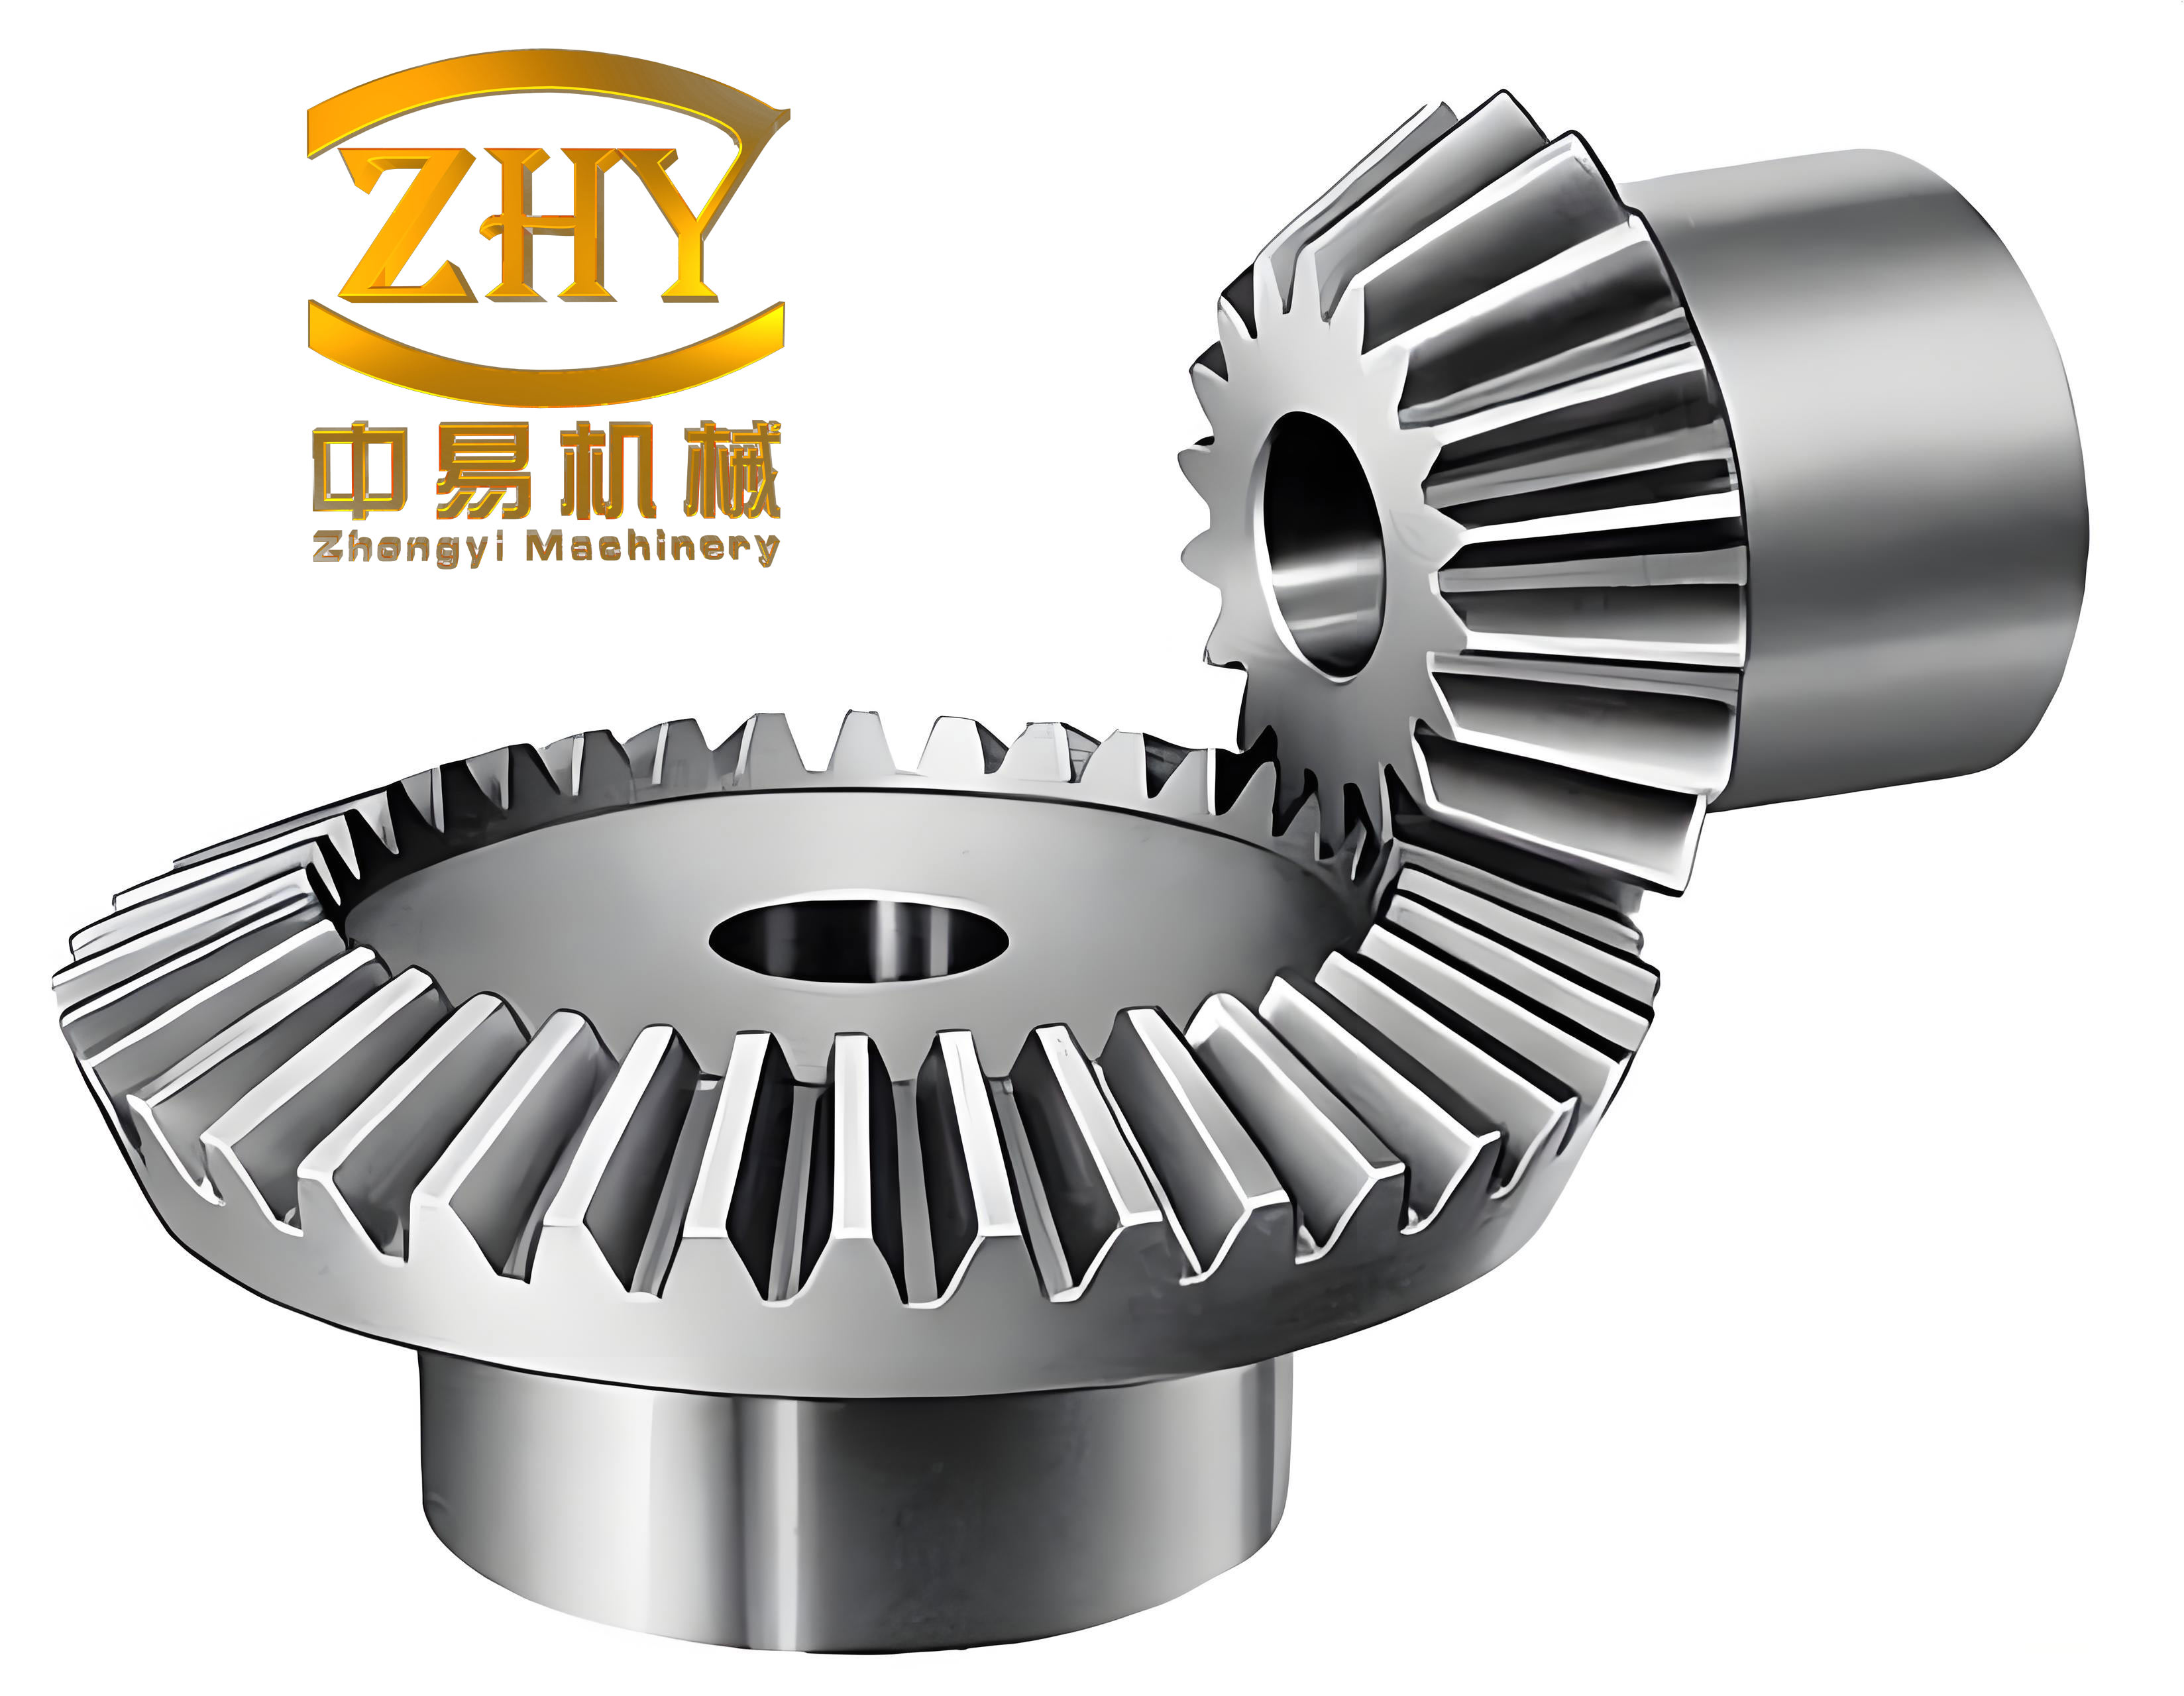
In my years of experience as a machinist, I have often encountered the task of manufacturing straight bevel gears, commonly known as straight tooth bevel gears. These gears are essential for transmitting rotational motion between two intersecting shafts, typically at a 90-degree angle, although angles less than or greater than 90 degrees are also possible. For high-precision applications, straight bevel gears are usually produced on specialized gear generators using the generating method. However, for gears with general accuracy requirements, they can be effectively machined on a conventional milling machine using formed milling cutters. This article will delve into the detailed process, from understanding the geometry of the straight bevel gear to the practical steps of milling and inspection, all from my firsthand perspective.
The design and calculation of a straight bevel gear are based on its large end, where the module is standardized. The key terminology and basic dimensions are critical to grasp before starting the machining process. Below, I will outline the various parts of a straight bevel gear and their defining equations.
Let me begin by explaining the fundamental geometry. A straight bevel gear has several important angles and dimensions. The pitch cone angle (δ) is central to its definition. For a pair of straight bevel gears with shaft angle Σ, the pitch cone angles for the pinion (δ₁) and gear (δ₂) can be calculated as follows:
$$ \delta_1 = \arctan\left(\frac{z_1}{z_2}\right) \quad \text{when} \quad \Sigma = 90^\circ $$
$$ \delta_2 = \Sigma – \delta_1 $$
In cases where Σ is not 90 degrees, the formulas adjust accordingly. The other vital angles include the addendum angle (θₐ), dedendum angle (θ𝒻), face angle (δₐ), and root angle (δ𝒻). For a standard straight bevel gear with equal addendum and dedendum, these are derived from the module and pitch cone angle. However, two common tooth systems exist: the equal addendum shrinkage tooth and the unequal addendum shrinkage tooth. The latter is often used to maintain constant clearance. The key dimensions for a standard straight bevel gear are summarized in the table below.
| Name | Symbol | Calculation Formula |
|---|---|---|
| Pitch Diameter (Large End) | d | $$ d = m \cdot z $$ |
| Pitch Cone Radius | R | $$ R = \frac{d}{2 \sin \delta} $$ |
| Addendum (Large End) | hₐ | $$ h_a = m $$ (for standard) |
| Dedendum (Large End) | h𝒻 | $$ h_f = 1.2m $$ (often, can vary) |
| Whole Depth | h | $$ h = h_a + h_f $$ |
| Addendum Angle | θₐ | $$ \theta_a = \arctan\left(\frac{h_a}{R}\right) $$ |
| Dedendum Angle | θ𝒻 | $$ \theta_f = \arctan\left(\frac{h_f}{R}\right) $$ |
| Face Angle | δₐ | $$ \delta_a = \delta + \theta_a $$ |
| Root Angle | δ𝒻 | $$ \delta_f = \delta – \theta_f $$ |
| Outside Diameter (Large End) | dₐ | $$ d_a = d + 2h_a \cos \delta $$ |
| Chordal Tooth Thickness (Large End) | s̄ | $$ \bar{s} = m \cdot z \cdot \sin\left(\frac{90^\circ}{z}\right) $$ (approx., or use virtual number of teeth) |
| Chordal Addendum (Large End) | h̄ₐ | $$ \bar{h}_a = h_a + \frac{m \cdot z}{2} \left[1 – \cos\left(\frac{90^\circ}{z}\right)\right] $$ |
To solidify understanding, let me work through an example. Suppose I need to machine a pair of straight bevel gears with a shaft angle Σ = 90°, module m = 4 mm, pinion teeth z₁ = 20, gear teeth z₂ = 40, and face width b = 30 mm. I’ll calculate the key dimensions for the pinion.
First, the pitch cone angle for the pinion:
$$ \delta_1 = \arctan\left(\frac{z_1}{z_2}\right) = \arctan\left(\frac{20}{40}\right) = \arctan(0.5) \approx 26.565^\circ $$
The pitch diameter:
$$ d_1 = m \cdot z_1 = 4 \times 20 = 80 \text{ mm} $$
Pitch cone radius:
$$ R = \frac{d_1}{2 \sin \delta_1} = \frac{80}{2 \times \sin(26.565^\circ)} \approx \frac{80}{2 \times 0.4472} \approx 89.44 \text{ mm} $$
Addendum: hₐ = 4 mm.
Dedendum: Assuming h𝒻 = 1.2m = 4.8 mm.
Whole depth: h = 4 + 4.8 = 8.8 mm.
Addendum angle:
$$ \theta_a = \arctan\left(\frac{h_a}{R}\right) = \arctan\left(\frac{4}{89.44}\right) \approx \arctan(0.0447) \approx 2.56^\circ $$
Dedendum angle:
$$ \theta_f = \arctan\left(\frac{h_f}{R}\right) = \arctan\left(\frac{4.8}{89.44}\right) \approx \arctan(0.0537) \approx 3.07^\circ $$
Face angle:
$$ \delta_a = \delta_1 + \theta_a \approx 26.565^\circ + 2.56^\circ = 29.125^\circ $$
Root angle:
$$ \delta_f = \delta_1 – \theta_f \approx 26.565^\circ – 3.07^\circ = 23.495^\circ $$
Outside diameter:
$$ d_{a1} = d_1 + 2h_a \cos \delta_1 = 80 + 2 \times 4 \times \cos(26.565^\circ) \approx 80 + 8 \times 0.8944 \approx 87.155 \text{ mm} $$
For the chordal tooth thickness, I would use the virtual number of teeth, which I’ll discuss later when selecting the cutter.
Another example: if Σ = 75°, z₁ = 18, z₂ = 36, then:
$$ \delta_1 = \arctan\left(\frac{\sin \Sigma}{\frac{z_2}{z_1} + \cos \Sigma}\right) = \arctan\left(\frac{\sin 75^\circ}{\frac{36}{18} + \cos 75^\circ}\right) = \arctan\left(\frac{0.9659}{2 + 0.2588}\right) \approx \arctan(0.427) \approx 23.12^\circ $$
$$ \delta_2 = \Sigma – \delta_1 = 75^\circ – 23.12^\circ = 51.88^\circ $$
This shows how the formulas adapt for non-90-degree shafts.
Now, moving to the machining aspect. The selection of the milling cutter is crucial for producing an accurate straight bevel gear. Standard straight bevel gear milling cutters have their tooth profile designed based on the large end tooth form. However, to ensure the cutter teeth pass through the small end during machining, the cutter width is designed according to the small end tooth space width. Consequently, a straight bevel gear cutter is much thinner than a spur gear cutter of the same module. Typically, standard cutters are made for a ratio of pitch cone radius to face width R/b = 3, which suits most gears where R/b is around 3. These cutters come in sets of 8 or 15, similar to spur gear cutters, and are marked with “Bevel Gear” or similar.
The important point is that the cutter number is not chosen based on the actual number of teeth of the straight bevel gear but on the virtual number of teeth (z_v). This virtual number accounts for the gear’s conical shape and is calculated as:
$$ z_v = \frac{z}{\cos \delta} $$
Where z is the actual number of teeth and δ is the pitch cone angle. For example, if I have a straight bevel gear with z = 20, δ = 25°, then:
$$ z_v = \frac{20}{\cos 25^\circ} \approx \frac{20}{0.9063} \approx 22.07 $$
This means the tooth form of this 20-tooth straight bevel gear resembles that of a 22-tooth spur gear. Referring to standard cutter tables, for module m = 4, a No. 4 or similar cutter might be selected based on z_v. The table below provides a general guideline for cutter selection based on virtual tooth count ranges.
| Cutter Number | Range of Virtual Teeth |
|---|---|
| 1 | 135 to a rack |
| 2 | 55 to 134 |
| 3 | 35 to 54 |
| 4 | 26 to 34 |
| 5 | 21 to 25 |
| 6 | 17 to 20 |
| 7 | 14 to 16 |
| 8 | 12 to 13 |
With the cutter selected, I proceed to set up the milling machine. The first step is installing the dividing head and workpiece. I mount the dividing head on the milling machine table, ensuring that its spindle is parallel to the longitudinal table surface and the plane of rotation of the milling cutter. I then insert a mandrel with a taper shank into the dividing head spindle, secure it with a drawbolt, and mount the gear blank. Next, I tilt the dividing head to the cutting angle (γ), which is essentially the root angle (δ𝒻) for the traditional three-cut method. The formula is:
$$ \gamma = \delta_f = \delta – \theta_f $$
For the pinion in the earlier example, γ ≈ 23.495°. This tilt ensures that the cutter will machine the tooth slot along the root line of the straight bevel gear.
After mounting the selected straight bevel gear cutter on the arbor, I center it using marking and trial cutting methods. This alignment is critical to ensure symmetry of the tooth form.
The milling process itself typically involves multiple steps. Initially, I mill the central part of the tooth space to the full depth. The total depth (h) is set to 2.2m (or as calculated), and I cut all tooth slots around the blank using the dividing head for indexing. This forms the basic tooth spaces but leaves excess material at the large ends due to the conical shape.
To remove this excess and form the correct tapered tooth profile, I perform side milling. This involves two additional cuts per tooth space: one for the left side and one for the right side. The procedure requires precise transverse movement of the table and rotation of the dividing head. For milling the left side of the large end, I move the worktable transversely by a distance S, known as the transverse shift amount. The calculation for S is:
$$ S = \frac{m \cdot b}{2R} $$
Where m is the module, b is the face width, and R is the pitch cone radius. Using the earlier example with m=4, b=30, R≈89.44 mm:
$$ S = \frac{4 \times 30}{2 \times 89.44} \approx \frac{120}{178.88} \approx 0.671 \text{ mm} $$
After moving the table by S, I rotate the dividing head slightly so that the cutter’s left flank just grazes the left side of the small end tooth space. The direction of table movement and dividing head rotation are opposite. I then take a light cut and immediately measure the tooth thickness at the large end using a gear tooth caliper. The target is the chordal tooth thickness s̄ as calculated. If material remains, I adjust the dividing head rotation incrementally and recut. For the right side, I reverse the directions, doubling the shift and rotation values. This three-cut method (center cut plus two side cuts) yields the final tooth form.
Measurement is a key part of ensuring quality. For straight bevel gears, I commonly measure the chordal tooth thickness at the large end on the back cone. The formulas for chordal thickness and chordal addendum are as given earlier. However, since the tooth profile is based on the virtual number of teeth, I use z_v in these calculations for more accuracy. For instance, the chordal tooth thickness can be approximated as:
$$ \bar{s} = m \cdot z_v \cdot \sin\left(\frac{90^\circ}{z_v}\right) $$
$$ \bar{h}_a = h_a + \frac{m \cdot z_v}{2} \left[1 – \cos\left(\frac{90^\circ}{z_v}\right)\right] $$
Alternatively, standard tables for spur gears with z_v teeth can be consulted. For higher precision, I also measure the small end tooth thickness. The small end module (m_s) is smaller and can be found from:
$$ m_s = m \cdot \frac{R – b}{R} $$
Then, using m_s and the virtual number of teeth for the small end (though often similar), I compute or look up the chordal dimensions. For example, with m=4, R≈89.44 mm, b=30 mm:
$$ m_s = 4 \times \frac{89.44 – 30}{89.44} \approx 4 \times 0.664 \approx 2.656 \text{ mm} $$
I would then set my gear tooth caliper to the chordal addendum for m_s and measure the thickness accordingly.
In practice, I have also employed a more efficient single-cut method for milling straight bevel gears. This method reduces the cutting angle slightly and increases the depth at both ends, allowing the tooth form to be completed in one pass per slot without compromising strength or accuracy. The cutting angle (γ’) for this single-cut method is calculated as:
$$ \gamma’ = \gamma – \Delta \theta $$
Where γ is the cutting angle for the three-cut method (i.e., the root angle δ𝒻), and Δθ is an adjustment derived from the difference in added depth at large and small ends. The formula can be expressed as:
$$ \Delta \theta = \arctan\left(\frac{\Delta h}{b}\right) $$
Here, Δh is the additional depth increment, often taken as 0.1m to 0.2m. For instance, if Δh = 0.2m = 0.8 mm for m=4, and b=30 mm, then:
$$ \Delta \theta = \arctan\left(\frac{0.8}{30}\right) \approx \arctan(0.02667) \approx 1.53^\circ $$
Thus, for the pinion with γ ≈ 23.495°, the single-cut angle becomes:
$$ \gamma’ = 23.495^\circ – 1.53^\circ \approx 21.965^\circ $$
I then set the dividing head to this angle and mill to a depth slightly greater than the standard whole depth, say h + Δh = 8.8 + 0.8 = 9.6 mm. This single pass produces a usable straight bevel gear for many applications, saving significant time compared to the three-cut approach.
To elaborate further on the geometry, let me discuss the tooth systems in more detail. The straight bevel gear can have either equal addendum or unequal addendum shrinkage teeth. In the equal addendum system, both mating gears have the same addendum, leading to varying clearances. The unequal addendum system, often preferred, adjusts addenda to maintain constant clearance, enhancing lubrication and strength. The formulas for addendum and dedendum angles differ accordingly. For constant clearance teeth, the dedendum angle might be larger for the pinion. These considerations affect the cutting angle setup. In my work, I often refer to manufacturer tables or software for such specifics, but the principles remain as described.
The indexing calculation is another vital aspect. Since the straight bevel gear is milled tooth by tooth, I use the dividing head to rotate the blank precisely. The indexing formula for a simple dividing head is:
$$ \text{Turns per division} = \frac{40}{z} $$
Where 40 is the ratio of the dividing head. For z=20, I would make 2 full turns per tooth. For fractional turns, I use the dividing plates available. This ensures equal spacing of teeth around the gear.
During the side milling operation, the rotation of the dividing head (let’s denote it as Δn) is empirical. After shifting the table by S, I rotate the head until the cutter just touches the small end side. This rotation is often small, perhaps a few minutes of arc, and is adjusted based on measurement. The relationship between the transverse shift and the rotation can be approximated by the cone geometry. Essentially, rotating the blank brings the small end into alignment with the cutter side. I typically start with a trial rotation equivalent to 1-2 holes on the dividing plate (depending on the plate’s hole circle), then measure and adjust.
For the measurement of the straight bevel gear, I rely on gear tooth calipers and sometimes composite error checks. The chordal tooth thickness measurement is straightforward but requires care due to the conical surface. I place the caliper perpendicular to the tooth flank at the pitch line on the back cone. The calculated chordal addendum ensures the caliper spans the correct height. If the measured thickness is too large, I know to remove more material during side milling. It’s iterative until the dimension falls within tolerance.
In terms of tool maintenance, straight bevel gear cutters are delicate due to their thin width. I ensure they are sharp and free from nicks to avoid poor surface finish. Coolant is often used to dissipate heat, especially when cutting steel blanks. The milling machine should be rigid to prevent vibration, which can cause inaccuracies in the tooth profile of the straight bevel gear.
To cover more ground, let’s consider the influence of the shaft angle. When Σ ≠ 90°, the pitch cone angles are not complementary, and the virtual number of teeth changes for both gears. The formulas become:
$$ \delta_1 = \arctan\left(\frac{\sin \Sigma}{\frac{z_2}{z_1} + \cos \Sigma}\right) $$
$$ \delta_2 = \Sigma – \delta_1 $$
Then, z_v for each gear is computed with its respective δ. This affects cutter selection and the cutting angle. The setup becomes slightly more complex, but the milling steps remain similar.
Another important parameter is the face width (b). As a rule of thumb, b should not exceed R/3 or 10m, whichever is smaller, to avoid undercut and ensure proper tooth engagement. In our example, R/3 ≈ 29.81 mm, and 10m = 40 mm, so b=30 mm is acceptable. This ratio also ensures that the standard cutter width is suitable.
Now, delving into the mathematics behind the virtual number of teeth: it arises from the Tredgold’s approximation, which projects the conical tooth onto a back cone to form an equivalent spur gear. The radius of this virtual spur gear is R, and the number of teeth is proportional. Thus, z_v = (2R)/m, which leads to z_v = z / cos δ. This approximation is accurate enough for selection of formed cutters.
In summary, milling a straight bevel gear on a conventional milling machine is a meticulous but achievable task. It requires a solid understanding of the gear geometry, careful setup of the dividing head and cutter, and iterative side milling with precise measurements. The single-cut method offers a faster alternative for less critical applications. Throughout the process, the key is to respect the conical nature of the straight bevel gear, using the virtual number of teeth for cutter selection and adjusting angles accordingly. With practice, one can produce accurate straight bevel gears for various mechanical systems, ensuring reliable transmission of motion between intersecting shafts.
I hope this detailed exposition from my personal experience provides a comprehensive guide to anyone undertaking the milling of straight bevel gears. The straight bevel gear, though seemingly complex, becomes manageable with systematic approach and attention to detail. Remember, each straight bevel gear is unique based on its parameters, so always verify calculations and measurements. Happy milling!