
As a mechanical engineer with decades of experience in gear manufacturing, I have always been fascinated by the intricate process of producing straight bevel gears. These gears, essential for transmitting power between intersecting shafts, are ubiquitous in automotive differentials, industrial machinery, and aerospace applications. Their conical shape and straight teeth present unique manufacturing challenges, especially when using conventional equipment like standard milling machines. In this comprehensive article, I will delve deeply into the methodologies, mathematical foundations, and practical techniques for machining high-quality straight bevel gears on ordinary milling machines. The goal is to provide a thorough, first-person perspective on this specialized craft, emphasizing the interplay between theory and hands-on workshop practice. Throughout, I will repeatedly highlight the critical aspects of straight bevel gears, from their geometry to their production, ensuring that the term ‘straight bevel gears’ is ingrained in every relevant discussion.
The fundamental appeal of machining straight bevel gears lies in their geometric elegance and functional necessity. A straight bevel gear pair consists of two conical gears with teeth that are straight and tapered, converging at the apex of the cone. The primary parameters defining a straight bevel gear include the pitch cone angle, face width, module, number of teeth, and pressure angle. To set the stage, let’s establish the core mathematical relationships. The pitch diameter \( d \) for a straight bevel gear is given by \( d = m \cdot z \), where \( m \) is the module and \( z \) is the number of teeth. However, due to the conical shape, the virtual or formative number of teeth \( z_v \) becomes crucial for design and cutting calculations. It is derived from the actual number of teeth and the pitch cone angle \( \delta \):
$$ z_v = \frac{z}{\cos \delta} $$
This formative number is used in many gear tooth design equations, effectively treating the bevel gear as an equivalent spur gear. The pressure angle \( \alpha \) typically standardizes at 20° for modern straight bevel gears, but historical designs might use 14.5° or other values. The addendum \( h_a \) and dedendum \( h_f \) are generally \( 1.0m \) and \( 1.25m \) respectively, though modifications exist for clearance and strength. The cone distance \( R \) from the apex to the pitch circle at the large end is a key dimension:
$$ R = \frac{d}{2 \sin \delta} $$
Understanding these parameters is the first step toward successful manufacturing. Below, a table summarizes the primary geometric parameters for a typical straight bevel gear set, which I often reference in my workshop planning.
| Parameter | Symbol | Formula or Typical Value | Remarks |
|---|---|---|---|
| Module | \( m \) | Chosen based on load (e.g., 2 mm, 3 mm) | Defines tooth size |
| Number of Teeth | \( z \) | Integer (e.g., 20, 30) | Determines gear ratio |
| Pitch Cone Angle | \( \delta \) | \( \delta_1 = \arctan(z_1/z_2) \) for pinion | For shaft angle Σ=90°, δ₁+δ₂=90° |
| Face Width | \( b \) | \( b \leq R/3 \) or \( b \leq 10m \) | Avoids undercut and ensures strength |
| Pressure Angle | \( \alpha \) | 20° (standard) | Affects tooth profile and contact |
| Formative Number of Teeth | \( z_v \) | \( z_v = z / \cos \delta \) | Used in cutter selection and simulation |
| Cone Distance | \( R \) | \( R = mz / (2 \sin \delta) \) | Critical for setting up the gear blank |
With these fundamentals in mind, the core challenge is to replicate the precise tooth profile on a conical surface using a standard milling machine, which is inherently designed for linear and circular interpolations but not for complex conical paths. The most common method I employ is the form milling technique, where a form cutter shaped to the tooth space profile is used to cut each tooth slot individually. This method is labor-intensive and requires meticulous setup but is perfectly feasible for prototyping, small batches, or repair work. The cutter must match the tooth profile at the large end of the straight bevel gear, as the tooth shape tapers toward the apex. Therefore, careful calculation of the cutter profile is paramount. For a standard 20° pressure angle straight bevel gear, the cutter profile is essentially an inverted tooth space. The width of the cutter at the pitch line must correspond to the chordal tooth thickness \( s \) at the large end, which can be approximated by:
$$ s \approx m \left( \frac{\pi}{2} + 2x \tan \alpha \right) $$
where \( x \) is the profile shift coefficient, often zero for straight bevel gears without modification. However, due to the taper, the tooth thickness varies linearly along the face width. This necessitates either a tapered cutter or a compensation in the machining setup. In practice, I use a standard involute gear cutter (like an 8-pitch cutter for module ~3.175 mm) but adjust the indexing and depth to account for the cone angle. The setup on the milling machine involves tilting the gear blank to the pitch cone angle δ relative to the cutter axis. This is achieved by using a dividing head mounted on a sine plate or a rotary table with tilt capability. The blank is oriented so that its axis is inclined, and the cutter is aligned to cut radially toward the apex.
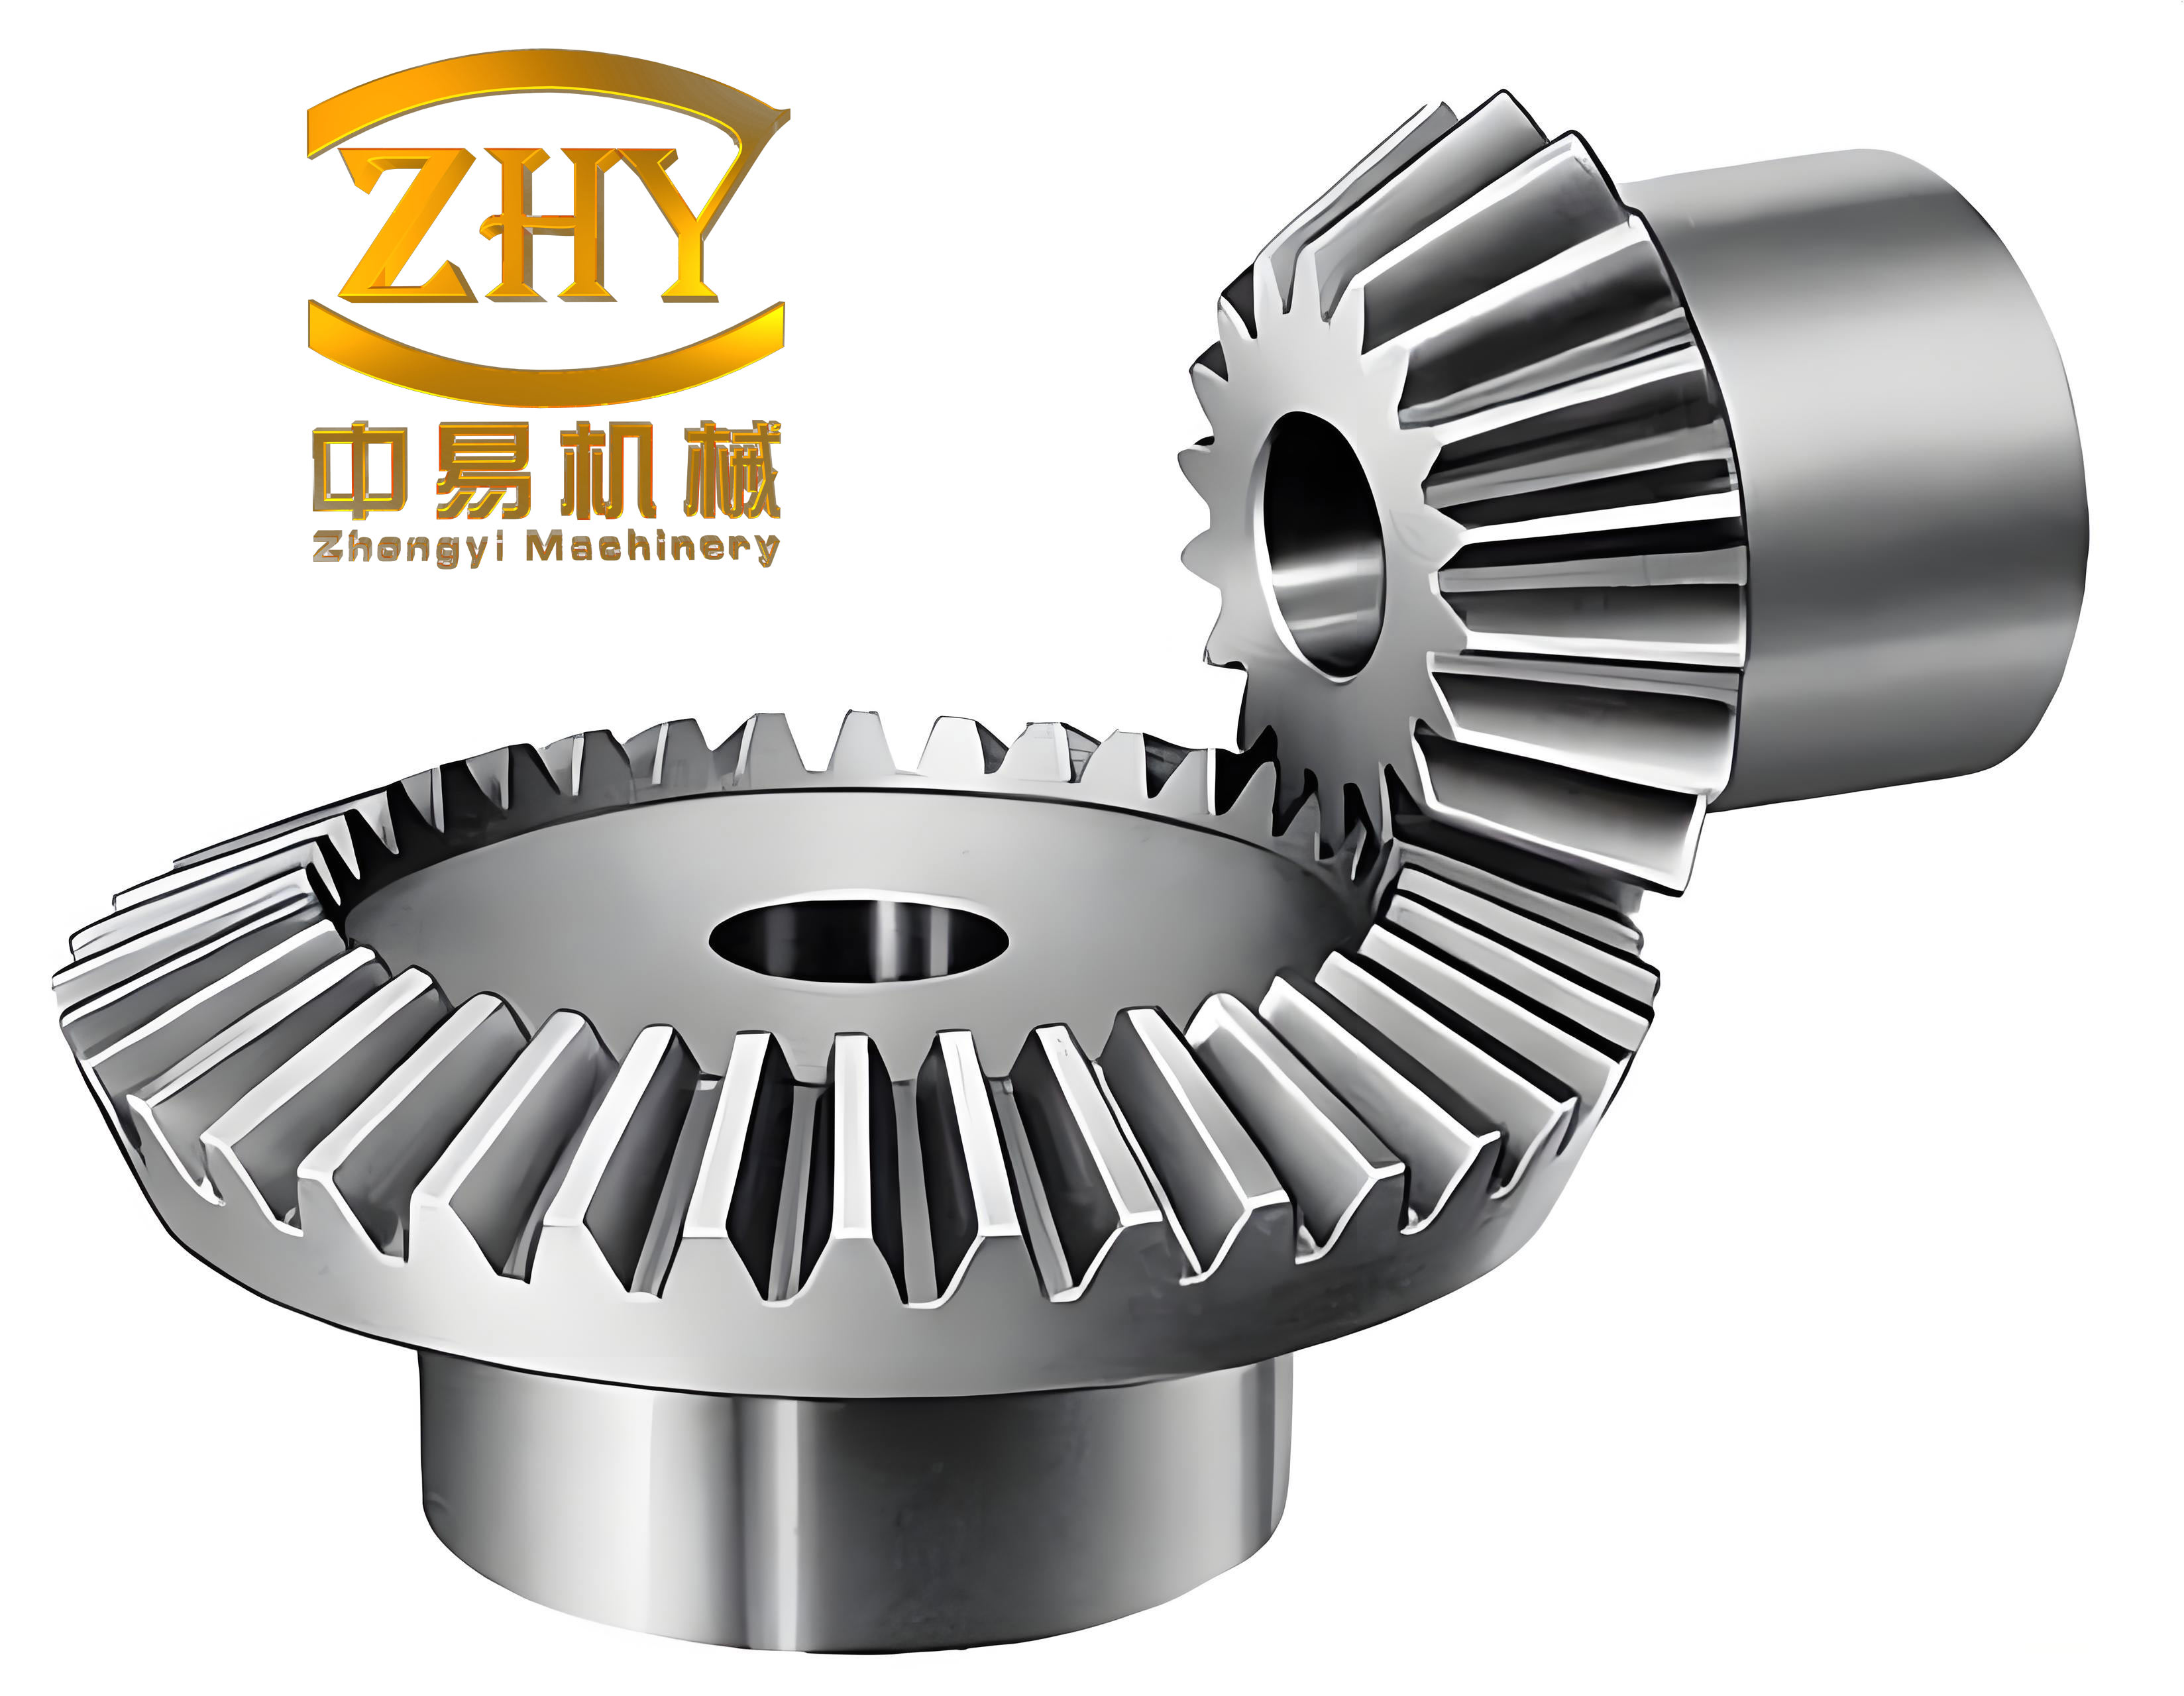
The image above illustrates a typical straight bevel gear, showcasing its conical geometry and straight teeth. When machining such a component on a conventional mill, visualizing this final form guides every step of the setup. The process begins with preparing the gear blank—a conical piece of steel or other material turned to the correct cone angle and outer dimensions. The blank must be precisely centered on the dividing head. The indexing mechanism, whether a manual dividing head or a digital rotary table, is used to rotate the blank by the tooth spacing angle \( \theta = 360°/z \). For each tooth slot, the cutter is fed into the blank along a path that is radial to the cone apex. This requires calculating the depth of cut at the large and small ends separately. The total depth \( h_t \) at the large end is typically \( 2.25m \) (addendum plus dedendum), but due to the cone angle, the depth at the small end \( h_{t,small} \) is reduced proportionally:
$$ h_{t,small} = h_t \cdot \frac{R – b}{R} $$
where \( b \) is the face width. Therefore, during the cut, I often use a compound feed: the cutter moves radially inward while simultaneously traversing along the face width to achieve the tapered depth. This can be manually controlled using the milling machine’s handwheels or, if available, via CNC programming for linear interpolation. The cutter’s position relative to the blank is critical. For a straight bevel gear, the cutter should be aligned so that its center plane passes through the apex of the pitch cone. Misalignment leads to asymmetric teeth and poor meshing. To verify alignment, I use a dial indicator to ensure the blank’s axis is correctly inclined and the cutter’s approach is radial.
The mathematics behind the tooth form generation is rooted in spherical trigonometry because the tooth profiles on straight bevel gears are defined on a sphere centered at the cone apex. However, for practical machining on a milling machine, planar approximations suffice. The tooth profile in the normal section (perpendicular to the tooth at the pitch cone) is an involute curve. The involute function is fundamental: \( \text{inv}(\alpha) = \tan \alpha – \alpha \) (in radians). When designing or checking the cutter, the coordinates of the involute profile can be generated parametrically. For a point on the involute at pressure angle \( \phi \), the coordinates (x, y) in the tooth cross-section are:
$$ x = r_b (\cos \phi + \phi \sin \phi) $$
$$ y = r_b (\sin \phi – \phi \cos \phi) $$
Here, \( r_b \) is the base circle radius of the equivalent spur gear, given by \( r_b = (m z_v \cos \alpha)/2 \). Since we are dealing with straight bevel gears, the base circle radius varies along the face width. At the large end, \( r_{b,large} = (m z \cos \alpha)/(2 \cos \delta) \). This complexity is why specialized gear generators exist, but with care, a standard mill can approximate these profiles. I often create a template for the tooth space to verify the cutter profile or to grind a custom single-point tool if a form cutter is unavailable. The table below outlines a step-by-step procedure I follow for milling a straight bevel gear on a conventional horizontal or vertical milling machine.
| Step | Action | Key Calculations/Parameters | Tools/Equipment |
|---|---|---|---|
| 1. Design & Planning | Determine gear specifications: module, teeth, cone angle, material. | Calculate \( z_v \), \( R \), tooth thickness, depth. | Gear design handbook, calculator. |
| 2. Blank Preparation | Turn conical blank to exact cone angle δ and outer diameter. | Large end diameter \( d_a = d + 2h_a \cos \delta \). | Lathe, measuring tools. |
| 3. Machine Setup | Mount dividing head on mill table, tilt blank to angle δ. | Set sine plate or rotary table tilt to (90°-δ) for vertical mill. | Dividing head, sine plate, clamps. |
| 4. Cutter Selection & Alignment | Choose form cutter matching tooth profile at large end. | Cutter number based on \( z_v \); align cutter center to apex. | Involute gear cutter, edge finder, dial indicator. |
| 5. Indexing Setup | Set dividing head for \( N = z \) divisions. | Indexing ratio: 40:1 dividing head gives turns per tooth = 40/z. | Dividing plates, sector arms. |
| 6. Trial Cut & Depth Setting | Make a shallow trial cut, measure tooth thickness. | Chordal tooth thickness \( s_c = d \sin(90°/z) \). | Micrometer, gear tooth caliper. |
| 7. Full Cutting Cycle | Cut each tooth slot: feed radially, adjust depth along face. | Depth variation: \( \Delta h = b \tan \delta \cdot (h_t/R) \). | Mill feeds, manual or power feed. |
| 8. Deburring & Inspection | Remove burrs, check tooth profile and spacing. | Use profile projector or composite error test. | Files, inspection gear, blueing compound. |
Each step requires patience and precision. For instance, in Step 3, the tilt angle must be exact. On a vertical milling machine, if the table is horizontal, the blank axis must be inclined by the complement of the pitch cone angle. I often use the formula: tilt angle \( \theta_{tilt} = 90° – \delta \) for the gear blank relative to the vertical spindle. This ensures the cutter approaches perpendicular to the tooth flank at the pitch line. The indexing process is repetitive but critical; any error in angular division accumulates, leading to uneven tooth spacing and noisy operation. For straight bevel gears with a prime number of teeth (e.g., 17, 19), indexing may require differential indexing or a specialized dividing plate, which adds complexity.
Beyond the basic form milling, there are advanced techniques to improve accuracy and efficiency. One method I occasionally use is the generation milling simulation, where a single-point tool (like a fly cutter) is moved along a path that approximates the generating motion of a gear shaper. This requires coordinating the rotary motion of the blank with the linear motion of the cutter, which can be achieved with a mechanical linkage between the dividing head and the table feed, or via CNC control if the mill is CNC-equipped. The principle is based on the fact that straight bevel gears can be generated by simulating the rolling of a planar gear template. The relative motion between cutter and blank must satisfy the rolling condition:
$$ \frac{\omega_{blank}}{\omega_{cutter\_path}} = \frac{z_v}{z_{cutter\_virtual}} $$
where \( \omega_{blank} \) is the rotation of the gear blank, and \( \omega_{cutter\_path} \) is the angular velocity of the cutter’s path relative to the blank. In practice, on a conventional mill, this is implemented by slowly rotating the dividing head while the cutter moves linearly, akin to hobbing but for bevel gears. This method produces a more accurate involute profile and better surface finish but demands sophisticated setup and is time-consuming. It is reserved for high-precision straight bevel gears where load distribution and noise reduction are paramount.
Another critical aspect is the calculation of cutting forces and power requirements. Milling straight bevel gears involves intermittent cutting, especially with form cutters. The tangential cutting force \( F_t \) can be estimated using empirical machining formulas. For a given cutter material (e.g., high-speed steel) and workpiece material (e.g., steel 1045), the specific cutting force \( k_c \) is about 1800 N/mm² for steel. The chip cross-section \( A \) per tooth is approximately the product of depth of cut and feed per tooth. For straight bevel gears, the depth varies, so I use an average value. The tangential force is:
$$ F_t = k_c \cdot A $$
Then, the machining power \( P_m \) is:
$$ P_m = \frac{F_t \cdot v_c}{60000} \quad \text{(in kW)} $$
where \( v_c \) is the cutting speed in m/min. This power must be within the mill’s motor capacity. Excessive force can deflect the cutter or blank, causing profile errors. Therefore, I always start with conservative feeds and speeds, especially for large straight bevel gears. The table below provides typical cutting parameters for milling steel straight bevel gears with HSS form cutters.
| Module (mm) | Cutting Speed \( v_c \) (m/min) | Feed per Tooth \( f_z \) (mm) | Depth of Cut (mm) – Large End | Approx. Power (kW) |
|---|---|---|---|---|
| 1.5 | 25 | 0.05 | 3.375 | 0.5 |
| 2.5 | 22 | 0.08 | 5.625 | 1.2 |
| 4 | 20 | 0.10 | 9.0 | 2.5 |
| 6 | 18 | 0.12 | 13.5 | 4.0 |
These values are starting points; I adjust based on coolant use, machine rigidity, and gear accuracy requirements. For straight bevel gears made from non-ferrous materials like aluminum or brass, cutting speeds can be doubled, and feeds increased. However, the softer material may require sharper cutters to avoid burring on the tooth edges.
Quality control is integral to manufacturing straight bevel gears. After machining, I inspect several dimensions: tooth thickness, pitch error, runout, and surface finish. Tooth thickness is measured at the large end using a gear tooth vernier caliper or pins (over pins measurement). For straight bevel gears, the chordal thickness must be corrected for the cone angle. The formula for measurement with pins involves the virtual gear concept. For two-pin measurement, the distance \( M \) over pins placed in opposite tooth spaces is:
$$ M = d_v \cos \phi_v + d_p $$
where \( d_v \) is the virtual pitch diameter (\( d_v = m z_v \)), \( \phi_v \) is the pressure angle on the virtual gear, and \( d_p \) is the pin diameter. This gets geometrically complex due to the cone, so I often rely on functional testing by meshing the gear with a master gear or using blueing compound to check contact pattern. The contact pattern should be centered on the tooth flank, indicating proper alignment and tooth form. Any deviation—such as contact near the toe or heel—signals errors in cone angle setting or cutter alignment.
Common challenges in milling straight bevel gears include undercut, tooth thinning at the small end, and chatter. Undercut occurs when the number of teeth is too small for the pressure angle and cone angle, leading to weakened tooth roots. To avoid undercut in straight bevel gears, the minimum number of teeth \( z_{min} \) is higher than for spur gears due to the formative number effect. A rough guideline is:
$$ z_{min} \approx \frac{2}{\sin^2 \delta} \cdot \frac{1}{\cos \delta} $$
For δ=45°, this gives about 14 teeth; for δ=30°, about 10 teeth. In practice, I rarely design straight bevel gears with fewer than 16 teeth unless profile shifting is applied. Tooth thinning at the small end is inherent because the tooth depth tapers; if excessive, it reduces strength. This is mitigated by limiting face width as per the rule \( b \leq R/3 \). Chatter, the violent vibration during cutting, ruins surface finish and accuracy. To suppress chatter, I ensure the setup is rigid: short cutter overhang, secure blank clamping, and use of anti-vibration tool holders. Sometimes, milling each tooth in two passes—roughing and finishing—helps.
The economic and practical considerations of manufacturing straight bevel gears on conventional mills versus dedicated gear generators are significant. Dedicated machines like bevel gear generators (e.g., Gleason machines) are faster and more accurate for mass production. However, for small-scale production, repair, or prototyping, the conventional mill offers flexibility and lower capital cost. The trade-off is time and skill. Milling a single straight bevel gear with 30 teeth might take a full day, including setup and inspection. But for a custom gear needed urgently, this method is invaluable. I have often used it to produce replacement straight bevel gears for vintage machinery where original parts are unavailable.
Looking at future trends, additive manufacturing (3D printing) is emerging for prototype straight bevel gears, but for metal gears with high strength, subtractive machining remains dominant. CNC milling machines with multi-axis capabilities can now machine straight bevel gears more efficiently by programming the tapered tooth paths directly. However, the principles I’ve described—form milling, indexing, and geometric calculations—remain foundational. Even on a CNC mill, the tool paths are derived from the same mathematical models of straight bevel gears.
In conclusion, manufacturing straight bevel gears on a conventional milling machine is a demanding yet rewarding endeavor that blends classical mechanics with hands-on machining skill. It requires a deep understanding of gear geometry, meticulous setup, and iterative refinement. The process, while slow, allows for complete control over the gear’s parameters and is accessible to small workshops. Straight bevel gears, with their straightforward yet precise geometry, continue to be vital components in power transmission systems. By mastering their manufacture on basic equipment, engineers and machinists can ensure the longevity and performance of countless mechanical systems. I hope this detailed exposition, rich with formulas and tables, serves as a comprehensive guide for anyone undertaking this challenging task. Remember, every straight bevel gear you produce is a testament to the enduring synergy between human ingenuity and mechanical principles.
To further encapsulate the key relationships, here is a final table summarizing the core equations involved in designing and machining straight bevel gears, as discussed throughout this article.
| Description | Formula | Variables Explanation |
|---|---|---|
| Pitch Diameter at Large End | \( d = m z \) | \( m \): module, \( z \): number of teeth |
| Formative Number of Teeth | \( z_v = \frac{z}{\cos \delta} \) | \( \delta \): pitch cone angle |
| Cone Distance | \( R = \frac{d}{2 \sin \delta} \) | Distance from apex to pitch circle |
| Tooth Depth at Large End | \( h_t = 2.25 m \) (typical) | Sum of addendum and dedendum |
| Tooth Depth at Small End | \( h_{t,small} = h_t \cdot \frac{R – b}{R} \) | \( b \): face width |
| Chordal Tooth Thickness | \( s_c \approx d \sin\left(\frac{90^\circ}{z}\right) \) | Approximation for measurement |
| Base Circle Radius (Virtual) | \( r_b = \frac{m z_v \cos \alpha}{2} \) | \( \alpha \): pressure angle |
| Involute Function | \( \text{inv}(\alpha) = \tan \alpha – \alpha \) | Used in tooth profile generation |
| Indexing Angle | \( \theta = \frac{360^\circ}{z} \) | Angle between teeth |
| Machining Power Estimate | \( P_m = \frac{k_c \cdot A \cdot v_c}{60000} \) | \( k_c \): specific force, \( A \): chip area, \( v_c \): cutting speed |
This collection of formulas, combined with the procedural tables, should equip any practitioner with the theoretical and practical tools needed to tackle the manufacture of straight bevel gears. Whether you are a student, a hobbyist, or a seasoned machinist, the journey of creating these precise components on a conventional milling machine is a profound exercise in applied engineering. The repeated focus on straight bevel gears throughout this text underscores their importance and the meticulous attention they demand in manufacturing. May your future projects involving straight bevel gears be successful and enlightening.