
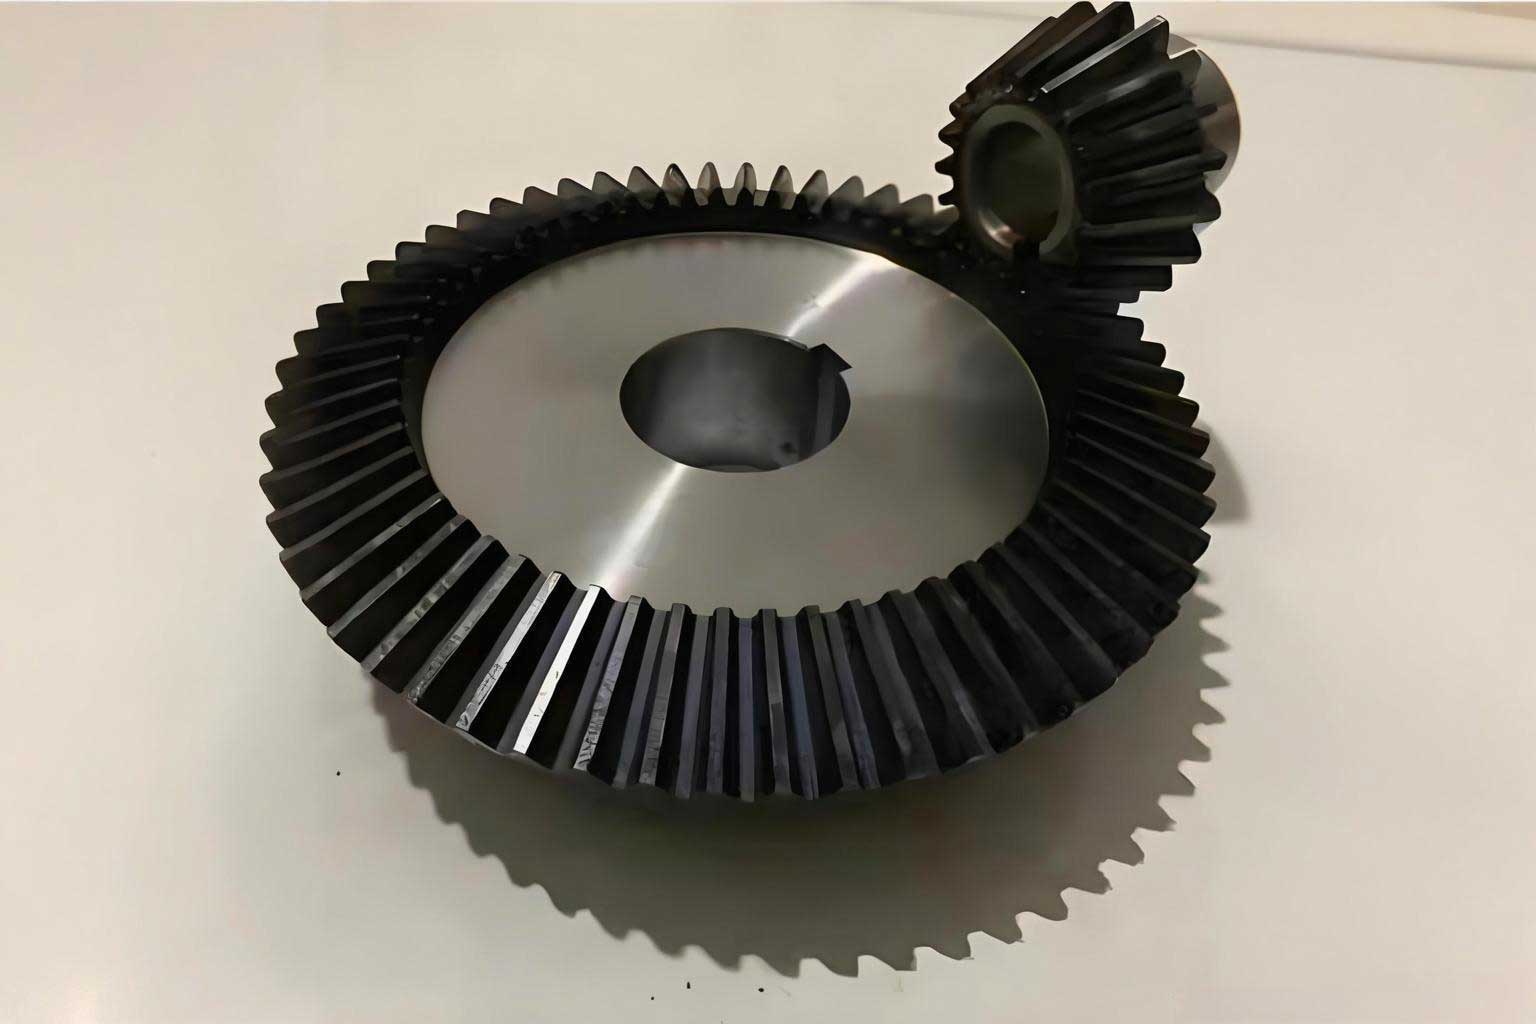
In the realm of gear manufacturing, achieving high dimensional accuracy and superior surface finish in components like straight bevel gears, and particularly the specialized subset known as miter gears (where the shaft angle is 90 degrees and the gear ratio is 1:1), is a significant challenge. Precision forging offers a compelling solution, promising near-net-shape production with excellent mechanical properties. However, the pivotal challenge in implementing this technology lies not in the forging process itself, but in the accurate and efficient design and fabrication of the forging die cavity. The die tooth form is not a simple replica of the final gear; it must account for thermal contraction of the hot forging, elastic springback during cold sizing, and machining allowances. Furthermore, this complex die cavity is most effectively produced via Electrical Discharge Machining (EDM) using shaped electrodes. Therefore, a systematic methodology linking the final gear specifications to the electrode dimensions is paramount. This article presents a comprehensive design procedure for the tooth forms of the forging die and its corresponding EDM electrodes, with a focus on application to miter gears. This method addresses the shortcomings of traditional empirical approaches, leading to a dramatic increase in both the EDM machining efficiency and the final geometric accuracy of the forged gears.
The typical precision forging process for a straight bevel gear involves multiple deformation stages: a hot rough forging, a hot finish forging, and a final cold sizing (coining) operation. Consequently, the die cavity is manufactured using a multi-electrode EDM strategy, requiring three distinct electrodes: one for roughing, one for semi-finishing, and one for finishing. Due to the interplay of factors such as material shrinkage, elastic deformation, and electrode wear during EDM, the tooth profiles of the final gear, the forged preform, the die, and the three electrodes are all different. The correct sequential relationship between these profiles and the primary influencing factors are conceptually outlined below. The core of the problem is to mathematically define each profile based on the final gear data and process parameters.
The following analysis is based on two fundamental principles: the “constant pitch angle theorem,” which states that the pitch cone angle $\delta$ remains identical for the finished gear, the forging, the die, and all electrodes; and the “equivalent linear expansion theory” for gear tooth profiles, which allows the complex three-dimensional shrinkage problem to be treated on an equivalent spur gear plane. All parameters discussed hereafter are defined for the gear’s large end. To maintain clarity, a comprehensive nomenclature table is provided.
| Category | Parameter | Finished Gear | Forging | Die Cavity | Roughing Electrode (Worn) | Roughing Electrode (New) | Semi-finish Electrode | Finish Electrode |
|---|---|---|---|---|---|---|---|---|
| Actual Gear | Transverse Module | $m$ | $m’$ | $m”$ | $m_1^*$ | $m_1$ | $m_2$ | $m_3$ |
| Pitch Radius | $r$ | $r’$ | $r”$ | $r_1^*$ | $r_1$ | $r_2$ | $r_3$ | |
| Tip Radius | $r_a$ | $r’_a$ | $r”_a$ | $r_{a1}^*$ | $r_{a1}$ | $r_{a2}$ | $r_{a3}$ | |
| Root Radius | $r_f$ | $r’_f$ | $r”_f$ | $r_{f1}^*$ | $r_{f1}$ | $r_{f2}$ | $r_{f3}$ | |
| Pressure Angle | $\alpha$ | $\alpha’$ | $\alpha”$ | $\alpha_1^*$ | $\alpha_1$ | $\alpha_2$ | $\alpha_3$ | |
| Cone Distance | $R$ | $R’$ | $R”$ | $R_1^*$ | $R_1$ | $R_2$ | $R_3$ | |
| Pitch Angle / Number of Teeth | $\delta$, $Z$ (Constant for all) | |||||||
| Equivalent Spur Gear | Base Radius | $r_{bv}$ | $r’_{bv}$ | $r”_{bv}$ | $r_{bv1}^*$ | $r_{bv1}$ | – | – |
| Pitch Radius | $r_v$ | $r’_v$ | $r”_v$ | $r_{v1}^*$ | $r_{v1}$ | – | – | |
| Tip Radius | $r_{av}$ | $r’_{av}$ | $r”_{av}$ | $r_{av1}^*$ | $r_{av1}$ | – | – | |
| Root Radius | $r_{fv}$ | $r’_{fv}$ | $r”_{fv}$ | $r_{fv1}^*$ | $r_{fv1}$ | – | – | |
I. Forging Tooth Form Design
The design of the forging preform is crucial as it forms the intermediate shape between the die and the final gear. The following assumptions are made: the flash and backing allowance have been removed; a uniform machining allowance $\Delta$ is required on the tooth flanks for descaling or subsequent finishing (except for cold sized parts); and the tip and root diameters are forged to final dimensions, requiring no allowance. The forging’s large-end tooth profile, when developed onto its back cone, becomes an equivalent spur gear with a modified pressure angle. The parameters for this forging tooth form are derived from geometric and kinematic analysis of the equivalent spur gear in the plane of action.
The core equations governing the forging profile are:
$$ r’ = \frac{\cos \alpha}{\cos \alpha’} r $$
$$ m’ = \frac{\cos \alpha}{\cos \alpha’} m $$
$$ r’_a = r_a $$
$$ r’_f = r_f $$
$$ R’ = R + \frac{r’_v – r_v}{\tan \delta} = R + \frac{r’ – r}{\sin \delta} $$
The modified pressure angle $\alpha’$ for the forging is the key variable and is determined by the following involute function equation, which accounts for the normal machining allowance $\Delta$:
$$ \text{inv} \alpha’ = \text{inv} \alpha + \frac{2\Delta \cos \delta}{Z m \cos \alpha} $$
Here, $\text{inv} \alpha = \tan \alpha – \alpha$ is the involute function. The value of $\alpha’$ is obtained by solving the above transcendental equation, either using an iterative numerical method or via inverse lookup in an involute function table. This calculation is valid for both hot rough and finish forgings, with the value of $\Delta$ differing accordingly. For a part that will only undergo cold sizing, $\Delta = 0$, and thus $\alpha’ = \alpha$, making the forging tooth form identical to the finished gear. This principle is especially critical when designing for precision miter gears, where symmetry and exact 1:1 ratio must be preserved through the forging stages.
II. Die Cavity Tooth Form Design
The die cavity must produce the forging, which will then shrink upon cooling. The “Equivalent Linear Expansion Rate” theory is applied here. This theory states that on the equivalent spur gear plane, the thermal contraction and elastic springback can be modeled as a linear scaling factor $A$, applied to the equivalent pitch circle. For hot forging, $A$ is negative (representing shrinkage), while for cold sizing, it is related to the elastic strain $\epsilon$. The die parameters are calculated from the forging parameters as follows:
$$ r” = (1 + A) r’ $$
$$ m” = (1 + A) m’ $$
$$ r”_a = (1 + A) r’_f $$
$$ r”_f = (1 + A) r’_a $$
$$ R” = (1 + A) R’ $$
$$ \alpha” = \alpha’ $$
Note the inversion: the die’s tip radius is based on the forging’s root radius, and vice-versa. The pressure angle remains unchanged from forging to die. The formula for calculating $A$ based on material properties, forging temperature, and elastic modulus is essential but is treated as a known input for this design sequence. For the specific case of miter gears, ensuring the die cavity maintains the exact 90-degree pitch cone and equal tooth counts on both halves is vital for proper assembly and function.
For the cold sizing (coining) operation, conditions differ. The goal is to calibrate the already near-net-shape forging to its final dimensions at room temperature. We assume no further machining, minimal thermal effects ($A = -|\epsilon|$), and intentional clearance at the tip and root to reduce force and utilize the tooth flank taper for effective pressure. A typical clearance is $0.1m$. The cold sizing die formulas become:
$$ r” = (1 – |\epsilon|) r $$
$$ m” = (1 – |\epsilon|) m $$
$$ r”_a = (1 – |\epsilon|) r_f – 0.1 m \cos \delta $$
$$ r”_f = (1 – |\epsilon|) r_a + 0.1 m \cos \delta $$
$$ R” = (1 – |\epsilon|) R $$
$$ \alpha” = \alpha $$
This design ensures precise calibration of the tooth flanks of the miter gear while avoiding excessive tonnage and tool stress.
III. Electrode Tooth Form Design: The Critical Innovation
The conventional, highly inefficient practice is to make the finish electrode identical to the die cavity and then use it after wear as the semi-finish and roughing electrodes. This is fundamentally flawed. During rough EDM, the electrode works hardest at the points of largest stock removal (typically the high-pressure angle regions of the tooth flank), leading to non-uniform wear. Consequently, the semi-finishing allowance left on the die cavity is highly variable, drastically reducing the efficiency and accuracy of subsequent EDM steps.
The correct methodology is to design the electrodes such that after their respective wear patterns, their profiles become parallel to the target die profile. This ensures a uniform finishing allowance. We define:
$\Delta_1$ as the total normal stock for semi-finish and finish EDM plus roughing gap.
$t_i$ as the EDM spark gap for electrode $i$.
$u_i$ as the uniform normal finishing allowance for step $i$.
$q_i$ as the normal wear amount of electrode $i$.
1. Roughing Electrode Design: The worn roughing electrode profile should be offset from the die profile by $\Delta_1 = t_1 + u_2 + u_3$. Ignoring negligible wear at the electrode’s root (which corresponds to the die’s tip), the key is to calculate the required enlargement at the electrode’s tip. The new, unworn roughing electrode dimensions are:
$$ \text{inv} \alpha_1 = \text{inv} \alpha” – \frac{\Delta_1 \cos \delta}{r” \cos \alpha”} $$
$$ k_1 = \frac{\cos \alpha”}{\cos \alpha_1} + \frac{q_1}{r”_f \cos \delta – \Delta_1} $$
$$ r_1 = k_1 r” $$
$$ m_1 = k_1 m” $$
$$ r_{a1} = r”_f – (\Delta_1 – q_1) \cos \delta $$
$$ r_{f1} = r”_a – \Delta_1 \cos \delta $$
$$ R_1 = R” – \frac{r” – r_1}{\sin \delta} $$
2. Semi-Finishing Electrode Design: This electrode starts from the uniformly offset surface left by the roughing electrode. Its wear is more uniform. Its design equations are:
$$ \text{inv} \alpha_2 = \text{inv} \alpha” – \frac{(t_2 + u_3) \cos \delta}{r” \cos \alpha”} $$
$$ r_2 = \frac{\cos \alpha”}{\cos \alpha_2} r” $$
$$ m_2 = \frac{\cos \alpha”}{\cos \alpha_2} m” $$
$$ r_{a2} = r”_f – (t_2 + u_3 – q_2) \cos \delta $$
$$ r_{f2} = r”_a – (t_2 + u_3 – q_2) \cos \delta $$
$$ R_2 = R” – \frac{r” – r_2}{\sin \delta} $$
3. Finishing Electrode Design: This electrode creates the final die cavity. Its design is:
$$ \text{inv} \alpha_3 = \text{inv} \alpha” – \frac{t_3 \cos \delta}{r” \cos \alpha”} $$
$$ r_3 = \frac{\cos \alpha”}{\cos \alpha_3} r” $$
$$ m_3 = \frac{\cos \alpha”}{\cos \alpha_3} m” $$
$$ r_{a3} = r”_f – (t_3 – q_3) \cos \delta $$
$$ r_{f3} = r”_a – (t_3 – q_3) \cos \delta $$
$$ R_3 = R” – \frac{r” – r_3}{\sin \delta} $$
The parameters $q_1$, $q_2$, and $q_3$ (electrode wear amounts) are determined empirically from EDM process conditions or from historical data. By designing the electrodes this way, the EDM process for creating dies for components like miter gears becomes predictable, efficient, and accurate. The uniform allowance distribution is the key to minimizing total EDM time and maximizing profile fidelity.
IV. Summary and Application Scope
The systematic design procedure outlined above, from finished gear to EDM electrode, represents a significant advancement over traditional trial-and-error methods. For straight bevel gears and miter gears, it provides a deterministic mathematical path to generate all necessary tooling geometries. Implementing this method can improve the final die cavity accuracy by 1-2 grades (e.g., from AGMA 9 to AGMA 7) and increase the EDM machining efficiency by a factor of five or more by eliminating non-productive, uneven stock removal during semi-finishing and finishing.
The formulas are universally applicable to both hot and cold forging processes for miter gears and other straight bevel gears. The differences lie only in the input values: the machining allowance $\Delta$ and the equivalent linear expansion rate $A$. For cold sizing or cold forging, $\Delta$ is typically zero. However, in cold forging, the heat generated by plastic deformation can cause localized warming, affecting the effective value of $A$, which must be considered for ultimate precision. This rigorous approach ensures that the demanding geometric requirements of precision miter gears—with their need for perfect meshing and motion transfer at right angles—can be reliably met through the precision forging route.