
In the realm of precision forging, the accuracy of die cavities for straight bevel gears, particularly miter gears, is paramount. As a key component in power transmission systems, miter gears require high precision to ensure smooth operation and longevity. The manufacturing of these gears through precision forging relies heavily on the quality of the die, which is often produced via electrical discharge machining (EDM) using a copper electrode gear. This electrode gear’s tooth profile directly influences the die cavity’s accuracy, and thus, its detection is critical. In this paper, we present a novel method for detecting the tooth profile of copper electrode gears used in EDM for forging miter gear dies. Our approach leverages computer programming to calculate and draw a magnified standard tooth profile, enabling high-precision inspection on a universal projector. This method not only overcomes the limitations of traditional gear inspection instruments but also ensures the production of high-quality forging dies and合格 forgings, ultimately reducing waste and cost.
The importance of electrode gear inspection cannot be overstated. During EDM, factors such as uneven wear, forging deformation, elastic deformation, and die wear necessitate corrections in the electrode’s design, including modifications to the pressure angle and module. Traditional inspection methods, like using a gear rolling tester for composite checking, can measure parameters such as mounting distance, axis variation, and contact pattern. However, these methods fail to provide a comprehensive assessment of the tooth profile. Moreover, the standard gears required for such testers must be of higher precision than the electrode gear, often exceeding the capabilities of many manufacturers. For instance, if the product gear is of grade 8, the standard gear needs to be grade 5, which is challenging to produce. Neglecting thorough electrode gear inspection can lead to out-of-tolerance forging dies, resulting in defective forgings and significant financial losses. Our proposed method addresses these issues by focusing on the detailed inspection of the tooth profile on the back cone of the electrode gear.
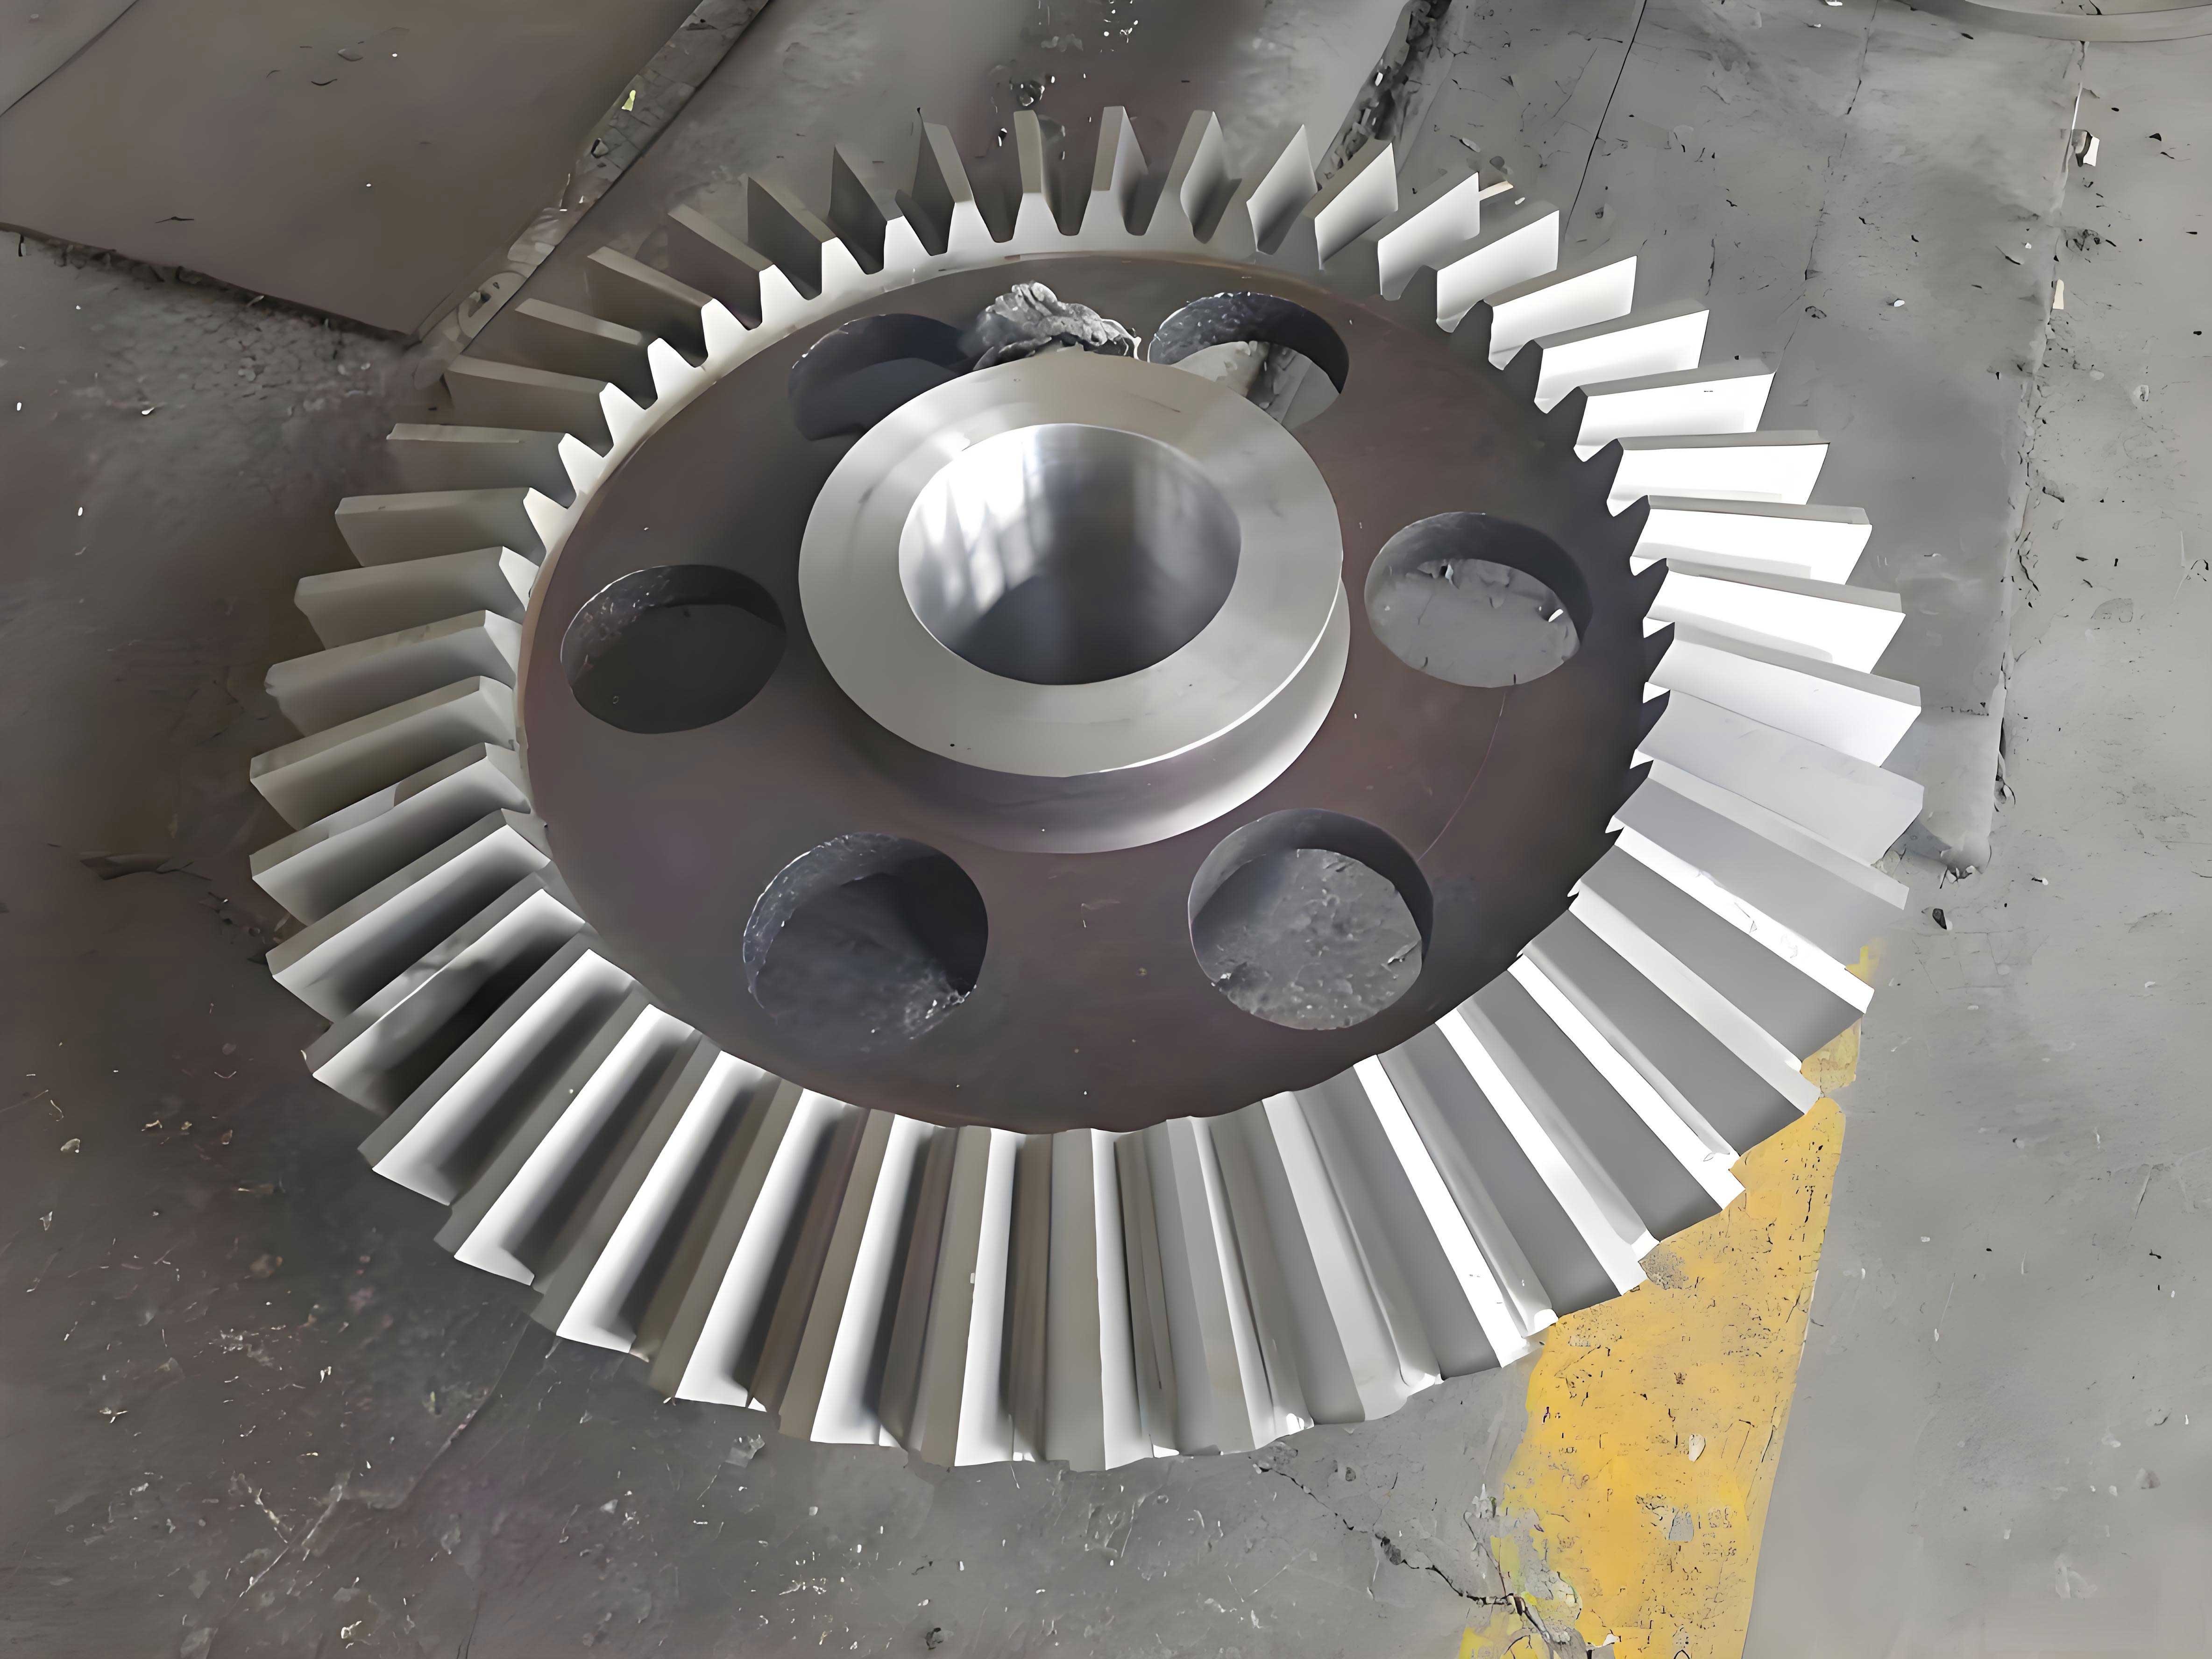
To illustrate our method, we consider a miter gear used in the differential of a small tractor, as an example. The electrode gear parameters are essential for programming and calculation. Below is a table summarizing the key parameters for this miter gear electrode:
| Parameter | Symbol | Value |
|---|---|---|
| Number of teeth | z | 10 |
| Module at large end | m | 6.35 mm |
| Pressure angle | α | 20° |
| Pitch diameter | d | 63.5 mm |
| Addendum coefficient | h_a* | 1 |
| Radial modification coefficient | x | 0.25 |
| Addendum | h_a | 7.9375 mm |
| Whole depth | h | 14.2875 mm |
| Circular tooth thickness at pitch circle | s | 10.0 mm |
| Precision grade | – | 8 |
The core of our method lies in programming calculations based on the geometry of the involute curve. For a miter gear, the tooth profile on the back cone is considered, as it approximates a spur gear with equivalent parameters. The equivalent number of teeth for the large end is calculated using the pitch cone angle. The program computes key dimensions for the magnified tooth profile. The following formula defines the involute curve: given a base circle radius \( r_b \), the involute function for an arbitrary point is expressed in terms of the pressure angle \( \theta \) and radius \( r \). The relationship is:
$$ r = \frac{r_b}{\cos(\theta)} $$
And the involute angle \( \text{inv}(\theta) = \tan(\theta) – \theta \). For the large end of the miter gear, we first determine the equivalent pitch radius \( R_e \), equivalent addendum radius \( R_{ae} \), and equivalent base radius \( R_{be} \). The calculations are as follows:
$$ R_e = \frac{d}{2 \cos(\delta)} $$
where \( \delta \) is the pitch cone angle. For a miter gear with a shaft angle of 90°, \( \delta = 45^\circ \). Then, the equivalent number of teeth \( z_e \) is:
$$ z_e = \frac{z}{\cos(\delta)} $$
The equivalent base radius is:
$$ R_{be} = R_e \cos(\alpha) $$
Using these, we compute the tooth thickness at any radius \( r \). The chordal tooth thickness \( s_c \) at a given radius involves the angle subtended by the chord at the center. The program iterates through points from the base circle to the addendum circle, calculating coordinates for the magnified profile. The algorithm flowchart includes steps for inputting parameters, calculating equivalent dimensions, and outputting chordal dimensions for drawing. Below is a summary of the computational steps in pseudocode:
- Input: \( m, z, \alpha, s, \delta \).
- Calculate \( R_e, R_{ae}, z_e, R_{be} \).
- For \( r \) from \( R_{be} \) to \( R_{ae} \) in steps:
- Compute pressure angle at \( r \): \( \theta_r = \arccos(R_{be} / r) \).
- Compute tooth thickness angle: \( \phi_r = \frac{s}{r} + 2(\text{inv}(\alpha) – \text{inv}(\theta_r)) \).
- Compute chordal thickness: \( s_c = 2r \sin(\phi_r / 2) \).
- Compute vertical distance from pitch circle center: \( h_c = r \cos(\phi_r / 2) \).
- Output \( s_c \) and \( h_c \) for each \( r \).
To achieve high accuracy in inspection, we magnify the tooth profile by a factor of 50. This magnification makes manual drawing impractical due to the large size; for example, the base circle diameter at the large end approaches 500 mm. Our program automates this process, ensuring precision. The standard tooth profile is drawn on a dimensionally stable transparent film, including a tolerance band based on the tooth thickness公差. The drawing process involves plotting points from the computed data. Below is a table showing sample calculated points for the magnified profile (in mm for the drawing, after 50x magnification):
| Radius r (mm) original | Chordal Thickness s_c (mm) original | Vertical Distance h_c (mm) original | Magnified Coordinates (x, y) in mm |
|---|---|---|---|
| 22.5 | 4.0 | 21.0 | (100.0, 1050.0) |
| 25.0 | 4.5 | 23.5 | (112.5, 1175.0) |
| 27.5 | 5.0 | 26.0 | (125.0, 1300.0) |
| 30.0 | 5.5 | 28.5 | (137.5, 1425.0) |
| 32.5 | 6.0 | 31.0 | (150.0, 1550.0) |
Note: The above table is illustrative; actual values depend on the specific miter gear parameters. The profile drawing includes the involute portion above the base circle, connected smoothly, and the portion below the base circle is approximated by a straight line parallel to the tooth centerline, tangent to the root fillet. The root fillet radius is typically 0.38m, and the whole depth position is determined by subtracting the addendum from the total depth. The tolerance band is drawn by offsetting the standard profile inward by the tooth thickness tolerance, providing a visual reference for acceptance criteria.
The inspection is performed using a universal projector, such as the UPP-20 model. The electrode gear is clamped with its end face as a reference, ensuring alignment. The light source is adjusted to coincide with the pitch cone line, which is perpendicular to the back cone surface. This alignment is crucial for accurate projection of the tooth profile. Due to the smaller root cone angle compared to the pitch cone angle, the root area may appear as a shadow; this is mitigated by enhancing the brightness of the back cone’s large end face using a dual-reflection optical path. The magnified standard drawing is placed on the projector’s display screen, aligned with the screen’s坐标 axes. The inspection involves several steps:
- Visual Inspection of Involute Profile: Check if the involute portion is smooth and if the pressure angle equals 20°. This is done by comparing the projected image with the standard drawing. Deviation in the pressure angle indicates errors in the electrode gear manufacturing.
- Tooth Thickness Verification: Measure the chordal tooth thickness at various points to ensure it falls within the tolerance band. Any point outside the band signifies不合格.
- Whole Depth Check: Verify that the total tooth height meets the precision grade requirements.
- Root Fillet Assessment: Ensure the root fillet angle and radius conform to specifications, typically a 30° angle or as designed.
If any discrepancies are detected, the electrode gear is rejected, and adjustments can be made to the machining process or tooling promptly, preventing mass production of defective electrodes. This method provides a comprehensive检测 for miter gear electrodes, covering aspects that traditional gear testers miss.
To further elaborate on the mathematical foundation, we delve into the geometry of the miter gear. The involute curve is fundamental to gear tooth design. For a spur gear equivalent, the parametric equations for the involute are:
$$ x = r_b (\cos(t) + t \sin(t)) $$
$$ y = r_b (\sin(t) – t \cos(t)) $$
where \( t \) is the parameter related to the pressure angle. For the back cone of a miter gear, we use the equivalent radii to apply these equations. The chordal dimensions are critical for measurement. The formula for chordal tooth thickness \( s_c \) at a circle of radius \( r \) is derived from the arc tooth thickness \( s_r \):
$$ s_r = s \frac{r}{R_e} + 2r (\text{inv}(\alpha) – \text{inv}(\theta_r)) $$
Then, \( s_c = 2r \sin\left( \frac{s_r}{2r} \right) \). The vertical distance \( h_c \) from the chord to the pitch circle center is:
$$ h_c = r \cos\left( \frac{s_r}{2r} \right) $$
These formulas are implemented in our program to generate the data for drawing. Additionally, we consider corrections for EDM wear and forging deformation. In practice, the electrode gear may have a modified pressure angle or module to compensate for these effects. Our detection method accounts for this by using the designed parameters for calculation, ensuring that the actual electrode matches the intended profile.
The advantages of our method are numerous. Firstly, it provides high detection accuracy, capable of identifying minute deviations in the tooth profile of miter gear electrodes. Secondly, it is cost-effective, as it does not require expensive high-precision standard gears. Thirdly, it is versatile and can be adapted to other types of gear electrodes, such as those for spiral bevel gears or hypoid gears, with appropriate modifications to the program. Over years of application in manufacturing settings, such as for tractor differential gears, this method has proven effective in controlling die cavity accuracy, leading to high-quality precision forgings with consistent performance. Thousands of miter gears produced using this inspection technique have been successfully deployed in machinery with excellent results.
In conclusion, we have developed a robust method for detecting the tooth profile of copper electrode gears used in EDM for precision forging dies of miter gears. By leveraging computer programming to calculate and draw a magnified standard tooth profile, and using a universal projector for inspection, we achieve high precision and comprehensive assessment. This method fills the gap left by traditional gear inspection instruments, ensuring that forging dies are accurate and that the final forged miter gears meet stringent quality standards. Future work may involve automating the inspection process further with digital image processing, but the current approach remains a reliable and practical solution for manufacturers. Through this method, we contribute to the advancement of precision forging technology, particularly for critical components like miter gears in automotive and industrial applications.
To enhance the understanding of miter gear geometry, below is a table comparing key parameters between a standard miter gear and the electrode gear with corrections:
| Parameter | Standard Miter Gear | Electrode Gear (with corrections) |
|---|---|---|
| Pressure angle α | 20° | 20.5° (example correction) |
| Module m | 6.35 mm | 6.40 mm (example correction) |
| Addendum h_a | 7.9375 mm | 8.0 mm |
| Tooth thickness s | 10.0 mm | 9.8 mm (to account for wear) |
These corrections are determined based on empirical data from EDM and forging processes, and our detection method verifies their implementation accurately. The programming approach allows for easy adjustment of parameters to suit different miter gear designs, making it a flexible tool for various applications in gear manufacturing.
Finally, we emphasize that the success of this method hinges on precise alignment during projection and accurate drawing of the standard profile. Regular calibration of the projector and use of high-quality materials for the drawing film are recommended. By integrating this detection step into the production workflow, manufacturers can significantly reduce scrap rates and improve the overall efficiency of precision forging for miter gears. This not only saves time and resources but also enhances the reliability of the final products in demanding applications such as automotive differentials, where miter gears play a crucial role in power transmission.