
In the realm of gear design and manufacturing, the demand for precise and efficient modeling techniques has grown exponentially with the advent of virtual manufacturing. While parametric modeling of involute cylindrical gears has been extensively documented, detailed discussions on the parametric modeling of straight bevel gears, specifically miter gears with crowned tooth surfaces, are relatively scarce. As a design engineer deeply involved in this field, I find that three-dimensional parametric modeling is not merely a convenience but a necessity for motion simulation, finite element analysis, interference checking, and numerical control (NC) machining. This capability allows for the direct generation of machining programs from 3D models, enabling the production of forging dies or copper electrode gears on CNC milling or high-speed machining centers. Consequently, product development cycles are significantly shortened, and quality consistency is enhanced. In this article, I will elaborate on the methodology and principles of parametric modeling for miter gears using advanced CAD tools, along with their practical machining applications.
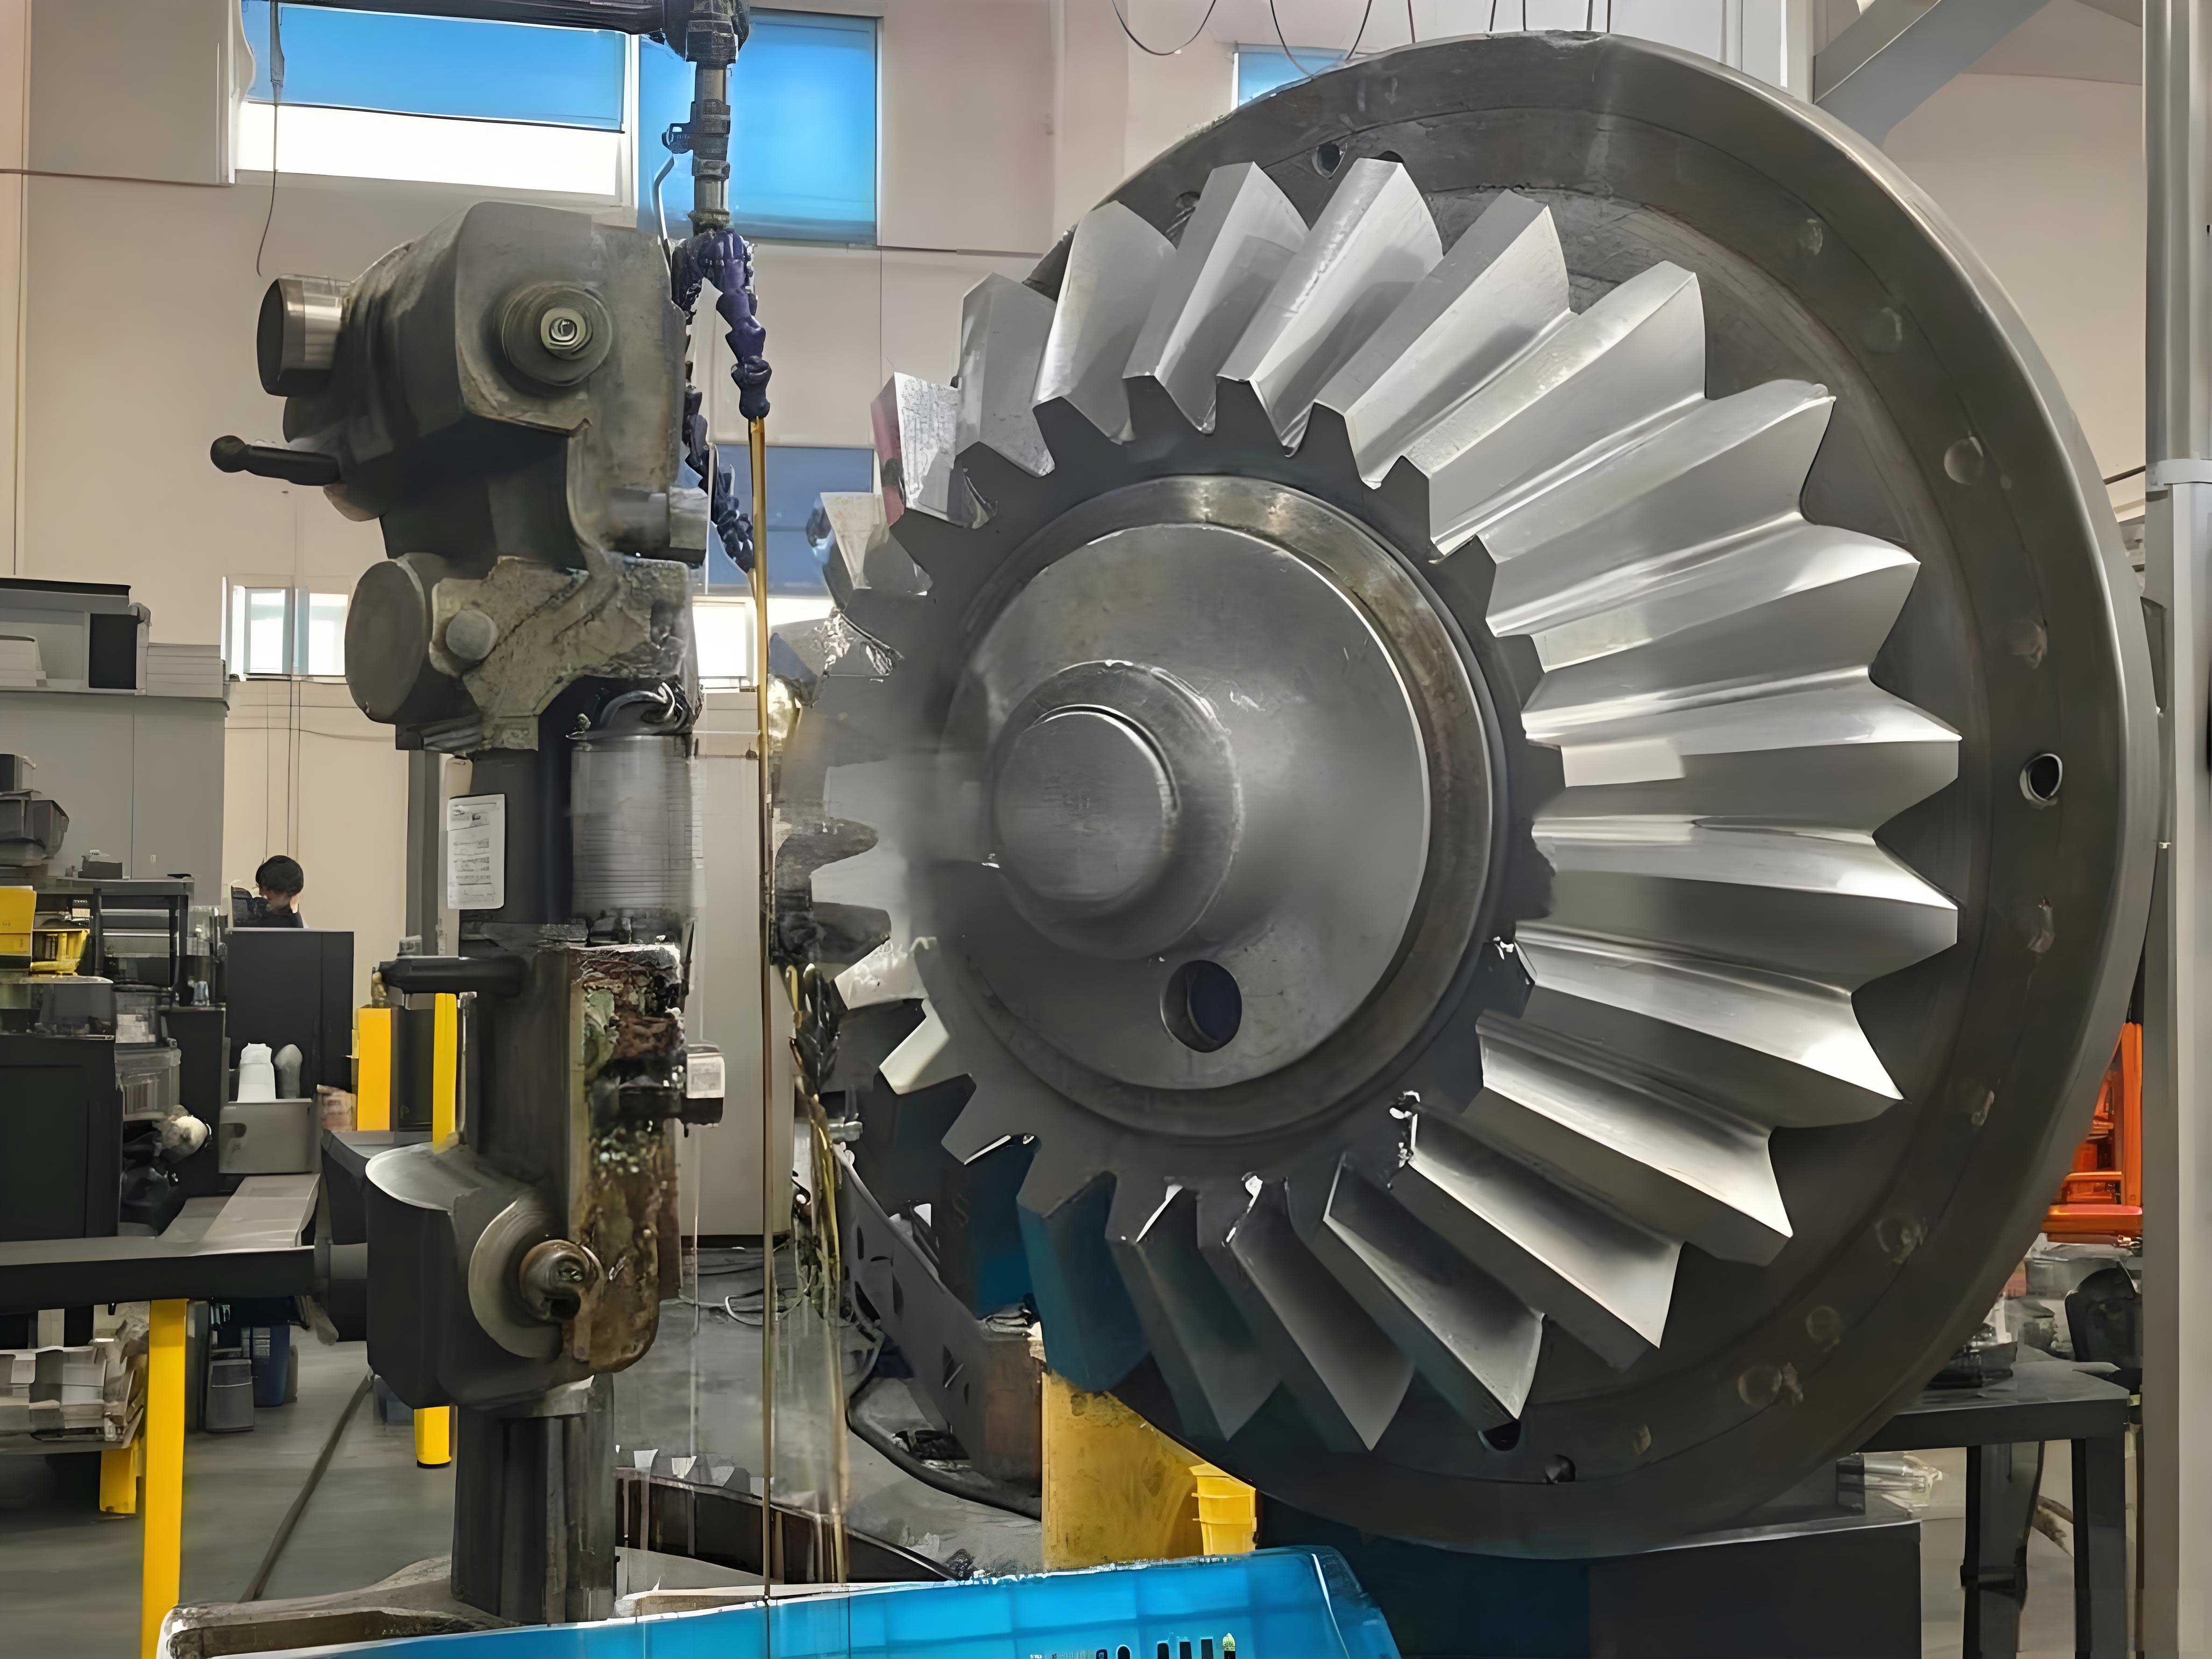
The core of this approach lies in creating a fully parametric model of a miter gear that can adapt to various design inputs. A miter gear, being a type of bevel gear with a 1:1 ratio and typically 90-degree shaft angle, requires meticulous attention to geometry to ensure proper meshing and performance. The inclusion of crown modification, or “crowning,” on the tooth surface is crucial for achieving localized contact patterns that accommodate misalignments and reduce edge loading. My implementation leverages the secondary development capabilities of a leading CAD software, utilizing its scripting language to automate the entire process from data input to final solid model generation.
Parametric Modeling Framework for Miter Gears
The parametric modeling process can be systematically broken down into several stages: data input and validation, geometric calculation, curve and surface generation, and solid model creation. The entire workflow is encapsulated within a custom program, ensuring repeatability and accuracy.
Data Input and Interface Design
The first step involves acquiring all necessary geometric parameters from the designer. I have developed a dialog-based interface that prompts for the fundamental dimensions and coefficients defining the miter gear. This user-friendly approach minimizes errors and standardizes the input process. The essential parameters for a miter gear are captured as shown in the following summary table.
| Parameter Symbol | Description | Unit/Type |
|---|---|---|
| z | Number of Teeth (for the gear in question) | Integer |
| z_m | Number of Teeth on Mating Gear (for a miter gear, often equal to z) | Integer |
| m | Module at the Large End | Length (e.g., mm) |
| h_ax | Addendum Coefficient | Dimensionless |
| c_x | Dedendum Clearance Coefficient | Dimensionless |
| α | Pressure Angle at Pitch Circle | Degrees or Radians |
| Σ | Shaft Angle (typically 90° for a standard miter gear) | Degrees |
| x | Profile Shift Coefficient (Height) | Dimensionless |
| x_t | Profile Shift Coefficient (Tangential) | Dimensionless |
| B | Face Width (Gear Thickness) | Length |
| L_a | Mounting Distance (or Back Cone Distance) | Length |
| r_f | Root Fillet Radius | Length |
In addition to these, the crown modification data is critical. The desired crown curve, which defines the longitudinal profile of the tooth surface, is determined based on required contact pattern length and assembly conditions. I often use spreadsheet software to optimize this curve visually. The finalized set of crown coordinates is then imported into the modeling program as an array of values, allowing for flexible and precise control over the tooth surface geometry of the miter gear.
Geometric Calculations
Once the input parameters are received, a series of calculations is performed to derive all necessary dimensions for constructing the 3D model. These calculations are based on standard bevel gear geometry, adapted for the specific case of a miter gear. Below are the key formulas implemented in the script.
The pitch cone angle (δ) for a miter gear with equal teeth and a 90° shaft angle is simply 45°. However, for generality in the program, it is calculated from the tooth numbers:
$$
δ = \arctan\left(\frac{z}{z_m}\right)
$$
For a standard miter gear where \( z = z_m \) and \( Σ = 90° \), \( δ = 45° \). The pitch cone distance (R) is given by:
$$
R = \frac{m \cdot z}{2 \sin(δ)}
$$
The addendum (h_a) and dedendum (h_f) are calculated using the coefficients:
$$
h_a = m (h_{ax} + x)
$$
$$
h_f = m (h_{ax} + c_x – x)
$$
The dedendum of the mating gear (h_fm) is needed for calculating the face angles:
$$
h_{fm} = m (h_{ax} + c_x – x_m)
$$
where \( x_m \) is the profile shift coefficient of the mating miter gear. The face cone angle (δ_a) for the generated gear is:
$$
δ_a = δ + \arctan\left(\frac{h_{fm}}{R}\right)
$$
This results in an equal dedendum configuration. The virtual or equivalent gear dimensions are crucial for defining the tooth profile in a normal section. The virtual number of teeth (z_v) and virtual pitch diameter (d_v) are:
$$
z_v = \frac{z}{\cos(δ)}
$$
$$
d_v = \frac{m \cdot z}{\cos(δ)} = \frac{2R \sin(δ)}{\cos(δ)}
$$
The base circle radius (r_b) of this virtual spur gear is:
$$
r_b = \frac{d_v \cos(α)}{2}
$$
The root diameter (d_f) and tip diameter (d_a) of the virtual gear are:
$$
d_f = d_v – 2h_f
$$
$$
d_a = d_v + 2h_a
$$
All these calculations are performed within the program, and a validation routine checks for logical errors, such as negative tooth counts, root fillet radii too large for the dedendum, or conflicting dimensions that would prevent model generation. This ensures robustness before proceeding to geometric construction.
Tooth Profile and Crowned Surface Generation
The heart of modeling the miter gear lies in constructing the precise tooth shape. This is done by first creating the involute profile on the virtual spur gear section and then transforming it onto the conical backings of the bevel gear.
Involute Curve Definition: The coordinates of a point on an involute curve are parameterized by the roll angle (ε, in radians):
$$
x_i(ε) = r_b (\cos(ε) + ε \sin(ε))
$$
$$
y_i(ε) = r_b (\sin(ε) – ε \cos(ε))
$$
where \( ε \) ranges from the start angle (where the involute begins at the base circle) to an end angle defining the tip of the tooth. A critical consideration is when the root diameter \( d_f \) is less than the base circle diameter \( 2r_b \). In such cases, the profile from the root circle to the base circle cannot be an involute. To accurately model the transition, a lengthened involute or trochoid-like curve, simulating the generation by a rack without tip rounding, is used. Subsequently, the specified root fillet radius \( r_f \) is blended to this transition curve, completing a single cross-sectional tooth profile.
Multi-Section Approach for Crowning: To introduce the longitudinal crown modification, multiple cross-sectional profiles are generated at different positions along the face width of the miter gear. Each section corresponds to a different “virtual” cone distance. The crown data, typically a set of offsets normal to the theoretical straight line tooth trace, is applied by rotating each section profile about an axis through the pitch cone apex. The rotation angle (θ) for a section at a normalized distance (s) from the heel is calculated based on the crown offset value (C_s):
$$
θ(s) = \arctan\left(\frac{C_s}{R_s}\right)
$$
where \( R_s \) is the cone distance at that section. This systematic rotation imparts the desired crowned shape to the tooth surface along its length, which is essential for proper contact localization in a miter gear pair.
Surface and Solid Modeling: After all sectional curves are created and positioned, a lofting or sweeping operation is performed through these curves to generate a smooth, continuous tooth surface. This process is repeated for a single tooth space. The resulting surface body is then patterned circumferentially around the gear axis using the number of teeth \( z \) to create the complete set of tooth spaces. Finally, this surface body is used as a cutting tool to subtract material from a preliminary conical blank, resulting in the precise gear teeth. The conical blank itself can be created parametrically based on the gear’s back cone and face width. The final step involves adding features like mounting bores, keyways, or chamfers as per the product drawing, yielding a complete, manufacturable 3D model of the miter gear.
Program Structure Overview
The entire parametric modeling program follows a logical, linear flow to ensure clarity and maintainability. The high-level structure is summarized below:
| Step | Process | Key Actions |
|---|---|---|
| 1 | Data Input | Launch dialog boxes to collect gear parameters and crown curve data. |
| 2 | Calculation & Validation | Compute all derived dimensions; run error checks on input logic. |
| 3 | Curve Generation | Create involute and transition curves for multiple cross-sections; apply crown rotations. |
| 4 | Surface Modeling | Loft surfaces through section curves; pattern surfaces for all teeth. |
| 5 | Solid Creation | Create basic gear blank; perform boolean subtraction using tooth surfaces. |
| 6 | Data Output | Export key model parameters to a log file for documentation and traceability. |
This structured approach guarantees that any miter gear design, once parameters are defined, can be regenerated instantly and without error, forming a perfect digital twin ready for downstream applications.
Machining Applications Derived from the Parametric Model
The accurate 3D model of the miter gear is not an end in itself but a powerful starting point for various manufacturing processes. Two primary applications are the generation of trimming die profiles for forging and the creation of NC programs for direct machining of the gear or its electrodes.
Trimming Die Curve Generation for Forged Miter Gears
In the context of precision forging, a forged miter gear blank has flash that must be trimmed. The trimming die contour must perfectly match the gear’s root line at the specified trim width. Using the parametric model, this contour can be generated automatically.
The procedure involves creating a conical surface that represents the trim line. An API function is called to create a cone feature. The cone’s apex is at the gear’s virtual apex, its half-angle is derived from the gear’s back cone geometry, and its height is defined by the user-input trim width (which may differ for roughing and finishing trimming stages). The code snippet below illustrates the concept, though in actual implementation it is integrated into the main dialog system for the miter gear.
The trimming cone(s) are then used in a boolean intersection operation with the full gear model. The resulting intersection edge is a 3D space curve defining the exact trim line. For practical 2D wire EDM machining, this 3D curve is projected onto a flat plane perpendicular to the trimming direction, yielding the final 2D machining contour. This automated process eliminates manual drafting errors and ensures perfect correspondence between the forged gear shape and its trimming die, a critical factor for the quality of forged miter gears.
NC Machining and Simulation for Miter Gears
For machining the gear itself (e.g., a forging die cavity or a copper electrode for EDM), the 3D model serves directly as the target geometry for CAM programming. The process typically involves multiple operations: roughing, semi-finishing, finishing, and root cleaning. Ball-nose end mills are commonly used due to their ability to machine complex curved surfaces.
CAM Setup: Within the CAM module, I set up the machining environment by sequentially defining:
- Cutting Tools: Specifying ball-end mills of appropriate diameters and corner radii.
- Geometry: Selecting the miter gear solid as the part body and a stock body representing the raw material (e.g., a block or a pre-formed blank).
- Machining Methods: Defining tolerance levels, stock allowances, and feed/speed strategies for each operation type (roughing, finishing, etc.).
Operation Creation: For each machining step (e.g., rough cavity, finish tooth flank), I create a milling operation (like contour milling or surface milling). In these operations, I specify the cutting tool, the geometric boundaries, the cutting pattern (e.g., zig-zag, spiral), step-over distances, and depth of cut. Special attention is paid to the tool axis orientation; for a miter gear, 3-axis machining is often sufficient, but the tool paths must closely follow the crowned tooth surfaces. The software then calculates the tool trajectories, ensuring they remain within the defined stock and avoid collisions.
Verification via Simulation: Before post-processing, it is imperative to verify the toolpaths. The integrated machining simulation provides a dynamic, graphical representation of the material removal process. I use the “material removal” simulation mode, which shows the stock being cut away layer by layer. After simulation, a comparison function highlights any areas of excess material (remaining stock) or, more critically, gouging (over-cut) into the part model. This virtual verification is essential for preventing costly errors on the actual machine, especially for complex parts like a crowned miter gear.
Post-Processing to G-Code: Once the toolpaths are validated, they are converted into machine-specific G-code. This is done using a post-processor. While generic post-processors for 3-axis mills exist, I always configure or select one that matches the exact syntax and capabilities of the target CNC machine (e.g., Haas, Fanuc, Siemens). The post-processor translates the generic toolpath data into specific codes for spindle speed (S), feed rate (F), tool calls (T), and all movement commands (G00, G01, G02, G03). The final output is a text file of NC code that can be loaded directly into the machine controller. As a final precaution, I recommend running the first part with a significantly reduced feed rate to confirm everything operates as simulated.
Conclusion
The integration of parametric 3D modeling with downstream CAM processes creates a seamless digital thread for miter gear design and manufacture. By developing a robust parametric model that incorporates essential features like crown modification, designers can instantly visualize and analyze any variant of a miter gear. More importantly, this model becomes the single source of truth for manufacturing. It enables the automated generation of precise tooling geometries, such as trimming die curves, and drives the creation of efficient, collision-free NC programs for direct machining. This holistic approach drastically reduces lead times from design to finished product, enhances accuracy, and ensures the functional integrity of the final miter gear assembly. As virtual manufacturing technologies continue to evolve, the depth and automation of such parametric systems will only become more critical for maintaining competitiveness in the production of precision gears.