
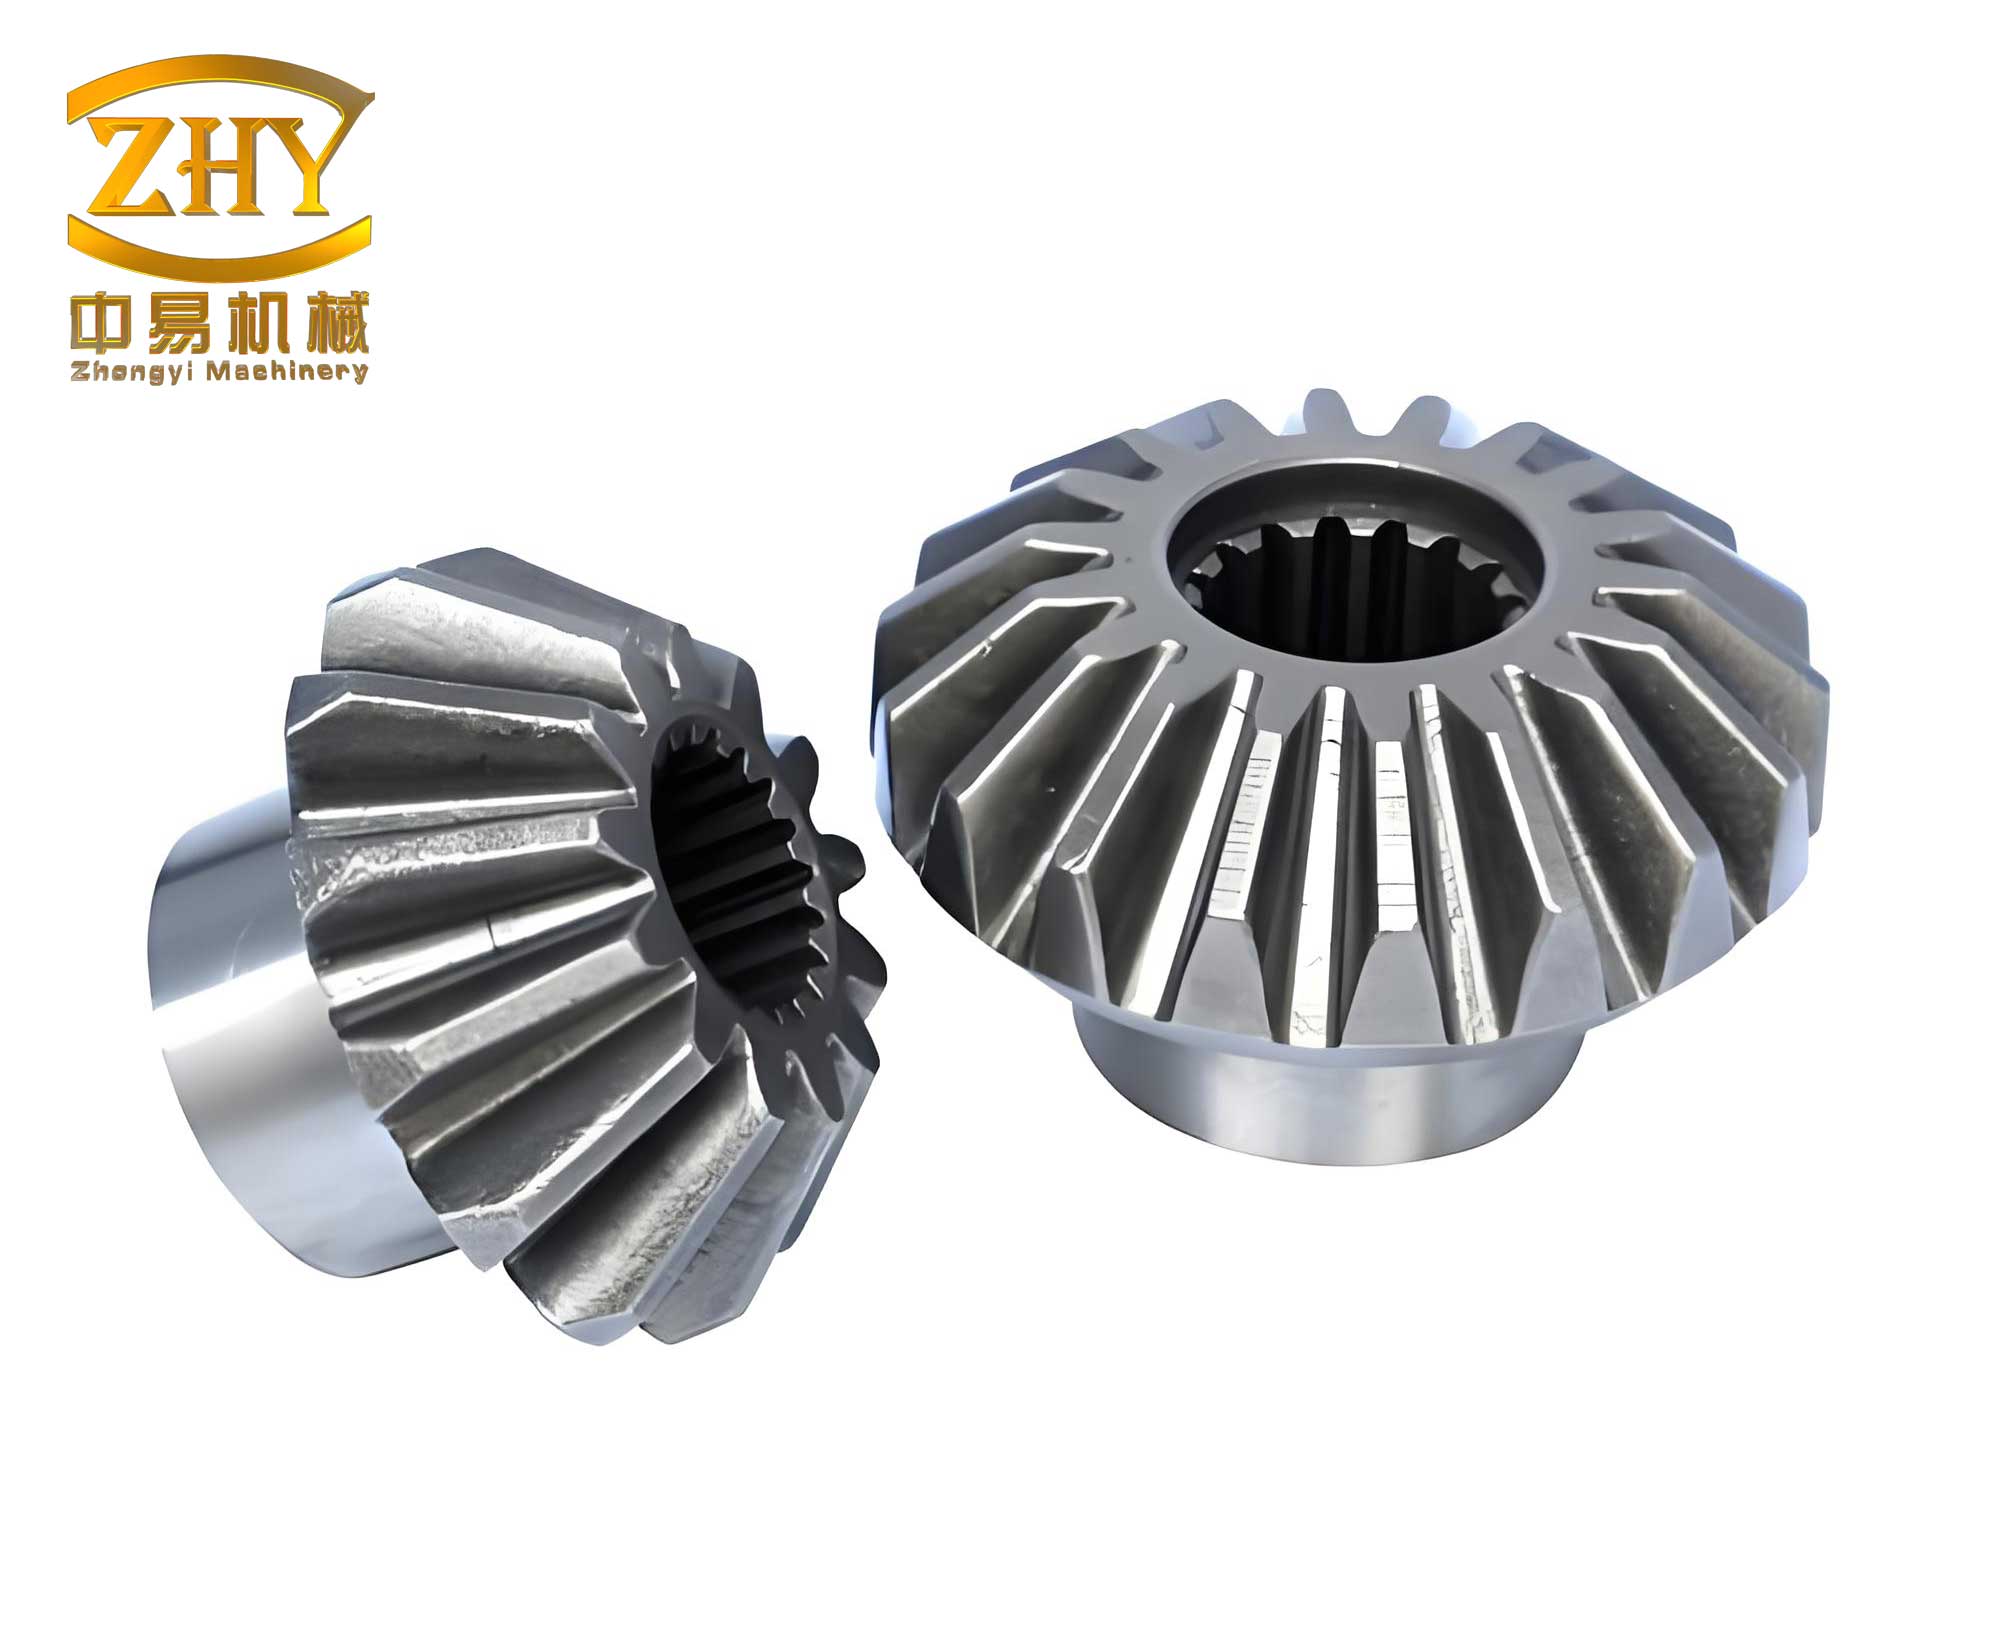
The precise meshing of a bevel gear pair is paramount for efficient power transmission, smooth operation, low noise generation, and extended service life. The most critical and direct indicator of this meshing quality is the contact pattern—the visible imprint left on the tooth flanks during operation. As a mechanical engineer specializing in gear systems, I have found that mastering the interpretation and adjustment of these patterns is often the cornerstone of successful assembly and troubleshooting. This article delves into the principles, methodologies, and practical considerations for adjusting contact patterns on bevel gear assemblies, moving beyond theoretical concepts to hands-on application.
At its core, the contact pattern is the tangible evidence of how two gear teeth share the load. It reveals the composite effect of manufacturing tolerances, assembly misalignments, and elastic deformations under load. We primarily distinguish between two types: the static (or unloaded) contact pattern and the dynamic (or loaded) contact pattern. The static pattern is obtained by lightly rotating the assembled gears under a slight braking force, often using a marking compound like Prussian blue. This pattern serves as an invaluable diagnostic tool during initial assembly and inspection. The dynamic pattern, however, is the true testament to the gear pair’s performance, developed under actual operating loads during a test run. It shows how the contact area expands and shifts due to the elastic deflection of the teeth, shafts, bearings, and housing.
The relationship between static and dynamic patterns is not merely sequential but causal. The static pattern is a controlled starting point we establish during assembly. Its shape, size, and position are deliberately set to anticipate and guide the formation of an optimal dynamic pattern under load. Therefore, the ultimate goal of any adjustment is not a perfect static pattern in isolation, but a static pattern that guarantees a correct and robust dynamic pattern. A well-adjusted pattern should ideally be elliptical, centrally located on the tooth flank, and should expand uniformly under load without migrating to the edges (toe or heel) or the top/bottom of the tooth.
The geometry of a bevel gear mesh is defined by the concept of the pitch cone. In a perfect world, the apexes of the pinion and gear pitch cones coincide at the intersection point of their axes. The installation distance (also called mounting distance) is the axial distance from a defined datums on the gear or pinion shaft to this theoretical apex. In reality, cumulative errors from gear machining, bearing clearances, and housing bore locations prevent the gears from naturally assuming this perfect position. This is where adjustment comes in. The principal method for correcting the mesh is the axial displacement of the pinion and/or the gear, typically achieved by adding or removing shims behind the gear or adjusting a threaded bearing cup. This changes the actual installation distance, moving the gear’s theoretical apex forward or backward along its axis.
Fundamental Principles of Pattern Shift
Understanding how axial movement affects the contact pattern is the key to effective adjustment. The effects follow predictable rules based on the gear’s hand of spiral (left or right) and whether the flank being observed is convex or concave. The change can be analyzed in two directions: along the profile (from tooth root to tip) and along the length (from heel to toe).
When you increase the pinion’s installation distance (moving it further into mesh), its pitch cone apex moves away from the gear. To maintain backlash, the gear must be moved outward by a proportional amount. This relative change effectively alters the local pressure angle and the instantaneous spiral angle at the contact point. The result is a shift of the contact pattern on the pinion tooth towards the root. Simultaneously, the pattern moves along the face width: on the bevel gear‘s concave flank (the driving side for one direction of rotation), it shifts towards the toe (small end); on the convex flank, it shifts towards the heel (large end).
Conversely, decreasing the pinion’s installation distance (moving it out of mesh) shifts the pattern on the pinion tooth towards the tip. On the concave flank, it now shifts towards the heel, and on the convex flank towards the toe. The gear’s movement must compensate to control backlash. This inverse relationship is foundational. The following table summarizes the effect of pinion axial movement for a pinion with a left-hand spiral. (For a right-hand spiral, the face width direction on the convex/concave flips).
| Pinion Movement | Profile Direction (Pinion Tooth) | Face Width Direction (Concave Flank) | Face Width Direction (Convex Flank) |
|---|---|---|---|
| Increase Install Distance (In) | Towards Root | Towards Toe | Towards Heel |
| Decrease Install Distance (Out) | Towards Tip | Towards Heel | Towards Toe |
The magnitude of the shift can be approximated if the gear geometry is known. The change in the pattern’s center along the profile is roughly proportional to the axial movement times the tangent of the mean pressure angle. The shift along the face width relates to the change in the effective spiral angle. While exact calculations require sophisticated bevel gear software, a useful rule of thumb is the “Ratio Rule.” The required adjustment on the gear is approximately proportional to the ratio of the number of teeth:
$$ \Delta G \approx -\Delta P \times \frac{N_g}{N_p} $$
where $\Delta G$ is the gear adjustment, $\Delta P$ is the pinion adjustment, $N_g$ is the number of gear teeth, and $N_p$ is the number of pinion teeth. The negative sign indicates opposite directions of movement to maintain a nominal backlash. For instance, moving the pinion 0.1mm into mesh on a 4:1 ratio gear set requires moving the gear approximately 0.4mm out of mesh.
The Adjustment Procedure: From Static to Dynamic
The practical adjustment process is iterative and requires a systematic approach. It begins with achieving a target static pattern. Without sophisticated measuring fixtures, the trial-and-error method with shims is common. Start with shims calculated from nominal installation distances. Apply a thin, uniform layer of marking paste to the pinion teeth, rotate the gears under light drag, and observe the pattern on the gear teeth.
The ideal initial static pattern is not necessarily a large, central blotch. For a gearset designed to carry significant load, the static pattern should be somewhat smaller and positioned to allow for predictable growth under load. A common target is a pattern centered slightly towards the toe on the concave flank and slightly towards the heel on the convex flank, occupying about 30-50% of the face width and 40-60% of the tooth height. This provides a “reserve” for the pattern to expand into under torque without running off the edges.
Once a satisfactory static pattern is achieved, along with an acceptable backlash (which must always be checked and maintained during adjustment), the assembly proceeds to a loaded test. The dynamic pattern developed after this test is the final judge. If the dynamic pattern is optimal—full, elliptical, and centered—the adjustment is correct. If it is suboptimal, we must interpret its deviation and plan a corrective adjustment.
Dynamic pattern faults typically manifest as patterns that have expanded to the very edge of the tooth, become biased, or developed a “diagonal” orientation. For example, if the dynamic pattern runs off the toe, it indicates the static pattern was too far towards the toe and/or the load-induced deflection exacerbated this trend. The corrective action would involve shifting the static pattern towards the heel before the next test, following the principles in the table above. This is a cyclical process of prediction, test, and correction.
Analyzing and Correcting Faulty Patterns
Not all pattern faults are solvable by simple axial adjustment. Some indicate inherent manufacturing errors in the bevel gear teeth themselves. It is crucial to diagnose these correctly to avoid futile adjustment attempts.
- Diagonal Contact: This is a pattern that runs from one corner of the tooth to the opposite corner (e.g., from heel at the root to toe at the tip). Minor diagonal contact can sometimes “wear in” during initial operation. Significant diagonal contact usually stems from mismatched curvature between the mating flanks due to machine setup errors during cutting or grinding. It often requires gear rework or selective matching of components.
- Top-and-Root Contact (Bias): If one flank contacts near the top and the opposite flank contacts near the root, while backlash is correct, it indicates an error in pressure angle or mismatched tooth thickness. This cannot be fixed by axial adjustment and points to a gear manufacturing issue.
- Heel or Toe Bias on Both Flanks: If the pattern is consistently at the heel (or toe) on both the concave and convex sides, it suggests an error in the spiral angle. Again, this is a manufacturing problem, not an assembly one.
The following table provides a quick diagnostic guide for common static pattern issues and their likely solutions through adjustment, assuming the gears themselves are correctly manufactured.
| Observed Static Pattern Fault | Likely Cause (Assembly) | Corrective Adjustment |
|---|---|---|
| Pattern too close to Toe on Concave flank | Pinion too far “In” or Gear too far “Out” | Move Pinion “Out” / Move Gear “In” |
| Pattern too close to Heel on Concave flank | Pinion too far “Out” or Gear too far “In” | Move Pinion “In” / Move Gear “Out” |
| Pattern too high (near Tip) on tooth | Pinion too far “Out” or Gear too far “In” | Move Pinion “In” / Move Gear “Out” |
| Pattern too low (near Root) on tooth | Pinion too far “In” or Gear too far “Out” | Move Pinion “Out” / Move Gear “In” |
| Pattern too small, high and at Heel | Excessive backlash, gears too far apart | Move both gears axially into mesh (reduce backlash) |
| Pattern too large, spanning off edges | Insufficient backlash, gears too deep into mesh | Move both gears axially out of mesh (increase backlash) |
Quantitative Considerations and System Deflection
Advanced adjustment requires thinking in terms of the entire system’s stiffness. The dynamic pattern is the result of the static position plus the system deflection under load. This deflection ($\delta$) can be modeled as a function of applied torque ($T$), the system’s torsional stiffness ($k$), and the geometric conversion from angular displacement to linear pattern shift. A simplified view of the total effective axial displacement ($\Delta_{total}$) of a gear under load can be expressed as:
$$ \Delta_{total} = \Delta_{shim} + \delta(T, k_{system}) $$
where $\Delta_{shim}$ is the physical shim adjustment we make. The deflection term $\delta$ includes contributions from: gear tooth bending, shaft wind-up, bearing clearance take-up, and housing distortion. For high-precision applications like aerospace transmissions, this is analyzed using Finite Element Analysis (FEA) to predict the loaded contact pattern virtually. This allows engineers to pre-calculate a “pre-deflected” static position. For instance, if analysis shows the housing will “bow” under load, pulling the gears 0.05mm apart at the heel, the static pattern might be deliberately biased 0.05mm towards the heel so that under load, it shifts to the center.
Another critical formula is the relationship between axial movement ($\Delta A$), the resulting change in backlash ($\Delta B$), and the gear geometry. For a 90-degree shaft angle, the approximate relationship is:
$$ \Delta B \approx 2 \cdot \Delta A \cdot \tan(\alpha) \cdot \sin(\gamma) $$
where $\alpha$ is the pressure angle and $\gamma$ is the pitch cone angle of the gear being moved. This highlights why backlash must be constantly monitored during pattern adjustment—every axial change affects it directly.
Practical Workflow and Best Practices
Based on extensive hands-on experience, I recommend the following workflow for adjusting a new bevel gear set in a critical application:
- Preparation: Clean all components thoroughly. Verify bearing preloads are correctly set before installing gears, as this affects axial positioning.
- Initial Assembly: Install gears with shims based on nominal print dimensions or supplier recommendations. Measure and record actual installation distances if possible.
- First Static Pattern & Backlash Check: Take a pattern and measure backlash at several positions. This initial reading is the baseline.
- Diagnosis & Plan: Compare the static pattern to the blueprint specification or known-good standard. Determine the required axial shift(s) using the established rules. Calculate the necessary shim change, remembering the ratio rule for backlash compensation.
- Execute Adjustment: Change shims on the pinion, gear, or both. Reassemble and measure backlash to confirm it’s still within tolerance.
- Verification Pattern: Take a new static pattern. Iterate steps 4-6 until the static pattern meets the pre-defined target.
- Dynamic Test: Conduct a controlled, loaded test run (e.g., in a test rig or light break-in). This is essential.
- Final Evaluation: Inspect the dynamic pattern. If acceptable, the process is complete. If not, analyze the pattern’s deviation from ideal, determine the necessary correction to the *static* starting point, and repeat from step 4. Document all shim sizes, patterns, and backlash values at each stage.
Successful adjustment of bevel gear contact patterns is a blend of science, empirical rules, and practiced skill. It requires a deep understanding of gear geometry, a methodical approach to diagnosis, and respect for the interplay between static assembly and dynamic performance. By systematically applying the principles of pattern shift, quantitatively managing backlash, and accounting for system deflection, engineers can consistently achieve the smooth, quiet, and reliable operation that defines a perfectly meshed bevel gear drive.