
In my years of working on tractor powertrain assembly and process engineering, few tasks demand the blend of theoretical precision and practical finesse as the selection of shim packs for the bevel gear shaft, often called the pinion shaft. This component is the heart of the tractor’s rear axle housing, responsible for redirecting engine torque by 90 degrees through a hypoid or spiral bevel gear set to the driving wheels. The longevity, noise performance, and power transmission efficiency of the entire driveline hinge on the correct meshing pattern and bearing preload of this bevel gear pair. For high-volume production lines, dedicated, automated shim selection machines are the standard. However, these complex systems are notoriously inflexible. When developing new tractor models or dealing with low-volume, specialized builds, these machines become obsolete. The alternative—manual trial-and-error shimming—is time-consuming, costly, and risks damaging precision components like bearings through repeated assembly and disassembly. This reality compelled me to design, develop, and implement a universal, manual detection device. This article details the structure, operational principles, and dimensional chain analysis of this apparatus, which has proven indispensable for prototype and low-volume assembly.
The fundamental challenge lies in controlling two critical dimensions independently. First is the bevel gear installation distance (often denoted as L7). This is the axial distance from the pinion gear’s theoretical pitch cone apex to a specific mounting surface on its back face. Any deviation from the design specification directly corrupts the tooth contact pattern, leading to localized high stress, noise, and premature failure. The second is the bearing preload for the pair of tapered roller bearings supporting the pinion shaft. Correct preload eliminates internal bearing clearance, ensures proper load distribution among rolling elements, and maintains shaft positioning under load, directly impacting bearing life and system rigidity. Both are adjusted using shims of varying thicknesses placed at specific locations in the assembly stack.
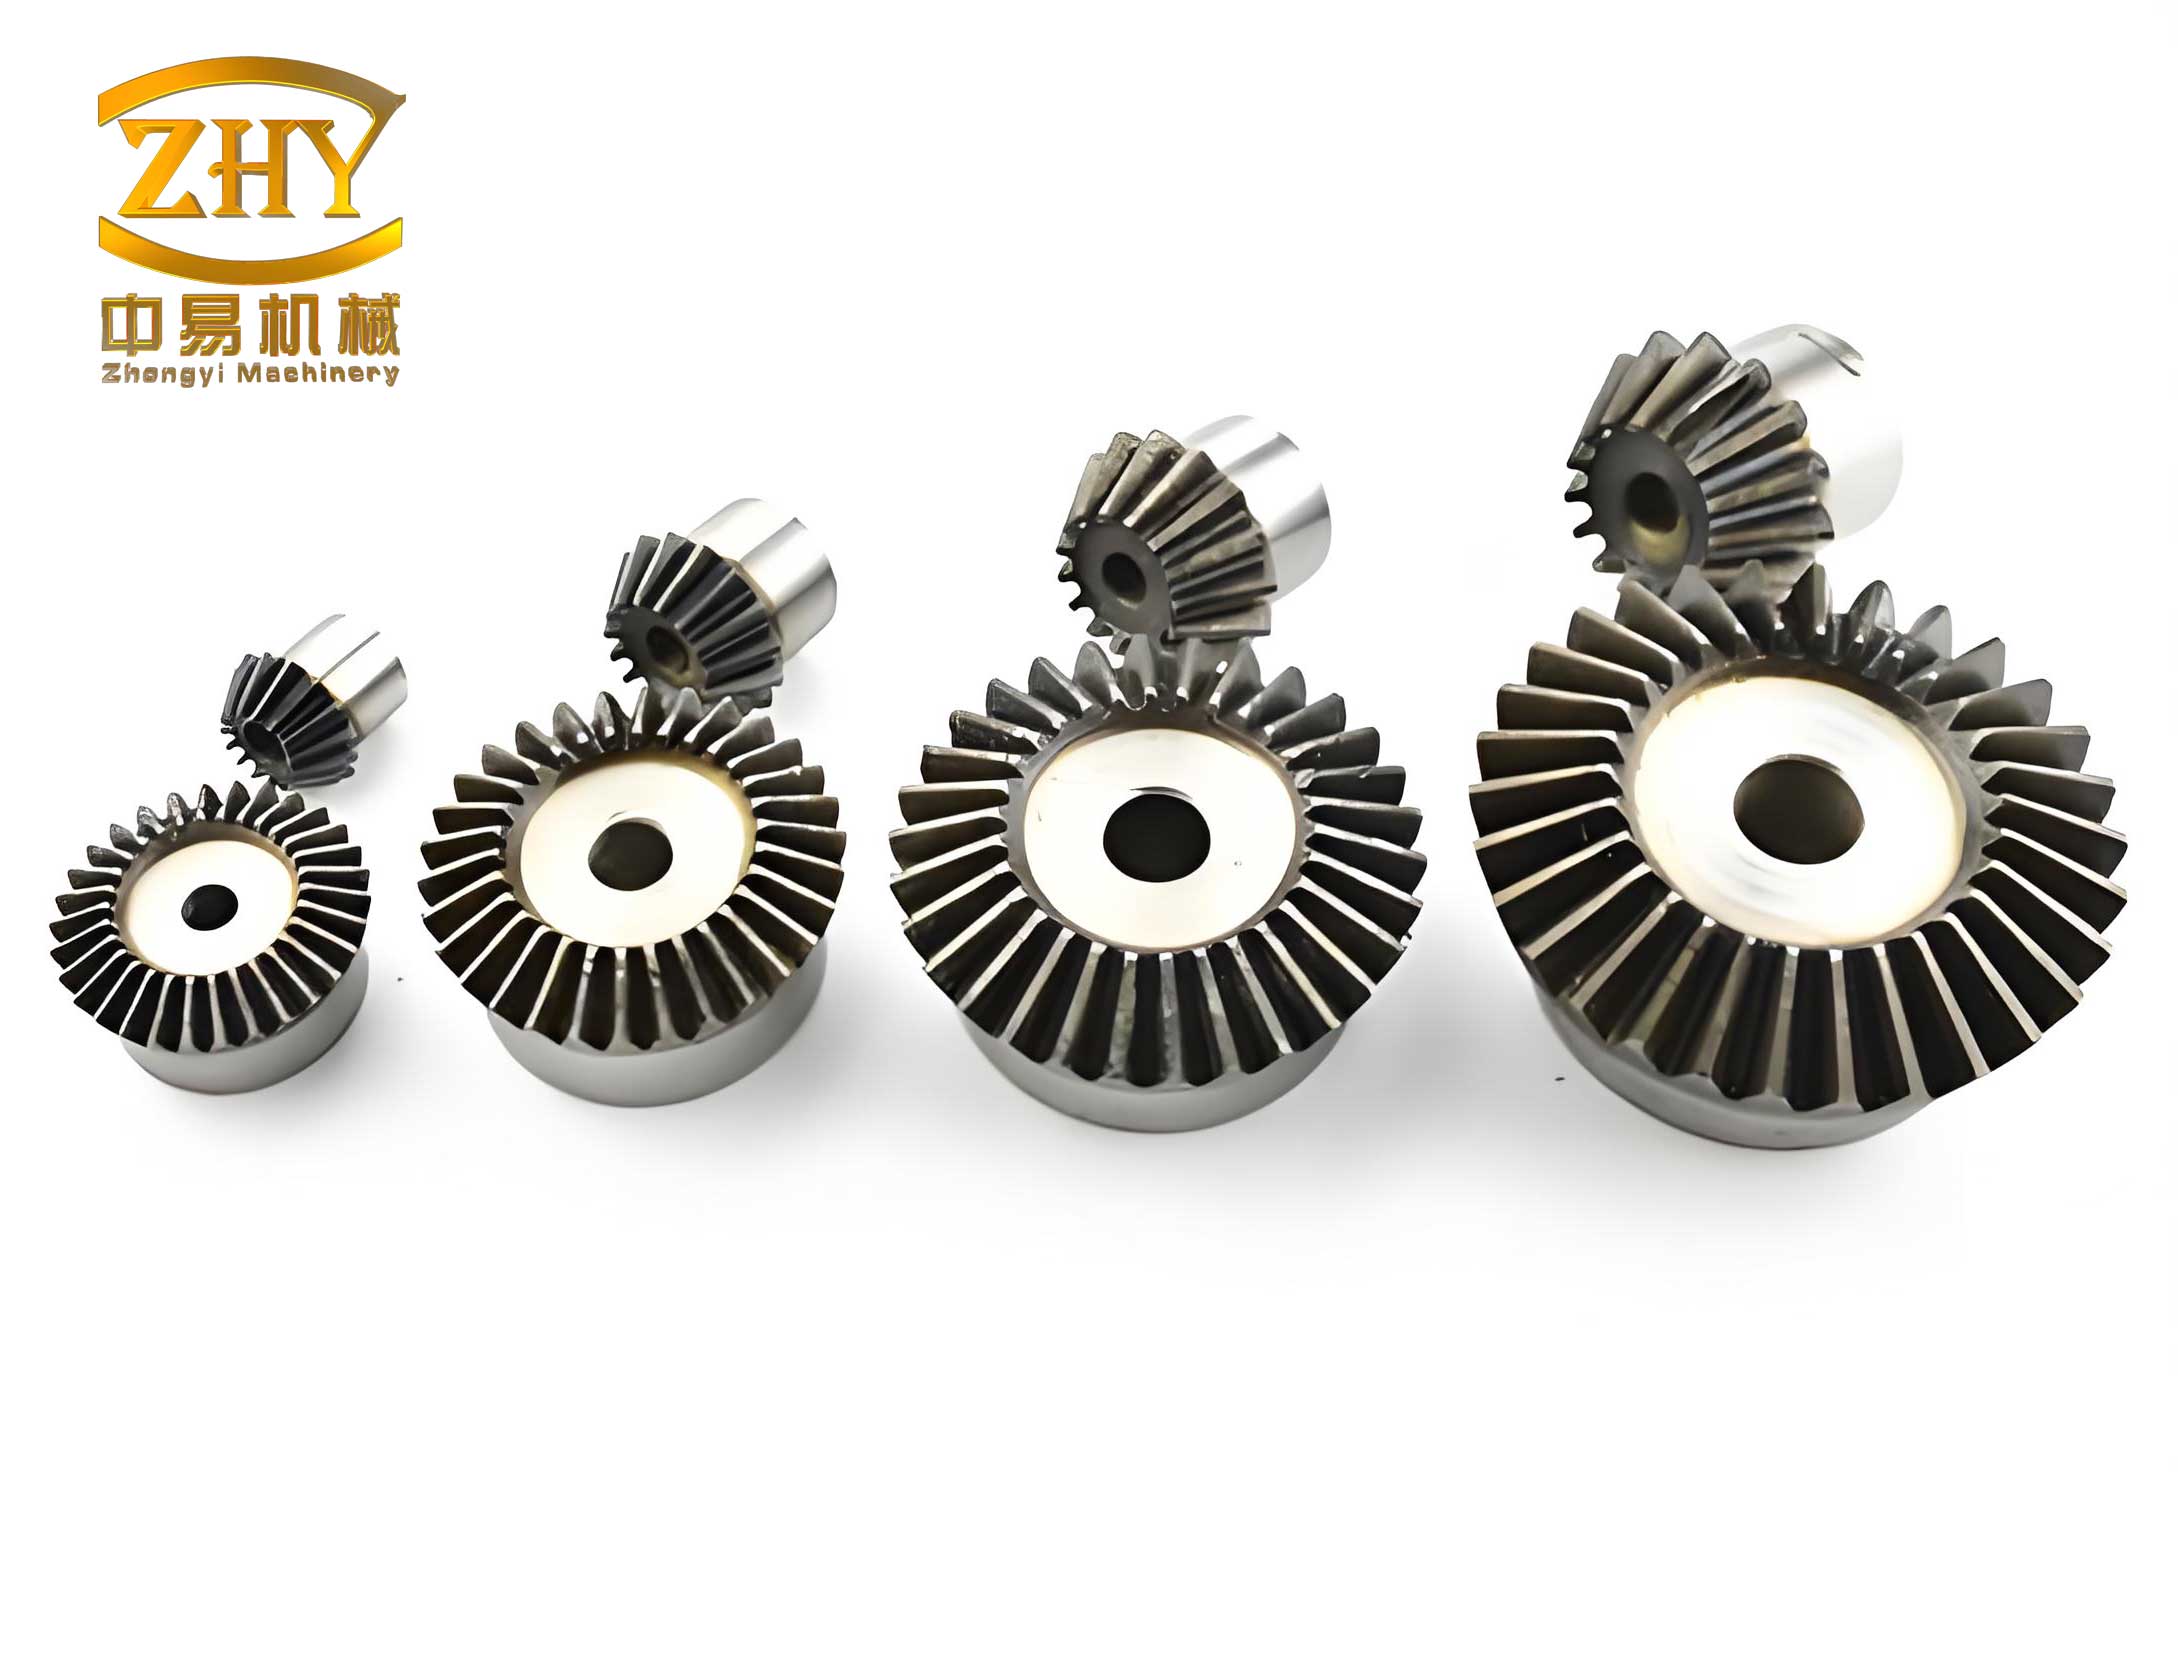
The automated machines used in mass production work on a differential measurement principle. They first measure the actual geometry of the axle housing’s bore and the assembled pinion bearing cartridge, then compute the required shim thicknesses. While accurate, their programming is fixed for a known component set. Introducing a new housing design, a different bevel gear set with a unique installation distance, or altered bearing specifications renders them useless. The manual method involves assembling the pinion shaft with an estimated shim pack, installing it in the housing with the crown wheel (the larger bevel gear), checking the contact pattern with Prussian blue, disassembling, adjusting shims, and repeating until satisfactory. A single iteration can take 30-60 minutes, and multiple iterations are common, leading to unacceptable delays in development cycles.
My design philosophy was to create a modular, mechanical fixture that simulates the critical interfaces of the actual pinion shaft assembly but allows for non-destructive, direct measurement of the required dimensions. The device consists of four main sub-assemblies, each serving a distinct purpose in replicating the assembly conditions and facilitating measurement.
1. The Simulated Pinion Shaft Assembly (Component ‘a’): This is not part of the tooling but represents the final product. It comprises the pinion shaft (with the small bevel gear), front and rear tapered roller bearings (inner and outer races), spacers, the PTO drive gear, and the two shim packs in question: the installation distance shim and the bearing preload shim.
2. The Detection Mandrel Assembly (Component ‘b’): This is the core of the device. It replaces the actual pinion shaft during measurement. Key elements include:
– A precision-ground detection mandrel that mimics the pinion shaft’s bearing journals.
– A process sleeve that fits into the rear bearing bore of the axle housing, simulating the rear bearing outer race’s position. Its length (L6) is machined to a calculated theoretical value.
– Standard, precision-ground spacers (L4) that replace the variable-length spacers and shims in the final assembly.
– Dummy front and rear bearing inner races that slide onto the mandrel.
– A threaded locknut and a stop plate to clamp the assembly.
– A plug inserted into the end of the mandrel, providing a clean, perpendicular measurement surface.
3. The Dial Indicator Bridge Assembly (Component ‘c’): This is a measuring probe. It consists of a shaft that fits into the hollow center of the detection mandrel, a rigid bridge that spans across, and a dial indicator mounted on this bridge. Its purpose is to measure axial runout, which translates into shim thickness requirements.
4. The Welded Reference Mandrel Assembly (Component ‘d’): This establishes a fixed, accurate datum within the axle housing. It includes:
– A mandrel that fits snugly into the differential carrier bearing bores (where the crown wheel assembly sits).
– A positioning block attached perpendicular to the mandrel. The distance from this block’s measurement face to the mandrel’s central axis (L1) is machined with high precision.
– Locking handles and nylon guide pins to ensure repeatable positioning in the housing.
The measurement procedure is a two-step sequence: first for the installation distance shim (S), then for the bearing preload shim (Sp).
Step 1: Measuring for the Installation Distance Shim (S)
1. Install the Detection Mandrel Assembly (b) into the axle housing, torquing the locknut to a standard value.
2. Install the Welded Reference Mandrel Assembly (d) into the differential bores, ensuring the positioning block is oriented correctly and locked.
3. Using a depth micrometer, measure the distance from the face of the positioning block to the face of the plug on the detection mandrel. This measured value is L0.
The underlying dimensional chain is crucial. We are essentially measuring the axial gap that the installation distance shim must fill. The relationship between all components is derived from the closed loop of dimensions. The required shim thickness S is found from the following equation, where all “L” values are specific axial distances:
$$ S + L_7 + L_8 = L_0 – L_1 + L_2 + L_3 + L_8 $$
Where:
– \( S \): The required thickness of the installation distance shim (the unknown).
– \( L_7 \): The design installation distance for the specific bevel gear set (marked on the gear or from drawing).
– \( L_0 \): The measured distance (Block face to Plug face).
– \( L_1 \): The manufactured distance from the positioning block face to the reference mandrel axis (a constant for the tool).
– \( L_2 \): The manufactured distance from the plug face to the mandrel’s rear bearing seat shoulder (a constant for the tool).
– \( L_3 \): The manufactured length of the process sleeve (a constant for the tool).
– \( L_8 \): The axial thickness of the rear bearing inner race (cancels out in the equation).
Solving for S, the equation simplifies beautifully:
$$ S = L_0 – L_1 + L_2 + L_3 – L_7 $$
Since \( L_1 \), \( L_2 \), and \( L_3 \) are precisely known constants of the detection device, and \( L_7 \) is a known constant for the gearset, the calculation in practice becomes \( S = L_0 – C \), where C is a single consolidated constant for that specific tool-and-gearset combination. This makes the selection process fast and operator-friendly.
Step 2: Measuring for the Bearing Preload Shim (Sp)
1. With the detection mandrel still installed in the housing, insert the Dial Indicator Bridge (c). Set the dial indicator to bear on the stop plate with ~3mm of pre-travel and zero it.
2. Rotate the entire bridge assembly one full revolution. Record the maximum and minimum dial indicator readings and compute the average. This value, \( S_1 \), represents the combined axial “play” or positional variation of the simulated bearing stack within the housing.
3. Remove all tooling from the housing. Assemble the key pinion shaft components (the two bearing inner races, the standard spacers, the PTO gear) onto the detection mandrel on the bench, using the same locknut and stop plate. Tighten the locknut.
4. Again, use the dial indicator bridge on this bench assembly. Rotate and record the average dial indicator reading, \( S_2 \). This represents the axial “stack height” variation of the components themselves.
5. The required preload shim thickness \( S_p \) is calculated to compensate for the difference between the housing assembly variation and the component stack variation, adjusted for the theoretical shim sizes designed into the tool constants.
The formula for the preload shim is:
$$ S_p = S_1 – S_2 + (S_{a} – S) + S_{b} $$
Where:
– \( S_1 \): Average dial reading from the housing assembly (Step 2.2).
– \( S_2 \): Average dial reading from the bench assembly (Step 2.4).
– \( S \): The actually measured installation distance shim thickness from Step 1.
– \( S_a \): The theoretical installation distance shim thickness used to design the process sleeve length L6 (\( L_6 = L_5 + S_a \)).
– \( S_b \): The theoretical bearing preload shim thickness used to design the standard spacer length L4 (\( L_4 = L_5 + S_b \)).
– \( L_5 \): A base design dimension.
This calculation ensures that the final preload shim correctly positions the bearing inner races to achieve the designed interference, regardless of the actual installation distance shim used or the component stack tolerances.
| Measurement Stage | Measured Value | Represents | Tooling Used |
|---|---|---|---|
| Installation Distance | L0 (via depth mic) | Gap in housing for shim ‘S’ | Detection Mandrel (b), Reference Mandrel (d) |
| Bearing Stack in Housing | S1 (via dial indicator) | Total axial variance of simulated assembly in situ | Detection Mandrel (b), Dial Indicator (c) |
| Component Stack on Bench | S2 (via dial indicator) | Axial variance of parts (bearings, spacers, gear) | Detection Mandrel (b), Dial Indicator (c) |
The beauty of this system lies in its decoupling of measurements. The installation distance is determined purely by geometric relationships using the reference mandrel as a datum, independent of bearing preload. The preload shim calculation then uses differential measurements to cancel out systematic errors, accounting for the specific stack-up of the actual parts being used. The following table summarizes the key dimensional constants and their role:
| Symbol | Description | Nature | Source / Determination |
|---|---|---|---|
| L1 | Block face to Reference Axis | Tooling Constant (Precision Machined) | Manufacturing drawing of Welded Mandrel (d) |
| L2 | Plug face to Bearing Seat | Tooling Constant (Precision Machined) | Manufacturing drawing of Detection Mandrel (b) |
| L3 | Process Sleeve Length | Tooling Constant (Precision Machined) | Manufacturing drawing of Process Sleeve |
| L7 | Bevel Gear Installation Distance | Product Design Constant | Gearset drawing or marking on pinion gear |
| Sa | Theoretical Install. Shim Thickness | Design Constant for Tool | Derived from nominal assembly stack-up |
| Sb | Theoretical Preload Shim Thickness | Design Constant for Tool | Derived from nominal bearing preload requirement |
Implementing this device for new tractor model development yielded transformative results. The most significant impact was the drastic reduction in iterative assembly cycles. Previously, achieving the correct bevel gear contact pattern and preload could require 3-4 complete teardowns and rebuilds per axle. With this detection device, the correct shim pack is determined before the final assembly, reducing the disassembly-reassembly iterations to nearly zero. The time spent on the shim selection process itself was halved, from approximately 60 minutes per unit to 30 minutes, representing a 100% improvement in operational efficiency for this critical path task.
Furthermore, the quality and consistency of the assembly improved. By eliminating forced removal and re-installation of press-fit bearing races, the risk of damaging these expensive, high-precision components was minimized. This leads to more reliable bearing performance and longevity in the field. The device also democratized the process; it no longer required the intuition of a highly experienced assembler but could be reliably operated by trained technicians following the standardized procedure, reducing variability between assemblers.
While the device is highly effective, its accuracy is subject to certain factors. The precision of the machined tooling constants (L1, L2, L3) is paramount. Wear on the detection mandrel’s bearing journals or the reference mandrel’s locating surfaces must be periodically checked and managed. The dial indicator measurements (S1, S2) are sensitive to the operator’s technique in achieving consistent contact pressure and rotation. Environmental factors like temperature can theoretically affect metal dimensions, though in a controlled workshop this is a minor concern. A formal analysis of potential error contributors is essential for understanding the capability of the system.
| Error Source | Potential Impact on Shim Calculation | Mitigation Strategy |
|---|---|---|
| Machining Tolerance of L1, L2, L3 | Direct systematic error in S and Sp. | Use high-precision machining (IT6/IT7 grade). Regular calibration against master gauges. |
| Wear on Tooling Locating Surfaces | Introduces drift in measurements over time. | Implement preventive maintenance schedule. Use hardened and ground surfaces for wear parts. |
| Dial Indicator Repeatability & Operator Skill | Random error in S1 and S2, affecting Sp. | Use high-quality metrology tools. Standardize operator training and procedure (e.g., rotation speed, pre-load). |
| Cleanliness of Housing & Tooling | Debris can falsely increase L0 or affect S1/S2. | Enforce strict cleaning protocols for both parts and tools before measurement. |
The mathematical model can also be extended to perform sensitivity analysis. For instance, to see how a variation in the measured L0 (\(\Delta L_0\)) affects the selected shim thickness S:
$$ \Delta S = \Delta L_0 $$
This shows a direct 1:1 relationship; a 0.01mm error in measuring L0 translates directly to a 0.01mm error in shim thickness S. Similarly, the impact on the preload shim from errors in S1 and S2 is:
$$ \Delta S_p = \Delta S_1 – \Delta S_2 $$
This differential nature can be beneficial, as common-mode errors (e.g., a slight bias in how the dial indicator is read) may partially cancel out when calculating Sp.
In practice, after selecting shims using this device and performing the final assembly, a final verification is always conducted. This includes a physical check of the bearing rotational torque (for preload) and applying marking compound to the bevel gear teeth to verify the contact pattern under light load. In over 95% of applications, the shims selected by the device yield optimal results on the first attempt. The remaining cases typically require only a minor, single-step adjustment (e.g., changing the preload shim by 0.05mm), validating the device’s robustness. The table below contrasts the outcomes before and after implementation:
| Performance Metric | Traditional Trial-and-Error Method | Using the Detection Device | Improvement |
|---|---|---|---|
| Average Number of Disassembly Cycles | 3 – 4 | 0.1 (One adjustment rarely needed) | ~95% Reduction |
| Time per Unit for Shim Selection/Adjustment | 50 – 70 minutes | 25 – 35 minutes | ~50% Reduction (100% Efficiency Gain) |
| Risk of Bearing Damage during fitting | High (due to multiple press fits) | Very Low | Significant Risk Mitigation |
| Dependence on Operator Expertise | Very High | Moderate (Procedure-driven) | Improved Standardization |
| First-Pass Success Rate for Gear Pattern | < 20% | > 95% | Dramatic Increase |
In conclusion, the development of this manual detection device addresses a critical gap in flexible manufacturing and prototype development for tractor powertrains. By applying fundamental principles of dimensional metrology and closed-loop dimensional chain analysis, it provides a reliable, efficient, and cost-effective method for selecting the vital shim packs for the bevel gear shaft assembly. The device translates the complex, interdependent requirements of bevel gear meshing and bearing preload into a series of simple, sequential mechanical measurements. The formulas $$ S = L_0 – L_1 + L_2 + L_3 – L_7 $$ and $$ S_p = S_1 – S_2 + (S_{a} – S) + S_{b} $$ are the mathematical heart of the process, elegantly accounting for both product design constants and the inevitable variations in manufactured components. Beyond the direct time and cost savings, its greatest value may lie in enabling faster, more confident development cycles for new tractor models, ensuring that from the very first prototype, the crucial final drive bevel gear system is assembled with precision, setting the stage for optimal performance and durability.