
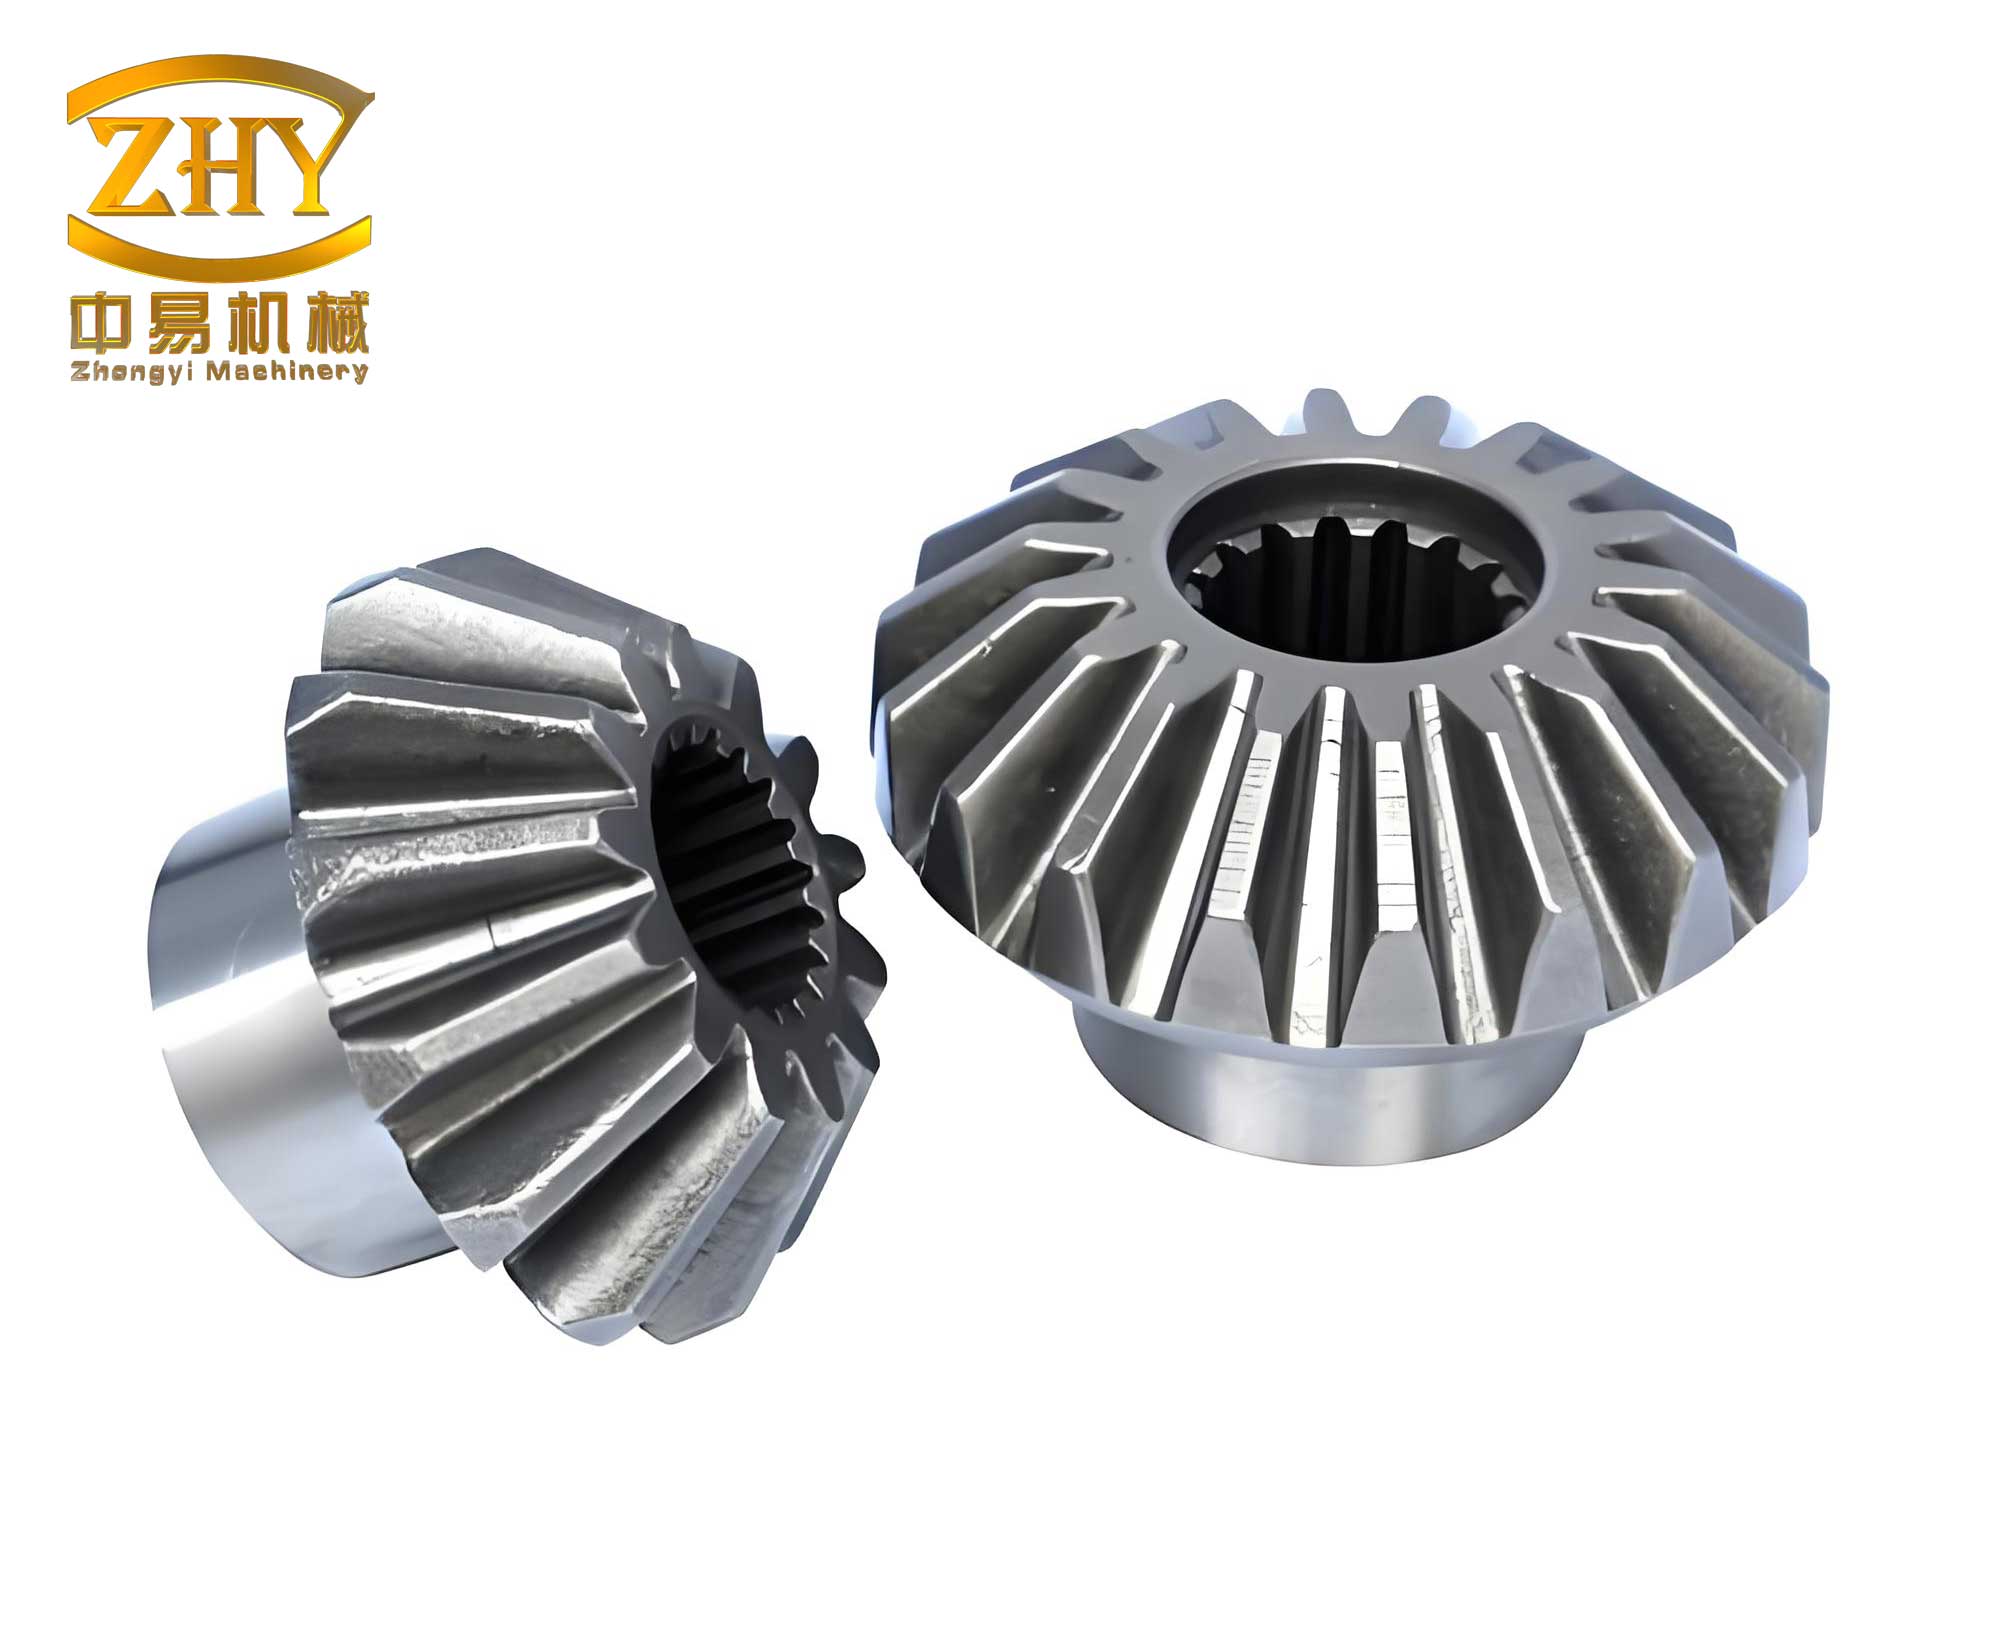
The drivetrain forms the core of a tractor’s power transmission system, with the rear axle housing assembly playing a pivotal role. Within this assembly, a pair of bevel gears, specifically spiral bevel gears, is responsible for redirecting the engine’s power to the drive wheels and providing speed reduction with increased torque. The accurate selection of adjustment gaskets for the pinion shaft (the small bevel gear shaft) is a critical assembly operation. Two types of gaskets are crucial: the bearing preload adjustment gasket and the pinion installation distance (aka “pinion depth”) adjustment gasket. The latter directly determines the contact pattern between the ring and pinion bevel gears, which is fundamental for ensuring smooth, quiet, and durable operation, preventing catastrophic failures like tooth breakage. The former ensures the correct axial preload on the tapered roller bearings, directly impacting their reliability and service life.
In high-volume production lines for established tractor models, automated, in-line gasket selection machines are typically employed. These sophisticated systems measure specific dimensions on the housing and the pinion shaft sub-assembly and compute the required gasket thicknesses automatically. While efficient for mass production, this approach lacks the flexibility needed for new product development, pilot production runs, or low-volume special models. The fixed programming and fixturing of automated machines cannot adapt to the varied geometries of new or prototype rear axle housings and pinion configurations.
In the absence of suitable dedicated equipment, technicians traditionally resort to a trial-and-error method. This involves repeatedly assembling the pinion shaft with estimated gaskets, checking the bearing preload and gear contact pattern, disassembling, changing gaskets, and reassembling until specifications are met. This process is not only time-consuming and labor-intensive but also poses significant risks. Repeated disassembly and reassembly, especially involving press-fit components like bearings, can damage precision surfaces, degrade part quality, and introduce inconsistencies. Therefore, there is a pressing need for a versatile, reliable, and simple inspection device that can accurately determine the required gasket thicknesses without repeated assembly cycles, specifically tailored for the dynamic environment of new product development.
Driven by this need, we designed and developed a dedicated inspection device. Our primary objective was to create a tool that is structurally simple, easy to operate, and universally adaptable across different tractor models undergoing testing and pilot assembly. The device operates on fundamental measurement principles and dimensional chain analysis, eliminating dependency on complex electronics or model-specific programming.
Structural Composition of the Inspection Device
The complete inspection device is a system comprising four main assemblies that work in concert to simulate the installed condition of the pinion shaft and facilitate precise measurements. The core concept involves replacing the actual pinion shaft assembly with a simulated measurement shaft and using reference fixtures to establish critical datums.
The four key assemblies are:
- Pinion Gear Shaft Assembly (The Target): This is the actual production component whose gaskets need selection. It consists of the pinion shaft, front and rear tapered roller bearings, various spacers, the transfer case drive gear, and the adjustment gaskets themselves. The device’s purpose is to determine the correct thickness for the installation distance gasket (Item 6) and the bearing preload gasket (Item 11).
- Inspection Mandrel Assembly (The Simulator): This assembly acts as a substitute for the actual pinion shaft during measurement. Its central component is a precision machined mandrel. The rear bearing cone (inner ring) is fitted onto this mandrel with a slight clearance for easy removal. A custom process sleeve houses the rear bearing cup (outer ring) and interfaces with the rear axle housing bore. The front bearing cup is installed directly into the housing. A standard spacer of known length, a retaining washer, and a locknut are then assembled onto the front end of the mandrel. Finally, a precision-machined plug is attached to the rear end of the mandrel, providing the critical measurement surface for determining the installation distance.
- Dial Indicator Fixture Assembly (The Preload Measurer): This is a tool for measuring axial runout, which correlates to the combined stack height of bearings and spacers. It consists of a connecting shaft that fits into the bore of the inspection mandrel and a pivoting arm that holds a dial indicator. The indicator’s tip contacts the retaining washer on the inspection mandrel assembly.
- Welded Mandrel Assembly (The Datum Fixture): This fixture establishes a fixed, repeatable datum line corresponding to the axis of the differential (ring gear) bearings in the housing. It consists of a shaft that fits into the differential bearing bores. A positioning block is precisely attached perpendicular to this shaft. The block has a hole for inserting a depth gauge. The entire fixture is secured to the housing using existing threaded holes and a dedicated clamping mechanism with a positioning handle and nylon guide pins to ensure consistent orientation (positioning block facing directly rearward).
The interaction and functional roles of these assemblies are summarized in the table below:
| Assembly | Primary Function | Key Components |
|---|---|---|
| Inspection Mandrel | Simulates pinion shaft; provides measurement surfaces for depth gauge and dial indicator. | Precision mandrel, process sleeve, standard spacer, plug, locknut. |
| Welded Mandrel | Establishes a fixed datum line (differential axis) in the housing for reference measurements. | Shaft, positioning block, clamping/locking mechanism. |
| Dial Indicator Fixture | Measures axial stack height/variation to calculate bearing preload gasket thickness. | Connecting shaft, pivoting arm, dial indicator. |
Measurement Principles and Dimensional Analysis
The operation of the device hinges on the precise application of dimensional chain analysis. We measure specific distances using standard tools (depth gauge, dial indicator) and, by incorporating known design constants and the device’s own calibrated dimensions, we solve for the unknown gasket thicknesses.
1. Principle for Measuring Pinion Installation Distance Gasket Thickness (S)
The pinion installation distance, often stamped on the pinion head, is the theoretical distance from the pinion gear’s axis-cone apex (the “pitch line intersection”) to the face of the rear bearing cone. Our goal is to select a gasket (thickness S) that ensures this theoretical distance is achieved when the actual pinion shaft is assembled into the housing.
The measurement setup involves installing the Inspection Mandrel Assembly into the housing and securely tightening its locknut to simulate a fully seated bearing condition. The Welded Mandrel Assembly is then installed and locked in place, with its positioning block oriented correctly.
A depth gauge is inserted through the hole in the positioning block until it contacts the end face of the plug on the Inspection Mandrel. The reading gives us a direct measurement, which we denote as $L_0$.
We can now construct a dimensional chain. The total measured distance $L_0$ must equal the sum of several constituent dimensions along the same line of action. Let’s define these dimensions:
- $L_0$: Measured distance from Positioning Block face to Plug face.
- $L_1$: Known, constant manufacturing distance from Positioning Block face to the central axis of the Welded Mandrel (differential axis). This is a fixed property of the fixture.
- $L_2$: Known, constant manufacturing distance from the Plug face to the shoulder on the Inspection Mandrel that contacts the rear bearing cone. This is a fixed property of the Inspection Mandrel assembly.
- $L_3$: Known, constant distance from the front face of the Process Sleeve to the housing shoulder that locates the rear bearing cup. This accounts for the housing interface.
- $L_7$: The theoretical Pinion Installation Distance (from pinion apex to rear bearing cone face). This is the design target.
- $L_8$: The axial distance from the rear bearing cone face to the rear bearing cup back face. This dimension is present in both the measurement setup and the final assembly and thus cancels out.
- $S$: The unknown thickness of the Pinion Installation Distance adjustment gasket.
The dimensional chain equation is:
$$ S + L_7 + L_8 = L_0 – L_1 + L_2 + L_3 + L_8 $$
The $L_8$ term appears on both sides, representing the common bearing stack height, and therefore cancels out. Solving for the unknown gasket thickness $S$ yields the fundamental formula:
$$ S = L_0 – L_1 + L_2 + L_3 – L_7 $$
Since $L_1$, $L_2$, and $L_3$ are precisely manufactured constants for a given device, we can combine them into a single constant $C_1 = -L_1 + L_2 + L_3$. For a specific tractor model, $L_7$ is also a known constant. Therefore, the calculation simplifies in practice to:
$$ S = L_0 – K $$
where $K = L_1 + L_7 – L_2 – L_3$ is a pre-computed constant for that model/device combination. The operator simply records $L_0$ and subtracts the model-specific constant $K$ to obtain the required gasket thickness $S$.
2. Principle for Measuring Bearing Preload Adjustment Gasket Thickness ($S_p$)
Bearing preload is achieved by controlling the exact axial compression on the pair of tapered roller bearings. This requires selecting a gasket of thickness $S_p$ that, when combined with all other spacers and components, results in a specific net stack length that induces the correct preload when the locknut is torqued.
The measurement is a two-step comparative process using the dial indicator.
Step A: Measure Stack Height in Housing. With the Inspection Mandrel Assembly and Welded Mandrel Assembly installed in the housing (as for the $L_0$ measurement), the Dial Indicator Fixture is used. The dial indicator is zeroed on the retaining washer with slight pre-pressure. The fixture is then rotated 360 degrees around the mandrel axis, and the average dial reading (midpoint between max and min) is recorded as $S_1$. This value $S_1$ represents the effective axial “height” or position of the washer relative to the indicator’s datum, influenced by all tolerances and fits within the housing and the inspection assembly.
Step B: Measure Stack Height on Bench. The assemblies are removed from the housing. The actual production components (rear bearing cone, production spacers, transfer gear, front bearing cone, etc.) are assembled onto the Inspection Mandrel in the correct order, using the previously determined installation distance gasket (thickness S) and a temporary dummy gasket in place of $S_p$. The locknut is tightened. The Dial Indicator Fixture is used again in the same manner, and the average reading is recorded as $S_2$. This value $S_2$ represents the effective axial stack height of all the real components on the mandrel.
The required preload gasket thickness $S_p$ is derived from the difference between these two measurements, with corrections for the known theoretical gasket thicknesses used in the device’s design.
Let’s define additional constants related to the device’s design:
- $S_a$: The theoretical (nominal) thickness of the installation distance gasket used to design the device’s Process Sleeve.
- $S_b$: The theoretical (nominal) thickness of the bearing preload gasket used to design the device’s Standard Spacer.
- $L_5$: A base design dimension.
The device is designed such that:
Length of Standard Spacer: $L_4 = L_5 + S_b$
Step on Process Sleeve: $L_6 = L_5 + S_a$
This intentional design allows the dial indicator readings to be in a convenient range.
The formula to calculate the actual preload gasket thickness $S_p$ is:
$$ S_p = S_1 – S_2 + (S – S_a) + S_b $$
Where:
- $(S_1 – S_2)$: The core difference representing how much the real component stack differs from the simulated setup in the housing.
- $(S – S_a)$: A correction factor because the actual installation gasket thickness $S$ we calculated will differ from the theoretical $S_a$ used in the fixture design.
- $+ S_b$: An addition because the Standard Spacer in the fixture has a length based on the theoretical preload gasket $S_b$, and we need to account for this baseline.
Following this calculation provides the thickness $S_p$ for the bearing preload adjustment gasket. The actual pinion shaft can then be assembled once using the precisely selected gaskets $S$ and $S_p$, with a very high probability of achieving the correct bearing preload and bevel gear installation distance in a single attempt.
Advantages and Practical Application
The deployment of this inspection device in our new product development and pilot production processes has yielded significant improvements. Its advantages over both the inflexible automated line equipment and the archaic trial-and-error method are substantial and quantifiable.
| Performance Metric | Trial-and-Error Method | New Inspection Device | Improvement |
|---|---|---|---|
| Average Assembly/Disassembly Cycles per Shaft | 3 – 4 cycles | ~1.1 cycles (one build after measurement) | Reduction of ~65-72% |
| Time for Gasket Selection per Unit | ~60 minutes | ~30 minutes | Reduction of 50% (Efficiency increase of 100%) |
| Risk of Component Damage | High (due to repeated bearing press-fit operations) | Very Low (minimal handling of production bearings) | |
| Adaptability to New Models | High (but inefficient) | High (only requires new constant K) | |
| Result Consistency & Quality | Low (dependent on technician skill) | High (based on measurement and calculation) |
The fundamental strength of the device lies in its decoupling of the measurement process from the final assembly. By using a simulator (Inspection Mandrel) and a datum fixture (Welded Mandrel), we capture all relevant geometric tolerances of the housing and the component stack in a single, non-destructive setup. The subsequent calculations, though they may appear detailed, are straightforward arithmetic based on sound engineering principles. This methodology ensures that the critical meshing relationship of the spiral bevel gears is correctly established from the first assembly, promoting optimal contact patterns and long-term reliability of the gearset.
In conclusion, the structural design of this inspection device addresses a clear need in flexible manufacturing and product development environments. It translates the critical requirements for setting bevel gear pinion depth and bearing preload into a reliable, mechanical measurement procedure. By leveraging dimensional chain analysis and a clever fixture design, it eliminates guesswork and repetitive assembly, thereby enhancing quality, reducing labor time, and mitigating the risk of part damage during the prototyping and low-volume production phases of tractor development. The device stands as a testament to applying fundamental mechanical engineering principles to solve practical, high-value problems on the shop floor.