
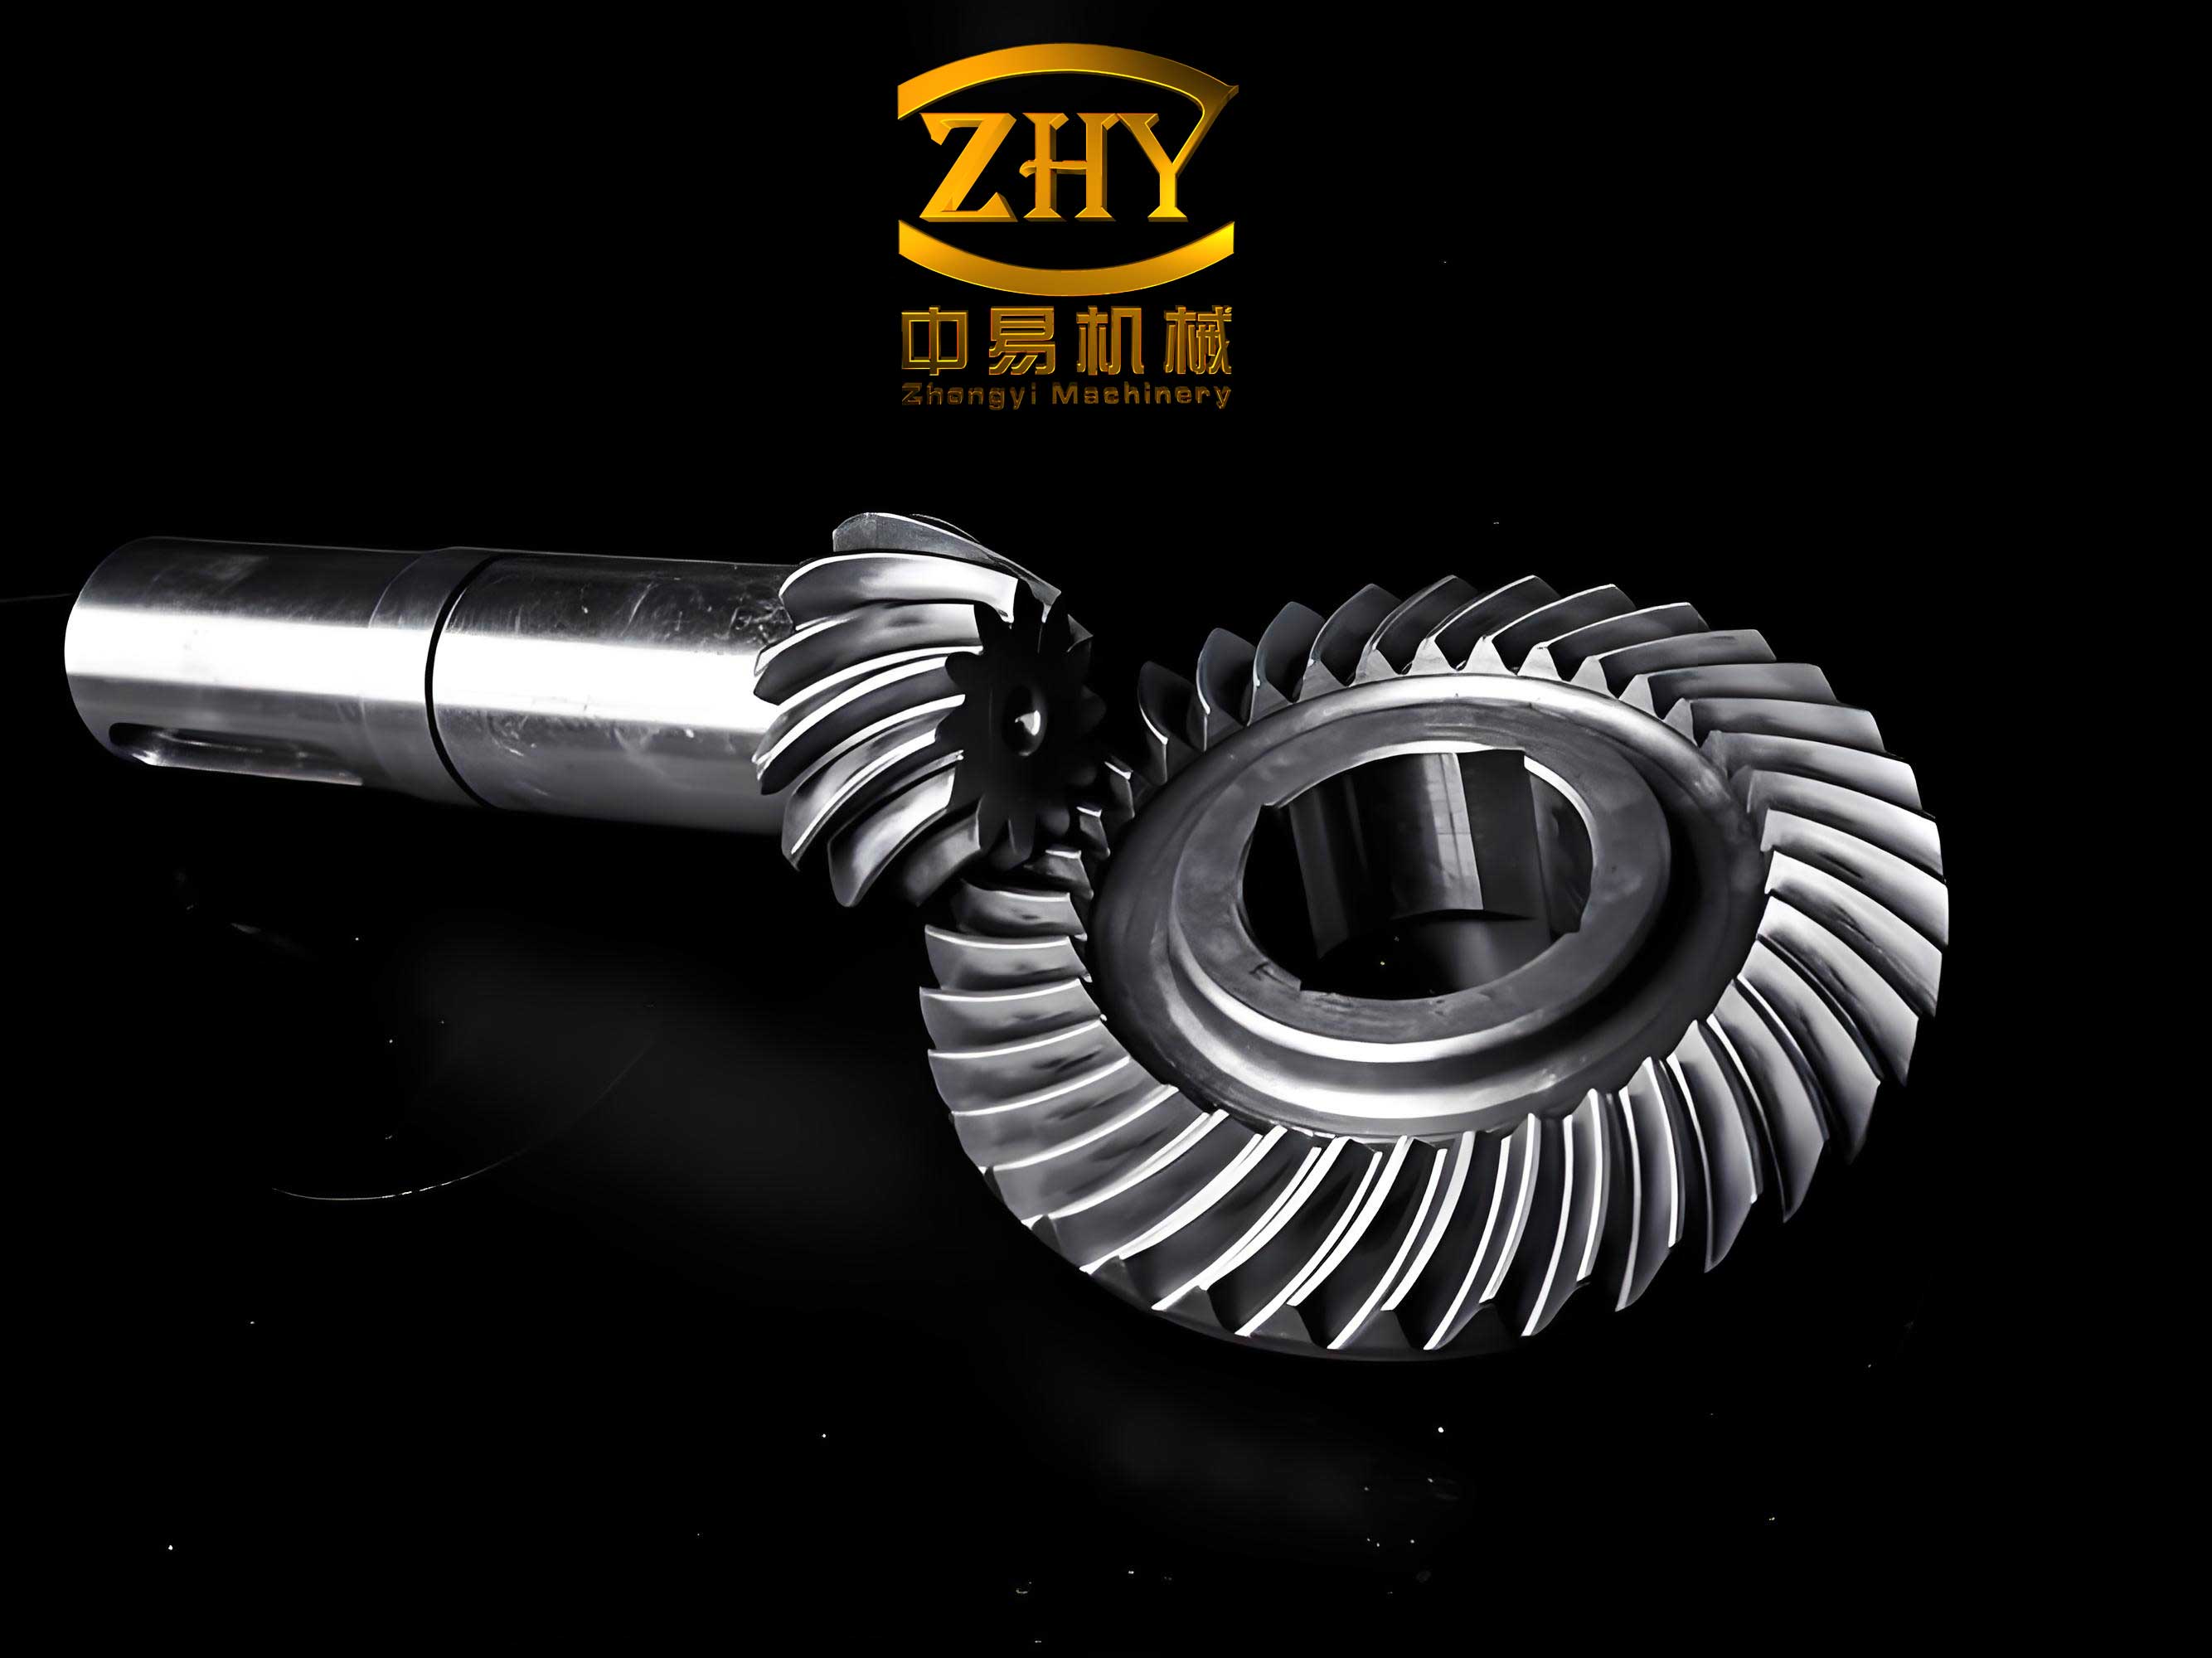
The manufacture of high-performance spiral bevel gears, critical components in automotive drive axles, demands not only precision in the gear tooth flanks but also careful attention to secondary finishing operations. Among these, the chamfering of the tooth profile—the sharp edges along the lengthwise direction of the tooth from the toe to the heel—is essential. These sharp corners act as stress concentrators, potentially initiating cracks under cyclic loading and compromising the gear’s fatigue life and reliability. Therefore, an effective and consistent chamfering process is not merely cosmetic but a fundamental requirement for durability.
Traditionally, this operation has been performed on dedicated chamfering machines equipped with grinding wheels or special cutters. The setup for such machines is highly dependent on operator skill and experience. Technicians must iteratively adjust the wheel’s position and path through trial and error to approximate the complex, three-dimensional profile of the spiral bevel gear. This method introduces several significant drawbacks: prolonged setup times, inconsistent chamfer quality due to human variability, the need for additional material handling between the primary cutting (face milling or hobbing) and chamfering stations, and inherent limitations in accurately replicating the precise tooth root fillet and flank contours. This paper presents a comprehensive methodology for integrating a full-profile chamfering process directly into the CNC gear cutting cycle on modern multi-axis machining centers. This approach replaces empirical adjustment with a digitally-defined, precise toolpath, ensuring consistent quality, reducing non-value-added time, and seamlessly integrating with the primary manufacturing flow for spiral bevel gears.
1. Precise Definition of the Tooth Profile Contour
The foundational step for any precision machining operation is an accurate digital model of the target geometry. For full-profile chamfering of a spiral bevel gear, this means defining the exact path in space along which the cutting tool’s edge must travel. This path is derived from the theoretical tooth profile contour on the gear’s developed back-cone. The contour is not a simple straight line but a curve influenced by the gear’s basic geometry, any profile modifications (like tip or root relief), and the crowning (or “curvature”) applied to the lengthwise direction of the tooth to localize bearing contact.
The contour is typically defined in a coordinate system aligned with the gear axis. A series of points are calculated, each representing the intersection of the tooth flank surface with a specific cross-section along the face width. For design and manufacturing software (such as the KIMoS suite commonly used for spiral bevel gears), this contour is segmented and defined by key points and their properties. A critical task is to distinguish between the working (active) part of the profile and the non-working regions (the tip and root areas) where chamfering is to be applied. The transition points must be identified with precision to ensure the chamfer blends smoothly and does not encroach on the functional gear mesh area.
A parameterized definition is highly effective. The profile can be described from the toe (small end) to the heel (large end) using a sequence of segments. Each segment $i$ is defined by its start and end points in a cylindrical coordinate system relative to the gear axis. Let $Z$ be the axial coordinate and $R$ be the radial distance from the axis. For a segment between point $j$ and point $j+1$, we have:
$$(Z_{start}^i, R_{start}^i) \rightarrow (Z_{end}^i, R_{end}^i)$$
Furthermore, the local slope or angle of the profile, $\theta^i$, at any point is crucial for calculating tool orientation and interference checks. This angle is defined relative to the gear axis:
$$\theta^i = \arctan\left(\frac{\Delta R^i}{\Delta Z^i}\right) = \arctan\left(\frac{R_{end}^i – R_{start}^i}{Z_{end}^i – Z_{start}^i}\right)$$
The complete set of $(Z, R, \theta)$ data for all defining points across the entire face width constitutes the master contour data. This dataset, often exported as a specific file (e.g., Contour.Dat), is the primary input for generating the tool’s motion trajectory. The following table summarizes the key geometric parameters required for contour definition.
| Parameter Symbol | Description | Typical Determination Method |
|---|---|---|
| $Z_{toe}$, $R_{toe}$ | Axial and radial coordinates at the toe end of the active profile. | Calculated from gear blank data and root angle. |
| $Z_{heel}$, $R_{heel}$ | Axial and radial coordinates at the heel end of the active profile. | Calculated from gear blank data and face angle. |
| $\theta_{tip}$ | Profile angle in the tip relief region. | Defined by gear design modification specifications. |
| $\theta_{root}$ | Profile angle in the root fillet region. | Defined by cutter geometry and machine settings during tooth cutting. |
| $C_{rw}$ | Crowning coefficient (lengthwise curvature). | Defined by gear design for contact pattern localization. |
2. Design and Selection of the Chamfering Tool
The success of the integrated chamfering process hinges on the correct design and selection of the cutting tool. For spiral bevel gears, a bar-type cutter mounted on an eccentric holder is often the most versatile and effective choice. This configuration, as opposed to a centered tool or a grinding wheel, offers greater flexibility, longer usable tool life (more cutting edges), and better accessibility, especially for the concave side of the pinion where interference with the machine spindle or fixtures is common.
The design of the chamfering tool involves a careful balance between tool rigidity, cutting efficiency, and avoidance of collisions with the gear blank and its fixture. The primary design parameters can be categorized into three groups: Tool Holder/Assembly Parameters, Tool Geometry Parameters, and Process Engagement Parameters.
2.1 Tool Holder and Assembly Parameters
The tool holder dictates the basic working envelope. The most important parameter is the Effective Tool Circle Diameter ($D_{eff}$). This is the diameter of the circle described by the cutting edges of the bar tool as the holder rotates. A larger $D_{eff}$ generally provides better surface speed and cutting conditions but increases the risk of collision with the gear’s opposite flank or the workpiece fixture. Common standardized diameters exist for different machine platforms (e.g., C50 or C29 type CNC gear cutters). The choice is guided by the gear size and available clearance. Eccentric mounting allows the use of a bar tool that is longer than the radius of the holder, effectively increasing the cutting zone without increasing the tool circle diameter proportionally.
| Tool Designation | Effective Circle Diameter $D_{eff}$ (mm) | Typical Application / Machine | Key Feature |
|---|---|---|---|
| D40 | Φ85 (standard), Φ75 (for tight clearance) | Small to medium gears on C29-type machines. | Eccentric holder for increased bar length. |
| D55 | Φ130 (standard), Φ110 (for tight clearance) | Medium to large gears on C50-type machines. | Eccentric holder, robust design. |
| D85 | Φ160+ | Large gears or special applications. | Used only when necessary due to size. |
2.2 Tool Geometry and Cutting Edge Parameters
The bar tool itself has a defined cross-section. Its geometry must be designed to generate the desired chamfer size and angle while maintaining strength and facilitating chip evacuation. The critical parameters include the included angle of the cutting wedge, the rake angle ($\gamma$), and the clearance angle ($\alpha$). For chamfering, where the cut is often light and the goal is edge-breaking rather than heavy material removal, a symmetrical or near-symmetrical V-shaped profile is common. The width of the bar ($b_0$) and the tip geometry are designed to produce the target chamfer width ($C_w$) on the spiral bevel gear. A fundamental relationship links the tool’s tip offset ($a_H$), its nominal width ($b_N$), and its effective cutting profile width ($b_0$):
$$a_H = \frac{1}{2}(b_0 + b_N)$$
This symmetry simplifies tool grinding and setup. The pressure angle of the tool’s flanks, typically around 10°, is chosen to provide sufficient strength and a defined chamfer angle on the workpiece.
2.3 Process Engagement and Path Definition Parameters
These parameters control how the tool engages with and moves along the tooth profile of the spiral bevel gear. They are critical for achieving a smooth cut, avoiding tool overload, and preventing collisions.
- Roll-In Angle ($\phi$): This angle defines the rotational position of the workpiece (gear) at the moment the chamfering tool begins its engagement with the tooth space. It determines the “approach distance” of the tool. A value between 30° and 45° is typical, with 40° as a default. A smaller angle (e.g., 30°) is used when the start of the chamfer path is very close to the gear’s face cone to avoid tangential engagement and potential tool dig-in.
- Helix Direction Entry Angle ($\beta_{entry}$): This angle governs the tool’s initial engagement direction relative to the tooth’s spiral direction. It is measured in a plane perpendicular to the gear axis. A larger angle (up to 45°) is desirable for better cutting mechanics but is limited by the risk of the tool body interfering with the opposite flank of the adjacent tooth. The common range is 20° to 45°, with 30° as a standard starting point.
- Profile Direction Entry Angle ($\psi_{entry}$): This angle controls how the tool engages along the tooth profile direction (from toe to heel or vice versa). It is measured in the plane containing the gear axis and the tool axis. For a straight profile chamfer (plunge cut), a small angle like 10° is used. For following a crowned or generated profile, a larger angle of 20°-25° is necessary to ensure the tool edge properly envelopes the changing contour. Excessive angles can cause holder interference.
- Chamfer Path Direction: The sequence of tool movement relative to the tooth profile is a strategic choice. The two primary options are:
- Tip-to-Root (Heel-side): Tool starts near the tip at the heel and moves towards the root at the toe. The cutter rotation direction is the same as the workpiece rotation. This often leaves a secondary burr on the chamfered edge.
- Root-to-Tip (Heel-side): Tool starts near the root at the heel and moves towards the tip at the toe. The cutter rotation is opposite to the workpiece rotation. This generally produces a cleaner edge but requires careful verification of tool strength at the initial engagement point where chip load may be highest.
The choice affects burr formation, tool load, and required tool orientation (sometimes requiring the bar to be rotated 180° in its holder).
The effective cutting clearance angle ($\alpha_{eff}$) during the cut is a result of the tool’s static clearance angle and the engagement kinematics. It must be maintained positive (typically 3°-10°) throughout the path. Similarly, the effective tool inclination ($\lambda_{eff}$) varies between the convex and concave sides of the spiral bevel gear tooth and influences cutting forces and surface finish.
3. Generation of Tool Motion Trajectory and CNC Implementation
With a precisely defined workpiece contour and a suitably designed tool, the next step is to synthesize the coordinated motion of the CNC machine axes to realize the chamfering operation. This process transforms the geometric definitions into a time-sequenced set of positions and orientations for the tool relative to the workpiece. Modern software for spiral bevel gear manufacturing performs this synthesis through a series of mathematical calculations and simulations.
3.1 Kinematic Model and Toolpath Calculation
The machine tool is modeled as a kinematic chain. For a typical 6-axis CNC gear cutter used for spiral bevel gears, the relevant axes for chamfering are: Workpiece rotation ($C_w$), Tool carrier rotation ($C_t$), Radial slide ($X$), Angular slide ($Y$), and Vertical slide ($Z$). The tool tilt ($\Sigma$) may also be involved. The goal is to find, for each point $j$ along the discretized profile contour $(Z^j, R^j, \theta^j)$, the corresponding set of machine coordinates $(C_w^j, C_t^j, X^j, Y^j, Z^j_{machine})$ that position the cutting edge correctly.
The calculation involves solving the inverse kinematics problem. Given the desired location of the tool edge center point $P_{tool}$ and its orientation vector $\vec{O}_{tool}$ in the workpiece coordinate system, find the machine axis values. The relationship is governed by the machine’s structural matrices (Denavit-Hartenberg parameters). A simplified view for the critical positioning considers the tool’s need to be tangent to the tooth profile contour at point $P_{contour}^j$ while maintaining the defined entry angles. This tangency condition can be expressed as requiring the tool axis vector to be perpendicular to the profile normal vector $\vec{N}_{profile}^j$ at that point:
$$\vec{O}_{tool}^j \cdot \vec{N}_{profile}^j = 0$$
Simultaneously, the tool center $P_{tool}^j$ must be offset from the contour point $P_{contour}^j$ by the tool radius $r_{tool}$ along a direction that accounts for the chamfer size and the profile entry angle $\psi_{entry}$:
$$P_{tool}^j = P_{contour}^j + \delta_{chamfer} \cdot \vec{N}_{profile}^j + r_{tool} \cdot \vec{T}_{adjusted}^j$$
where $\vec{T}_{adjusted}^j$ is a tangent vector derived from the local profile direction and the helix entry angle $\beta_{entry}$.
3.2 Collision and Interference Checking
Prior to generating the final machine code, a comprehensive digital interference check is mandatory. This simulation checks for collisions between all components: the rotating tool holder, the bar tool shank, the cutting edges, and the gear blank, its clamping fixture, and the machine structure itself. The safety distance ($SK$) is a critical parameter input into this check. It defines the minimum allowable clearance between any non-cutting part of the tool assembly and the workpiece or fixture. If the software detects a violation of this clearance, it will flag an error. The engineer must then adjust the process parameters—often starting with reducing the tool diameter $D_{eff}$, the roll-in angle $\phi$, or the entry angles $\beta_{entry}$ and $\psi_{entry}$—and re-run the simulation until a collision-free path is obtained.
3.3 Data Output and Machine Integration
Once a valid toolpath is calculated and verified, the software compiles the data into a machine-specific instruction file. This file contains the sequential axis positions, feed rates, spindle speeds, and auxiliary commands (coolant on/off). For spiral bevel gear machines, this is often a dedicated file format (e.g., db.dat) that the machine’s CNC controller can interpret directly. The integration is seamless: after the main tooth-cutting cycle (e.g., face milling) is complete, the machine automatically calls this chamfering subroutine. The tool changer may switch to the pre-set chamfering tool assembly, and then the machine executes the calculated path for each tooth space, typically indexed by the workpiece $C_w$ axis. This eliminates manual handling and setup on a separate machine.
| Step | Primary Action | Key Inputs | Output / Deliverable |
|---|---|---|---|
| 1. Profile Definition | Digitally model the exact tooth contour from toe to heel, including non-active zones. | Gear design drawings, machine setting data from tooth cutting. | Contour data file (e.g., Contour.Dat) with (Z, R, θ) points. |
| 2. Tool & Process Design | Select tool assembly type/size and define engagement parameters. | Gear size, machine type, desired chamfer size, fixture model. | Tool parameter file (e.g., Profile.Dat) and set of process angles (φ, β_entry, ψ_entry). |
| 3. Toolpath Synthesis | Calculate inverse kinematics to generate machine axis coordinates. | Contour data, tool parameters, machine kinematic model. | Raw toolpath data (sequence of axis positions). |
| 4. Interference Verification | Simulate the entire machining cycle in 3D. | 3D models of tool, holder, workpiece, fixture; Safety distance (SK). | Collision report. Process is iterated until no collisions exist. |
| 5. CNC Code Generation | Compile verified toolpath into machine-executable code. | Collision-free toolpath, post-processor for specific machine. | Machine instruction file (e.g., db.dat). |
| 6. On-Machine Execution | Automatic execution as part of the gear cutting program. | CNC program, chamfering tool loaded in magazine. | Physical spiral bevel gear with consistent, precise profile chamfers. |
4. Practical Application and Benefits
The implementation of this digitally-driven, full-profile chamfering methodology has been successfully applied to a wide range of spiral bevel gear production, from small differential pinions to large crown wheel gears for heavy-duty axles. The transition from dedicated chamfer machines to integrated CNC machining has yielded tangible benefits across key manufacturing metrics.
Quality and Consistency: The chamfer geometry is no longer dependent on an operator’s skill. Every gear in a batch receives an identical chamfer because the toolpath is deterministic and repeatable. This reduces scatter in gear fatigue performance and improves overall product reliability.
Process Efficiency: Significant time savings are achieved by eliminating the secondary operation setup and the physical movement of work-in-progress between machines. The chamfering cycle runs automatically immediately after tooth cutting, often adding only a few seconds to the total cycle time per gear.
Flexibility and Digital Thread: Changes to the chamfer size or profile are made in the software model and propagated directly to the machine code. This supports rapid prototyping and flexible manufacturing. The process forms a complete digital thread from gear design (CAD) to manufacturing instructions (CAM) to physical part.
Reduced Tooling Cost: While the initial investment in precise bar tools and holders is required, the long-term cost can be lower. The bar tools are indexable or re-sharpenable, and their predictable wear, coupled with the stable process, leads to better tool life management compared to the unpredictable wear and frequent adjustment of dedicated chamfering machine grinding wheels.
The final result is a spiral bevel gear with a uniform, controlled chamfer along the entire profile, effectively removing stress concentrations and potential initiators for cracks. The visual consistency of the chamfer also serves as an immediate indicator of process stability.
5. Conclusion
The research and application of integrated full-profile chamfering technology represent a significant advancement in the precision manufacturing of spiral bevel gears. By moving from an experience-based, manual adjustment process on dedicated machines to a digitally-defined, CNC-integrated operation, manufacturers achieve a higher level of control, quality, and efficiency. The methodology hinges on three pillars: the precise mathematical definition of the spiral bevel gear tooth profile contour, the rational design of chamfering tool geometry and engagement parameters, and the robust calculation and simulation of collision-free tool trajectories. This approach ensures that the critical edge preparation on spiral bevel gears is performed consistently and accurately, directly contributing to the enhanced durability and performance of the final gear assembly. While the technique is broadly applicable, ongoing development focuses on extending its use to more challenging geometries, such as very low-tooth-count pinions with complex fixtures, and on further optimizing toolpath strategies to minimize cycle time while maximizing tool life for the spiral bevel gear.
Technical Appendix: Key Formulae for Toolpath Derivation
The following equations provide a deeper insight into the mathematical foundation for generating the chamfering toolpath for a spiral bevel gear.
A.1 Profile Point Calculation: For a point on the profile at a normalized face width position $s$ (where $s=0$ at toe, $s=1$ at heel), its coordinates considering crowning can be approximated by:
$$R(s) = R_{toe} + (R_{heel} – R_{toe}) \cdot s – C_{rw} \cdot s \cdot (1-s)$$
$$Z(s) = Z_{toe} + (Z_{heel} – Z_{toe}) \cdot s$$
The local profile slope is then:
$$\theta(s) = \arctan\left( \frac{dR/ds}{dZ/ds} \right) = \arctan\left( \frac{(R_{heel} – R_{toe}) – C_{rw} \cdot (1-2s)}{(Z_{heel} – Z_{toe})} \right)$$
A.2 Tool Orientation Vector: The unit orientation vector of the tool axis $\vec{O}_{tool}(s)$ in the workpiece coordinate system must account for the helix entry angle $\beta_{entry}$ and the need to be normal to the profile. In a simplified 2D view in the profile plane rotated by the spiral angle, the required tool inclination $\lambda_{eff}(s)$ is derived from:
$$\lambda_{eff}(s) = \psi_{entry} \pm \theta(s)$$
where the sign depends on the convex or concave side of the spiral bevel gear tooth and the chosen cutting direction.
A.3 Tool Center Point Location: The center of the tool tip, $P_{tool}(s)$, is found by offsetting from the profile point $P_{contour}(s) = (R(s), Z(s))$:
$$P_{tool}(s) = P_{contour}(s) + \left[ \frac{C_w/2}{\sin(\kappa)} + r_{tool} \right] \cdot \vec{n}(s)$$
Here, $C_w$ is the desired chamfer width on the gear, $\kappa$ is the included angle of the bar tool’s cutting wedge (defining the chamfer angle), $r_{tool}$ is the tool tip radius (often small or zero), and $\vec{n}(s)$ is the unit vector normal to the profile plane, adjusted for the 3D entry conditions. This equation ensures the tool generates the correct chamfer geometry.