
This article presents a comprehensive methodology for the small-batch manufacturing of complex spiral bevel gear components, specifically focusing on an electrode, using a general-purpose 5-axis CNC machining center. The aim is to address the limitations associated with dedicated gear milling machines, such as high cost, complex parameter adjustments, and low flexibility. By treating the intricate tooth flank geometry as a freeform surface for Computer-Aided Manufacturing (CAM) programming, this approach simplifies the process and reduces dependency on specialized hardware and complex calculations inherent to traditional spiral bevel gear generation methods.
1. Introduction and Background
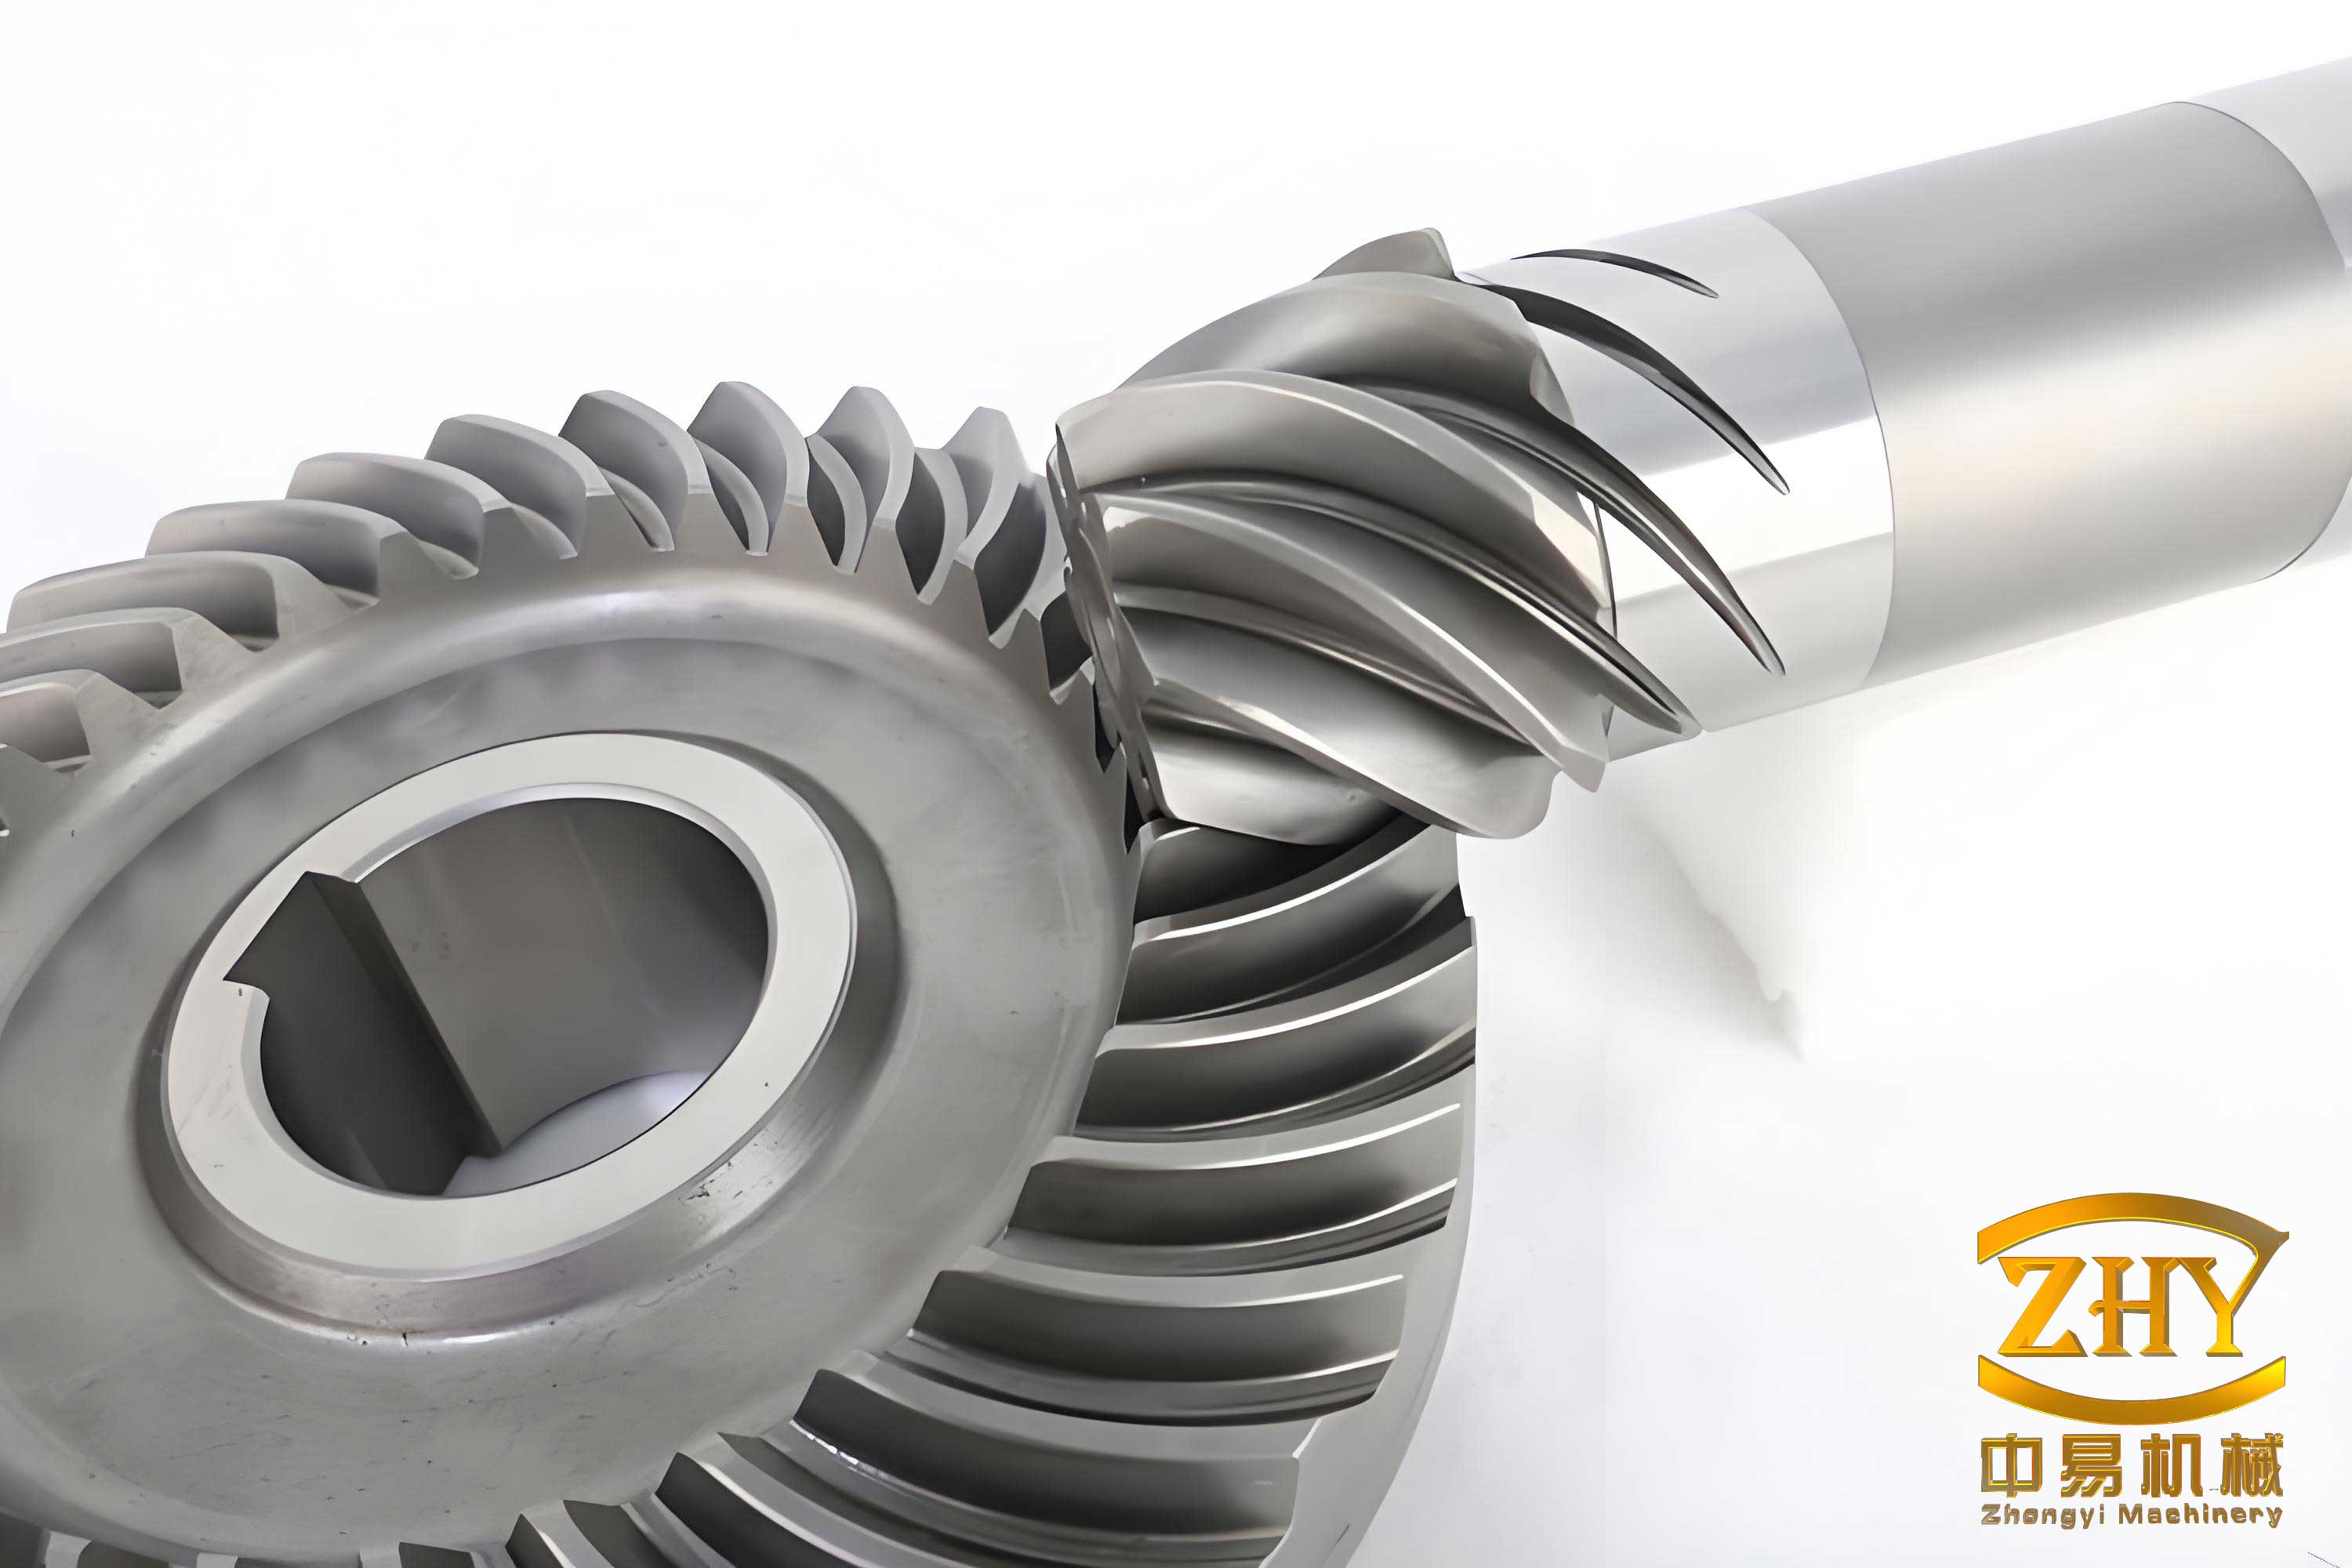
The spiral bevel gear is a critical mechanical component designed for transmitting motion and power between non-parallel, intersecting shafts. Its defining characteristic is the curved, oblique teeth which provide a gradual engagement and disengagement compared to straight bevel gears. This results in superior performance attributes, including higher load capacity, smoother and quieter operation, and the ability to handle higher speeds. Consequently, spiral bevel gears are indispensable in heavy-duty and precision applications across aerospace, marine propulsion, automotive differentials, machine tools, and robotics.
The high-performance characteristics of a spiral bevel gear are a direct result of its complex geometry. The tooth flanks are not simple geometric shapes but are conjugate surfaces generated through a defined rolling motion between a imaginary generating gear (cutter) and the workpiece. The mathematical definition involves complex curvature and requires precise control over tooth profile, lead (lengthwise curvature), and bias (the asymmetry between the convex and concave sides of the tooth). The fundamental geometry can be described by parameters such as module (or diametral pitch), number of teeth, spiral angle, pressure angle, and shaft angle.
Traditionally, manufacturing these precision components requires dedicated gear milling or grinding machines, such as those developed by Gleason, Klingelnberg, or Oerlikon systems. These machines employ the principle of complementary crowning and generate the tooth form through a synchronized rolling motion between the workpiece and a cutting tool (like a face-mill or face-hob cutter). While highly accurate, this paradigm presents significant challenges: the machinery is extraordinarily expensive, the setup and adjustment of machine settings (often defined by complex “machine constants” like root angle, cutter tilt, and eccentricity) are time-consuming and require deep expertise, and the process is inherently inflexible—each major change in gear design may require different cutter heads or machine adjustments.
The advancement of multi-axis (5-axis) CNC machining technology offers a compelling alternative. Modern 5-axis machining centers provide the necessary degrees of freedom (three linear axes X, Y, Z and two rotational axes, e.g., A/B or B/C) to orient a cutting tool arbitrarily relative to a complex workpiece. When paired with powerful CAM software capable of generating efficient toolpaths for freeform surfaces, these machines can directly mill the tooth flanks of a spiral bevel gear. This “freeform milling” or “direct CNC machining” approach decouples gear manufacturing from the physical laws of gear generation machines. The gear geometry, designed via CAD software, is treated as a target surface, and the CAM system calculates the tool motion to sculpt it from a blank. This method enhances flexibility, allows for rapid prototyping and small-batch production, and can be particularly advantageous for manufacturing electrodes used in Electrical Discharge Machining (EDM) of forging dies or mold cavities for spiral bevel gears.
This study details a complete workflow for machining a specific left-hand spiral bevel gear electrode from oxygen-free copper (OFC). The process encompasses fixturing strategy, on-machine metrology for setup, CAM programming strategies for roughing, semi-finishing, and finishing of the challenging tooth geometry, virtual verification via Digital Twin (DT) simulation, and final execution on a 5-axis mill. The results demonstrate that this methodology is viable for achieving the required dimensional accuracy and surface finish for small-lot production.
2. Workpiece Analysis and Process Planning
The target component is an electrode, commonly called a “copper electrode” or “copper,” used in sinker EDM. In this process, the electrode’s form is eroded (sparked) into a hardened steel die block to create a cavity. Therefore, the electrode must be a precise positive replica of the final spiral bevel gear’s tooth space. The chosen material is OFC due to its excellent electrical conductivity and machinability.
2.1. Part Geometry Analysis
The electrode consists of two main sections: a cylindrical clamping shank and the spiral bevel gear form section. Key geometric features present significant machining challenges:
- Small Tooth Spacing: With 15 teeth, the angular pitch is 24°. The narrow, deep gullets between teeth limit tool access and require small-diameter tools for finishing.
- Complex, Highly Curved Flanks: The left-hand spiral teeth have significant twist from the toe (small end) to the heel (large end). The convex and concave flanks are non-developable surfaces with varying curvature.
- Thin-Wall Structure in Final Stages: After roughing, the remaining material between tooth flanks can become very thin (e.g., less than 1.5mm), leading to potential deflection and vibration during machining.
- High Accuracy and Surface Finish Requirements: As an EDM electrode, its dimensional accuracy directly transfers to the die cavity. A smooth surface finish on the electrode is crucial for achieving a good finish in the eroded cavity and for reducing EDM wear.
The primary geometric parameters of the spiral bevel gear section are summarized in the table below.
| Parameter | Value / Description |
|---|---|
| Number of Teeth (z) | 15 |
| Pitch Angle | 24° |
| Face Width (b) | 15.4 mm |
| Outer Cone Distance (Re) | ~21.2 mm (from virtual apex) |
| Spiral Angle (β) | Left-hand spiral (typical value range: 30°-45° at mean point) |
| Pressure Angle (α) | Typically 20° (needs design specification) |
2.2. Machining System and Tooling Strategy
- Machine Tool: A precision 5-axis machining center with a B/C rotary table configuration (e.g., table tilts in B-axis and rotates in C-axis) is selected. This configuration provides excellent accessibility to the complex gear form.
- CAM Software: SurfMill 9.0 (or equivalent advanced 5-axis CAM system) is used for toolpath generation, collision checking, and simulation.
- Fixturing: A combination of a zero-point quick-change pallet system and a dedicated 5-axis vise is designed. The blank (a Ø50 x 100mm copper round bar) is pre-turned and mounted on the vise, which is itself located on the zero-point pallet. This ensures precise, repeatable positioning for multiple parts in a batch.
- Tooling: Fine-grained tungsten carbide (WC-Co) tools are chosen for their hardness, wear resistance, and ability to maintain a sharp edge. A micro-emulsion coolant specifically formulated for copper is used to manage heat, prevent material adhesion (built-up edge), and flush chips.
Operation Stage Recommended Tool Type Rationale Roughing & Area Clearing Flat End Mill (e.g., Ø10mm, Ø6mm) High material removal rate (MRR). Semi-Finishing Flanks Ball Nose End Mill (e.g., R1, R0.75) Better conforms to curved surfaces, steps down residual cusp height. Finishing Flanks & Fillet Small Ball Nose End Mill (e.g., R0.5) Accesses narrow spaces, achieves fine surface finish. Finishing Tooth Root (Fillet) Small Ball Nose or Toroidal Mill Generates the root fillet radius accurately.
2.3. Machining Process Sequence
A detailed, sequential process plan is critical for machining a complex spiral bevel gear. The following table outlines the complete machining sequence, integrating setup, stock preparation, and gear tooth machining.
| Seq. | Operation Description | Tool | Axis Mode | Key Objectives & Notes |
|---|---|---|---|---|
| 1 | On-Machine Measurement & Alignment | Touch Probe (Ø5mm) | 5-Axis | Automatically corrects workpiece misalignment and sets datum (G54). |
| 2 | Finish Face Top of Blank | Ø4 Flat End Mill | 3-Axis | Create a precise Z0 reference surface. |
| 3 | Rough Machine Front Envelope | Ø10 Flat End Mill | 3-Axis | Remove bulk material from the front side of the gear profile. |
| 4 | Finish Machine Front Envelope | R2 Ball Nose | 3/5-Axis | Achieve final dimensions on the front non-tooth surfaces. |
| 5 | Machine Relief Groove | Ø6 Flat End Mill | 5-Axis (Curve) | Create space for tool approach on the rear side. |
| 6 | Rough Machine Rear Envelope | Ø6 Flat End Mill | 5-Axis (Surface) | Remove bulk material from the rear side. |
| 7 | Finish Machine Rear Envelope | R2 Ball Nose | 5-Axis (Surface) | Finish rear non-tooth surfaces. |
| 8 | Rough Machine Clamping Cylinder | Ø6 Flat End Mill | 5-Axis (Surface) | Shape the cylindrical shank. |
| 9 | Finish Machine Clamping Cylinder | Ø6 Flat End Mill | 5-Axis (Surface) | Final finish on the shank. |
| 10 | Tooth Slot Roughing | R1 Ball Nose | 5-Axis (Curve) | Aggressive removal of material between teeth. Use depth layers. |
| 11 | Flank Semi-Finish (1st Pass) | R1 Ball Nose | 5-Axis (Surface) | Remove majority of roughing cusps. Leave uniform ~0.1mm stock. |
| 12 | Flank Semi-Finish (2nd Pass) | R0.75 Ball Nose | 5-Axis (Surface) | Further reduce cusp height. Leave ~0.03mm for finish. |
| 13 | Flank Finishing | R0.5 Ball Nose | 5-Axis (Surface) | Final cut to achieve design surface and finish. |
| 14 | Tooth Root (Fillet) Semi-Finish | R0.75 Ball Nose | 5-Axis (Surface) | Machine the root fillet area. |
| 15 | Tooth Root (Fillet) Finishing | R0.5 Ball Nose | 5-Axis (Surface) | Final cut on the root fillet. |
3. Critical Technologies: On-Machine Metrology and Digital Twin Verification
3.1. Automated Workpiece Alignment and Datum Setting
Manual alignment using dial indicators and edge finders is time-consuming and introduces human error, especially critical for 5-axis work where angular misalignment propagates into complex volumetric errors. The integration of a touch probe (e.g., Renishaw) and metrology software enables automated setup.
- Measurement Planning: Within the CAM/metrology software, a measurement routine is created. A plane is defined by probing 4 points on the top face of the blank. A cylinder is defined by probing 24 points (3 layers of 8 points each) around its circumference.
- Execution and Calculation: The machine executes the probing cycle. The control system collects the point cloud data and performs a best-fit calculation.
- It calculates the axis of the cylinder and the normal vector of the plane.
- From these, it determines the angular deviations (tilt) of the workpiece relative to the machine’s ideal B and C axes.
- It also calculates the offset of the workpiece’s theoretical center and top relative to the machine coordinate system (MCS).
- Automatic Correction: The CNC system automatically applies these calculated offsets and rotations. This can be done by:
- Physically commanding the B and C axes to rotate to the corrected orientation before locking them (if possible).
- More commonly, by updating the Work Coordinate System (WCS, e.g., G54) with the calculated translational offsets and using “TCPM” (Tool Center Point Management) or “Tilted Work Plane” functions to compensate for the angular misalignment in the control’s kinematics. The updated WCS becomes the new, perfectly aligned datum for all subsequent toolpaths.
The mathematical essence involves coordinate transformation. If the measured plane normal vector in MCS is n_measured and the cylinder axis vector is a_measured, the system solves for the rotation matrix R that aligns these to the ideal vectors (e.g., [0,0,1] for Z-axis and [0,1,0] for part axis). The inverse of this matrix defines the correction. The translational offset ΔT is calculated from the difference between the measured and nominal center/top position.
3.2. CAM Programming and Tool Axis Control for Spiral Bevel Gears
The core challenge in 5-axis CAM for a spiral bevel gear is managing the tool axis orientation to prevent collisions with the steep, opposing flanks while maintaining effective cutting conditions. Key strategies employed in SurfMill 9.0 include:
- Curve Machining for Roughing: Using the 5-axis curve operation, the tool (ball nose) follows the centerline of the tooth root. The tool axis is aligned with this 3D curve, allowing the tool to plunge directly down the slot in layers, maximizing material removal while avoiding side contact.
- Surface Projection Finishing: This is the primary strategy for flank finishing. The toolpath is generated by projecting a pattern (e.g., a zig-zag or spiral) onto the target surface along the surface normals. The critical setting is Tool Axis Control.
- Lead/Lag (Front/Back Tilt) and Tilt (Side Tilt): These angles are used to intentionally tilt the tool away from interfering surfaces. For the spiral bevel gear, a slight side tilt away from the adjacent flank is often necessary.
- Interpolation to “From…To…”: A more advanced method defines a starting tool axis vector (e.g., normal to the surface at the heel) and an ending vector (e.g., normal at the toe). The control interpolates smoothly between them, providing optimal orientation throughout the cut.
- Maximum Angle Increment: This parameter limits the rate of change of the tool axis orientation between successive CNC blocks, ensuring smooth machine motion and avoiding jerky rotations.
- Use of “Check” or “Protection” Surfaces: To prevent gouging, surfaces that should not be cut (e.g., the opposite flank of the same tooth, the small-end face) are designated as “check surfaces.” The CAM software then calculates tool motion that respects a user-defined clearance from these surfaces.
The toolpath generation must account for the tool geometry. For a ball nose end mill of radius R, the effective cutting radius at a contact point with surface normal n and tool axis a is less than R if a is not aligned with n. The scallop height (h) left between adjacent passes with stepover (s) is approximated by:
$$ h \approx \frac{s^2}{8R_{eff}} $$
where R_eff is the effective radius in the direction perpendicular to the toolpath. This governs the choice of stepover for a required surface finish.
3.3. Digital Twin (DT) Simulation and Verification
Before any metal is cut, the entire process is validated in a virtual environment. This DT setup requires accurate models of all system components:
- Machine Tool Model: A kinematic model of the specific 5-axis machine (GR200) is loaded, including all axis limits, pivot distances, and post-processor logic.
- Fixture and Blank Model: 3D CAD models of the vise and the pre-turned blank are positioned correctly in the virtual machine workspace.
- Tool Assembly Models: Detailed models of each tool holder, extension, and cutting tool are created, defining precise collision geometry.
- Simulation and Collision Checking: The CAM software simulates the execution of all toolpaths. It checks for:
- Gouging: The tool cutting into the part where it shouldn’t.
- Collisions: Any part of the tool assembly (holder, shank) colliding with the part or fixture.
- Machine Limits: Exceeding the travel limits of any linear or rotary axis.
- Material Removal Simulation: The software visually removes material as the virtual tool moves, allowing the programmer to verify the final part shape matches the CAD model. Any remaining “cusps” or uncut areas are easily identified.
Only after the DT simulation confirms the process is safe and geometrically correct is the G-code post-processed for the specific machine controller and released for production.
4. Results and Discussion
The implementation of the described methodology for the spiral bevel gear electrode was successful. The finished copper electrode exhibited the following characteristics:
- Geometric Accuracy: Coordinate Measuring Machine (CMM) inspection confirmed that the tooth profile, lead, and spacing errors were within IT6 grade tolerance levels, which is more than sufficient for an EDM electrode intended to produce high-quality forging dies or molds.
- Surface Integrity: The surface roughness (Ra) measured on the finished tooth flanks was below 1.6 µm. This smooth finish is beneficial for the subsequent EDM process, promoting stable sparking and reducing electrode wear.
- Process Efficiency: The total machining time for one complete electrode was significantly reduced compared to a potential setup on a dedicated gear machine for a one-off part, primarily due to the elimination of complex machine constant calculations and physical setup adjustments. The automated probing and alignment reduced setup time to minutes.
- Flexibility Demonstrated: The same fundamental CAM strategies (5-axis curve roughing, surface projection finishing) can be adapted to different spiral bevel gear designs by simply importing a new CAD model and adjusting machining parameters. This is the key advantage over dedicated hardware.
Challenges and Considerations:
- Tool Wear and Breakage: Using small-diameter tools (R0.5mm) for finishing the thin-web sections of the spiral bevel gear requires careful monitoring of tool condition and conservative cutting parameters to prevent breakage.
- Residual Stresses and Distortion: Although copper is relatively soft, aggressive roughing can induce stresses. A balanced approach between roughing passes and semi-finishing is necessary to ensure final geometric stability.
- Post-Processing: The generation of efficient and kinematically correct G-code requires a well-tuned, machine-specific post-processor that correctly handles tool center point control (TCP) or RTCP functions.
5. Conclusion and Outlook
This study has demonstrated a viable and efficient pathway for the small-batch manufacturing of complex spiral bevel gear components, using a general-purpose 5-axis machining center. By leveraging advanced CAM software to generate toolpaths for freeform surfaces, incorporating on-machine metrology for flawless setup, and rigorously verifying the process through Digital Twin simulation, the traditional barriers associated with dedicated spiral bevel gear equipment are effectively overcome.
The methodology is particularly well-suited for:
- Prototyping new spiral bevel gear designs.
- Manufacturing electrodes for EDM of gear dies/molds.
- Producing custom or replacement gears in small quantities where investment in dedicated gear cutting machinery is not justified.
- Machining spiral bevel gears from difficult-to-cut materials that may not be suitable for traditional gear hobbing or shaping.
The future of this approach is closely tied to advancements in several areas:
- CAM Software Intelligence: Development of specialized “gear machining” modules within CAM systems that can automatically recognize tooth flanks, suggest optimal tool axis strategies, and generate collision-free toolpaths with minimal user input.
- Adaptive Machining: Integration of in-process measurement (e.g., laser line scanners) to measure the machined spiral bevel gear tooth form and automatically adjust finishing toolpaths for compensation, closing the loop for ultra-high precision.
- Hybrid Processes: Combining 5-axis milling for roughing and semi-finishing with subsequent abrasive processes (like 5-axis grinding or abrasive flow machining) on the same platform to achieve the superlative surface finishes and accuracies required for high-performance aerospace spiral bevel gears.
In conclusion, the direct CNC machining of spiral bevel gears on multi-axis centers represents a powerful, flexible, and increasingly precise manufacturing paradigm. It democratizes the production of these sophisticated components, making them accessible for research, development, and low-volume production outside the traditional realm of specialized gear manufacturers. As machine tools, cutting tools, and software continue to evolve, the viability and accuracy of this method will only increase, solidifying its role in the future landscape of gear manufacturing.