
During a routine operational procedure at our port facility, a critical failure occurred involving a bucket wheel stacker-reclaimer. An operational error led to severe damage to the gear pair within the bucket wheel’s rotary drive system. The primary damage was concentrated on the driving gear shafts, where one tooth exhibited significant plastic deformation, and several adjacent teeth were completely fractured. The extent of the damage threatened to halt a major material handling operation for an extended period.
A complete replacement of the damaged gear shafts was the initial consideration. However, this path presented significant logistical and financial challenges. The procurement and custom machining of a new high-strength gear shaft were estimated to require over four months. Furthermore, the associated costs ran into tens of thousands of dollars. Faced with this substantial downtime and expense, a technical review was convened. After thorough analysis and deliberation, the engineering team concluded that a repair via welding reconstruction of the broken teeth was not only feasible but also highly advantageous. This approach promised to drastically reduce the repair cycle and lower the overall restoration cost, making it the definitive course of action.
Part 1: Weldability Analysis of the 40CrMnMo Gear Shaft Material
The success of any major repair welding operation hinges on a deep understanding of the base material’s properties. The damaged component was identified, through the original equipment documentation, as a gear shaft manufactured from 40CrMnMo quenched and tempered (Q&T) steel. This grade is renowned for its excellent hardenability, high tempering stability, and superior comprehensive mechanical properties after proper heat treatment, making it a common choice for heavily loaded components like large gear shafts.
1.1 Material Composition and Mechanical Properties
The chemical composition of 40CrMnMo steel, as per the material certificate, is detailed in the table below. Its key mechanical properties after quenching and tempering are also listed.
| Element | Content (%) | Mechanical Property | Value |
|---|---|---|---|
| Carbon (C) | 0.37 – 0.45 | Yield Strength (ReL) | ≥ 690 MPa |
| Manganese (Mn) | 0.90 – 1.20 | Tensile Strength (Rm) | ≥ 790 MPa |
| Silicon (Si) | 0.17 – 0.37 | Elongation (A) | Not Specified |
| Chromium (Cr) | 0.90 – 1.20 | Impact Toughness | Not Specified |
| Molybdenum (Mo) | 0.20 – 0.30 | Hardness | Typically 280-350 HB |
| Nickel (Ni) | ≤ 0.30 (residual) | ||
| Phosphorus (P) | ≤ 0.035 | ||
| Sulfur (S) | ≤ 0.035 |
1.2 Carbon Equivalent Calculation and Weldability Classification
The weldability of steel is commonly assessed using the Carbon Equivalent (CE) formula, which relates the combined effect of alloying elements on hardenability to that of carbon. For medium and high-strength steels, the International Institute of Welding (IIW) formula is widely accepted. The carbon equivalent (CEIIW) for our gear shafts material is calculated as follows:
$$CE_{IIW} = C + \frac{Mn}{6} + \frac{Cr + Mo + V}{5} + \frac{Ni + Cu}{15}$$
Using the maximum values from the composition range to assess the worst-case scenario for weldability:
$$CE_{IIW} = 0.45 + \frac{1.20}{6} + \frac{1.20 + 0.30}{5} + \frac{0}{15} = 0.45 + 0.20 + 0.30 + 0 = 0.95\%$$
Using the average values provides a more central estimate:
$$CE_{IIW} (avg) = 0.41 + \frac{1.05}{6} + \frac{1.05 + 0.25}{5} = 0.41 + 0.175 + 0.26 = 0.845\%$$
According to standard weldability classifications, steels with a CEIIW exceeding 0.60% are considered to have poor weldability, requiring strict pre-heating and post-weld heat treatment (PWHT) procedures. A value approaching or exceeding 0.90% indicates very poor weldability, with a very high susceptibility to hydrogen-induced cold cracking (HICC) and the formation of brittle microstructures in the heat-affected zone (HAZ). Our calculation confirms that the 40CrMnMo material for these gear shafts falls squarely into the “very difficult to weld” category.
1.3 Analysis of Welding Challenges and Defect Mechanisms
The high carbon equivalent points directly to the primary challenges in repairing the gear shafts:
- Cold Cracking (Hydrogen-Induced Cracking): This is the most critical risk. The high hardenability means the HAZ will transform to high-carbon martensite upon rapid cooling from welding temperatures. This martensite is extremely brittle and susceptible to cracking under the influence of residual stresses and diffusible hydrogen from the welding arc or moisture.
- HAZ Brittleness and Softening: The original tempered martensite structure in the parent metal near the weld is subjected to a thermal cycle that can create a localized brittle zone or, in the case of the tempering effect from subsequent weld passes, a softened zone, potentially reducing the load-bearing capacity.
- High Residual Stresses: The significant thermal gradient between the intense weld pool and the massive, cold bulk of the gear shafts creates enormous contractional stresses upon cooling, which can lead to distortion or stress cracking.
- Potential for Hot Cracking: While less common than cold cracking in these steels, the relatively high alloy content can widen the solidification temperature range, increasing susceptibility to solidification cracking, especially if the weld bead shape is unfavorable or impurity levels are high.
The internal cause of these potential failures is the inherent alloy composition of the 40CrMnMo gear shafts. The external causes are the welding thermal cycle, hydrogen introduction, and restraint conditions. Therefore, a successful repair strategy must systematically control these external factors to mitigate the material’s inherent poor weldability.
Part 2: Development of the Repair Welding Procedure
The repair procedure was designed with one overarching goal: to restore the mechanical integrity and service life of the gear shafts while completely avoiding the weld defects associated with high-carbon-equivalent steels. The strategy was multi-faceted, combining mechanical reinforcement, meticulous welding practice, and controlled thermal management.
2.1 Core Repair Methodology: Studding and Welding
Instead of relying solely on a large volume of weld metal to rebuild the tooth, a hybrid mechanical-welding approach was adopted. High-strength studs (also made from 40CrMnMo) were threaded into the prepared root of the damaged tooth location on the gear shafts. A newly machined tooth insert was then placed over these studs. This design provides crucial benefits:
- Load Sharing: During operation, a significant portion of the shear and bending loads on the repaired tooth is carried by the studs in mechanical shear, drastically reducing the stress concentration on the weld metal itself.
- Reduced Weld Volume: The welds primarily serve to secure the tooth insert to the studs and the base gear shafts, rather than constituting the entire load-bearing structure. This minimizes heat input and associated distortion and HAZ issues.
- Improved Precision and Stability: The studs allow for precise positioning and fixturing of the tooth insert before any welding commences, ensuring correct tooth geometry and alignment with the other teeth on the gear shafts.
2.2 Welding Process and Consumable Selection
The Gas Metal Arc Welding (GMAW) process, specifically using a shielding gas mixture of Argon (Ar) and Carbon Dioxide (CO2), was selected. This process offers several advantages for repairing the gear shafts:
- Lower hydrogen potential compared to manual metal arc (MMA) welding.
- Excellent arc stability and control, allowing for precise heat input management.
- Good penetration and weld bead profile.
The selection of filler metal was critical. The principle of “matching or undermatched strength with superior toughness and lower carbon” was applied. An ER80S-G class wire was chosen. Its chemical composition and resulting weld metal properties are shown below:
| Wire Composition (%) | Weld Metal Properties (Typical) | |||
|---|---|---|---|---|
| Element | Range/Max | Property | Value | Unit |
| C | ≤ 0.10 | Tensile Strength (Rm) | ≥ 790 | MPa |
| Mn | 1.40 – 1.80 | Yield Strength (Rp0.2) | ≥ 690 | MPa |
| Si | 0.40 – 0.70 | Elongation (A) | ≥ 17 | % |
| Ni | 1.60 – 2.40 | Impact Energy (-20°C) | ≥ 27 | J |
| Mo | 0.30 – 0.60 | |||
| Cr | ≤ 0.15 | |||
This wire provides adequate strength to match the base metal of the gear shafts, while its lower carbon content (max 0.10% vs. 0.45% in the base metal) significantly improves weld metal toughness and reduces susceptibility to cracking. The addition of Nickel (Ni) further enhances low-temperature toughness.
2.3 Thermal Management Strategy: Preheating, Interpass Temperature, and PWHT
Controlling the thermal cycle was paramount to avoid hardening the HAZ and driving out hydrogen. The following protocol was established:
- Preheating: The entire repair zone on the gear shafts and a surrounding area of at least 150mm was uniformly heated to a temperature between 250°C and 300°C. Preheating serves multiple purposes: it reduces the cooling rate, allowing some transformation to softer microstructures (e.g., bainite) in the HAZ; it helps diffuse any surface moisture; and it lowers the temperature gradient, reducing residual stresses. The minimum preheat temperature (Tp) can be roughly estimated based on carbon equivalent and thickness, but for this application, 250°C was set as the safe minimum.
- Interpass Temperature Control: During welding, the temperature of the gear shafts in the weld region was maintained between 200°C and 300°C. This ensured that the HAZ from a previous pass was not allowed to cool below the martensite start (Ms) temperature before the next pass provided a beneficial tempering effect.
- Post-Weld Heat Treatment (PWHT): Immediately after the completion of welding, while the component was still hot, the temperature was raised uniformly to the stress relief range of 550°C ± 25°C. It was held at this temperature for a calculated time based on the thickness of the heaviest section of the gear shafts (typically 1 hour per 25mm of thickness, with a minimum of 2 hours). This crucial step serves to:
- Diffuse virtually all residual hydrogen out of the weld and HAZ.
- Relieve the high residual stresses induced by welding.
- Temper any hard martensite formed in the HAZ, restoring ductility and toughness.
After the holding period, the gear shafts were slowly cooled in an insulating medium (e.g., ceramic fiber blanket) to prevent new thermal stresses from forming during cooling.
Part 3: Step-by-Step Implementation of the Repair on the Gear Shafts
3.1 Preparation and Machining Phase
Cleaning and Defect Removal: The damaged gear shafts were thoroughly cleaned of all grease, oil, and contaminants using industrial degreasers and solvents. The fractured and plastically deformed teeth were completely removed by machining (milling or careful grinding) back to sound, undamaged base metal. The resulting surface was inspected using magnetic particle testing (MPT) to ensure no subsurface cracks remained. The final prepared area was a clean, square shoulder and root.
Stud Hole Preparation and Stud Fabrication: Along the width of the tooth root location, positions for eight high-strength studs were marked. Holes were drilled and tapped to a depth reaching well below the dedendum circle of the gear shafts to ensure strong anchorage. Corresponding studs, machined from 40CrMnMo bar stock, were fabricated with a threaded end and a plain shank.
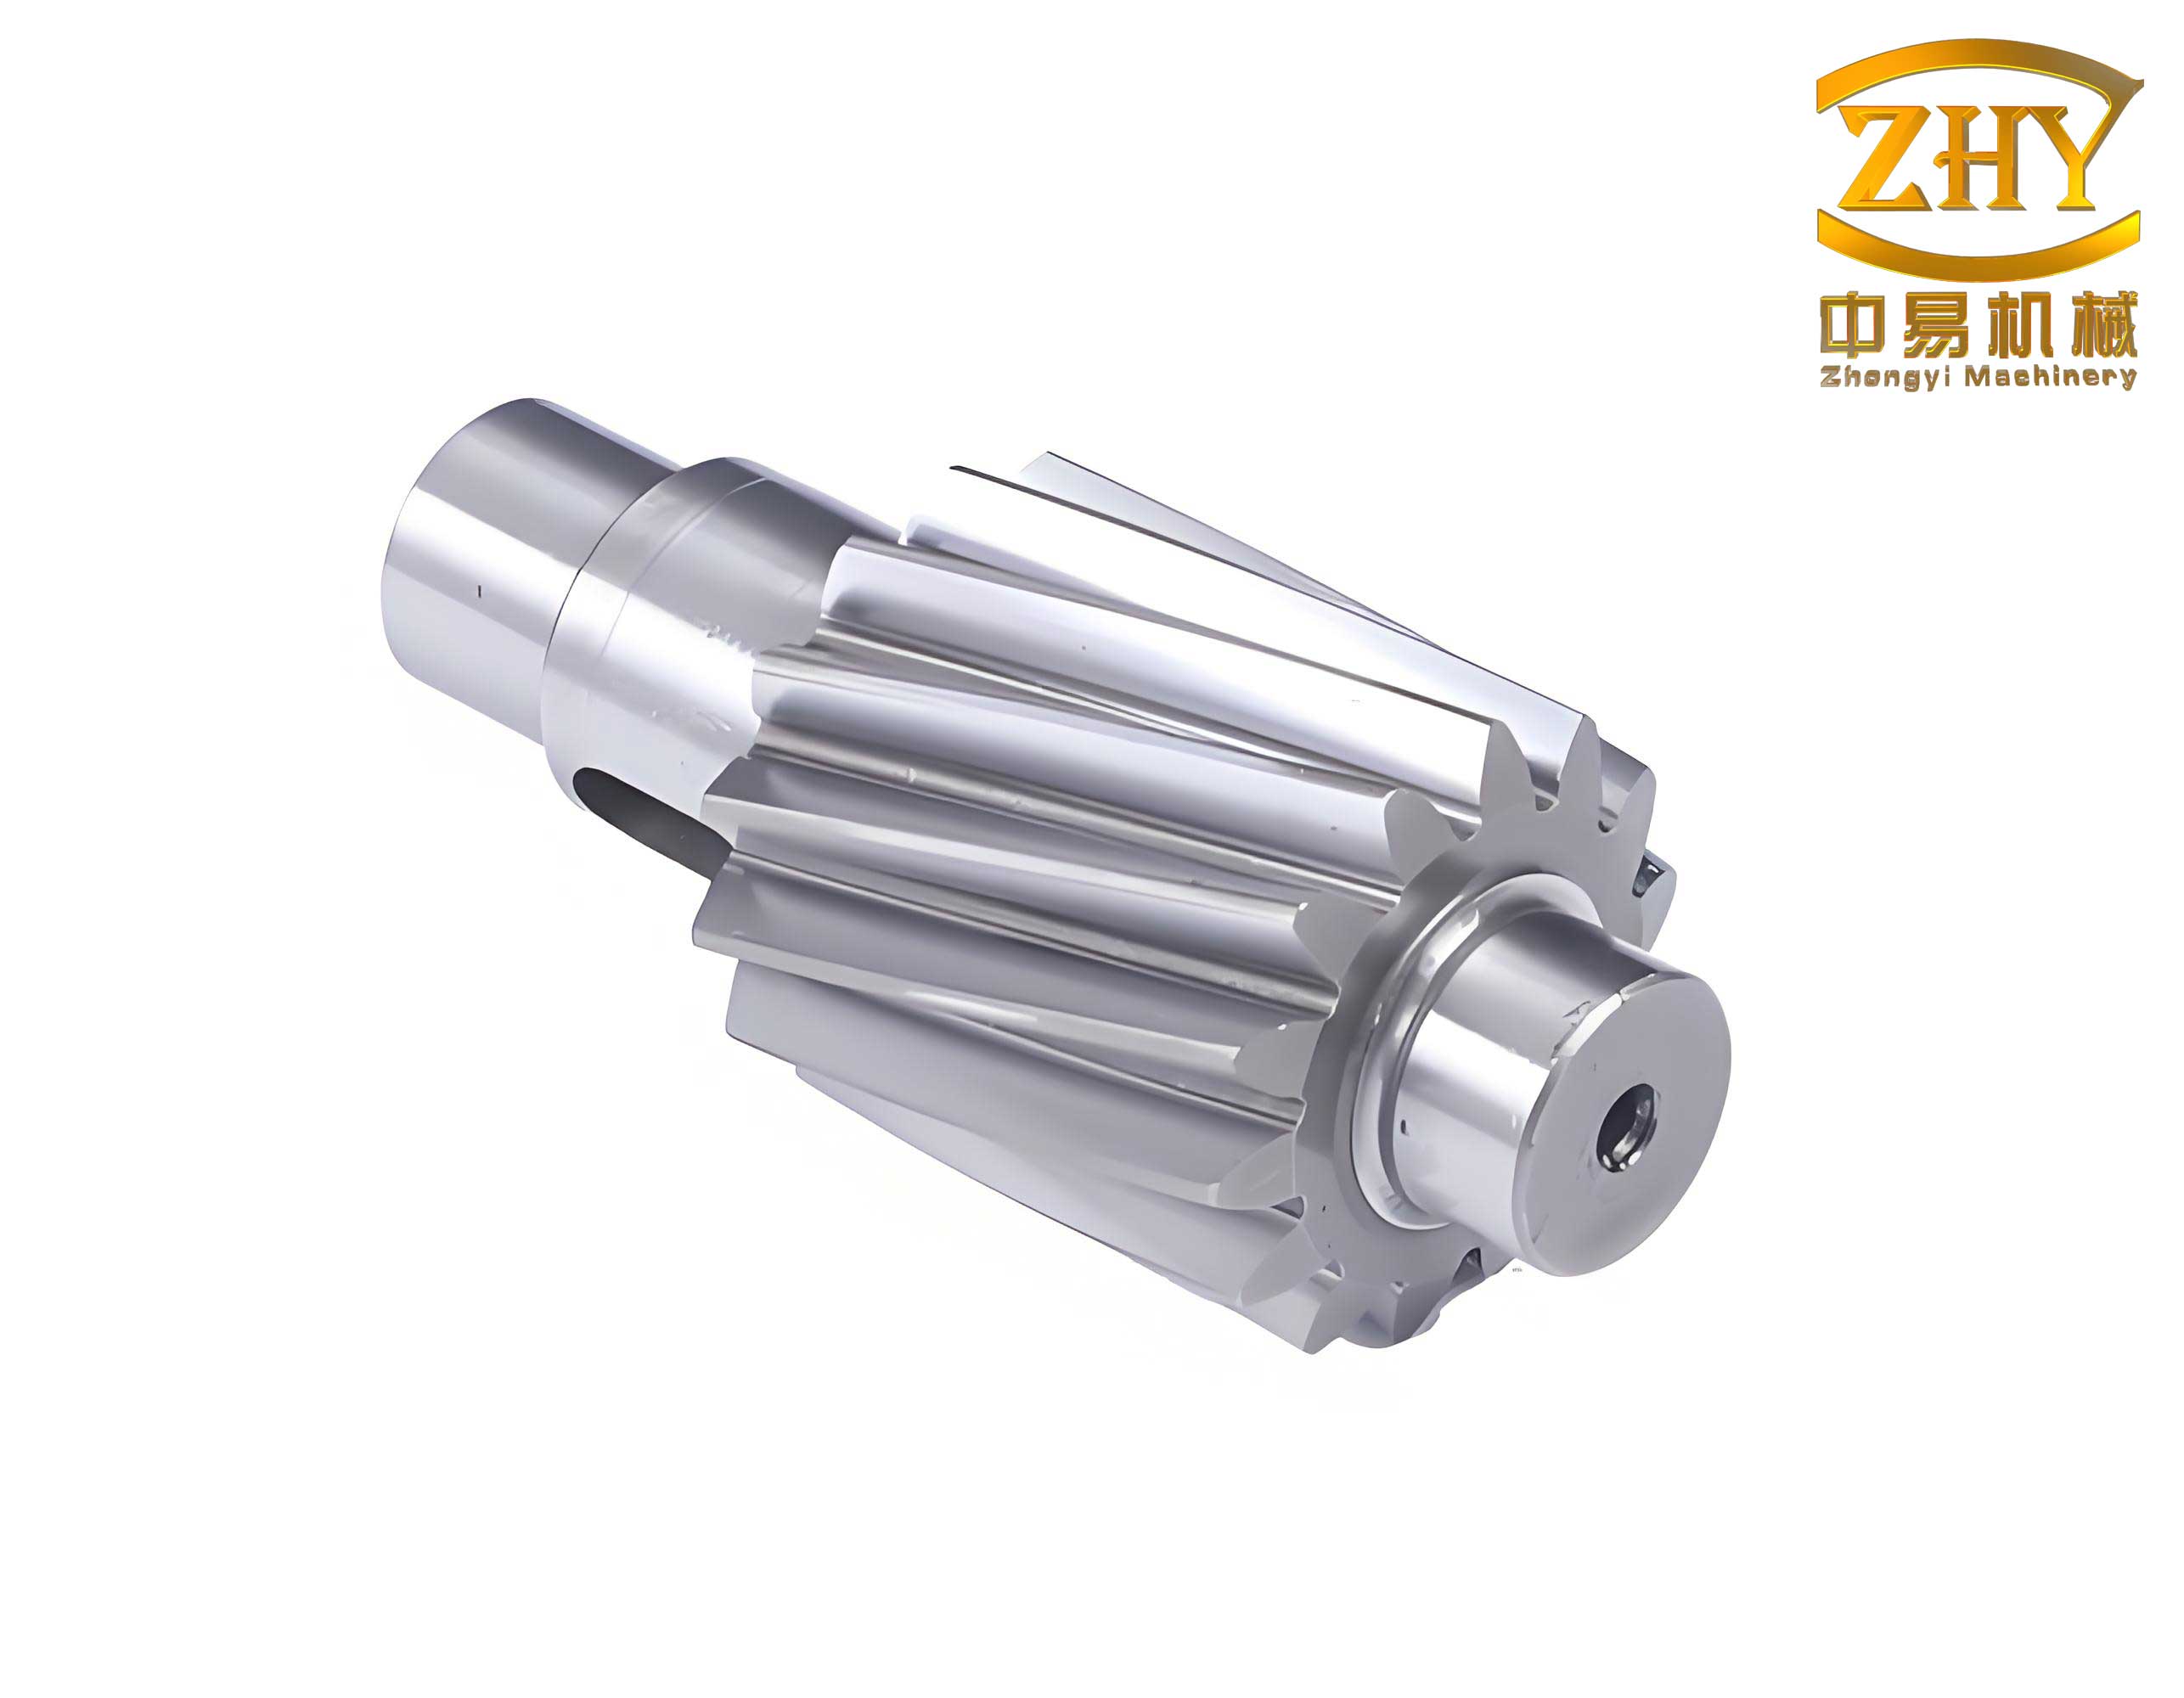
Tooth Insert Fabrication: Using precision measurements from an adjacent undamaged tooth and the original gear specifications (Module=30, Number of teeth=26), a new tooth insert was CNC machined from a forging of 40CrMnMo steel. The insert was designed with a “pocket” on its underside to fit over the prepared root surface of the gear shafts. Holes were machined in the insert to align with the installed studs. Crucially, the sides of the insert were machined with a 45° double-V preparation to allow for full penetration welding to the parent gear shafts.
3.2 Assembly and Welding Phase
Assembly and Tack Welding: The studs were securely fastened into the gear shafts. The tooth insert was then lowered into position, sliding over the studs. Using a precision gear tooth profile template, the insert was meticulously aligned in all axes (profile, lead, pitch) with the existing teeth on the gear shafts. Once perfect alignment was confirmed, the insert was temporarily secured with small tack welds in non-critical areas.
Welding Procedure: The gear shafts were oriented to allow for a vertical-down (3G) welding position where possible, facilitating better control of the weld pool. The established thermal management protocol was initiated. Two certified welders worked simultaneously on opposite sides of the tooth insert to balance heat input and minimize distortion.
- Welding Parameters: Parameters were carefully controlled to use a “low heat input” technique. Heat input (Q) per pass is calculated by the formula:
$$Q = \frac{60 \times V \times I}{1000 \times S}$$
where Q is heat input in kJ/mm, V is voltage in volts, I is current in amperes, and S is travel speed in mm/min. The target was to keep Q below 1.5 kJ/mm.
| Weld Pass Type | Wire Feed Speed (m/min) | Voltage (V) | Current (A) | Travel Speed (mm/min) | Calculated Heat Input (kJ/mm) |
|---|---|---|---|---|---|
| Root Pass | 7.5 – 8.5 | 24 – 26 | 190 – 220 | 180 – 220 | ~1.2 – 1.4 |
| Fill Passes | 8.5 – 10.0 | 26 – 28 | 220 – 260 | 200 – 250 | ~1.3 – 1.5 |
| Cap Passes | 9.0 – 10.0 | 27 – 29 | 240 – 270 | 220 – 260 | ~1.4 – 1.5 |
- Welding Sequence: A structured sequence was followed: 1) Weld the studs to the tooth insert via plug welds. 2) Complete the root pass on one side. 3) Back-gouge the root from the opposite side to clean metal and complete penetration. 4) Weld the root pass on the second side. 5) Proceed with fill and cap passes using a multi-layer, multi-pass technique, with careful cleaning between passes. Interpass temperature was continuously monitored.
- Peening: After each weld pass (except the root and final cap pass), the deposited bead was lightly peened using a needle scaler or rounded tool. This helps to plastically deform the weld metal, relieving some shrinkage stress and refining the grain structure.
3.3 Post-Weld Treatment and Finishing
Post-Weld Heat Treatment (PWHT): As soon as welding was completed, the temperature was raised to the prescribed stress relief cycle of 550°C for a 4-hour hold, followed by controlled furnace cooling.
Final Machining and Inspection: After the gear shafts had cooled to ambient temperature, all weld excess material was carefully removed by grinding and milling. The final tooth profile was ground and polished to match the original specification precisely. The repaired gear was then subjected to a full non-destructive testing (NDT) regimen:
- Visual Inspection (VT): For surface defects.
- Magnetic Particle Testing (MPT): For surface and near-surface cracks in the weld and HAZ.
- Ultrasonic Testing (UT): For internal defects within the weld volume.
- Dimensional and Functional Check: Gear tooth profile, lead, and pitch were verified. The repaired gear shafts were then meshed with its mating gear to check for correct backlash and contact pattern.
Part 4: Results, Validation, and Long-Term Performance
The comprehensive inspection conducted after the repair confirmed the procedure’s success. No welding defects—such as cracks, lack of fusion, or significant porosity—were detected in the restored sections of the gear shafts. The dimensional and functional checks confirmed that the repaired tooth was fully integrated into the gear mesh, with proper alignment and contact.
The ultimate validation, however, comes from service performance. The repaired bucket wheel stacker-reclaimer, with its critically restored gear shafts, was returned to full operational duty. It has now been in continuous service for over two years, handling millions of tons of bulk material. Periodic inspections during planned maintenance shutdowns have shown no signs of degradation, cracking, or abnormal wear in the welded repair zone. The tooth insert remains securely fixed, and the weldment shows no evidence of fatigue or failure.
This successful outcome validates the technical approach: the combination of mechanical reinforcement (studding), careful selection of low-carbon/high-toughness filler metal, strict control over heat input and hydrogen, and the mandatory application of proper preheat and PWHT can effectively restore even large, high-strength, poor-weldability components like these 40CrMnMo gear shafts. The repair achieved its primary objectives of minimizing downtime (from a potential 4+ months to a few weeks) and reducing cost (by over 70% compared to replacement), while delivering a reliable, long-lasting solution. This methodology establishes a viable and valuable protocol for the repair of other critical high-strength steel components in heavy industrial applications.