
In the realm of mechanical power transmission, screw gears, commonly known as worm and worm wheel drives, hold a unique and vital position. My extensive experience in mechanical design has consistently shown that this type of gearing is indispensable for applications requiring high reduction ratios, compact design envelopes, and smooth, quiet operation. The inherent self-locking capability under certain lead angles adds a critical safety feature for many lifting and positioning systems. From machine tools and automotive steering mechanisms to sophisticated instrumentation and heavy-duty conveyor systems, the applications of screw gear sets are remarkably widespread.
However, a significant challenge in modern Computer-Aided Design (CAD) is the accurate and efficient three-dimensional modeling of these components. The complex, spatially curved geometry of the worm thread and the enveloping form of the worm wheel teeth make them difficult to create using standard feature-based tools available in most CAD packages. This is where advanced, high-end systems like Siemens NX (formerly UGNX) demonstrate their superior capabilities. NX provides a powerful suite of parametric, feature-based, and explicit modeling tools that, when combined, allow for the precise construction of even the most complex geometries like those found in screw gears.
The core philosophy I employ in NX is a hybrid modeling approach. It seamlessly integrates parametric feature modeling with explicit geometric techniques. Dimensions and variables drive the model’s form, allowing for easy design iteration—a concept known as “dimension-driven” or “variable design.” This is particularly crucial for screw gears, where a change in a fundamental parameter like the axial module must propagate correctly through the entire worm and worm wheel geometry. While the learning curve for leveraging these advanced tools in NX can be steeper compared to simpler CAD software, the payoff in terms of modeling fidelity and flexibility is substantial. This article will detail my methodology for the parametric modeling of an Archimedean screw gear set in NX, a process that serves as a foundational template for modeling other complex mechanical geometries.
Geometric and Functional Analysis of Screw Gears
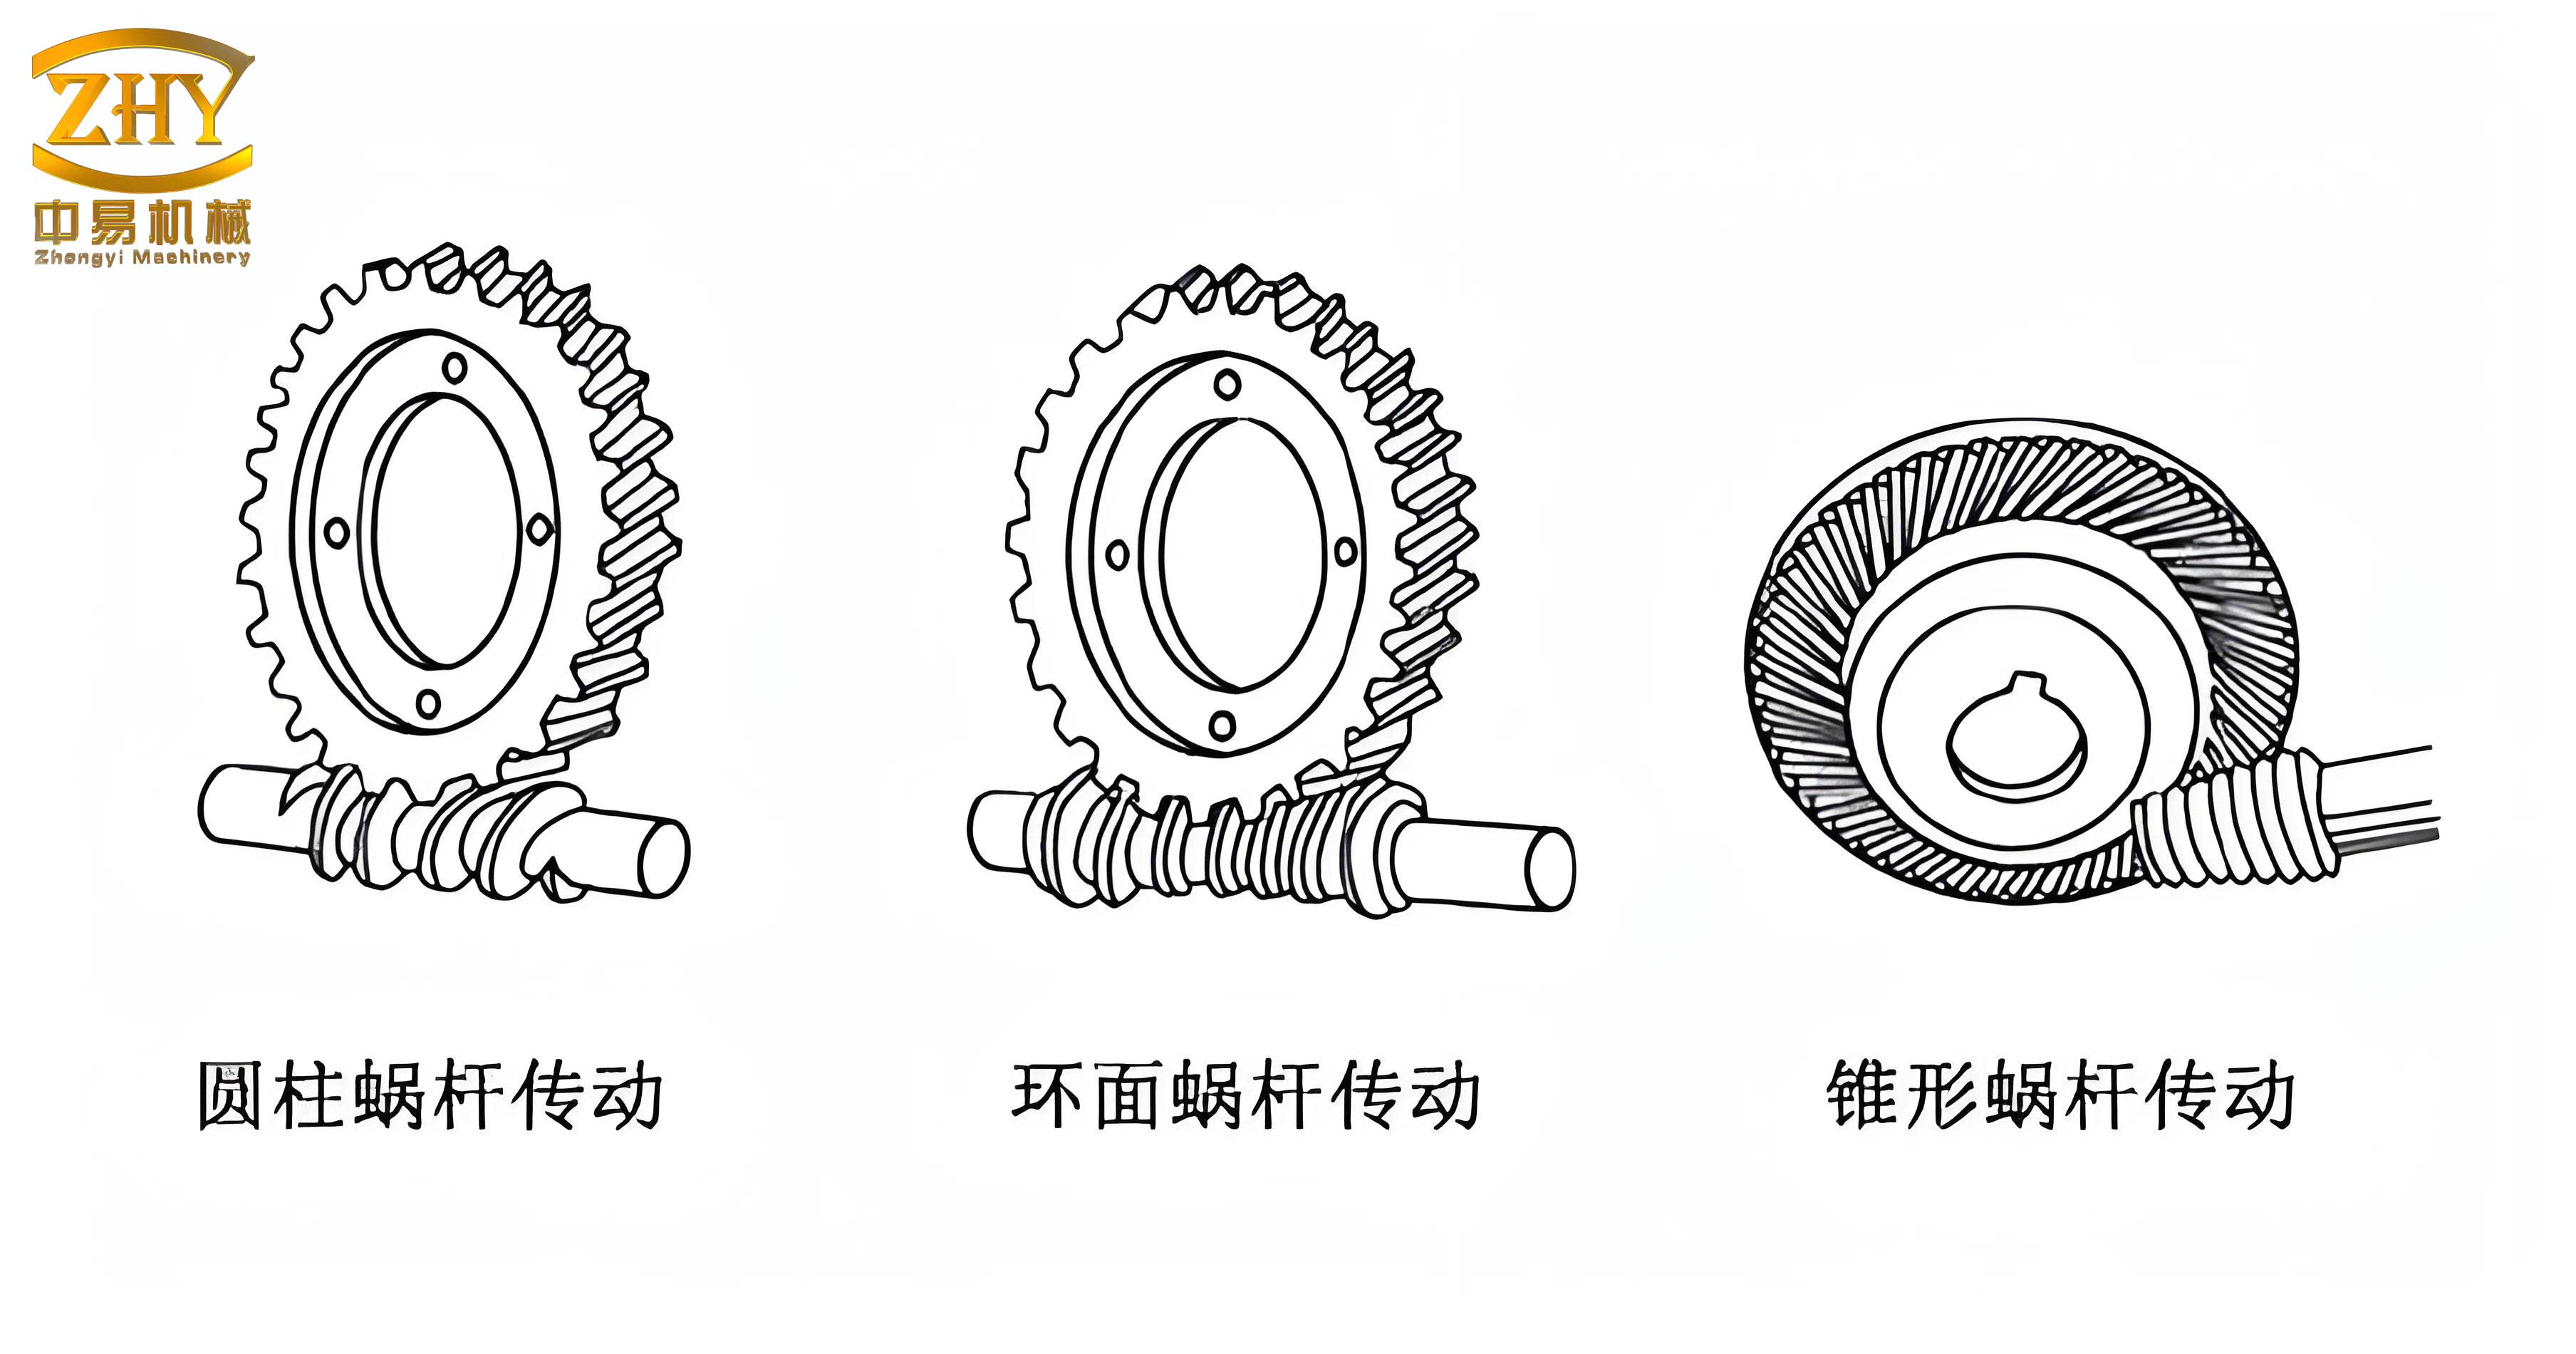
To model a screw gear effectively, one must first understand its geometric genesis and functional characteristics. Fundamentally, a screw gear drive is an evolution of crossed helical gears with a typically large shaft angle of 90 degrees. The worm resembles a screw thread, and its teeth can wrap around the pitch cylinder multiple times, which is why it is often described as having a single or multiple “starts.” To optimize meshing conditions and increase the contact area, the worm wheel is throat-shaped, partially enveloping the worm. This design transforms the contact from a theoretical point to a line, significantly enhancing its load-carrying capacity. This geometry necessitates that the worm wheel is typically generated using a hob cutter that is virtually identical in geometry to the mating worm, ensuring proper conjugate action.
From a modeling classification perspective, the worm is essentially a shaft-type component. Its primary structure consists of multiple cylindrical steps, augmented by the central helical thread form, along with standard shaft features like keyways, chamfers, and undercuts for tool relief. Conversely, the worm wheel is a disk- or ring-type part. Its main body is a revolution, featuring the enveloping gear teeth on its periphery and central features such as a hub, bore, web, and keyway. The parametric relationship between the two components is governed by a set of interdependent geometric and kinematic parameters.
The following table summarizes the critical design parameters for a sample Archimedean screw gear pair, which will be used as the basis for our modeling exercise in NX. Understanding and defining these parameters correctly is the first and most critical step in the parameterized modeling process.
| Parameter Symbol | Parameter Description | Worm Value | Worm Wheel Value | Interrelationship |
|---|---|---|---|---|
| \( m_x \) | Axial Module | 2 mm | – | \( m_n = m_x \cos\gamma = m_t \cos\beta \) |
| \( m_n \) | Normal Module | – | 2 mm | |
| \( z_1, z_2 \) | Number of Threads/Teeth | 1 | 27 | |
| \( \alpha_n \) | Normal Pressure Angle | 20° | 20° | Must be equal for proper meshing. |
| \( \gamma \) | Lead Angle (at Pitch Cylinder) | 4° 23′ 55″ | – | \( \tan \gamma = \frac{z_1 m_x}{d_1} = \frac{z_1}{q} \) |
| \( d_1, d_2 \) | Pitch Diameter | 26 mm | 54 mm | Center Distance \( a = \frac{d_1 + d_2}{2} \) |
| \( d_{a1}, d_{a2} \) | Tip Diameter | 30 mm | 62 mm | \( d_{a1} = d_1 + 2h_{a1} \), \( d_{a2} = d_2 + 2h_{a2} \) |
| \( d_{f1}, d_{f2} \) | Root Diameter | 21 mm | 49 mm | \( d_{f1} = d_1 – 2h_{f1} \) |
| \( a \) | Center Distance | 40 mm | Governs the spatial assembly relationship. | |
| \( b_2 \) | Face Width (Worm Wheel) | – | 25 mm | – |
| \( d_{a2}’ \) | Throat Diameter | – | 58 mm | – |
Mathematical Foundation for Screw Gear Modeling
The parameterized creation of a screw gear model relies on precise mathematical definitions for its curves and surfaces. Two fundamental geometric entities must be derived: the involute tooth profile of the worm wheel and the helical path of the worm thread.
For the worm wheel, the tooth profile in the normal cross-section is an involute curve. The Cartesian coordinates of a point on an involute generated from a base circle of radius \( r_b \) are given by:
$$
x(\epsilon) = r_b (\cos \epsilon + \epsilon \sin \epsilon)
$$
$$
y(\epsilon) = r_b (\sin \epsilon – \epsilon \cos \epsilon)
$$
Where \( \epsilon \) is the roll angle (or involute parameter) in radians. The base radius for the worm wheel is calculated from its normal module \( m_n \), number of teeth \( z_2 \), and normal pressure angle \( \alpha_n \):
$$
r_{b2} = \frac{m_n z_2 \cos \alpha_n}{2}
$$
For the worm, the central geometry is a helix. In NX, a helix is defined by its pitch, number of turns, radius, and handedness. The lead of the worm thread, \( P_z \), is the axial distance the thread advances in one complete revolution:
$$
P_z = z_1 \cdot p_x = z_1 \cdot \pi m_x
$$
Where \( p_x \) is the axial pitch. The helix used as a sweep path for the worm thread profile must be defined on the pitch cylinder with radius \( r_1 = d_1/2 \).
Parametric Modeling Procedure in NX
Worm Shaft Modeling
Step 1: Creating the Worm Blank. I begin by creating a parameterized sketch on a datum plane. This sketch profiles the main stepped cylinders of the worm shaft, including the sections for bearings, seals, and the central region where the thread will be cut. All dimensions are driven by expressions (e.g., `worm_shaft_length=100`, `bearing_dia=20`). This sketch is then revolved 360 degrees around its central axis to create the solid blank. Subsequent features like chamfers and undercut grooves are added parametrically.
Step 2: Defining the Tooth Space Profile. The Archimedean worm has a straight-sided profile in the axial section. To model this, I first reorient the Work Coordinate System (WCS) using the “Dynamic WCS” tool. I align the ZC-axis of the WCS with the worm’s axis, then rotate the coordinate system around the XC-axis by the lead angle \( \gamma \). This maneuver ensures the new sketch plane is normal to the helix on the pitch cylinder. On this plane, I sketch the tooth space contour. For a pressure angle \( \alpha \), the flank angle in the axial plane is defined. The sketch is fully constrained using dimensions linked to expressions for the tip radius (\( r_{a1} = d_{a1}/2 \)) and root radius (\( r_{f1} = d_{f1}/2 \)).
Step 3: Creating the Helical Path. Using the **Insert > Curve > Helix** function, I create the sweep path. The key parameters are set via expressions: radius = `pitch_radius_worm`, pitch = `lead_Pz`, length method = `Turns`, number of turns calculated based on the worm’s active length. This creates the helical curve along which the tooth profile will be swept to form the cutting tool body.
Step 4: Sweeping to Create the Cutting Tool. I use the **Sweep** command (historically called “Swept” or “Sweep along Guide”). The tooth space profile sketch is selected as the section curve, and the helix is selected as the guide curve. This operation creates a solid helical “thread” that represents the volume of material to be subtracted from the worm blank.
Step 5: Generating the Worm Thread. A Boolean **Subtract** operation is performed. The worm blank is the target body, and the swept helical solid is the tool body. Executing this cuts the continuous thread space into the worm shaft, creating the final worm thread form. Additional detailing features like root fillets and keyways are then added to complete the 3D parametric model of the screw gear worm.
Worm Wheel Modeling
Step 1: Creating the Worm Wheel Blank. The initial blank is created as a cylindrical body using the **Cylinder** command, with its diameter and height controlled by expressions related to the throat diameter and face width. The central hub, web, and bore are created through a combination of additional extruded profiles and Boolean subtract operations. The most distinctive feature, the throat radius, is created using the **Groove** feature (type: “Ball End”). The ball radius is set by the expression: `throat_ball_radius = center_distance – throat_radius`.
Step 2: Constructing the Involute Tooth Profile. This is the most mathematically intensive step. First, I define a series of expressions in the **Tools > Expressions** dialog box to capture the involute equations:
“`
m_n = 2 // Normal module
alpha_n = 20 // Pressure angle in degrees
z2 = 27 // Number of teeth
r_b = (m_n * z2 * cos(alpha_n)) / 2 // Base radius
t = 0..1 // System parameter, 0 to 1
s = t * 60 // Roll angle range (e.g., 0 to 60 degrees)
rad_s = rad(s) // Convert to radians
xt = r_b * (cos(s) + rad_s * sin(s)) // X-coordinate
yt = r_b * (sin(s) – rad_s * cos(s)) // Y-coordinate
zt = 0 // Z-coordinate
“`
I then use **Insert > Curve > Law Curve**, selecting “By Equation” for X, Y, and Z, and linking them to the expressions `xt`, `yt`, and `zt` respectively. This plots the precise involute curve in the model space.
Step 3: Developing the Full Tooth Form Tool. On a datum plane, I create a sketch containing three concentric circles: the tip circle, pitch circle, and root circle of the worm wheel. I use the **Project Curve** function to bring the generated involute law curve into this active sketch. I then trim and extend this involute segment, connecting it to the root circle with a fillet. To create the symmetric opposite flank, I construct a centerline at the angular position of half the tooth thickness (e.g., \( 360 / (4 * z2) \) degrees from the vertical axis) and mirror the first involute segment. The closed loop formed by the two involute segments, the tip circle arc, and the root circle arc defines one complete tooth space profile. Finally, I rotate this entire sketch profile around the X-axis by the negative of the worm’s lead angle (\(-\gamma\)) to orient it correctly relative to the worm wheel’s axis of rotation.
Step 4: Creating the Enveloping Cutting Tool Array. Similar to the worm, I create a helical path. However, for the worm wheel, the helix is defined on its pitch cylinder with a lead angle equal to the worm’s lead angle. I then sweep the rotated tooth space profile along this helix to create a single, helical “tooth-gap” solid body. This single tool body is then patterned circularly around the wheel’s axis. Using the **Edit > Transform** command with the “Copy” and “Rotate” options, I create \( z_2 \) instances of this tool body, each rotated by \( 360/z_2 \) degrees from the previous one.
Step 5: Generating the Worm Wheel Teeth. A final, single Boolean **Subtract** operation is performed. The worm wheel blank is the target, and the entire circular array of \( z_2 \) helical tool bodies are selected as the tool bodies. This single operation cuts all tooth spaces simultaneously, resulting in the fully formed, throated worm wheel of the screw gear set.
Assembly, Simulation, and Downstream Applications
Once the parameterized models of both the worm and the worm wheel are complete, they can be assembled within NX using mating constraints. The primary constraints are a **Center** constraint aligning the worm axis and the worm wheel axis (with a 90-degree angle), and a **Touch Align** constraint positioning the worm wheel at the correct center distance from the worm. This digital prototype of the screw gear assembly unlocks numerous advanced engineering analyses.
Static **Interference Check** can be performed to verify there is no unwanted geometric clash between the teeth in any assembled position. More importantly, dynamic **Collision Check** during motion simulation can validate the entire meshing cycle, ensuring smooth engagement and disengagement without gouging. The parameterized nature of the models means that the entire assembly and any derived simulations update automatically if a core design parameter (like the module or number of teeth) is changed, enabling rapid design exploration and optimization.
Furthermore, these accurate solid models serve as the perfect foundation for downstream applications. They can be directly used for Finite Element Analysis (FEA) to assess stress concentrations and bending fatigue in the teeth. The models are also essential for generating precise toolpaths in Computer-Aided Manufacturing (CAM) to machine the actual worm and worm wheel components. In summary, the parameterized modeling of screw gears in NX is not an endpoint but a critical starting point for a fully integrated digital engineering process, ensuring robustness, performance, and manufacturability from the earliest design stages.