
In mechanical engineering, the design of screw gear transmissions, commonly referred to as worm gear systems, is critical for applications requiring high reduction ratios and compact power transmission. As an engineer, I have extensively used modern CAD software like Autodesk Inventor 2021 to streamline the design process, from initial modeling to final engineering drawings. This article details my first-person approach to creating and analyzing screw gear transmissions, emphasizing the use of three-dimensional modeling, automated assembly, and drawing generation. Throughout this discussion, I will highlight key aspects such as parameter selection, computational verification, and standard compliance, all while ensuring that the term ‘screw gear’ is central to our exploration. The goal is to demonstrate how digital tools can enhance accuracy and efficiency compared to traditional two-dimensional methods.
The foundation of any screw gear design lies in understanding its geometric and kinematic properties. A screw gear system consists of a worm (the screw) and a worm wheel, where motion is transmitted between non-parallel, non-intersecting shafts. The design parameters include the axial module, pressure angle, lead angle, number of starts on the worm, and the gear ratio. Using Inventor 2021, I begin by setting up a project file with read-write access to standard libraries. This allows for seamless integration of components later. The initial step involves creating the housing parts, such as the gearbox body and cover, through sketching, extrusion, mirroring, drilling, and patterning operations. During this phase, I directly assign dimensional tolerances to sketches, such as for bore diameters or threaded holes, which later automate tolerance标注 in drawings. For instance, a bore might be specified as $$ \phi52^{+0.000}_{-0.021} $$ mm, ensuring precision from the outset.
To model the screw gear pair itself, I utilize the built-in Worm Gear Component Generator in Inventor 2021. This tool simplifies the creation of standardized screw gear sets by allowing input of critical design parameters. The process starts by creating a new assembly (.iam) file and activating the generator. Here, I input values for the gear ratio, tangential module, pressure angle, and lead angle. For the worm, I specify the number of starts, length, pitch diameter, and diameter factor. For the worm wheel, I set the number of teeth, face width, and profile shift coefficient. After filling these, I click ‘Calculate’ to verify if the design meets basic requirements. The generator performs checks for strength, wear, and thermal limits, providing feedback on safety factors. If adjustments are needed, I iterate on parameters like material properties or load conditions until the design is optimized. This computational step is crucial for ensuring the screw gear transmission’s reliability. Below is a table summarizing typical input parameters for a screw gear design:
| Parameter | Symbol | Typical Value | Unit |
|---|---|---|---|
| Gear Ratio | i | 20 | – |
| Tangential Module | m_t | 4 | mm |
| Pressure Angle | α | 20 | degrees |
| Lead Angle | γ | 10 | degrees |
| Worm Starts | z1 | 2 | – |
| Worm Wheel Teeth | z2 | 40 | – |
| Face Width | b | 30 | mm |
Once the parameters are validated, the generator produces a three-dimensional model of the meshing screw gear pair. I then save the worm and worm wheel as individual part (.ipt) files for further detailing. This includes adding features like shafts, keys, and bearing seats. The mathematical relationships governing screw gear geometry are essential here. For example, the lead angle γ is related to the worm’s pitch diameter d1 and lead L by: $$ \tan \gamma = \frac{L}{\pi d1} $$ where the lead is given by $$ L = z1 \cdot p $$ with p being the axial pitch. Similarly, the center distance a between worm and wheel is calculated as: $$ a = \frac{d1 + d2}{2} $$ where d2 is the pitch diameter of the worm wheel. These formulas ensure that the screw gear model is kinematically accurate.
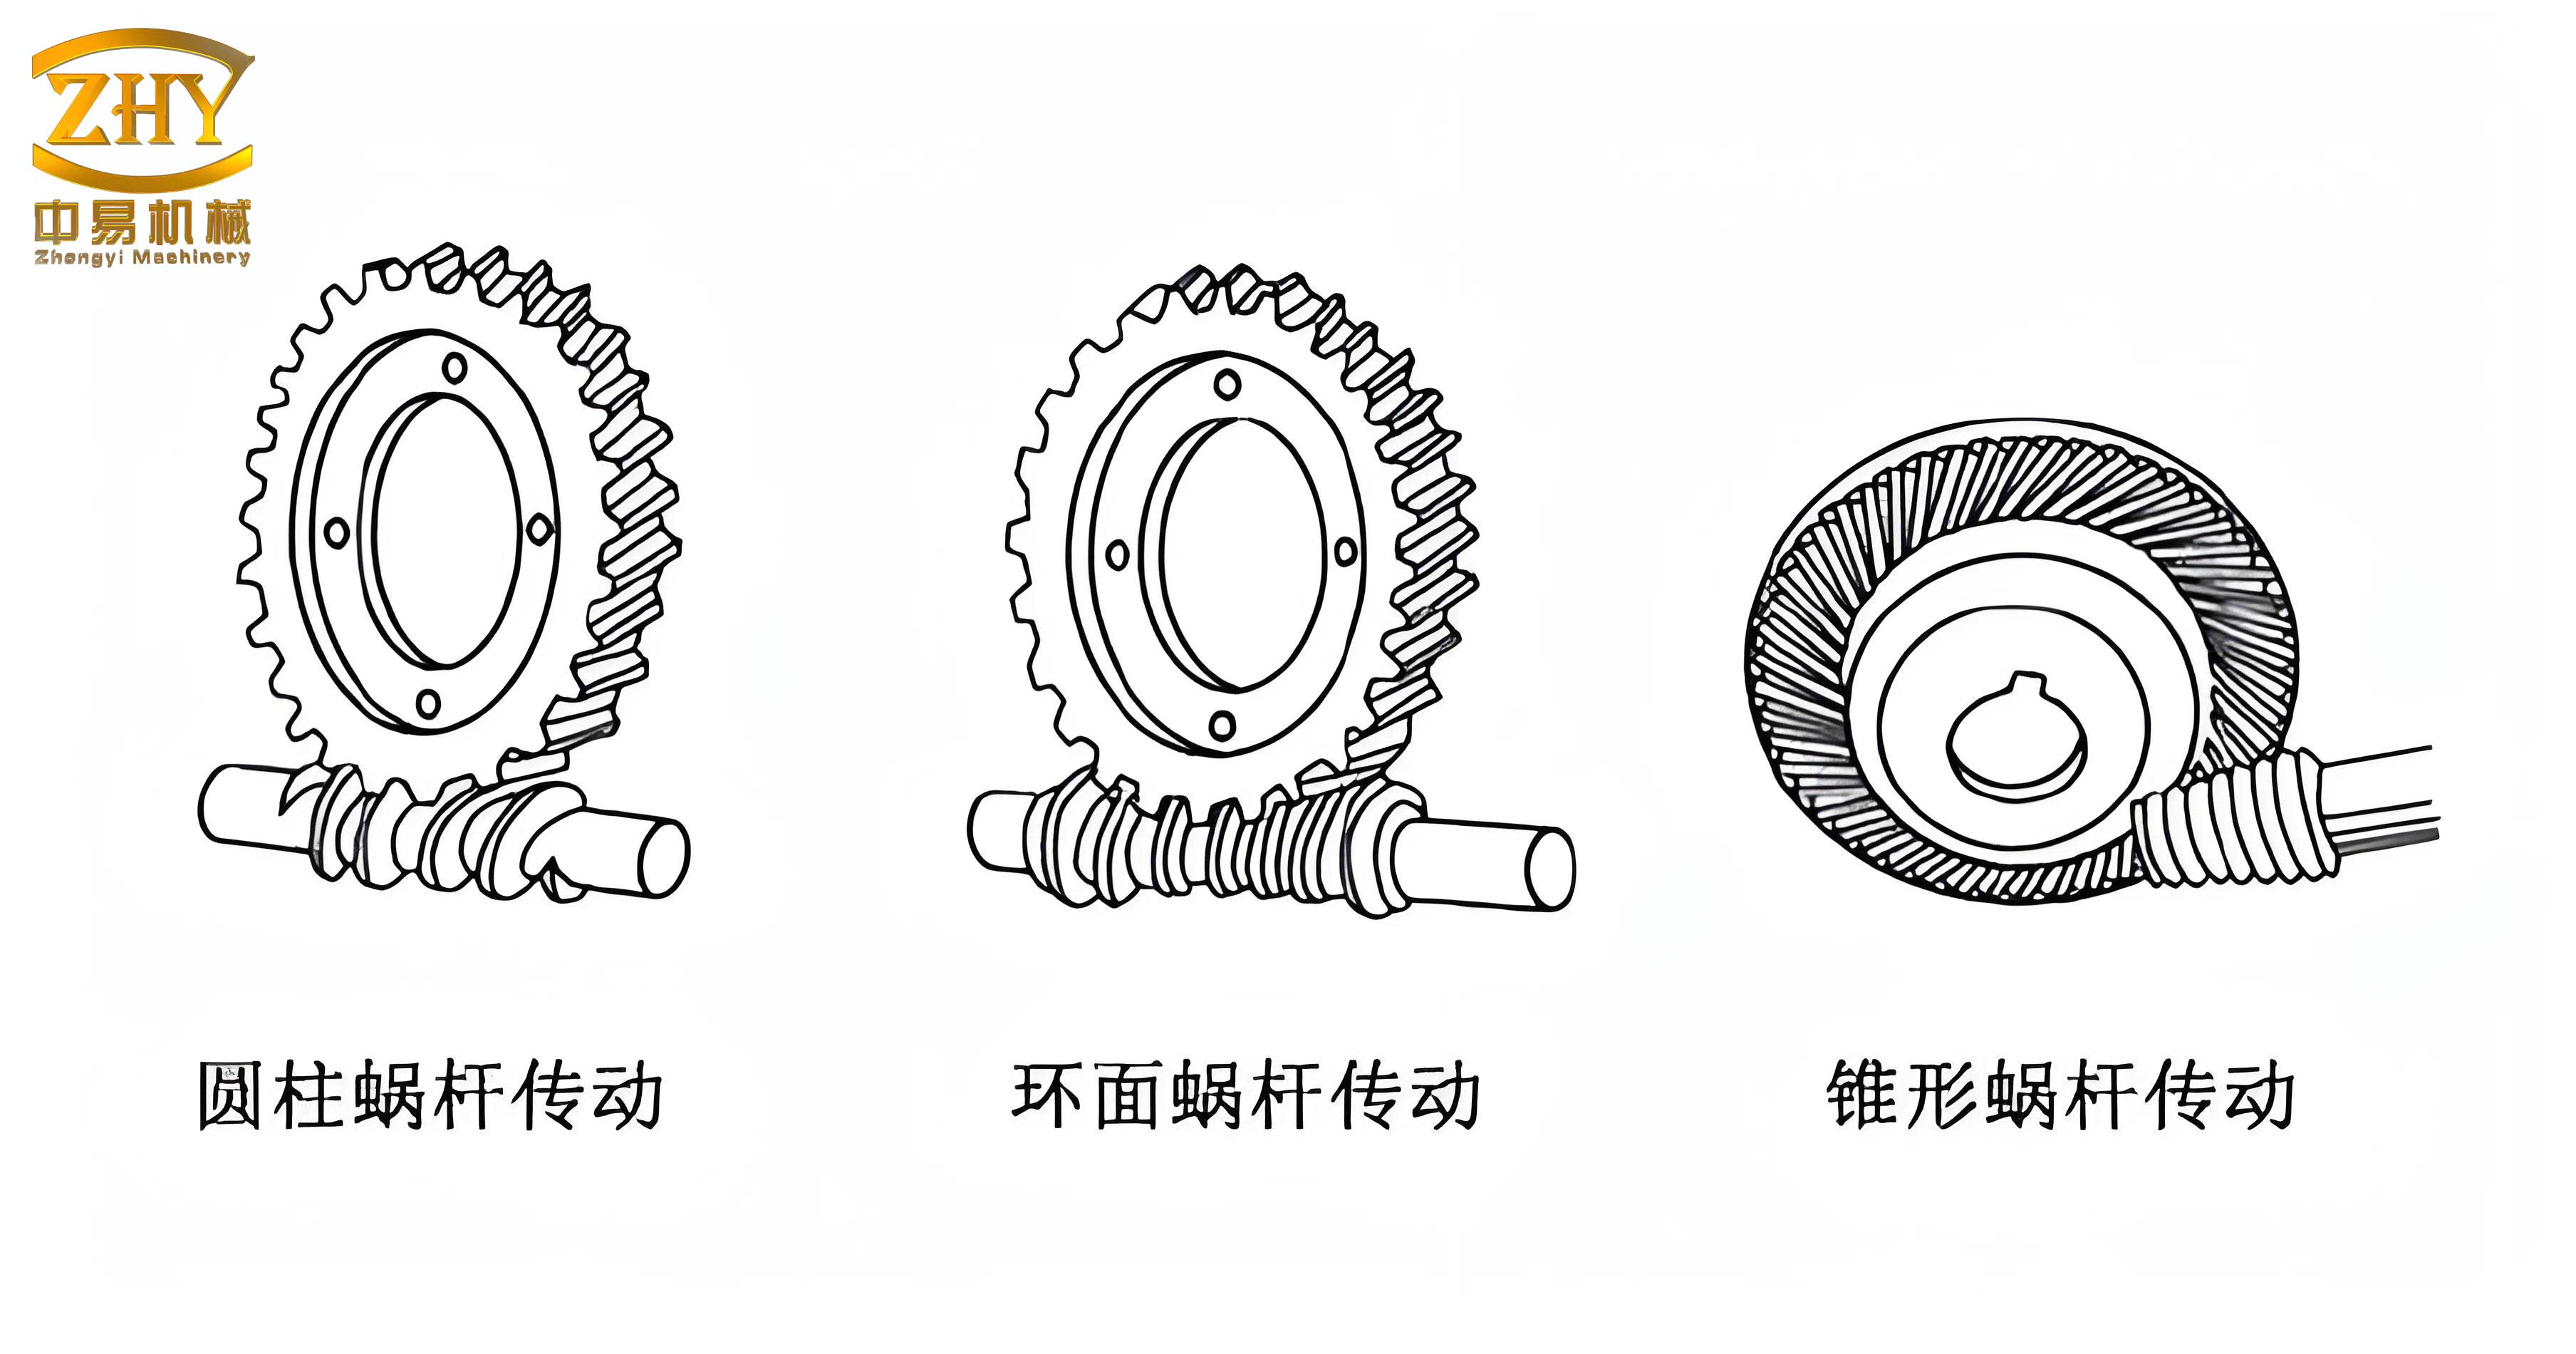
After modeling the screw gear components and housing parts, I proceed to assemble them in a new assembly file. The assembly sequence is methodical: first, I fix the gearbox body at the origin of the coordinate system. Then, I insert the worm shaft assembly, which includes the worm, bearings, and seals. Using constraints, I align the worm shaft with the bearing bores in the housing. Next, I assemble the worm wheel onto its shaft, along with keys and spacers. The worm wheel shaft is then positioned perpendicular to the worm shaft, ensuring proper meshing. Standard parts like keys, bearings, and seals are selected from Inventor’s Resource Center, which offers a library of ISO-standard components. For instance, I might choose a parallel key of size 6x6x30 mm for the worm wheel connection. The assembly constraints include mate, flush, and angle constraints to simulate real-world fit. Particularly for screw gear transmissions, I pay attention to the backlash adjustment by controlling the distance between worm and wheel axes. This is critical for reducing noise and wear. The final assembly includes covers, bolts, and a oil plug, resulting in a complete screw gear transmission unit.
With the assembly complete, I set the iProperty parameters for each part and the overall assembly. iProperty in Inventor stores metadata such as part number, material, designer name, and revision history. For each .ipt file, I access the iProperty dialog and fill in fields like ‘Title’, ‘Part Number’, ‘Material’, and ‘Creation Date’. This metadata is later used in bill of materials and drawing title blocks. For example, for the worm part, I might set the title as ‘Screw Gear Worm – 2 Start’ and assign a material of case-hardened steel. This step standardizes documentation and facilitates collaboration.
The next phase is automatic generation of engineering drawings. Inventor 2021 allows for creating associative drawings that update with model changes. I start by configuring the drawing style editor to comply with international standards (e.g., ISO or ANSI). This involves setting up layers, dimension styles, text fonts, and title block formats. For the gearbox body part drawing, I create a new drawing (.idw) file and place a base view. I then generate projected views, such as top, front, and side views. To reveal internal features, I apply section views. For instance, a half-section on the front view shows the bore for the screw gear shafts. I use the ‘Retrieve Model Annotations’ tool to import dimensions and tolerances directly from the model, which saves time. Additional annotations like geometric tolerances (e.g., concentricity or perpendicularity) and surface finish symbols are added manually. The drawing includes a table for technical specifications, such as material hardness or heat treatment requirements. Below is a formula used in checking the bending stress for the screw gear teeth, which might be noted in the drawing documentation: $$ \sigma_b = \frac{F_t \cdot K_a \cdot K_v}{b \cdot m_n \cdot Y} $$ where σ_b is bending stress, F_t is tangential force, K_a and K_v are application and dynamic factors, b is face width, m_n is normal module, and Y is the form factor. This ensures the screw gear design is validated for strength.
For the screw gear assembly drawing, I create a new drawing with multiple views to illustrate the entire transmission. A front view is often shown in full section to display all internal components, including the worm, worm wheel, bearings, and seals. I adjust the section participation for parts like shafts and bolts to show them unsectioned per drafting conventions. A top view might be a half-section to highlight the meshing of the screw gear pair. I also create detailed views for complex areas, such as the seal installation. The assembly drawing includes a bill of materials (BOM) that is automatically populated from the iProperty data. I configure the BOM table to list parts in ascending order of item number, with columns for quantity, part number, description, and material. The drawing is annotated with assembly dimensions, such as critical fits (e.g., Φ47K7/h6 for a bearing seat) and overall dimensions. Leader lines with balloons identify each component. The title block contains project information, ensuring the drawing is ready for manufacturing. Throughout this process, the screw gear transmission remains the focal point, with every detail aimed at ensuring its functionality and reliability.
In conclusion, designing a screw gear transmission with modern CAD tools like Inventor 2021 offers significant advantages over traditional methods. The three-dimensional modeling approach allows for visual verification of meshing and interference, while automated calculations ensure mechanical integrity. The assembly modeling facilitates accurate fit and tolerance analysis, and the drawing generation streamlines documentation. By leveraging resources like the Worm Gear Component Generator and standard parts libraries, I can reduce design time and improve accuracy. Key lessons include the importance of parameter optimization in the screw gear design, careful assembly sequencing, and adherence to drafting standards. This methodology not only applies to screw gear systems but can be extended to other mechanical transmissions, showcasing the power of digital design in engineering.