
The design and manufacture of screw gears, comprising a worm and a worm wheel, represent a critical yet complex task in mechanical power transmission. These components are indispensable for transmitting motion and power between non-intersecting, perpendicular shafts, offering distinct advantages such as high single-stage reduction ratios, smooth and quiet operation, compactness, and inherent self-locking capability. Consequently, screw gears find extensive applications across various industries, including automotive steering systems, lifting equipment, and precision machine tools. However, the traditional design process for screw gears is often manual, iterative, and heavily reliant on handbook calculations and empirical knowledge. This approach is not only time-consuming but also prone to human error, making it increasingly unsuitable in an era demanding rapid product development cycles and high design accuracy. To address these challenges, this article details the research and development of a comprehensive parametric design system aimed at automating and streamlining the entire process—from initial sizing and strength verification to the automatic generation of three-dimensional solid models.
The core philosophy of our parametric design system is to encapsulate engineering knowledge, standard design procedures, and geometric relationships into a structured software framework. By defining a set of primary input parameters (such as input power, speed, required ratio, and life), the system can automatically determine all necessary geometric dimensions, perform rigorous verification checks, and finally drive a CAD platform to create accurate 3D models. This methodology not only liberates designers from repetitive calculations but also ensures consistency, facilitates design exploration through easy parameter changes, and integrates design with downstream processes like simulation and manufacturing. The development was carried out using Microsoft Visual Basic for Applications (VBA) to create a custom interface and logic, which then leverages the Application Programming Interface (API) of SolidWorks for model generation. This combination provides a powerful, user-friendly tool for the efficient design of screw gears.
1. Fundamentals and Parametric Design Methodology for Screw Gears
The design of a screw gear set is governed by a sequence of interdependent decisions and calculations. The process begins with understanding the application requirements and selecting appropriate materials, proceeds through analytical sizing and verification, and culminates in the precise definition of geometry for manufacturing or simulation.
1.1 Determination of Initial Parameters and Material Selection
The starting point for designing any screw gear drive is a clear set of operational requirements. These key input parameters typically include:
- Input power ($P_1$) and rotational speed of the worm ($n_1$).
- Desired gear ratio ($i$) or output speed.
- Expected service life in operating hours.
- Load characteristics (steady, shock, intermittent).
- Efficiency targets and environmental conditions.
These parameters do not directly yield the gear dimensions; instead, they guide the selection of other critical design factors from standardized ranges, such as the number of worm threads ($z_1$), the number of worm wheel teeth ($z_2$), and the pressure angle ($\alpha$). The center distance ($a$) is a primary target variable that is iteratively determined based on strength calculations.
Material selection is paramount due to the significant sliding friction inherent in screw gear meshing. The choice is driven by the need for wear resistance, anti-scoring properties, and adequate strength. A common and effective combination is a hardened and ground steel worm mated with a bronze worm wheel. The worm, being the stronger component, is typically manufactured from case-hardening steels, through-hardening steels, or nitrided steels. The worm wheel, as the more vulnerable element, is often made from sand-cast or centrifugal-cast bronzes (e.g., tin bronze, aluminum bronze) or, for less demanding applications, cast iron. The properties of the selected worm wheel material directly influence the allowable contact stresses used in design calculations, as shown in the table below.
| Worm Material | Treatment | Worm Wheel Material | Typical Allowable Contact Stress [$\sigma_{H}$] (MPa) | Application Note |
|---|---|---|---|---|
| 16MnCr5 | Case hardened & ground | G-CuSn12Ni (Tin Bronze) | 220 – 280 | High load, high sliding speed |
| 42CrMo4 | Through hardened & ground | G-CuAl10Ni (Aluminum Bronze) | 180 – 250 | Good wear resistance, lower cost |
| 31CrMoV9 | Nitrided | G-CuSn12Ni (Tin Bronze) | 250 – 320 | High surface hardness, minimal distortion |
| C45 | Hardened & ground | GGG-40 (Ductile Iron) | 120 – 180 | Light load, low-speed applications |
1.2 Design Procedure and Strength Verification
The design logic must adhere to established mechanical design principles for screw gears. The primary failure modes are pitting (contact fatigue) and adhesive wear (scuffing) on the worm wheel teeth, and less frequently, tooth bending fracture. For closed gearboxes operating with proper lubrication, pitting and scuffing are the limiting factors. Therefore, the standard design procedure for enclosed screw gears is to size the gears based on surface contact (pitting) fatigue strength at the pitch point, and then verify the safety against root bending fatigue and worm shaft deflection.
1.2.1 Design Based on Contact Fatigue Strength
The fundamental equation for the contact stress ($\sigma_H$) in screw gears is derived from the Hertzian contact theory and is given by:
$$ \sigma_H = Z_E \sqrt{ \frac{9.5 K_A K_V K_\beta T_2}{d_1 d_2^2} } \leq \sigma_{HP} $$
Where:
- $Z_E$ is the elasticity factor, $\sqrt{\text{MPa}}$.
- $K_A$, $K_V$, $K_\beta$ are the application, dynamic, and load distribution factors, respectively.
- $T_2$ is the nominal output torque on the worm wheel, N·mm.
- $d_1$, $d_2$ are the pitch diameters of the worm and worm wheel, mm.
- $\sigma_{HP}$ is the permissible contact stress for the worm wheel material, MPa.
For initial design, this equation is transformed to solve for the required center distance $a’$. A common standardized form is:
$$ a’ \geq \sqrt[3]{ K_A T_2 K_\beta \left( \frac{Z_E}{\sigma_{HP}} \right)^2 } $$
The system calculates this preliminary center distance $a’$. Based on standard values for the axial module ($m_x$) and the worm diameter factor ($q$), where $q = d_1 / m_x$, the system selects a standard center distance $a$ that satisfies $a \geq a’$.
1.2.2 Verification of Bending Strength and Worm Shaft Stiffness
Once the geometric dimensions are tentatively established ($a$, $m_x$, $q$, $z_1$, $z_2$), the design must be verified.
- Bending Stress Check: The root bending stress on the worm wheel tooth is calculated using a formula similar to that for helical gears, modified for the specific geometry of screw gears:
$$ \sigma_F = \frac{1.7 K_A K_V K_\beta T_2 Y_{Fa} Y_\beta}{b_2 d_2 m_n} \leq \sigma_{FP} $$
Here, $Y_{Fa}$ is the tooth form factor (depending on the virtual number of teeth), $Y_\beta$ is the helix angle factor, $b_2$ is the face width of the worm wheel, $m_n$ is the normal module ($m_n = m_x \cos \gamma$, where $\gamma$ is the lead angle), and $\sigma_{FP}$ is the permissible bending stress. - Worm Shaft Deflection Check: Excessive deflection of the worm shaft can lead to misalignment and localized loading, causing premature failure. The maximum deflection at the pitch point of the worm must be limited. It is calculated as the deflection of a simply supported beam under the action of the resultant mesh force:
$$ \delta_{max} = \frac{F_r L^3}{48 E I} \leq \delta_{permissible} $$
Where $F_r$ is the resultant force, $L$ is the bearing span, $E$ is Young’s modulus, and $I$ is the area moment of inertia of the worm’s root diameter section. A typical permissible deflection $\delta_{permissible}$ is on the order of $0.001 \sqrt{m_x}$ to $0.005 \sqrt{m_x}$ mm.
The parametric design system automates this entire verification loop. If a check fails, the logic can suggest modifications, such as increasing the module, selecting a different material, or adjusting the worm geometry, and re-run the calculations until all criteria are satisfied.
2. Parametric 3D Modeling of Screw Gears
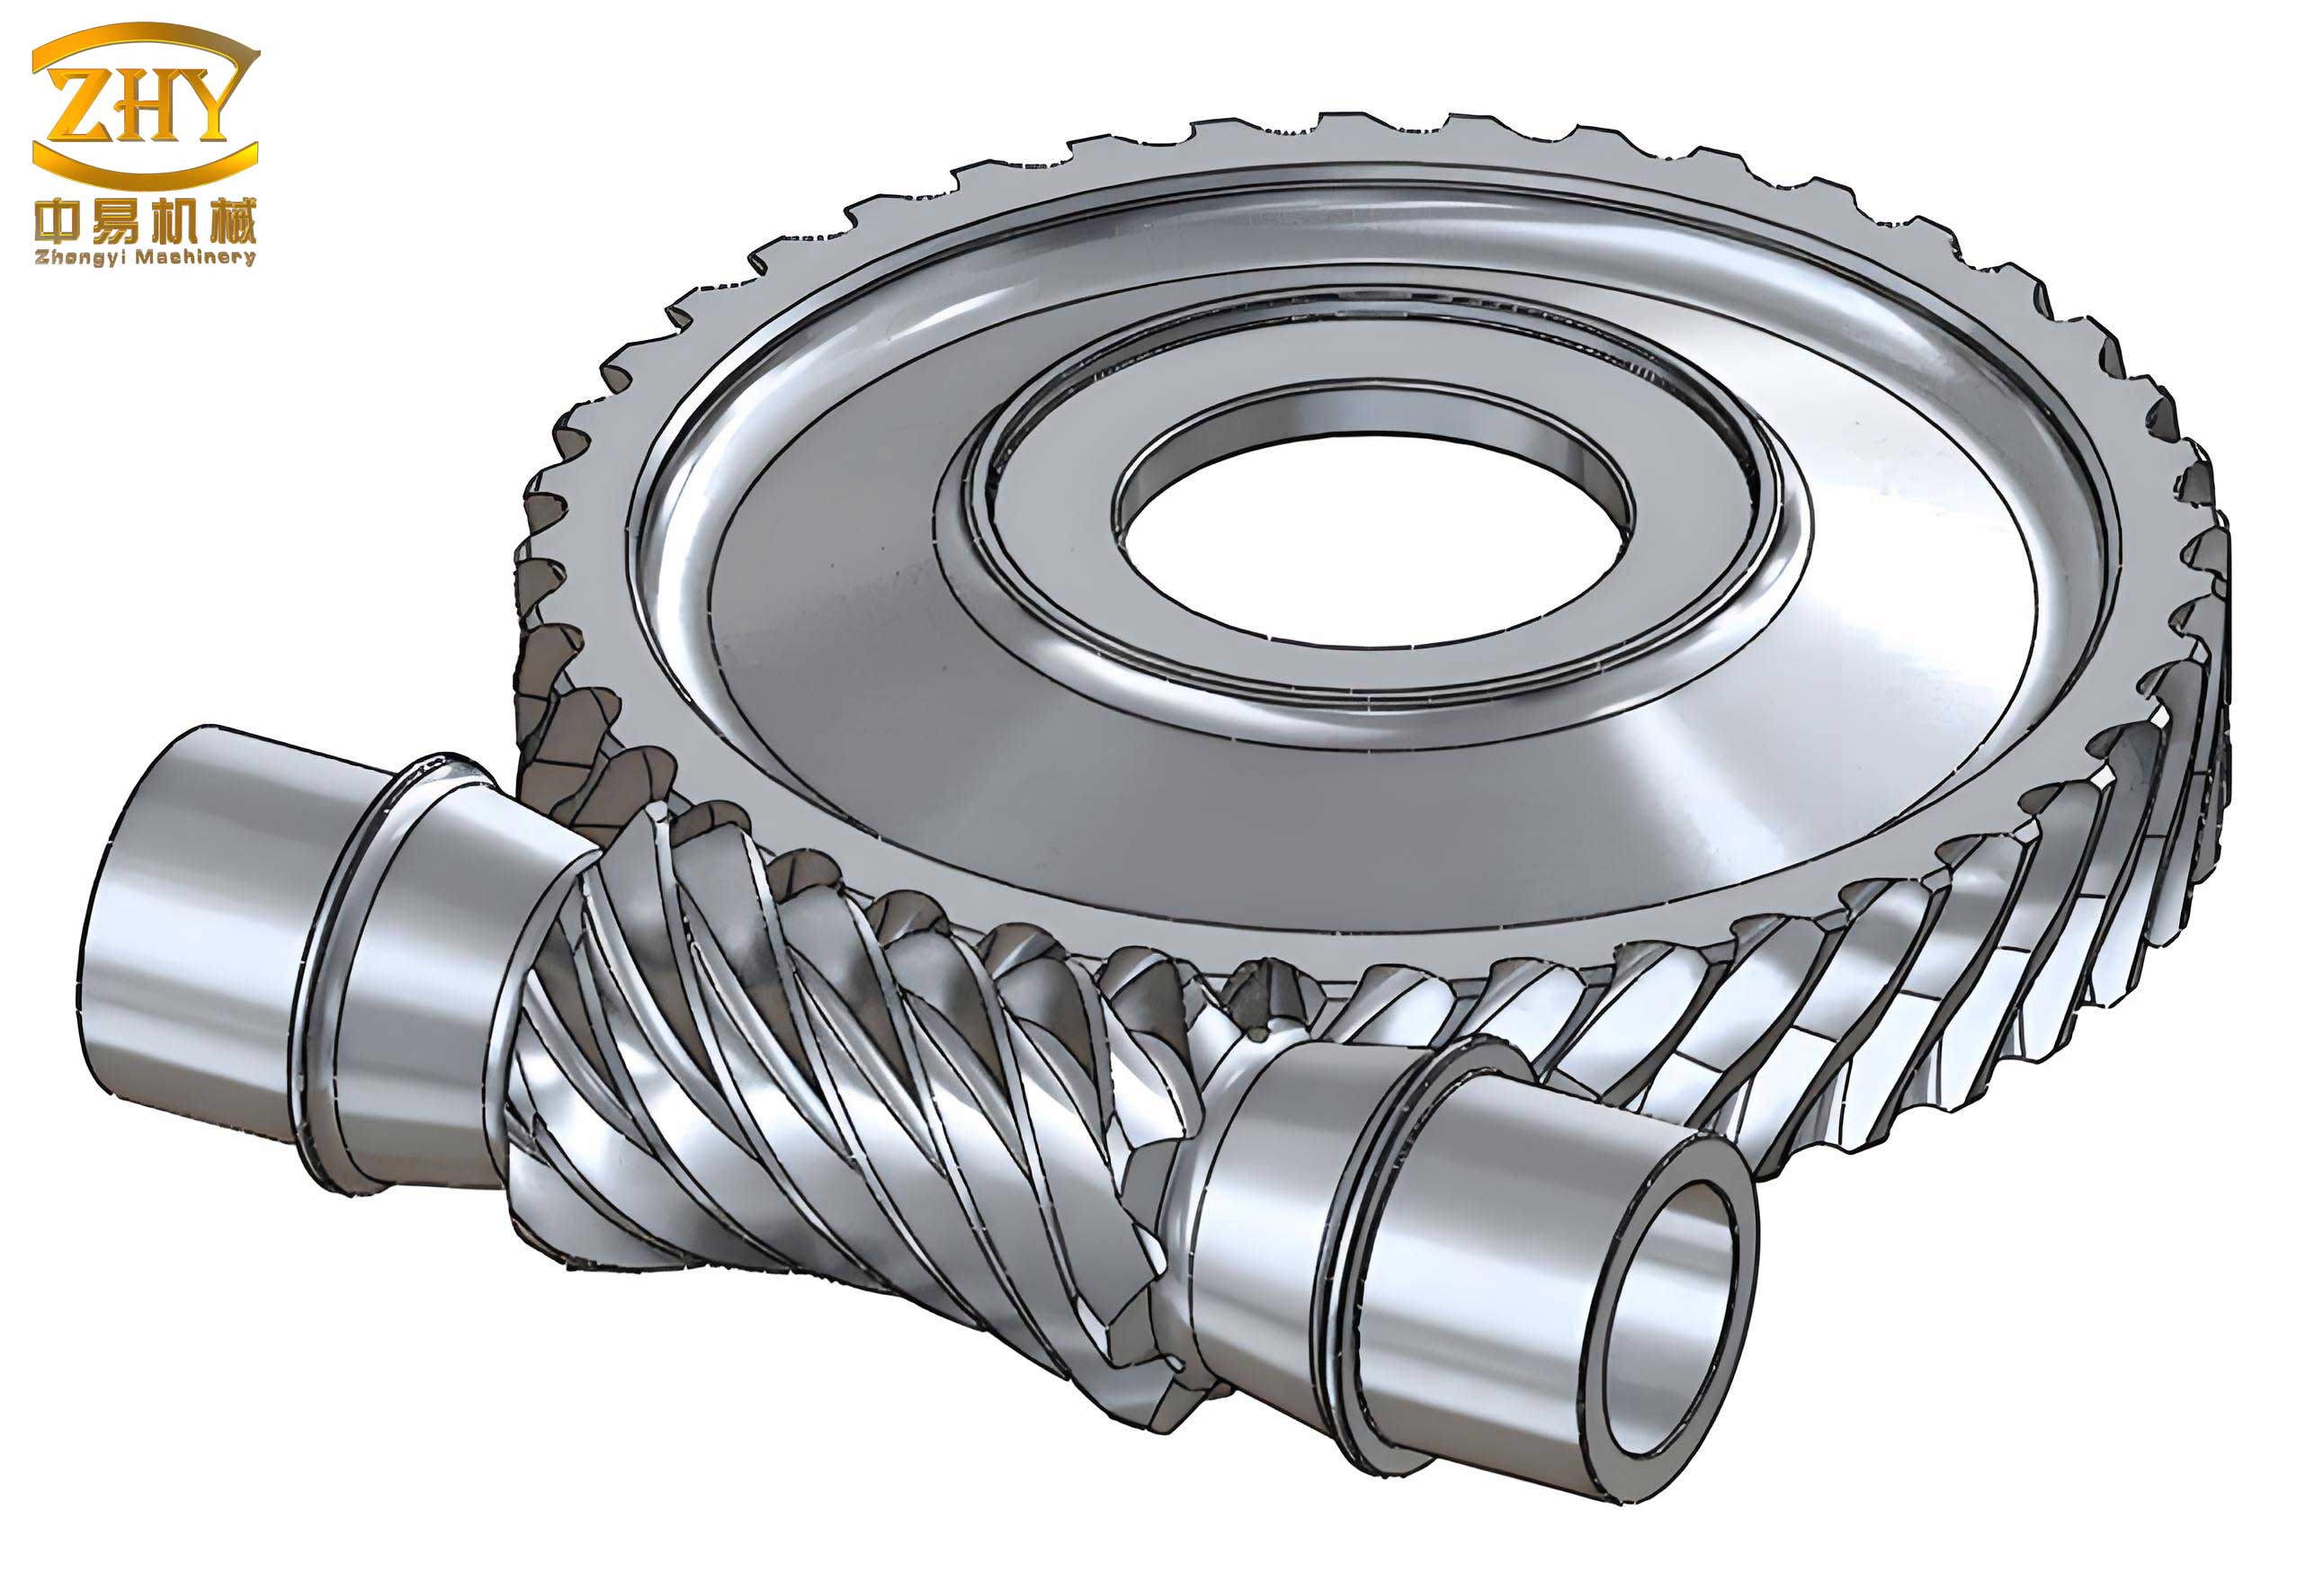
The final and most visually tangible output of the parametric system is the automatic generation of accurate 3D solid models for both the worm and the worm wheel. This is achieved by translating the finalized geometric parameters into a sequence of feature-based modeling commands executed via the SolidWorks API.
2.1 Worm Modeling (ZI – Archimedean Type)
For an Archimedean (ZA) worm, the flank surface is generated in a manner analogous to a trapezoidal thread. In the axial section, the tooth profile is a straight-sided rack with an included angle of $2\alpha$ (usually 40°). The 3D model is created by sweeping this axial profile along a helical path (the lead) around the worm cylinder.
Mathematical Definition of the Tooth Space Profile:
The axial profile for a single tooth space (groove) is defined by four key points as illustrated in the conceptual sketch. The coordinates of these points in the axial plane are derived from the worm’s basic dimensions:
$$
\begin{aligned}
&P_1(x_1, y_1): \quad x_1 = p_x/4 – (d_{a1}/2) \tan\alpha, \quad y_1 = d_{a1}/2 \\
&P_2(x_2, y_2): \quad x_2 = p_x/4 – (d_{f1}/2) \tan\alpha, \quad y_2 = d_{f1}/2 \\
&P_3(x_3, y_3): \quad x_3 = -x_2, \quad y_3 = y_2 \\
&P_4(x_4, y_4): \quad x_4 = -x_1, \quad y_4 = y_1
\end{aligned}
$$
Here, $p_x = \pi m_x$ is the axial pitch, $d_{a1}$ is the worm tip diameter, $d_{f1}$ is the worm root diameter, and $\alpha$ is the pressure angle in the axial plane.
Modeling Steps (Automated via API):
- Create Worm Blank: Sketch a circle with diameter $d_{a1}$ and extrude it to the length of the worm’s threaded portion ($L_1$).
- Create Helical Path: Define a helix with a pitch diameter of $d_1$, a pitch equal to the worm’s lead ($p_z = z_1 \cdot p_x$), and a height of $L_1$.
- Create Cut Profile: In a reference plane, sketch the trapezoidal tooth space profile using the coordinates defined above.
- Perform Swept Cut: Use the sketched profile as the cutting tool and the helix as the guide path to create the helical groove via a swept-cut operation.
- Pattern for Multi-Threads: For a multi-start worm ($z_1 > 1$), create a circular pattern of the swept-cut feature around the worm axis with an angular increment of $360°/z_1$.
- Add Shaft Features: Extrude additional shaft diameters and lengths for bearing seats and connections.
2.2 Worm Wheel Modeling
The worm wheel tooth is essentially a helical gear tooth with a throat radius matching the worm’s tip radius. The primary challenge is generating the precise involute tooth profile in the normal plane, which is then wrapped around the wheel’s throat and swept along a helical path complementary to the worm’s lead.
Mathematical Definition of the Involute Tooth Profile:
The involute curve for one side of a tooth space is defined parametrically. For a point on the involute, the Cartesian coordinates in the normal plane are given by:
$$
\begin{aligned}
x(\theta) &= R_b [\cos(\theta + \phi) + \theta \sin(\theta + \phi)] – R_b \sin \phi \\
y(\theta) &= R_b [\sin(\theta + \phi) – \theta \cos(\theta + \phi)] – R_b \cos \phi
\end{aligned}
$$
Where:
- $R_b = (m_n z_2 \cos\alpha_n) / 2$ is the base circle radius.
- $\alpha_n$ is the normal pressure angle.
- $\theta$ is the involute roll angle (parameter).
- $\phi$ is the half tooth-space angle on the base circle, typically $\phi = S_b / (2R_b)$, where $S_b$ is the base circle tooth space width.
The system calculates a series of $(x, y)$ points using this equation, which are then connected by a spline in the sketch to form a highly accurate involute segment.
Modeling Steps (Automated via API):
- Create Wheel Blank: Sketch a circle with the worm wheel’s outer diameter ($d_{a2}$) and extrude it to the face width $b_2$.
- Create Throat Contour: Revolve-cut the central portion using a sketch of the throat radius ($R_{a1} = d_{a1}/2$) to form the concave shape that envelops the worm.
- Create Involute Tooth Space Sketch: On a datum plane, generate the symmetric involute profiles for one complete tooth space using the parametric equations. Close the sketch to form a valid cut profile.
- Create Complementary Helix: Define a helix on the worm wheel’s pitch cylinder with a lead equal to that of the worm ($p_z$) but with the hand of helix reversed.
- Perform Swept Cut: Use the involute tooth space sketch as the cutting tool and the complementary helix as the guide path to create a single, helical tooth space in the wheel blank.
- Circular Pattern: Create a circular pattern of the single swept-cut feature around the wheel axis, with the total number equal to the number of teeth ($z_2$), generating the full set of teeth.
- Add Hub and Web Features: Model the central hub, web, bolt holes, and keyway as required by the specific application.
3. System Implementation and Case Study
The parametric design system was developed as a standalone executable application with a graphical user interface (GUI) built in Visual Basic. This application performs all design calculations and, upon final validation, communicates with a running instance of SolidWorks via its API (Application Programming Interface) to execute the modeling steps described previously. The API allows the VB program to control SolidWorks functions—creating sketches, extrusions, cuts, helixes, and patterns—programmatically, thereby automating the entire modeling process.
The user interface is logically divided into sections:
- Input Panel: For entering operational requirements (power, speed, ratio, life, load conditions).
- Material Selection Panel: With dropdown lists for standardized worm and worm wheel materials, which populate the material property database.
- Calculation & Results Panel: Displays the step-by-step calculation results, including preliminary center distance, selected standard module, final geometric dimensions (all diameters, lead angle, face widths), and the results of the contact, bending, and deflection checks with pass/fail status.
- 3D Modeling Control: Buttons to initiate the automatic generation of the worm model, the worm wheel model, and finally, an assembly of the screw gear pair.
3.1 Design Example
To demonstrate the system’s capability, consider the design of an enclosed ZA-type screw gear set with the following specifications:
- Input Power ($P_1$): 9 kW
- Worm Speed ($n_1$): 1440 rpm
- Gear Ratio ($i$): 57
- Required Life: 12,000 hours (8 hours/day)
- Load: Uniform, steady, unidirectional.
The user inputs these values and selects a material pair: a case-hardened 16MnCr5 worm and a centrifugally cast tin bronze (G-CuSn12Ni) worm wheel. The system executes the design logic, which yielded the following key results after verification:
| Parameter | Symbol | Value | Unit |
|---|---|---|---|
| Center Distance | $a$ | 160 | mm |
| Axial Module | $m_x$ | 5 | mm |
| Worm Diameter Factor | $q$ | 10 | – |
| Number of Worm Threads | $z_1$ | 2 | – |
| Number of Wheel Teeth | $z_2$ | 114 | – |
| Lead Angle | $\gamma$ | 11.31° | ° |
| Calculated Contact Stress | $\sigma_H$ | 231 | MPa |
| Permissible Contact Stress | $\sigma_{HP}$ | 250 | MPa |
| Contact Check Status | – | PASS | – |
| Calculated Bending Stress | $\sigma_F$ | 31 | MPa |
| Permissible Bending Stress | $\sigma_{FP}$ | 70 | MPa |
| Bending Check Status | – | PASS | – |
| Calculated Worm Deflection | $\delta_{max}$ | 0.018 | mm |
| Permissible Deflection | $\delta_{perm}$ | 0.022 | mm |
| Deflection Check Status | – | PASS | – |
With all verification checks passed, the user can then command the system to generate the 3D models. The VB application calls the SolidWorks API functions in sequence, creating the worm and worm wheel as separate part files. The resulting digital models are precise, fully defined, and ready for use in virtual assembly, interference checking, finite element analysis (FEA), or to generate detailed manufacturing drawings. This seamless integration from specification to model exemplifies the core benefit of the parametric design system for screw gears.
4. Conclusion
The development and implementation of this parametric design system represent a significant advancement in the methodology for designing screw gears. By systematizing the complex interplay of empirical formulas, material science, and geometric modeling into an automated software tool, the system delivers substantial practical benefits. It dramatically enhances design efficiency, reducing a process that could take hours or days to a matter of minutes. It improves accuracy by eliminating manual calculation errors and ensuring consistent application of design standards. Furthermore, it shortens the overall product development cycle by providing an immediate and reliable bridge from functional requirements to a manufacturable 3D digital prototype.
The parametric foundation of this system is its greatest strength. A designer can easily explore “what-if” scenarios by changing an input parameter (e.g., ratio, material, or center distance constraint) and instantly observe the impact on gear size, strength, and the resulting 3D geometry. This facilitates rapid optimization and informed decision-making. The automatically generated, dimensionally accurate solid models serve as a perfect foundation for subsequent engineering activities, such as static and dynamic simulation, thermal analysis, and tolerance studies. In conclusion, this parametric design system for screw gears not only modernizes a traditional engineering task but also establishes a robust digital thread that connects design, analysis, and manufacturing, paving the way for more innovative and reliable power transmission solutions.