
In modern mechanical engineering, the design of screw gears, commonly referred to as worm gear drives, is critical for applications requiring high reduction ratios, compactness, and smooth motion transmission. As a designer, I have extensively used Autodesk Inventor 2021 to create, assemble, and document screw gears transmissions. This article details my first-person approach to leveraging Inventor’s capabilities for efficient three-dimensional modeling, assembly, and automatic generation of engineering drawings, emphasizing the use of tables and formulas to summarize key aspects. Throughout this discussion, I will consistently refer to the components as screw gears to highlight their significance.
The process begins with understanding the fundamental parameters of screw gears. These include the transmission ratio, axial module, pressure angle, lead angle, and material properties. Proper selection of these parameters ensures optimal performance and longevity. In my design workflow, I start by defining these parameters mathematically. For instance, the transmission ratio for screw gears is given by:
$$i = \frac{z_2}{z_1}$$
where \(z_2\) is the number of teeth on the worm wheel (gear) and \(z_1\) is the number of starts on the worm (screw). Additionally, the lead angle \(\gamma\) is crucial for efficiency and is calculated as:
$$\gamma = \arctan\left(\frac{z_1 \cdot m_x}{d_1}\right)$$
Here, \(m_x\) is the axial module, and \(d_1\) is the pitch diameter of the worm. These formulas guide the initial design phase, ensuring that the screw gears meet required torque and speed specifications.
| Parameter | Symbol | Typical Value Range | Importance |
|---|---|---|---|
| Transmission Ratio | \(i\) | 10:1 to 100:1 | Determines speed reduction |
| Axial Module | \(m_x\) | 1 mm to 10 mm | Affects gear size and strength |
| Pressure Angle | \(\alpha\) | 20° to 25° | Influences tooth engagement and load capacity |
| Lead Angle | \(\gamma\) | 5° to 30° | Impacts efficiency and self-locking |
| Worm Diameter Factor | \(q\) | 8 to 15 | Relates worm diameter to module |
With these parameters in mind, I proceed to create the three-dimensional models in Inventor 2021. I establish a project file with read-write access to the standard library. For each component, such as the housing, cover, and auxiliary parts, I employ sketching, extrusion, mirroring, hole creation, filletting, and circular patterning commands. For example, the housing model is developed by first creating reference planes, then drawing profiles for walls and bearing seats, followed by extruding these profiles to form solid features. During sketching, I directly assign dimensional tolerances, such as \(\phi 52^{+0.0}_{-0.021}\) for bore diameters or \(6 \times M6 \times 1\) for threaded holes. This practice streamlines later annotations in engineering drawings. Similarly, parts like oil plugs, gaskets, sleeves, and sealing end covers are modeled using analogous techniques, ensuring all screw gears components are accurately represented.
The core of the screw gears transmission lies in the worm and worm wheel. Instead of modeling these from scratch, I utilize Inventor’s “Worm Gear Component Generator.” This tool automates the design based on input parameters. I create a new assembly (.iam) file and activate the generator. In the design interface, I input values for transmission ratio, axial module, pressure angle, and lead angle. For the worm, I specify the number of starts, length, pitch diameter, and diameter factor. For the worm wheel, I set the tooth count, face width, and profile shift coefficient. After filling these, I click “Calculate” to evaluate the design against strength and life criteria. The generator provides results for load capacity, safety factors, and contact patterns. If the initial design fails, I iterate by adjusting parameters like material strength or lubrication conditions until the screw gears meet all requirements. Once satisfied, I generate the mating pair and save them as individual part (.ipt) files for subsequent assembly and detailing.
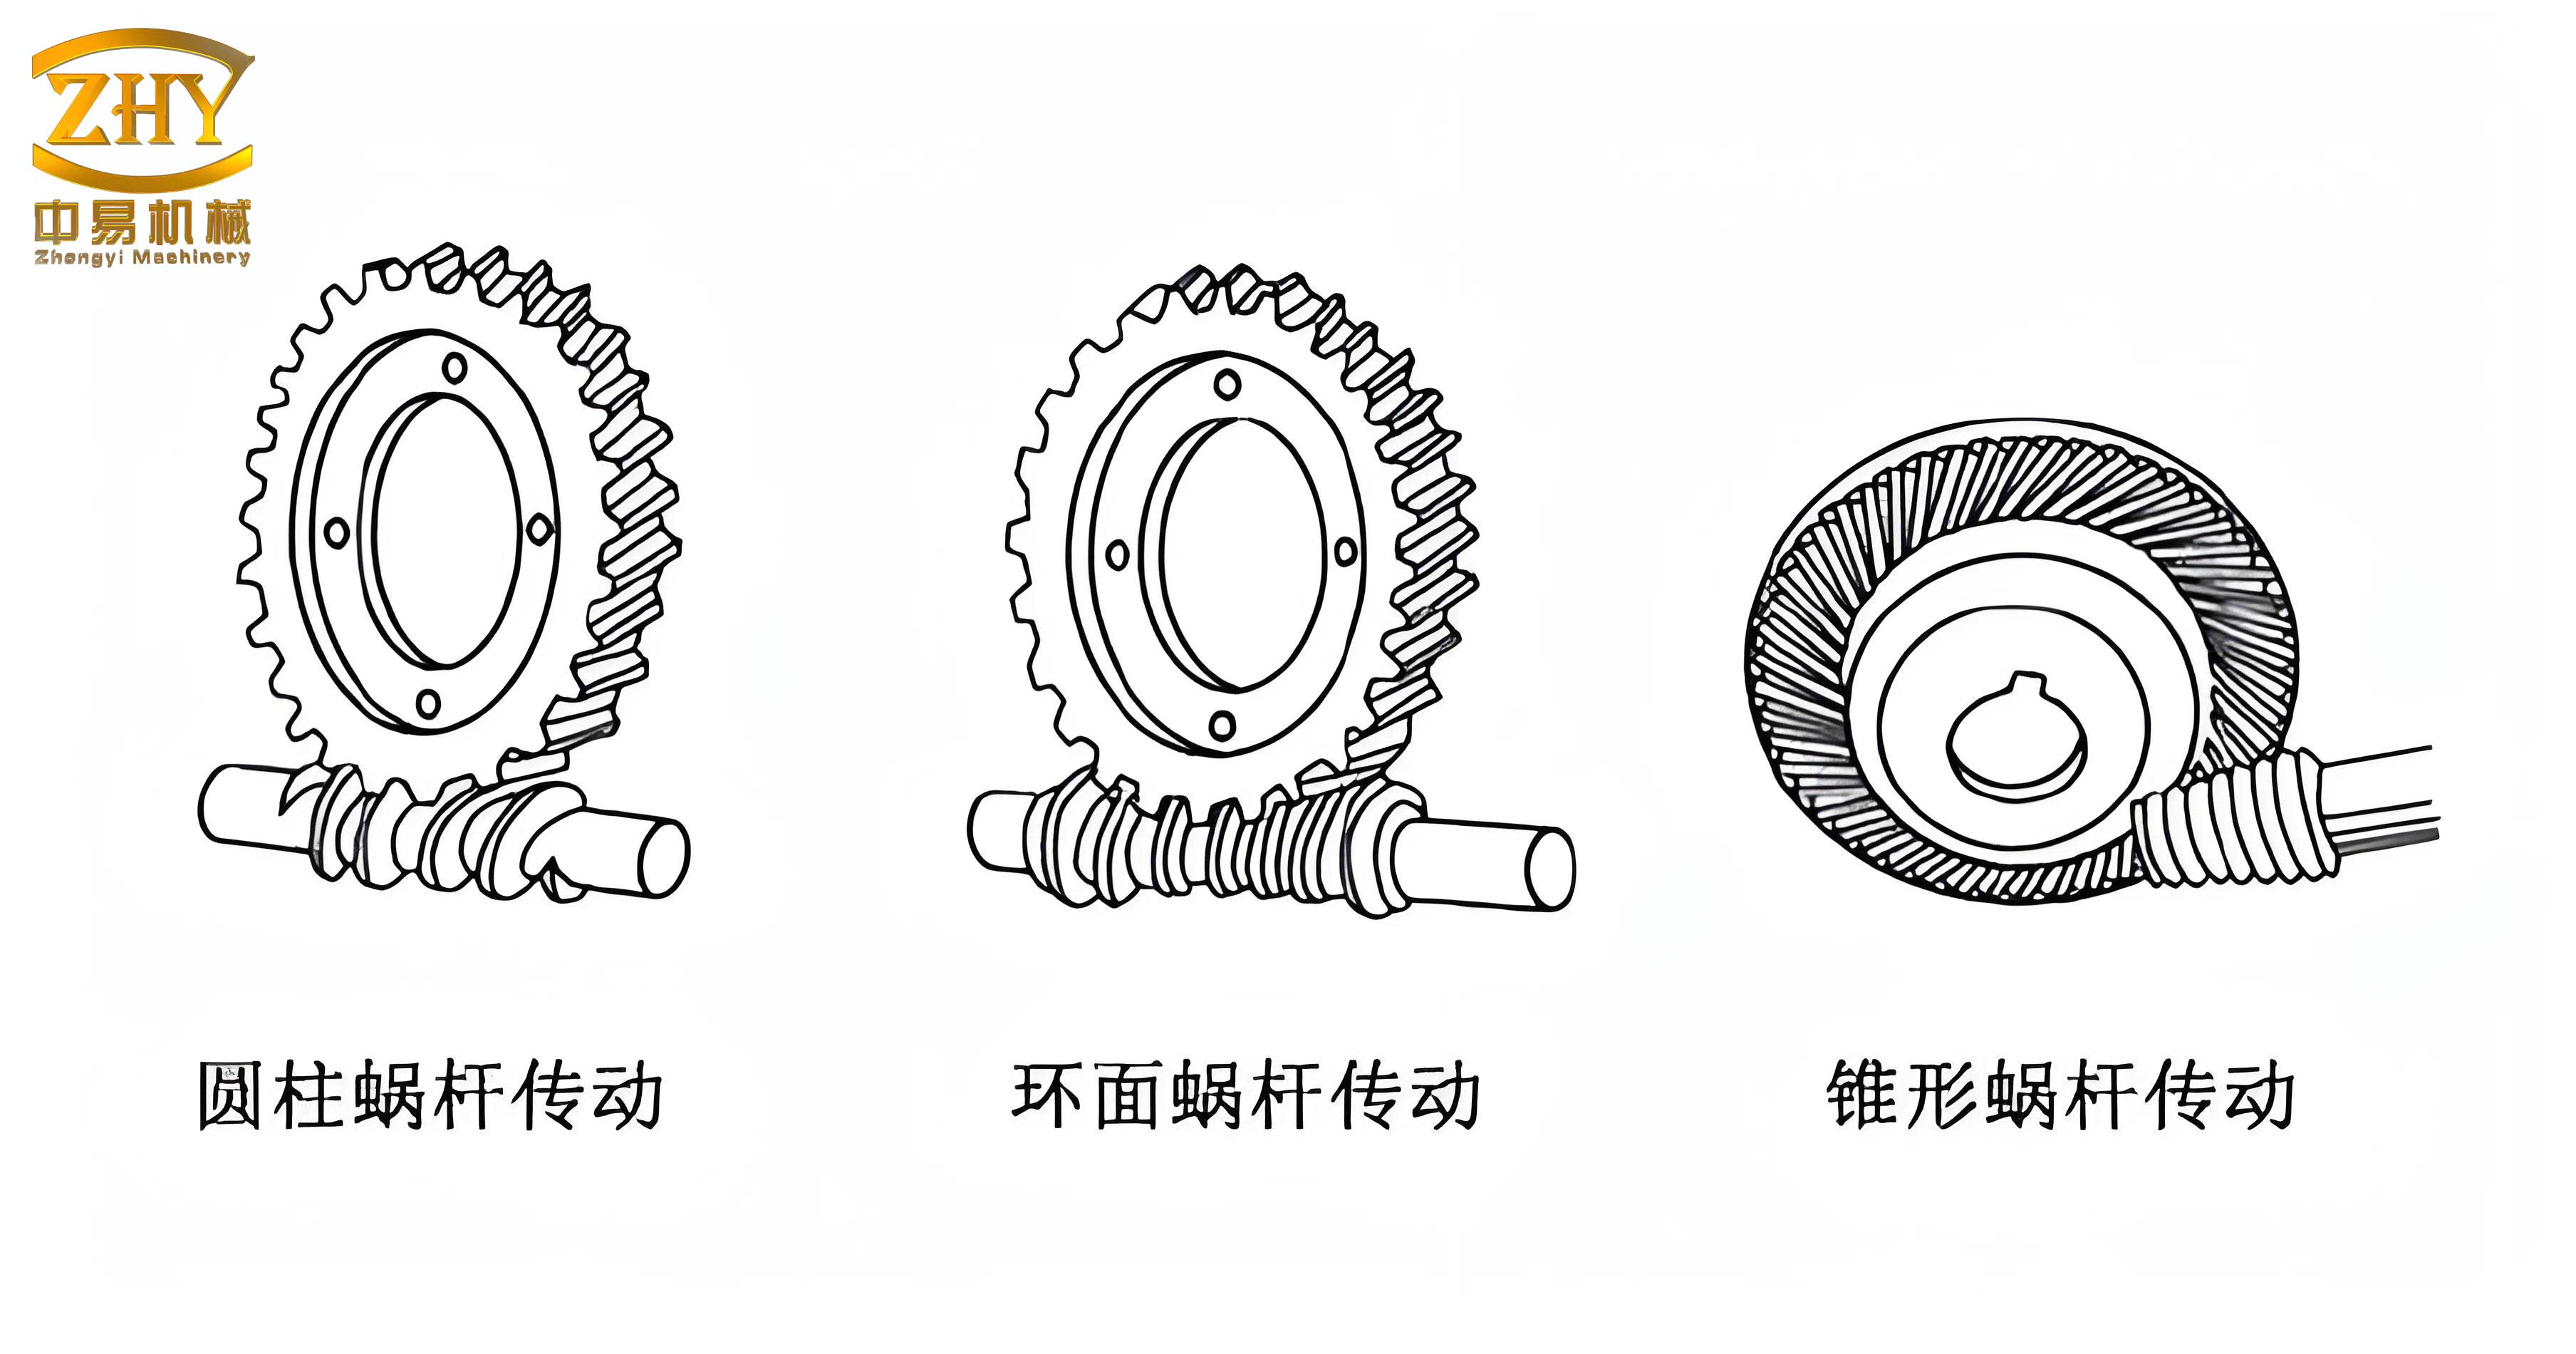
Next, I focus on assembling the screw gears transmission. I create a new assembly (.iam) file and use constraints to position components. First, I ground the housing at the origin of the coordinate system. Then, I insert the pre-modeled cover, sealing end covers, sleeves, gaskets, worm, worm wheel, shafts, and oil plug. I temporarily fix the worm and worm wheel shaft to facilitate alignment. From Inventor’s Resource Center, I select standard keys (e.g., \(6 \times 6 \times 30\), \(8 \times 7 \times 1\)) and insert them into corresponding keyways. On the worm wheel shaft, I assemble the worm wheel and sleeve in sequence. I then add rolling bearings (e.g., 6205, 6204) from the Resource Center onto the shafts. After installing the left and right sealing end covers, I place lip seals onto them. I remove the fixation from the worm and position the worm sub-assembly into the housing’s bearing journals, securing it with end covers. Similarly, I position the worm wheel shaft sub-assembly into the upper journals and adjust bearing clearances with end covers to achieve proper axial play, critical for screw gears performance. Finally, I attach the cover, fasten it with M6 and M8 bolts, and install the oil plug, completing the screw gears assembly.
To ensure proper documentation, I set iProperty parameters for all part files. I open each .ipt file, access the iProperty pane in the browser, and modify fields like “Title,” “Part Number,” “Designer,” “Project,” “Creation Date,” and “Physical Properties.” This metadata is essential for bill of materials and project management. For the assembly file, I repeat this process, adding assembly-specific details. These properties automatically populate title blocks and parts lists in engineering drawings, enhancing consistency.
Generating engineering drawings is a streamlined process with Inventor. I start by configuring drawing standards via the Style Editor. I create a new style based on national standards (e.g., GB), setting parameters for view annotations, layer styles, object defaults, sheet formats, borders, and title blocks. For the housing part drawing, I open a drawing (.idw) template, place a base view, and generate principal views. To show internal features, I create half-section views from the front and local sections for threaded holes. I then retrieve model annotations, which automatically pull dimensions and tolerances from the 3D model. I edit these as needed, adding geometric tolerances like coaxiality and perpendicularity, surface finish symbols, and notes. The process is similar for other screw gears components, ensuring all part drawings are standards-compliant.
For the screw gears assembly drawing, I create a new .idw file, select the configured template, and place the assembly model. I generate a left view, which I edit to include local sections for key connections and a projected detail view. A top view is created by sectioning through the housing-cover interface, and I modify it to exclude the worm and worm wheel shaft from sectioning, per conventional practice. A front full-section view reveals internal arrangements, and I adjust hatch patterns for items like bearings. I also add a directional view to highlight specific features. Dimensioning follows, where I label critical assembly dimensions, such as fit sizes \(\phi 47 \text{K7/h6}\) and overall dimensions. To annotate components, I use automatic ballooning, which references the iProperty data. The bill of materials is configured in the Style Editor by customizing columns, text styles, and sorting order. I set the sort key to “Item Number” in ascending order, and if the list is long, I split it across columns. This entire workflow ensures that the screw gears assembly drawing is comprehensive and ready for manufacturing.
| Design Step | Inventor Tool Used | Key Output | Benefit for Screw Gears |
|---|---|---|---|
| Parameter Definition | Worm Gear Component Generator | Optimized gear geometry | Ensures correct meshing and load capacity |
| Part Modeling | Sketch, Extrude, Pattern | 3D solid models | Accurate representation of screw gears components |
| Assembly | Constraints, Resource Center | Fully constrained assembly | Validates fit and function of screw gears transmission |
| Drawing Generation | Style Editor, Model Annotations | Standard engineering drawings | Facilitates communication and manufacturing |
Throughout the design, I emphasize verification via calculations. For screw gears, efficiency \(\eta\) is a key metric, estimated as:
$$\eta = \frac{\tan \gamma}{\tan(\gamma + \rho)}$$
where \(\rho\) is the friction angle dependent on lubrication. Additionally, the center distance \(a\) between worm and wheel axes is calculated as:
$$a = \frac{d_1 + d_2}{2} = \frac{m_x (q + z_2)}{2}$$
These formulas ensure that the screw gears transmission fits within spatial constraints and operates efficiently. I often embed such calculations in Inventor’s parameters table to drive model dimensions, creating a parametric design that updates automatically with changes.
In conclusion, using Inventor 2021 for screw gears design offers substantial advantages over traditional 2D methods. The integration of modeling, assembly, and drawing tools accelerates the design cycle, reduces errors, and enhances visualization. By employing the Worm Gear Component Generator, I can rapidly iterate on parameters to achieve optimal performance. The automatic generation of drawings with proper annotations and bills of materials saves time and ensures adherence to standards. This approach not only streamlines the creation of screw gears transmissions but also supports innovation in complex mechanical systems. As I continue to refine my designs, I explore advanced features like dynamic simulation and finite element analysis within Inventor to further validate screw gears performance under operational loads, ultimately leading to more robust and reliable power transmission solutions.