
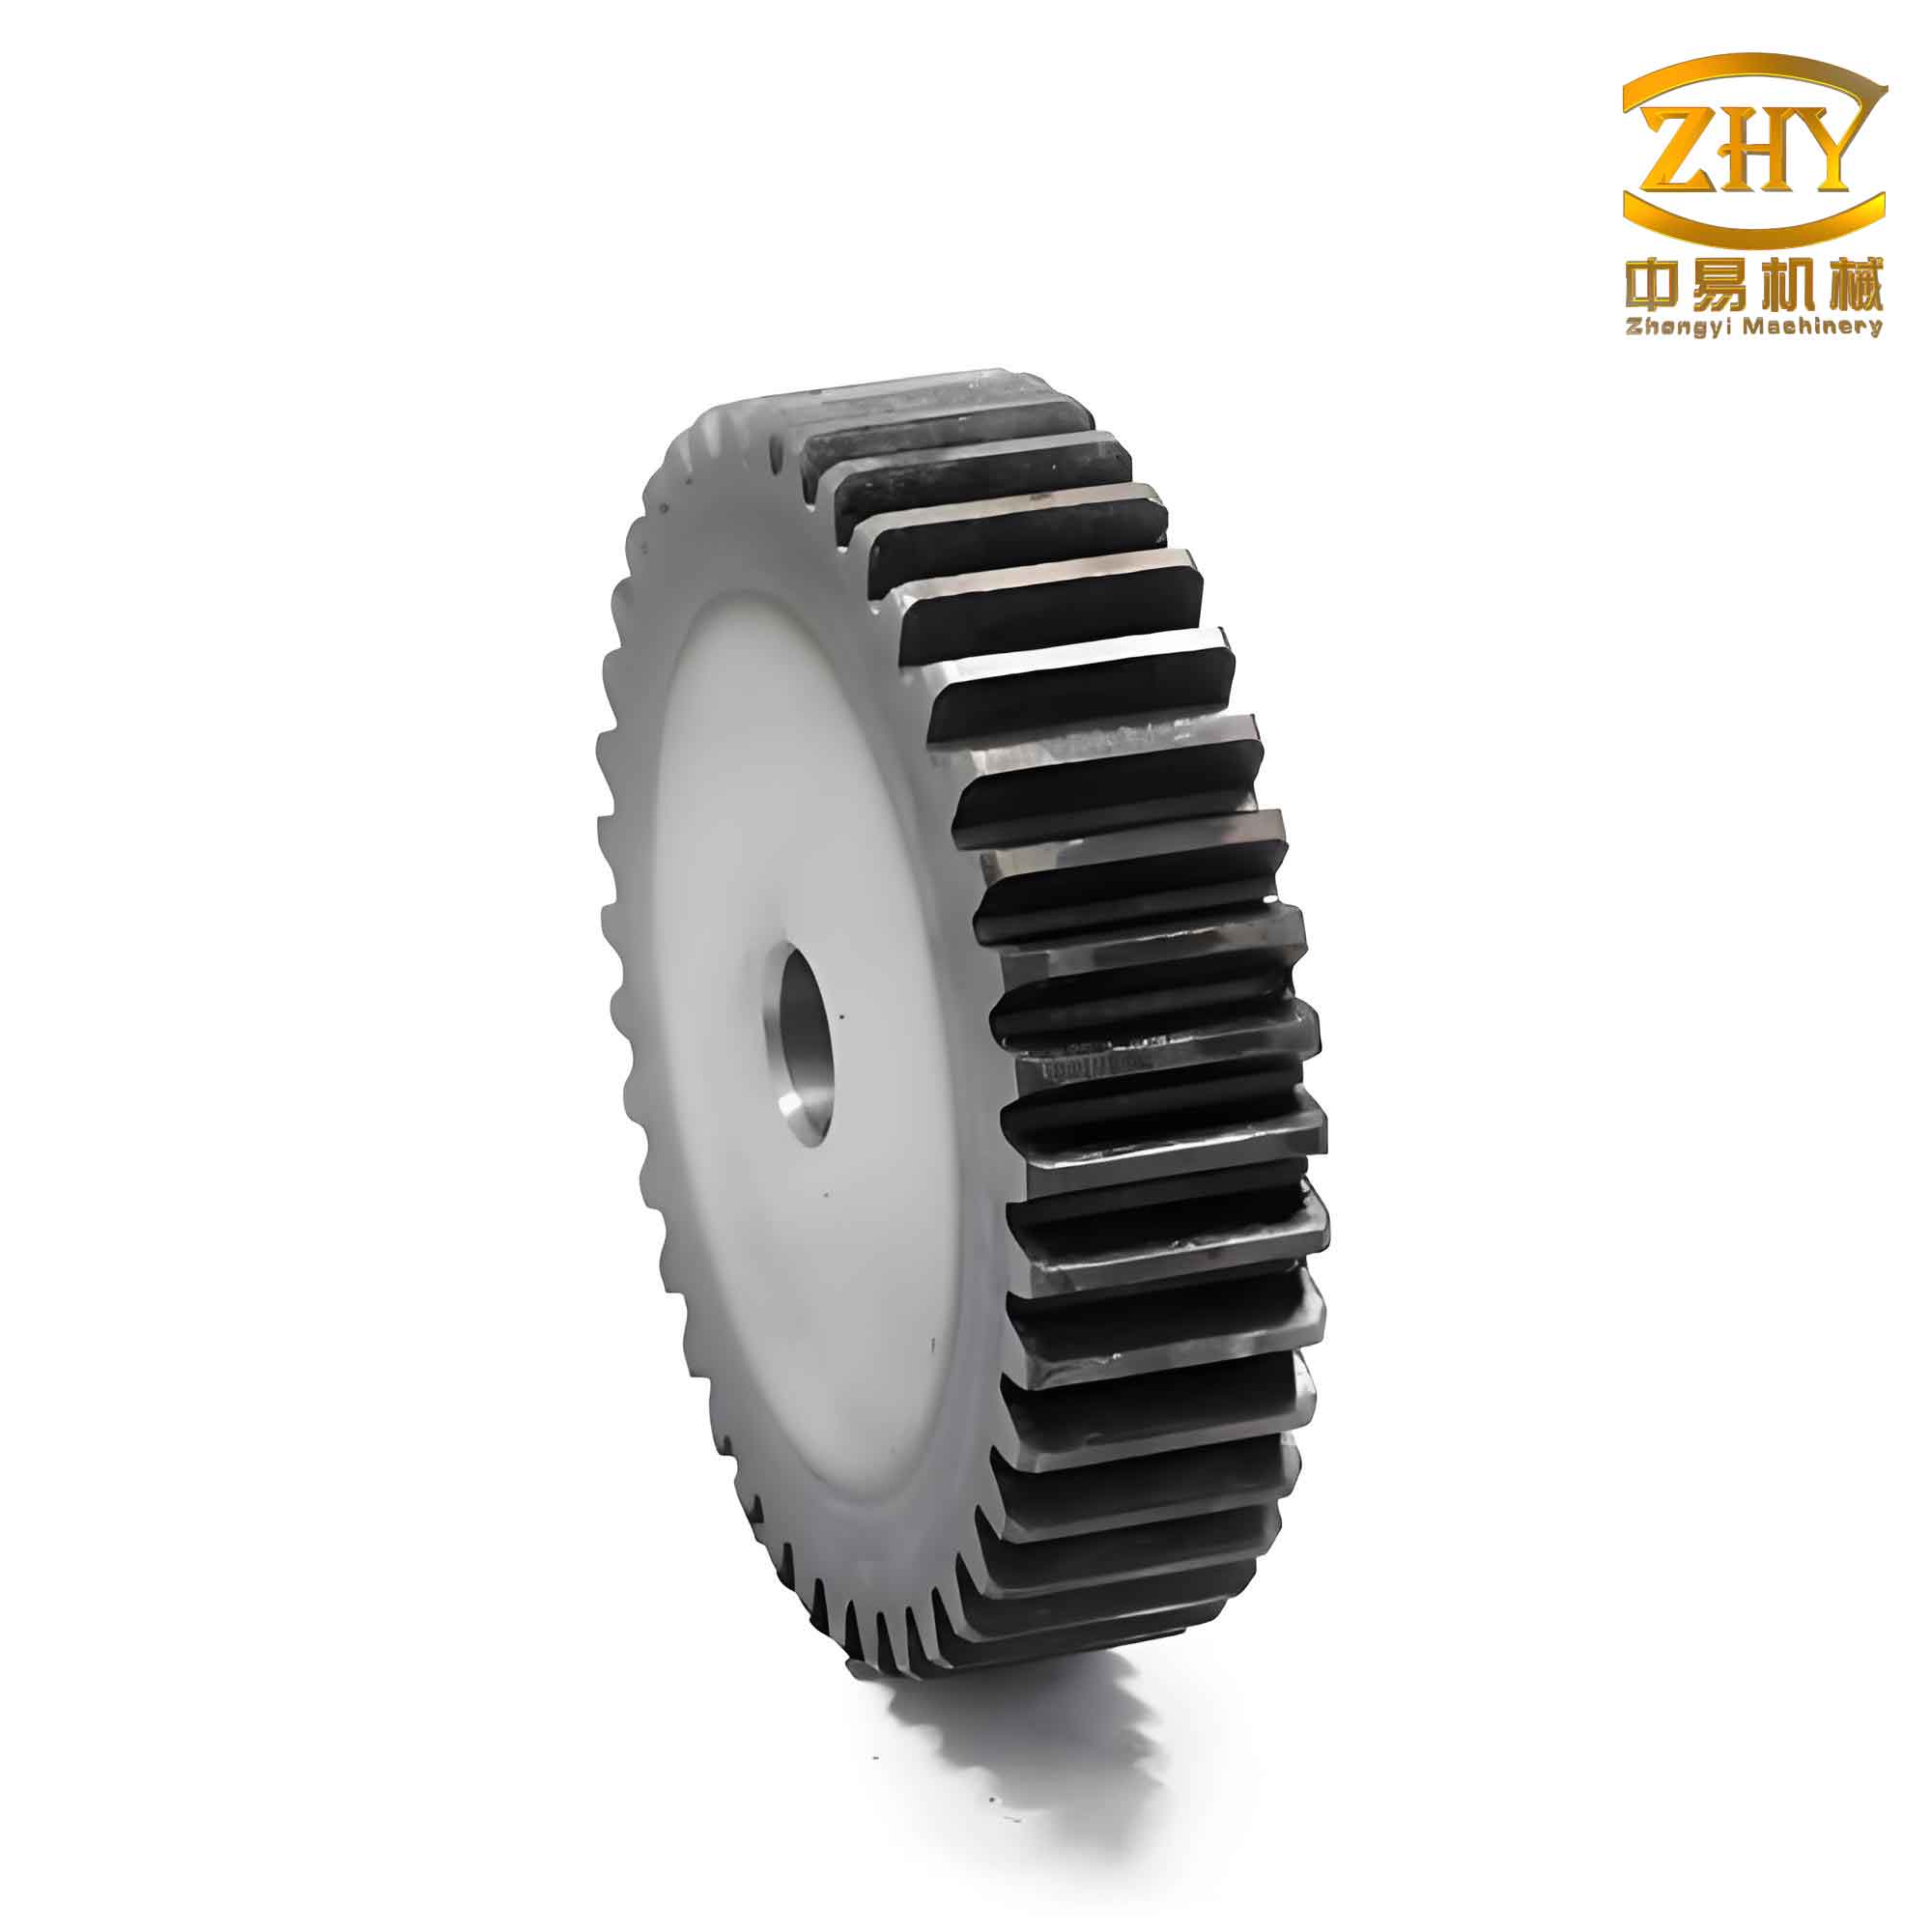
In the realm of mechanical design and power transmission, the spur gear stands as a fundamental and ubiquitous component. As an engineer, I frequently encounter the need to create accurate three-dimensional models of these elements for design validation, assembly checks, and manufacturing preparation. The involute profile of a spur gear tooth, while optimal for smooth and constant velocity ratio transmission, presents a significant challenge for 3D modeling within standard CAD environments like AutoCAD. Its shape is not defined by simple arcs or lines but by a specific mathematical curve. This article details a practical, first-principles approach I employ to construct precise 3D models of standard involute spur and pinion gears directly in AutoCAD, bypassing the need for complex simulated machining operations or specialized software.
The core of the difficulty lies in accurately generating the involute tooth flank. While methods exist that mimic the gear hobbing or shaping process, they are computationally intensive and often require advanced CAD functionalities. The method I prefer is grounded in the geometric definition of the involute curve itself. By approximating this curve through its fundamental construction principle and leveraging AutoCAD’s robust set of 2D and 3D tools—extrusion, array, and Boolean operations—I can efficiently create viable and accurate models. The target model for this guide is a standard spur gear with the following specifications, representative of a typical power transmission spur and pinion gear set component:
| Parameter | Symbol | Value | Unit |
|---|---|---|---|
| Module | m | 3 | mm |
| Number of Teeth | z | 20 | – |
| Pressure Angle | α | 20 | ° |
| Face Width | b | 50 | mm |
| Bore Diameter | dh | 30 | mm |
| Keyway Width | – | 8 | mm |
| Keyway Depth | t | 3.3 | mm |
Fundamental Geometry of the Involute Spur and Pinion Gear
Before drawing a single line in AutoCAD, calculating the key diameters is essential. These dimensions define the boundaries of our gear model. The formulas for a standard full-depth involute gear are critical for any spur and pinion gear design.
1. Pitch Diameter (d): This is the reference diameter where the theoretical perfect meshing occurs.
$$ d = m \times z = 3 \times 20 = 60.0 \text{ mm} $$
2. Addendum Circle Diameter (d_a): The outermost diameter of the gear.
$$ d_a = m(z + 2) = 3 \times (20 + 2) = 66.0 \text{ mm} $$
3. Dedendum Circle Diameter (d_f): The diameter at the bottom of the tooth spaces. For a standard full-depth tooth, the dedendum is 1.25m.
$$ d_f = m(z – 2.5) = 3 \times (20 – 2.5) = 52.5 \text{ mm} $$
4. Base Circle Diameter (d_b): The fundamental circle from which the involute profile is derived. This is the most critical dimension for profile generation.
$$ d_b = d \times \cos(\alpha) = 60.0 \times \cos(20^\circ) \approx 56.38 \text{ mm} $$
These calculated values are the blueprint for our modeling process. It is important to note that the tooth profile is involute only from the base circle outward to the addendum circle. The profile from the base circle inward to the dedendum circle (the fillet region) is typically a radial line or a trochoid generated by the cutting tool, which we will approximate with a simple fillet.
The Involute Curve: Principle and Construction Strategy
Geometric Definition
The involute of a circle is defined as the path traced by a point on a taut string as it is unwound from the circle. This circle is called the base circle. A key property, vital for our construction, is that the length of the tangent line from any point on the involute to its point of tangency on the base circle is equal to the length of the base circle arc from a fixed starting point to that point of tangency.
Mathematical Representation
The parametric equations for an involute curve are:
$$ x = r_b (\cos(\theta) + \theta \sin(\theta)) $$
$$ y = r_b (\sin(\theta) – \theta \cos(\theta)) $$
where $r_b$ is the base circle radius and $\theta$ is the roll angle in radians. While we could use these equations to plot points, our AutoCAD method uses a direct geometric approximation based on the equal-length property.
Approximation Method for AutoCAD
The strategy is to discretize the base circle arc, construct tangent lines whose lengths equal the corresponding arc lengths, and then connect the endpoints of these lines with a smooth spline. This creates a very close approximation of the true involute.
- Discretization: Divide the base circle into a number of equal segments (e.g., 40 segments). More segments yield higher accuracy but more construction steps.
- Arc Length Calculation: The arc length $L$ for one segment is:
$$ L = \frac{\pi d_b}{n} = \frac{\pi \times 56.38}{40} \approx 4.427 \text{ mm} $$
where $n$ is the number of segments (40). - Tangent Construction: At each division point on the base circle (starting from a defined origin), draw a tangent line. The length of the $i$-th tangent line should be $i \times L$. For instance:
- 1st point: Tangent length = $4.427$ mm
- 2nd point: Tangent length = $8.854$ mm
- 3rd point: Tangent length = $13.281$ mm, and so on.
- Spline Fitting: The endpoints of these tangent lines are points lying on the involute curve. Using AutoCAD’s `SPLINE` command to connect these points from the base circle to the addendum circle creates the desired tooth flank curve.
Step-by-Step 3D Modeling Process in AutoCAD
This section details my workflow for creating the 3D solid model of the spur and pinion gear. The process flows logically from 2D profile creation to 3D feature generation.
Stage 1: Creating the 2D Gear Profile (Top View)
Step 1.1 – Draw Reference Circles:
In a new drawing, on the top view plane, draw four concentric circles using the `CIRCLE` command with diameters corresponding to our calculated values: Addendum Circle (66.0 mm), Dedendum Circle (52.5 mm), Base Circle (~56.38 mm), and Pitch Circle (60.0 mm). The pitch circle is a construction aid for symmetry.
Step 1.2 – Establish Angular Divisions:
Draw a single radial construction line from the center. Use the `ARRAY` command (Polar Array) to create 40 copies of this line rotated equally around the center (360°/40 = 9° spacing). These lines will guide the involute construction and the final tooth array. Trim or hide these lines so they only intersect the circles clearly.
Step 1.3 – Construct One Tooth Space Profile:
This is the most critical step in defining the spur and pinion gear tooth.
- Set UCS: Use the `UCS` command to move the origin to the intersection of one radial line and the base circle. Align the X-axis with this radial line. This sets our local coordinate system for the involute construction.
- Draw Approximate Involute:
- At the origin (point of tangency on base circle), draw a line tangent to the base circle along the Y-axis direction with a length of $L$ (4.427 mm). Its endpoint is Point 1.
- Move to the next division point on the base circle (9° away). Draw its tangent line with a length of $2L$ (8.854 mm). Endpoint is Point 2.
- Repeat for the next point: length = $3L$ (13.281 mm) for Point 3.
- Continue until the endpoint of a tangent line reaches or exceeds the addendum circle. In our case, the 4th tangent ($4L$ = 17.708 mm) will likely intersect it.
- Create Spline: Use the `SPLINE` command. Start the spline at the origin on the base circle, then fit it through points 1, 2, 3, and the final intersection point on the addendum circle. This is one flank of the tooth.
- Complete the Tooth Profile to Dedendum:
- From the origin (base circle start point), draw a short line radially inwards towards the center until it intersects the dedendum circle.
- We now need the other flank. Find the midpoint of the line connecting the two adjacent radial line intersections on the base circle (the points at 0° and 9°). Draw a construction line from the gear center through this midpoint.
- Use the `MIRROR` command. Select the involute spline and the radial line to the dedendum circle. Use the construction line just drawn (center to midpoint) as the mirror line. This creates the symmetrical half of the tooth space.
- Create Fillet: The intersection of the two radial lines and the dedendum circle forms a sharp corner. In reality, a fillet exists here. The approximate fillet radius for a generated gear is about $0.38m$. Use the `FILLET` command with a radius of $0.38 \times 3 = 1.14$ mm on this corner.
- Trim and Close the Loop: Use `TRIM` and `DELETE` to remove all unnecessary geometry—construction lines, extra circle segments—leaving only a single, closed, polyline-like loop defining one tooth space. This loop consists of the dedendum circle arc, two fillets, two radial lines, and the two involute splines connecting to the addendum circle arc. Use the `PEDIT` command to join these segments into a single closed polyline if needed.
Step 1.4 – Draw Bore and Keyway:
Draw the bore circle (30 mm diameter) concentric with the gear. Draw the keyway profile (8 mm wide, 3.3 mm deep from the bore surface) aligned appropriately.
Step 1.5 – Create Regions:
Use the `REGION` command to create two critical regions from the closed polylines: 1) The tooth space profile, and 2) The bore-and-keyway profile. The addendum and dedendum circles will also be used as regions for extrusion.
Stage 2: Generating the 3D Solid
Step 2.1 – Create the Dedendum Cylinder:
Switch to an isometric view (e.g., `SE Isometric`). Use the `EXTRUDE` command on the region defined by the *dedendum circle* (52.5 mm diameter). Set the extrusion height to the face width, `b = 50` mm. This creates the core cylindrical body of the gear blank.
Step 2.2 – Extrude the Tooth and Bore Profiles:
Extrude the tooth space region created in Step 1.5 to the same height of 50 mm. This creates a solid “tooth space” cutter. Similarly, extrude the bore-and-keyway region to 50 mm. It’s often helpful to move these extrusions to a different color layer for clarity.
Step 2.3 – Perform Boolean Operations:
This is where the gear form emerges.
- Subtract Tooth Space: Use `SUBTRACT`. Select the dedendum cylinder as the base solid, then select the extruded tooth space solid as the object to subtract. This cuts one tooth gap into the cylinder.
- Array the Tooth Gap: Use the 3D version of `ARRAY` (`3DARRAY` or the more modern `ARRAY` with polar option). Select the resulting notched cylinder as the object to array. Specify the center of the gear as the axis point, set the number of items to 20 (the number of teeth), and fill 360°. This creates the complete set of teeth on the spur and pinion gear blank.
- Subtract the Bore: Finally, use `SUBTRACT` again. Select the fully toothed gear as the base solid, then select the extruded bore-and-keyway solid. This punches the center hole and keyway through the gear.
- Unify the Model: Although not always necessary, applying the `UNION` command to the entire model ensures it is a single solid entity.
Step 2.4 – Add Finishing Details (Chamfers/Fillets):
Real gears have chamfers on the edges of the teeth to prevent burrs and ease assembly. Use the `CHAMFER` command on the two circular edges at each end of the gear teeth (the outer addendum circle edges). A small chamfer distance of 0.5 to 1 mm is typical. Additional fillets can be added to non-functional edges for a more realistic appearance.
| Step | Task | Primary AutoCAD Command(s) |
|---|---|---|
| Profile Setup | Draw Circles, Construction Lines | `CIRCLE`, `LINE`, `ARRAY` (Polar) |
| Involute Creation | Draw Tangents, Create Spline | `LINE`, `SPLINE`, `UCS` |
| Profile Completion | Mirror, Fillet, Trim | `MIRROR`, `FILLET`, `TRIM`, `PEDIT` |
| Region Creation | Define closed boundaries | `REGION` |
| 3D Solid Generation | Extrude, Cut, Pattern | `EXTRUDE`, `SUBTRACT`, `3DARRAY/ARRAY`, `UNION` |
| Detailing | Edge treatment | `CHAMFER`, `FILLET` (3D edges) |
Advanced Considerations and Model Accuracy
The method described generates a functional and visually accurate model of a standard full-depth involute spur and pinion gear. For higher precision or specialized applications, consider these points:
- Profile Accuracy: The accuracy of the involute spline depends on the number of division points used on the base circle. Increasing this number (e.g., to 80 or 120) yields a smoother, more mathematically precise curve, at the cost of increased drawing complexity.
- Fillet Profile: The simple constant-radius fillet used is an approximation. The true trochoidal fillet generated by a rack cutter or hob has a more complex shape, which may be important for stress analysis. This can be more closely approximated by constructing the path of the cutting tool tip.
- Helical Gears: This method creates a spur gear. To model a helical spur and pinion gear, the 2D profile remains the same, but the extrusion must be performed along a helical path using the `SWEEP` command, with the tooth profile as the object and a helix as the path.
- Parameterization: While this process is manual, the steps are consistent. With knowledge of AutoLISP or using AutoCAD’s dynamic blocks with constraints, one could create a semi-parameterized gear generator.
| Modeling Method | Advantages | Disadvantages | Suitability |
|---|---|---|---|
| Geometric Construction (This Method) | Uses native AutoCAD commands; No special toolkits required; Intuitive understanding of gear geometry; Low hardware demand. | Manual process; Accuracy depends on discretization; Less suitable for highly non-standard profiles. | General design, visualization, layout, and prototyping of standard spur and pinion gears. |
| Simulated Machining | Potentially very accurate; Can model exact tool-generated profiles (including fillets). | Requires advanced CAD (e.g., CAM features); Computationally intensive; Complex setup. | High-fidelity models for detailed FEA or manufacturing simulation. |
| Third-party Add-ons/Software | Fast, automated, and parameterized; High accuracy with minimal effort. | Additional cost; Dependent on external software compatibility. | Frequent gear design in a professional production environment. |
Conclusion
Modeling an involute spur gear in AutoCAD is entirely feasible through a systematic, geometry-based approach. By deconstructing the involute tooth profile into its fundamental geometric principle—the unwinding string from a base circle—we can construct a highly accurate 2D profile using only core drawing and editing commands. Transforming this profile into a 3D solid is then a straightforward process of extrusion and Boolean algebra, culminating in the application of a polar array to replicate the teeth. This method demystifies the process of spur and pinion gear creation within a standard CAD environment. It empowers designers and engineers to create custom gear models for mechanism design, interference checking, and presentation purposes without relying on specialized software or complex simulations. The technique is robust, leverages the full capabilities of AutoCAD for solid modeling, and provides a deep, practical understanding of the relationship between gear geometry and its digital representation. Whether for educational purposes or practical design tasks, mastering this process is a valuable skill for anyone involved in mechanical design involving spur and pinion gear drives.